CNC Laser Engraving & Cutting Cowboy Sign (Updated!)
A little while back, I did a cowboy inspired plywood sign (see blog article HERE) and made a mental note to come back to that when I had time to do as I suggested at the end of the article, making outlines of each detail so that they stood out a bit more. This blog will review the results!
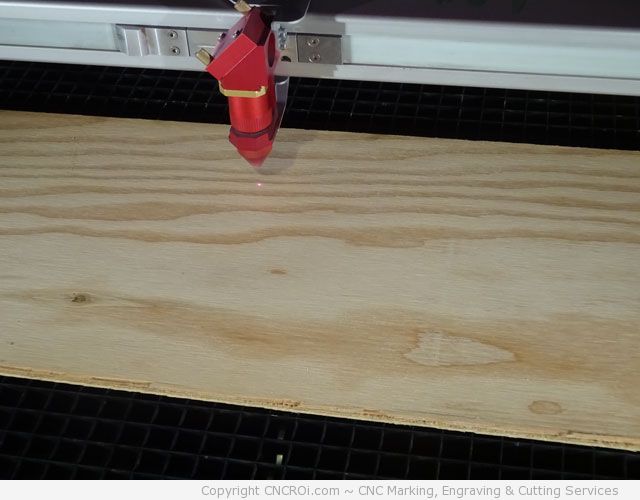
I used 1/4 inch (6 mm) plywood, identical to the previous sign so we could make a pretty good comparison at how much power a simple outline can have on some materials.
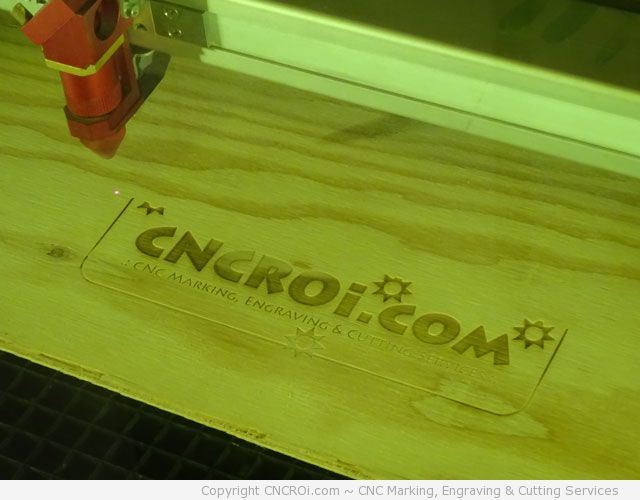
The engraving comes out pretty good but as with the other plywood sign, you start to see some areas where the engraving just doesn’t come out for some reason… the plywood color and material composition just isn’t the same so you end-up with bands of great contrast and bands without so much great contrast.
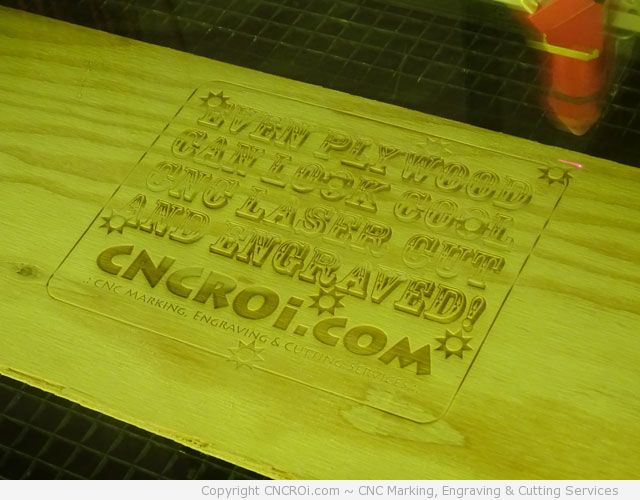
There is luck in these signs of course, as in this case, CNCROi.com came out pretty good versus the previous version but that’s why I wanted to do another with outlines, the file otherwise is completely identical as you’ll see.
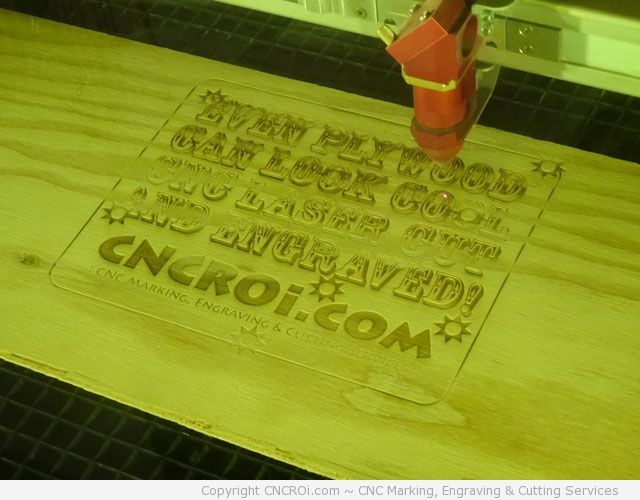
After the CNC laser engraving passes are done, it was time to do the outlines. These are done before any cutting but AFTER engraving because I don’t want the sign to move around with the extraction and the compressed air going at full tilt. This is why there is no need to mask this project… there is so much air that the vapor for this wood has no chance to go anywhere but out!
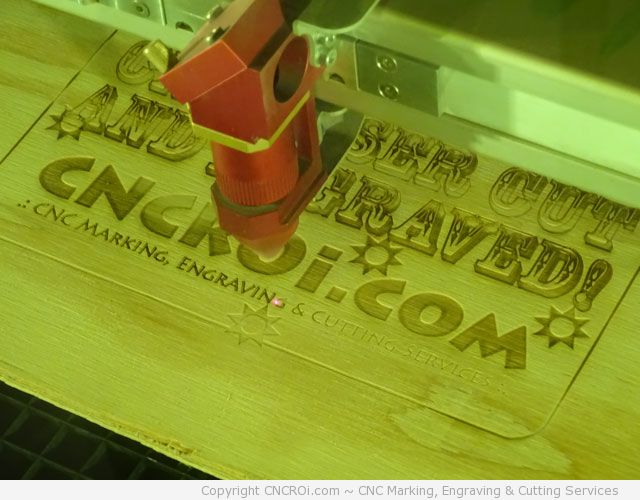
You can see already how much extra contrast is created by outlining the text, the same is true just most woods and even acrylics depending on the details found. Notice the “engraving” in the top picture followed by the “cutting” which hasn’t been outlined yet the compare to the image below.
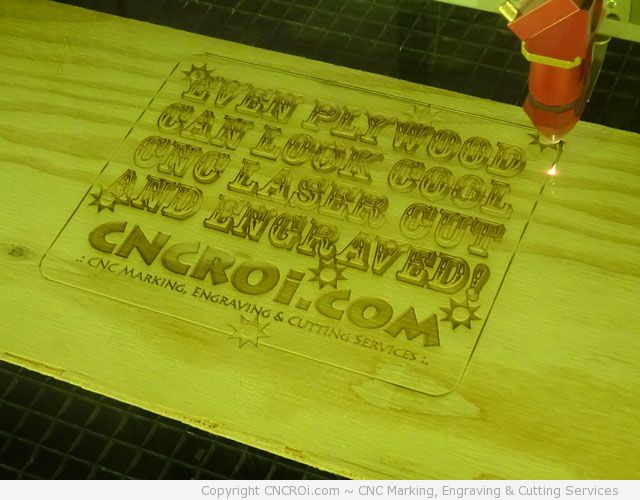
Our Austrian CNC Trotec Laser then goes all the way around the sign to cut it out… I want the bullet holes to look somewhat “off” on purpose which is why I don’t cut them out first then the entire sign.
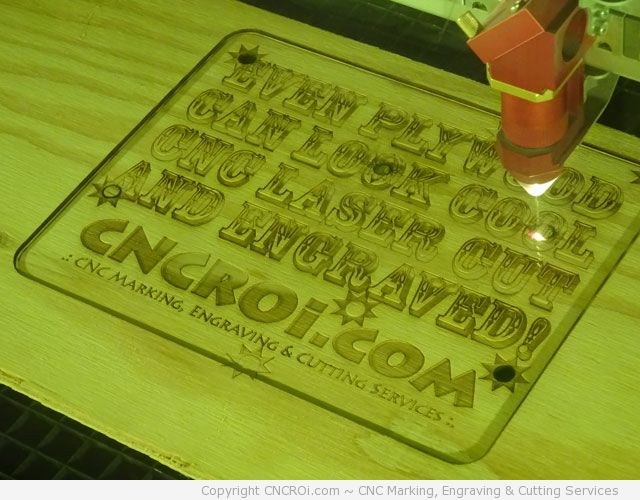
Them bullet holes are still extremely precise even with things out of alignment due to the cutting order I established. The reason we used our CO2 tube for this project is because fiber wouldn’t do anything, it’s focused on metal and plastics by changing their surface properties using heat which does nothing with wood worth mentioning due to the differences in wavelengths.
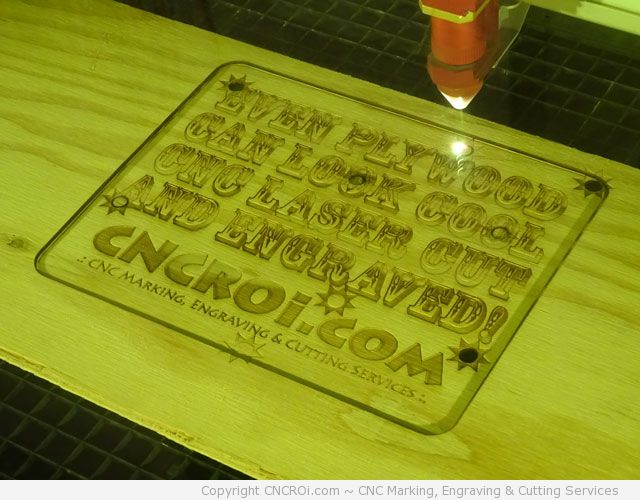
The finished sign looks great! Although our CNC laser is incredibly accurate, having an extra burned-in outline around the engraving really helps tremendously for material as inconsistent as this one is.
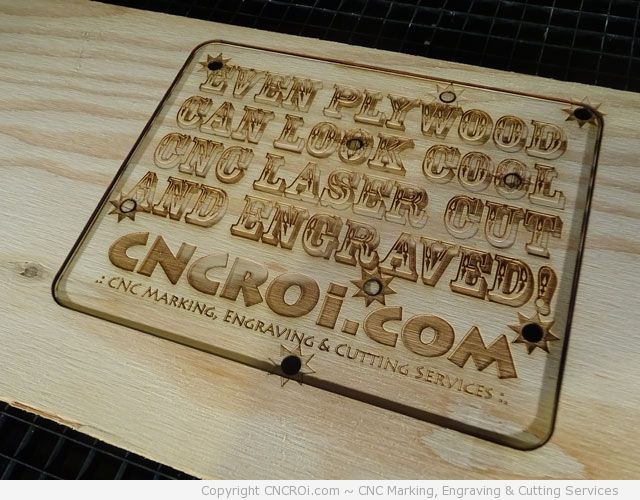
Wow, that contrast from the extra pass, which by the way adds another 1/3 to the production time is REALLY WORTH IT. The upfront costs are more due to increased laser time but the results are far more legible.
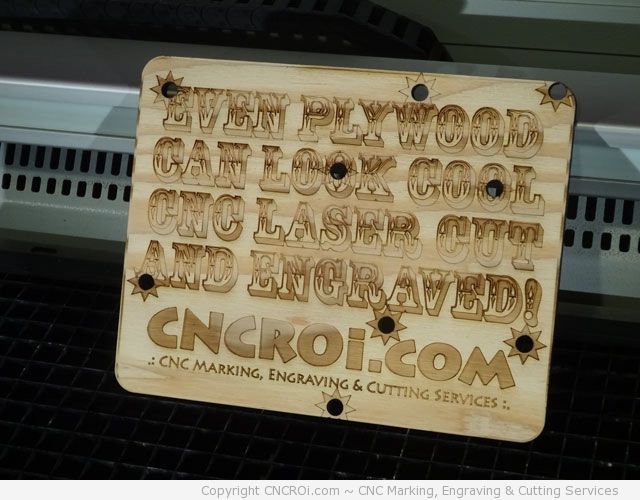
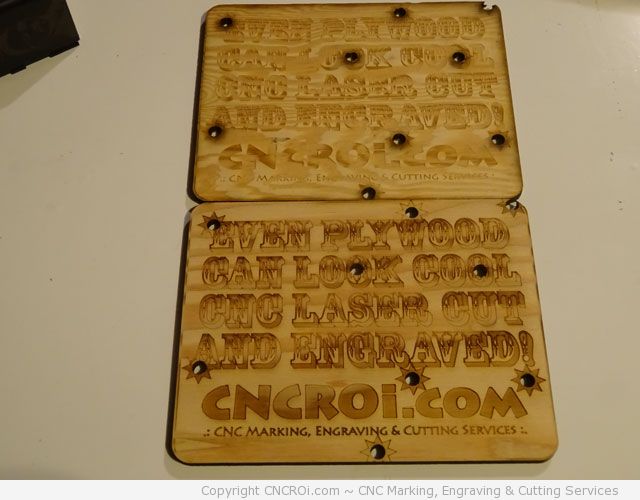
Let’s compare it to the original sign I made a while back at a few different angles! It’s almost like I had the wrong settings on it, hence the inferior results but nope, they are the same.
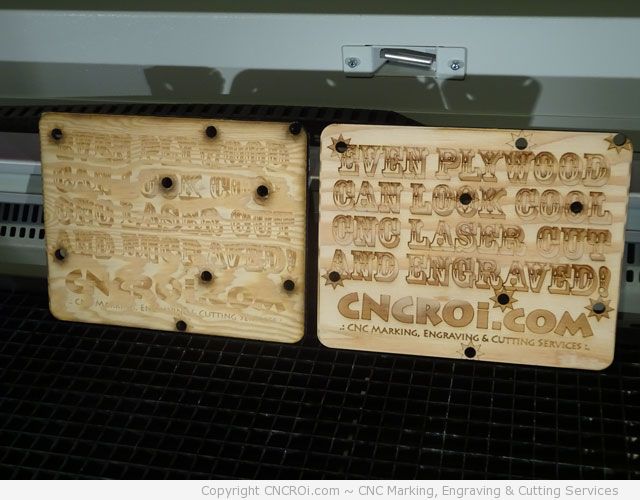
You can clearly see how the other sign looks somewhat washed out. It has been in my sample case since being made which hasn’t helped the situation but otherwise, all the laser settings were the same across the board. The extra smoke you see on the left is actually an optical illusion, due to the lack of contrast, your eyes make it seem “worse” than the sign with the outlines.
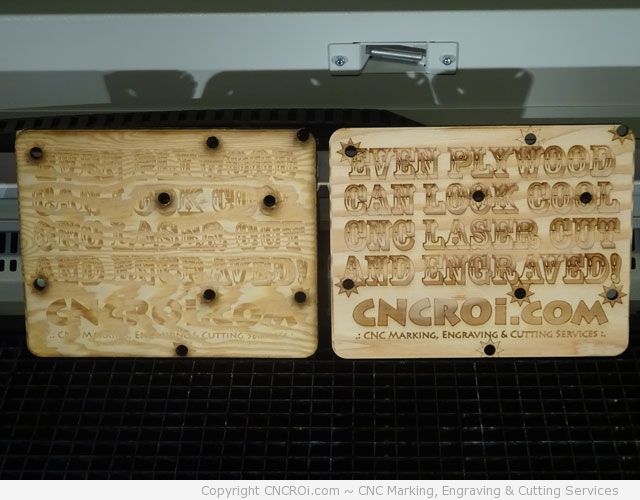
Looking at it from more angles and lighting conditions, the new sign is by far better. We’ve done outlines such as this on annealing and even fiber marking jobs, those little lines do make a difference on some grades of stainless steel and especially anodized aluminium where the job warrants it due to the intended application.
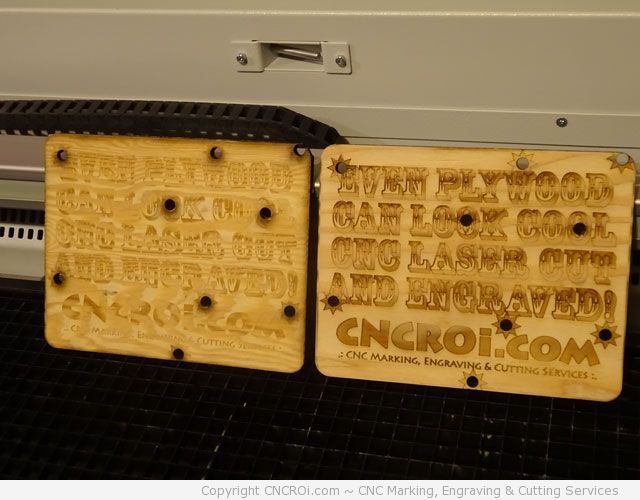
I know if I had a building which sign I’d be using! If you want even more contrast, this can be achieved using a bit more lined detail, reverse engraving or even applying a laser of self-leveling epoxy (for added durability and shine!)
We’ve made signage for a number of industries using various materials from metal to wood, laminates to stone. If you are looking for an experienced company to make something awesome to hang on your wall, post on your door or even name badges (yep, we can make this small enough to wear too!), contact CNCROi.com today!