Fiber Marking Brass Valve Tags (Part 1 of 2)
Brass valve tags are used in a variety of industries from mining to identify the various valves that go through processing both inside and out to manufacturing plants that need to identify specific machinery components within their factories.
Generally CNCROi.com makes these out of stainless steel, 304 or 316 or even anodized aluminium depending on the application which is why we generally have several hundred of each variety in inventory with access to unlimited thousands within 24 hours. The holdup isn’t getting inventory, it’s the slow process of fiber marking or annealing these materials using our fiber laser with fiber lens.
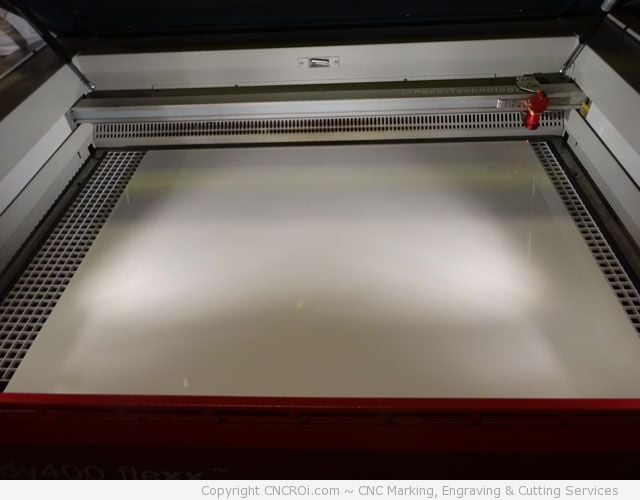
We had been using a tired worn-out jig to make our brass valve tags so I took this opportunity to upgrade our jig to 3 mm white acrylic which is the same material we use for most of our jigs… don’t anneal stainless steel on these things as they will melt into it! Each material has its + and -, just like every CNC machine.
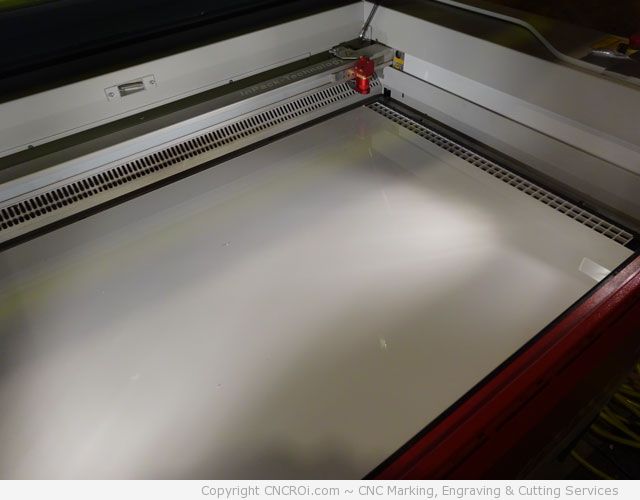
Having a massive bed has its advantages, we can make really big jigs easily and efficiently and if that isn’t enough, we can open up the front and back and feed even bigger projects into our Austrian CNC Trotec Laser.
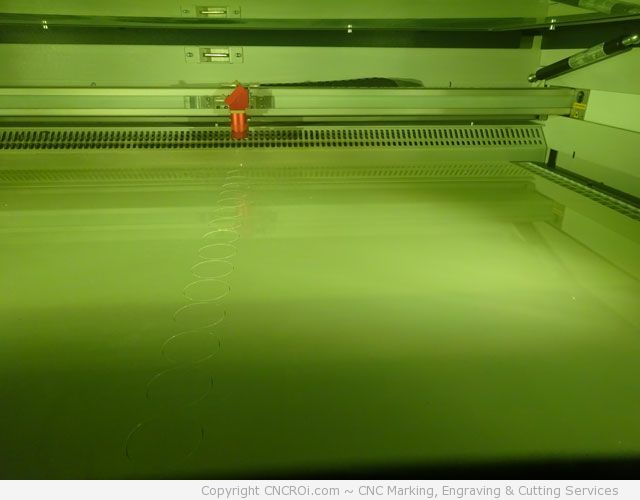
In this case, we put in a sheet just under a meter wide and 60 cm long onto our bed and will cut out both the front and back panel at the same time out of this stock 3 mm thick white acrylic. We keep quite a bit of this in stock as it comes in very handy for applications where the project doesn’t get hot.
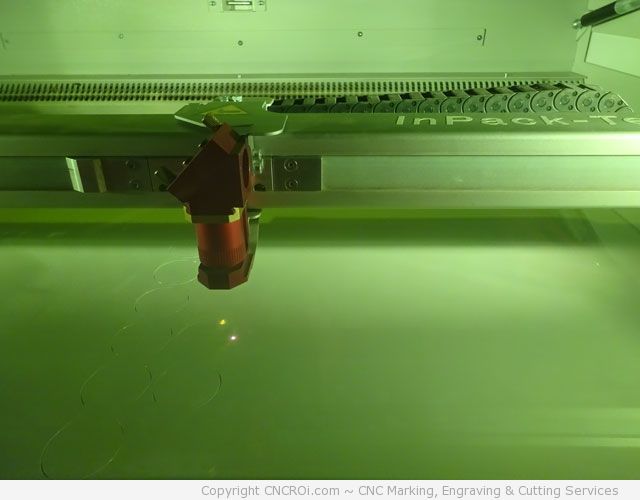
First step is cutting out the big holes that will be responsible for holding our brass valve tags, this is within 1 mm of tolerance so the pieces fit in there perfectly without any movement when putting in the tags and bringing it into the CNC laser.
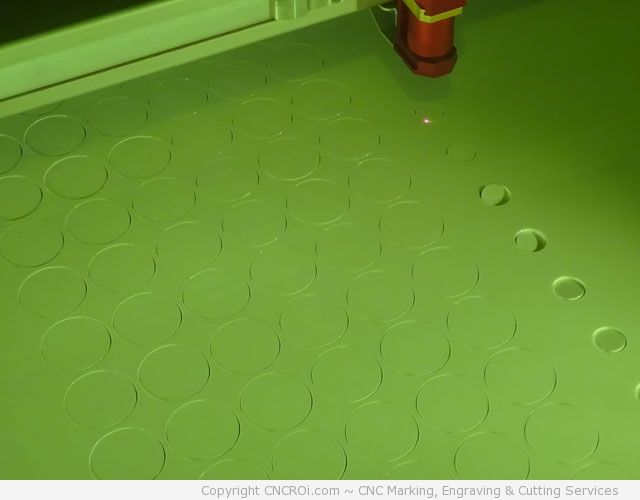
Next step is the smaller back holes, this is my prefered method of removing things that get stuck, from dust and debris, just punch them out instead of trying to lift them from the front.
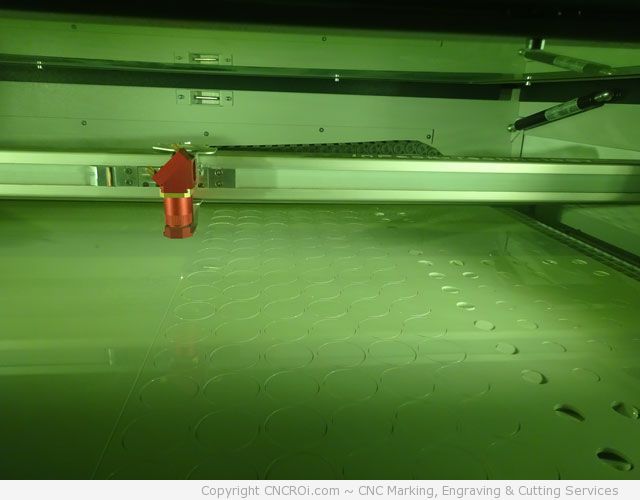
After all the holes are cut out by our power CNC laser’s CO2 source, it’s time to cut the jigs out of the sheet of acrylic. You do this AFTER doing all the holes so that you don’t have shifting… you basically want to cut out smallest to largest (design depending) to keep things accurate and precise.
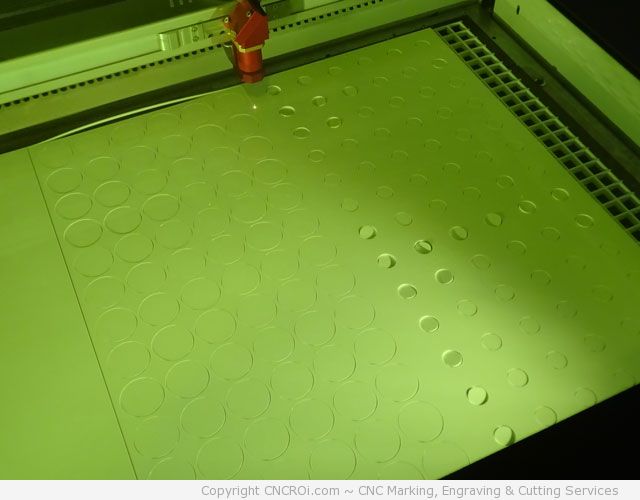
Although our sheet of acrylic is square, I still don’t use the edges as I prefer to have a new jig inside and out and besides, just because the material is square, it doesn’t mean it was placed perfectly square! It’s easier to cut out a square than to try to align one.
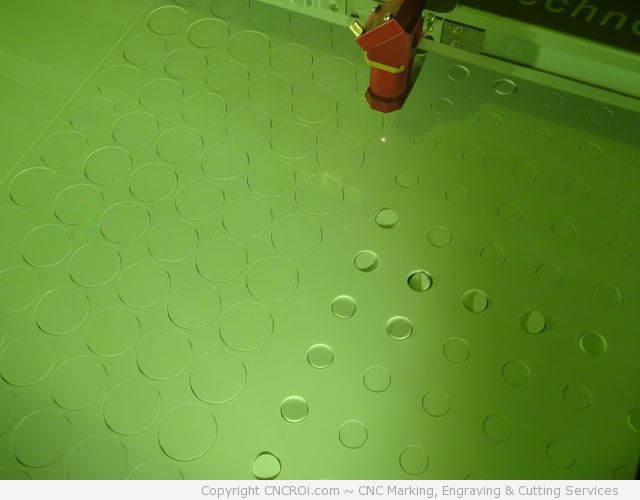
Due to our powerful extraction and gas kit which pushes air ONTO the material at up to 70 PSI and quickly exhausts it using a 2 HP motor, some of the little left-over scrap circles are starting to flip around… they are loose, as they should be, so this is a GOOD sign and not a bad one. If they didn’t move at all, it means we didn’t cut all the way through the material!
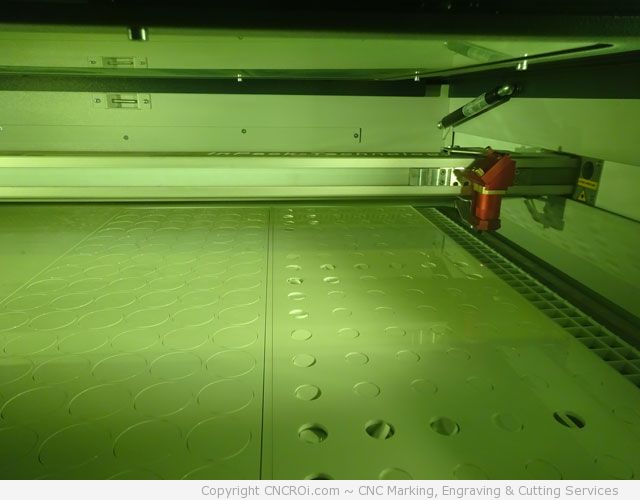
The back panel is now being cut out of the acrylic, by cutting both panels out this way, not only are they perfectly square but gluing them together is a breeze as everything lines up using only fingers for flushness.
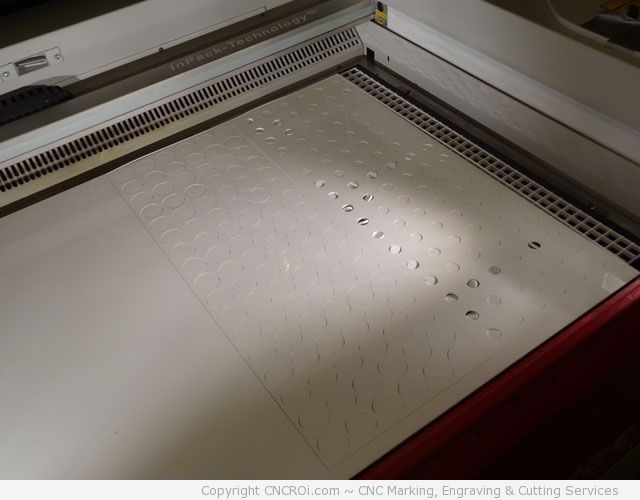
Now that the jig is cut out, let’s see how successful the cutting was by taking only the jig out and leaving the “scrap” behind.
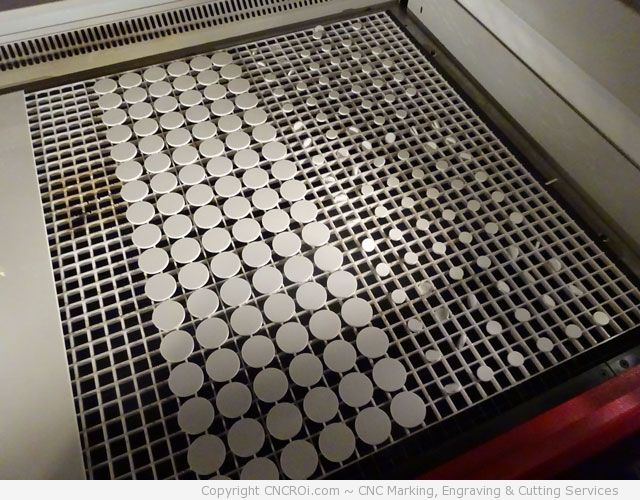
Awesome! Next step along this route is to glue the two panels together and give it a test run, which you’ll see in the next blog post two days from now. In the meantime, watch the video below showing how all this was done and remember, if you need an awesome jig, CNCROi.com is here to help, contact us right now!