Laser Engraving a 2 x 6 Inch Chunk of Pine (Material Testing)
I wouldn’t ever attempt cutting this 2 x 6 chunk of Pine using our Austrian CNC laser but engraving, that’s fair game! The surface of this pine was very rough, I had thought masking would stick better but as you’ll see, you still get extensive smoke damage. Let’s first cover what went wrong and then, based on those lessons, produce a piece that’s worthy of leaving CNCROi.com‘s shop!
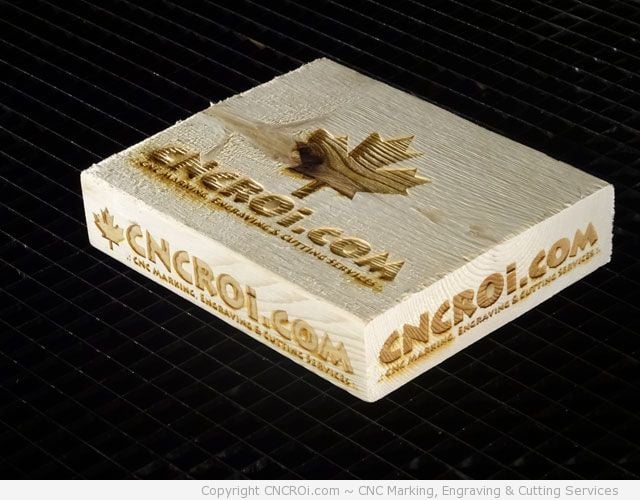
Results from material testing, promising but needs a lot more work.
This is part of the “material testing” process, work on assumptions and verify them… luckily we only used-up three of the six sides available!
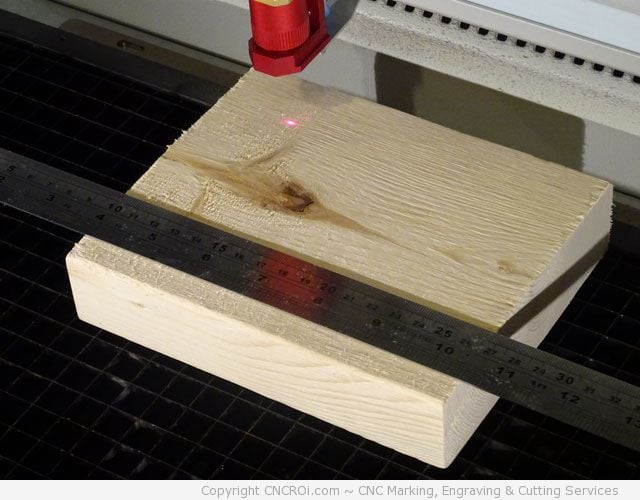
After doing the laser calculations, it was time to wrap up all the sides – I know the knot will pose an issue but this doesn’t matter in this case, it’s material testing, not final production!
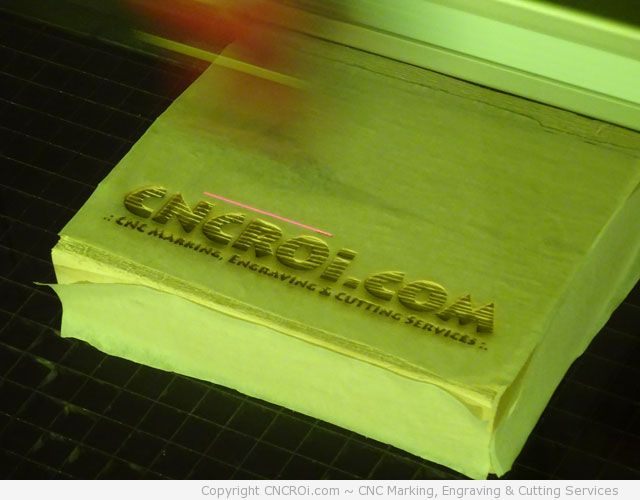
I like the texture being produced here after vaporizing the first layer of material.
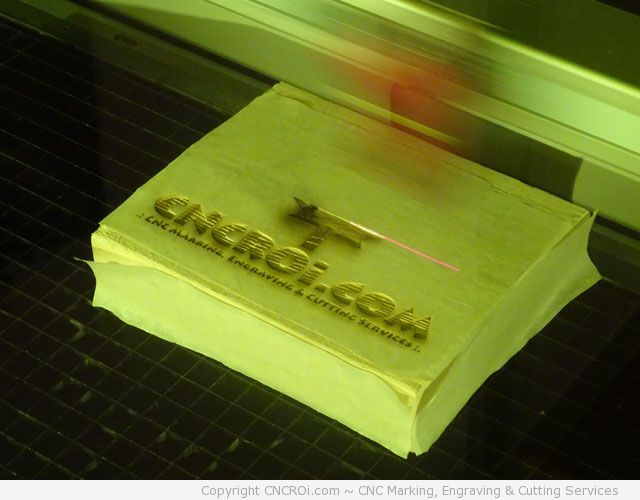
After the surface is done being engraved, the results look promising… as assumed, that knot will pose an issue as the density of the knot is different from the rest of the material.
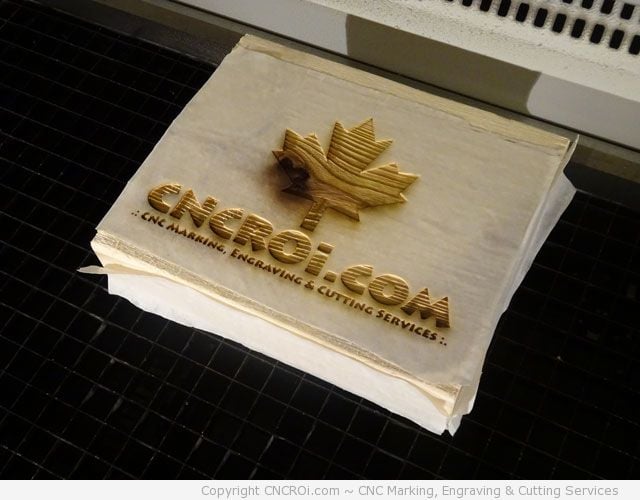
Next up is the side, this is by far the smoothest and most consistent.
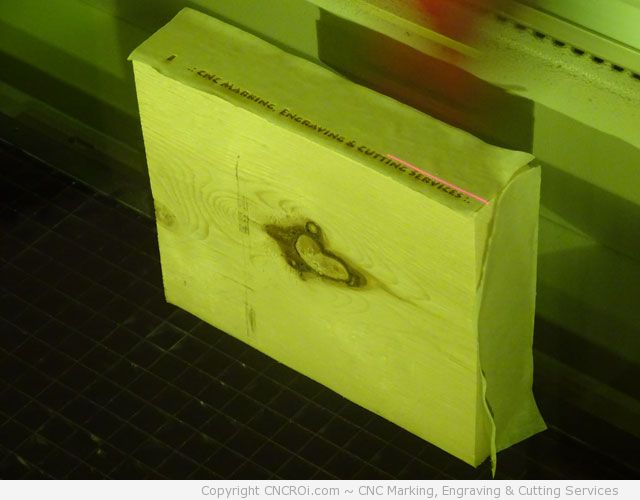
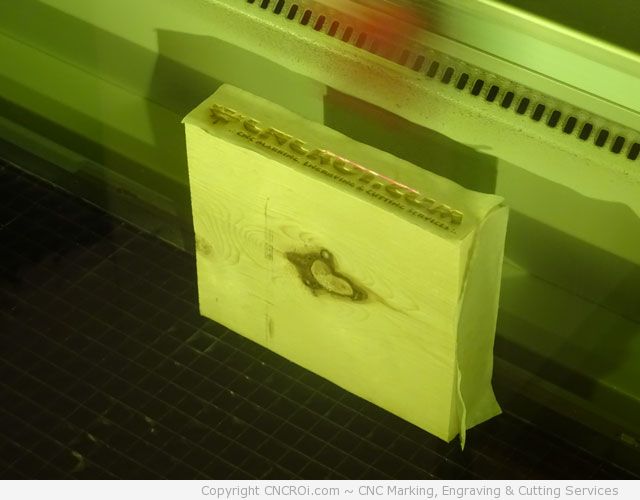
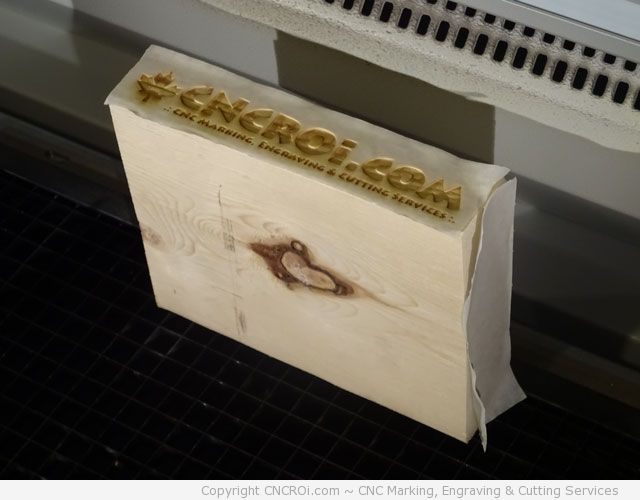
The results look promising as well, you can clearly see the wrapping is doing its job, protecting the surface from the vaporized wood resin as it settles back down. Time for the end grain!
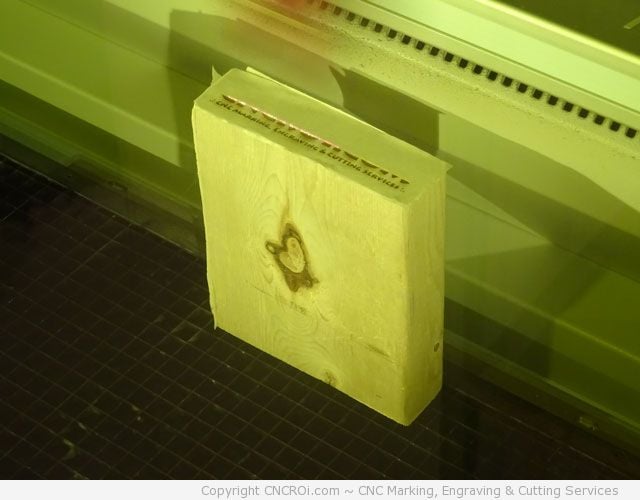
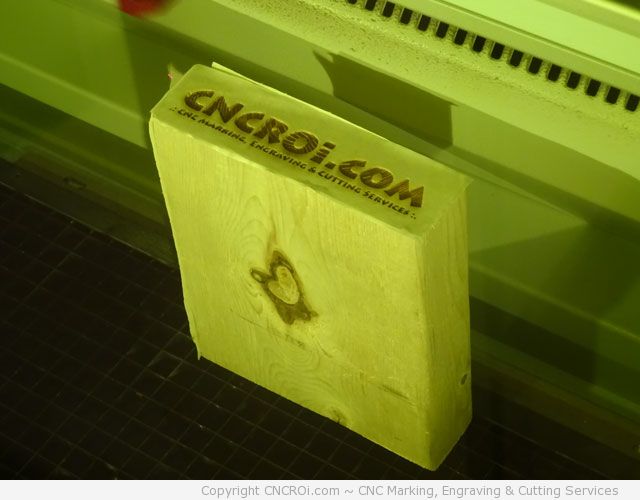
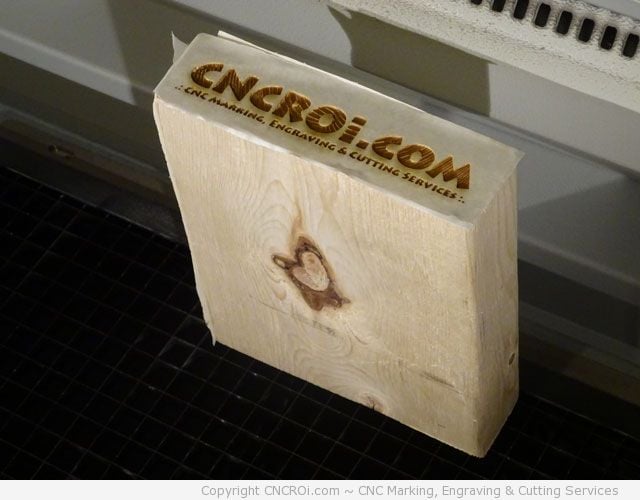
Taking the wrapping off, the results aren’t spectacular. This isn’t something that can be “sanded off” by the way as the vaporized resin just gums up the sand paper rendering it useless rather quickly.

So, now that we know what NOT to do, let’s give this another go using the lessons learned using the other three sides of the same piece, you can watch the video of the above process below.
Now, let’s take a look at the finished piece where everything goes right! As we’ve seen, wrapping is useless as smoke goes under it due to the uneven surface properties of this wood so we’ll do it this time without it. We’ll up the gas kit pushing compressed air and bring the power down a bit along with a few other tweaks.
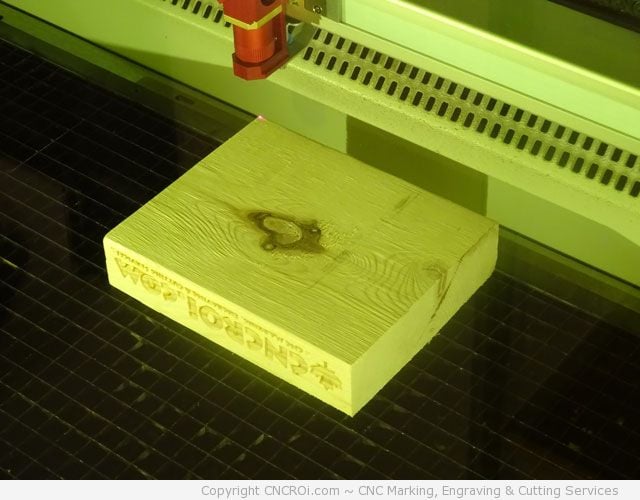
We’ll start with the “bottom” of the 2×6, this wasn’t in as good a shape as the “top” as it has a rather large knot, something that would be an automatic “reject” but for the sake of material testing. Lessons are to be learned on imperfect material that can be applied to better stock!
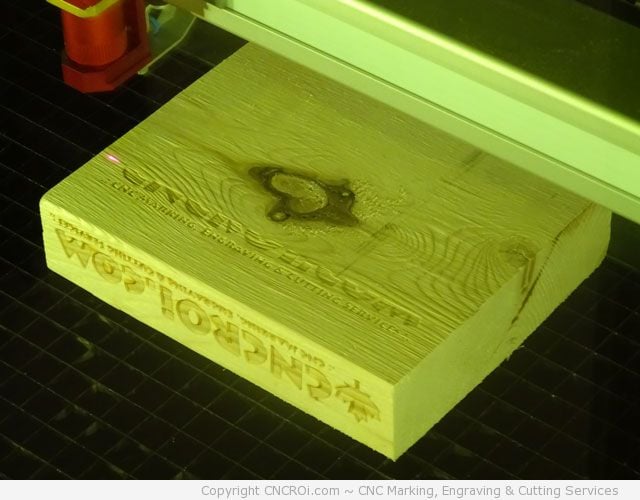
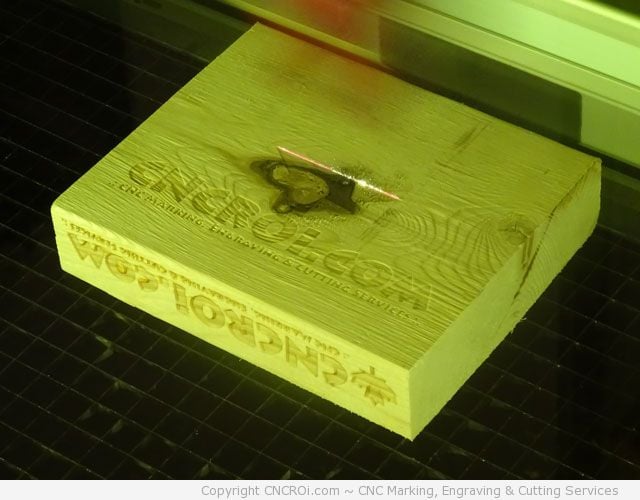
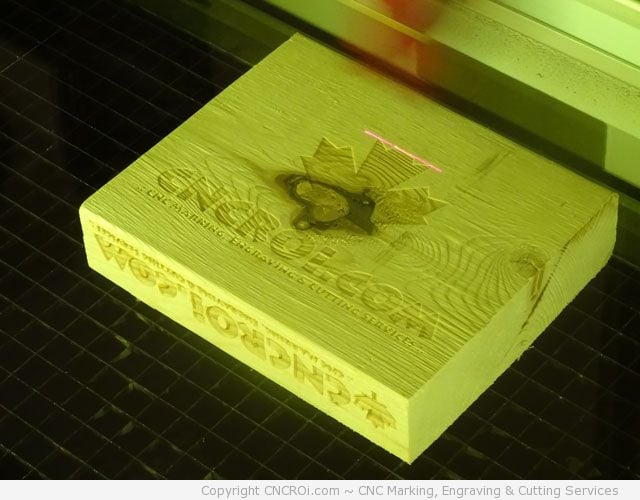
The amount of smoke damage thus far is ZERO! Next-up the side.
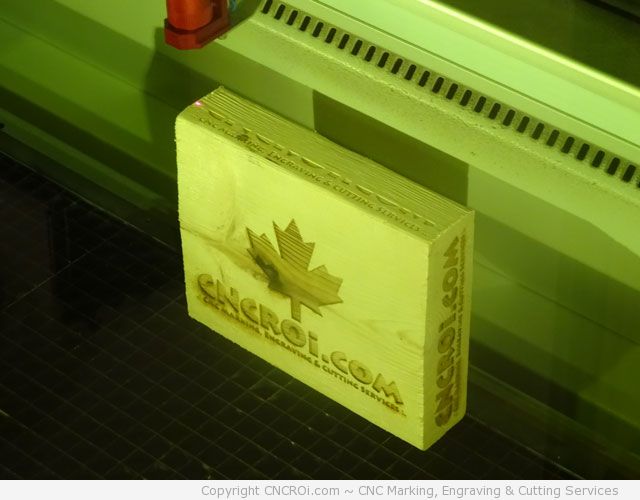
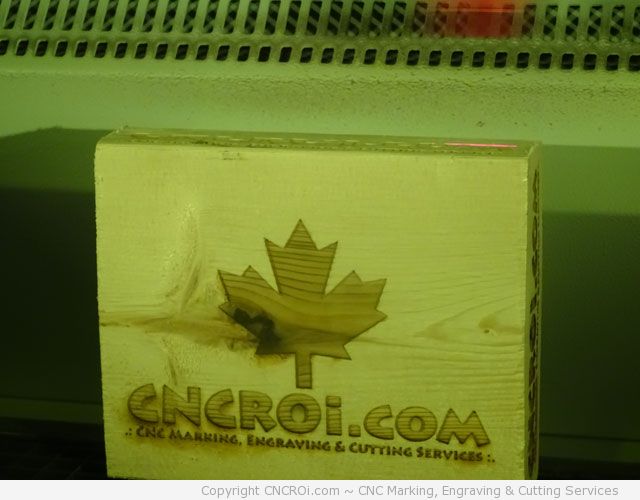
Thus far, the amount of smoke damage from both the sides is ZERO.
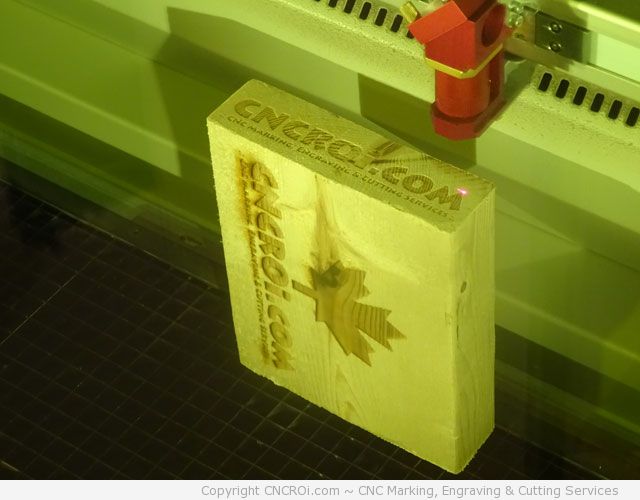
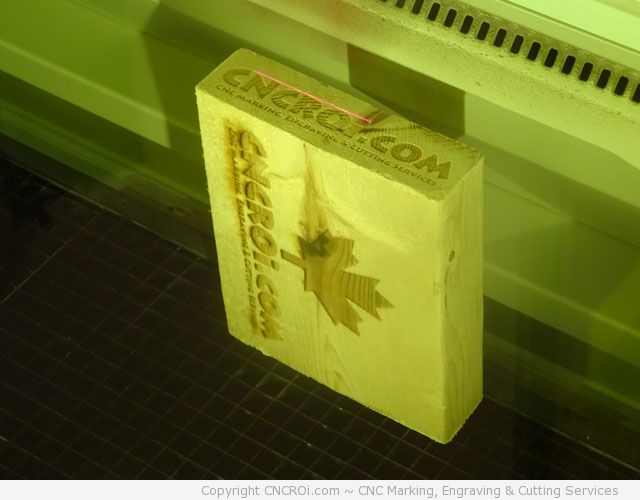
Once the end grain was laser engraved, I reviewed the finished piece and the amount of smoke damage was still ZERO.
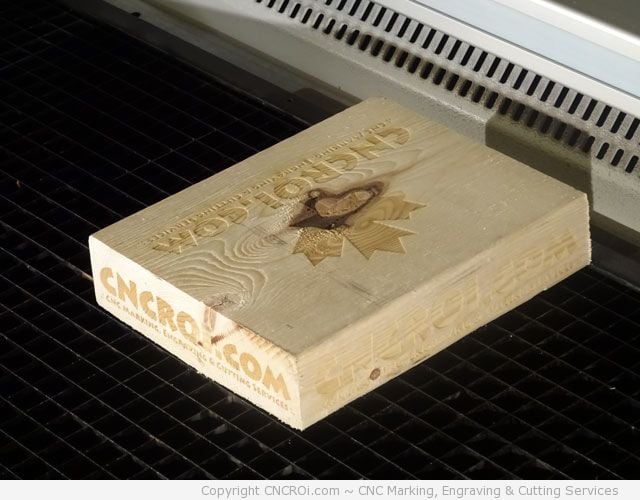
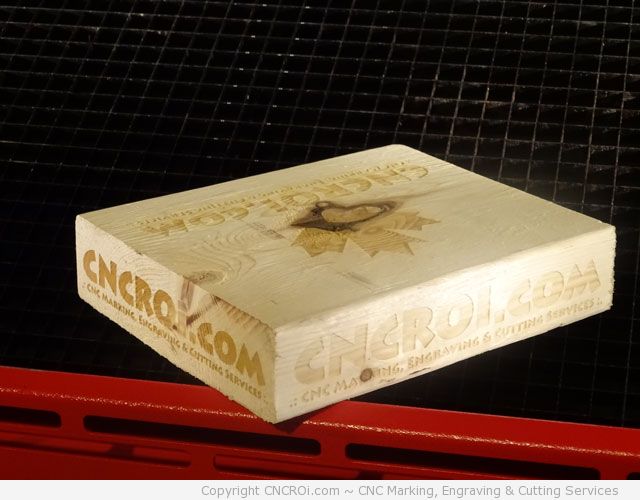
Quite a change of events from what the first try produced eh? For a third try, if I had another three sides, I’d probably add back a bit more power to make the engraving slightly deeper which would darken the wood a bit more but overall, I’m very happy with how this progressed. It takes a few tries on “new” material to get the settings down and optimization generally occurs further throughout a project. Here’s the video to help you contrast both production techniques, this one is when everything goes right!
For instance, CNCROi.com recently did a project that involved quite a few sheets of veneer and settings were tweeted slightly in order to improve on the already impressive results we were producing for the client, I doubt they would notice but we do and that’s what counts at the end of the day.