Material Testing: Laser Engraving & Cutting 9 mm Clear Acrylic
In between a few projects with our Austrian CNC laser, I decided to grab a slab of 9 mm acrylic to do some material testing with. We may have a project that requires cutting big letters out of this material and before I tell the customer NO PROBLEM, I want to make sure there is NO PROBLEM.
In this case, I had the camera next to the machine and decided to give it a go “live” without the typical prep work CNCROi.com would do with acrylic to eliminate flashbacks such as using our professional cutting table, lifting the piece, getting the lines in the proper order so we’re cutting inside going out and so on… so please excuse the mess!
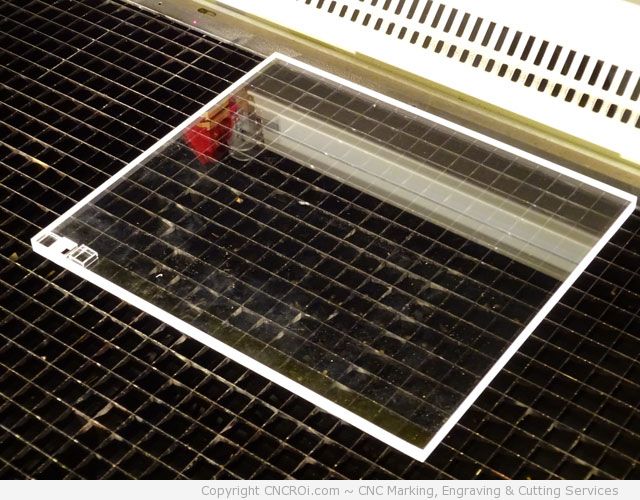
After some initial material testing (see bottom left of the piece in the above picture), I decided to go full-scale and see how our CNC Trotec laser performed across a grander stage. Typically we cut 3-6 mm acrylic but this time around, the client had a request for thicker material and the only way to really test out a material is to go big with it as that’s when you see material variances unless you are REALLY lucky and happen to find them in your small test cuts and engravings.
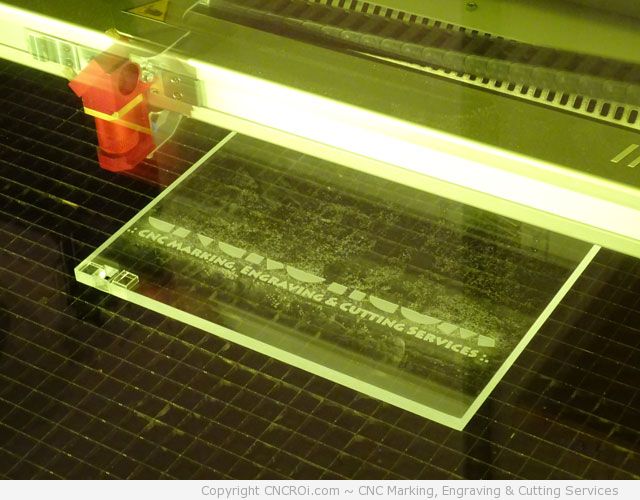
First part of the laser test is engraving, as you can see, that came out fantastically as it’s incredibly easy to read. That’s the nice thing about laser engraving acrylic, it’s always a great contrasting material regardless of color or thickness and you can shine fiber optic or LED lights through the base to create a “3D effect” quite easily as well!
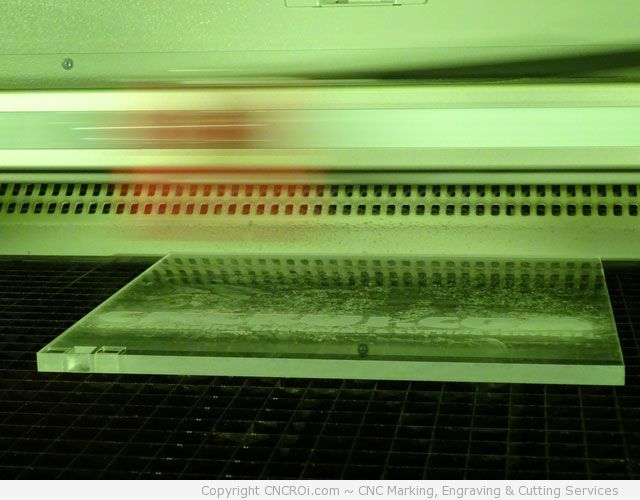
Looking at the engraving process from another angle, you can see clearly how well the acrylic really doesn’t want to let go of its vaporized bits! That stuff is just held there by surface static so it’s easily removed after the laser cutting and engraving processes are complete.
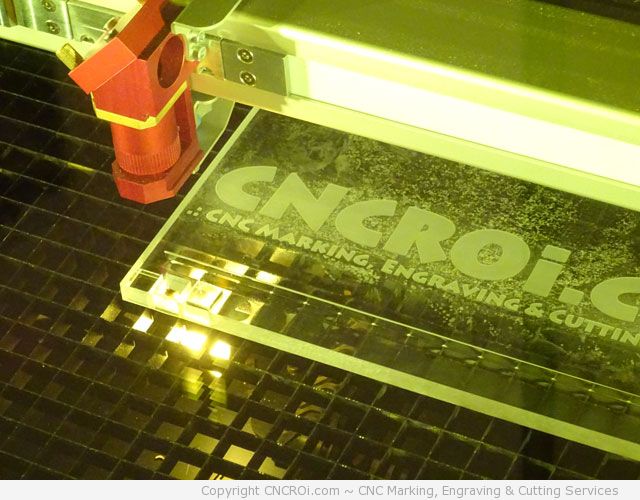
Cutting the acrylic with our CNC laser produces some nice fires under our piece but there is no damage introduced because we have our vacuum table on full which “sucks” the flame and vaporized material downwards instead of upwards through the piece.
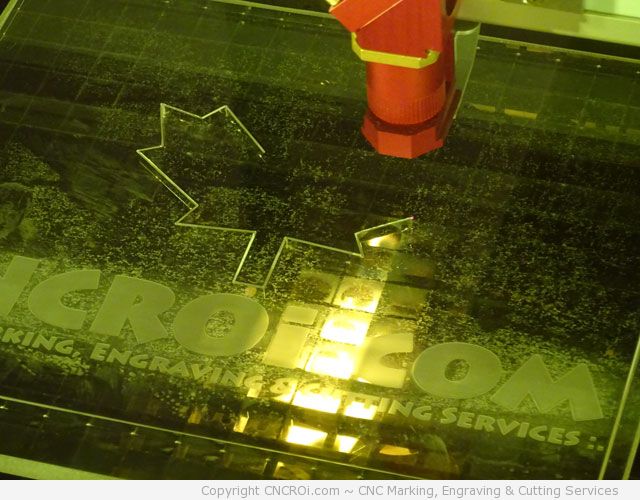
As you can see, our CNC laser nicely flame polishes the acrylic! What you see if you look closely is some flashback which is basically caused by the laser heating-up the aluminium grid underneath which leaves a slight mark as this also melts the acrylic on both sides by a mm or so. Again, I wasn’t planning on video taping and doing photography of this as it was just some simple material testing but in this case, it worked out far better than I envisioned.
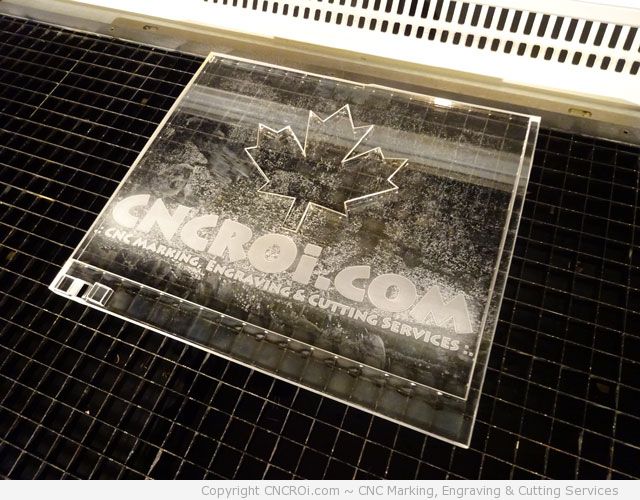
Once everything is laser engraved and cut, you can see clearly how well this came out and the flashbacks in very regular intervals all around where the cutting was performed. This is easily fixed and for our clients, this isn’t an issue you will ever see.
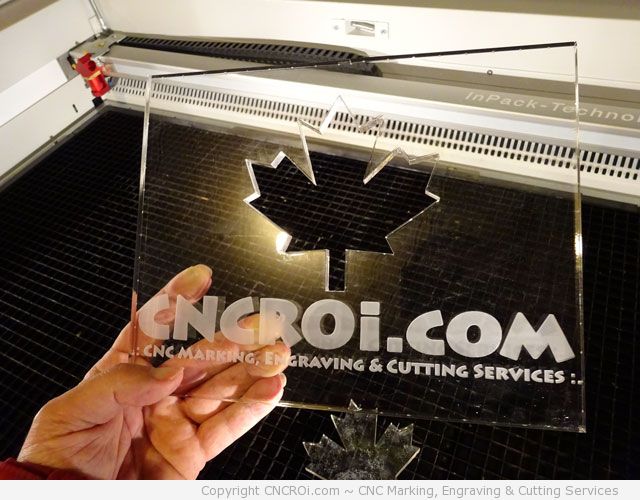
The maple leaf came straight out, the clear acrylic is amazingly “clear” of any smoke damage and the engraving is incredibly… well… clear! This is something I’ll have in my sample case for sure, to show clients and to explain the steps CNCROi.com takes to eliminate some of the “faults” you see in this laser engraved and cut acrylic. I’ll have to pick some of this stuff up and do something the right way this time around!
Yep, here’s the video below as usual! Enjoy!
CNCROi.com: Laser Engraving & Cutting 9 mm Acrylic
