New Acrylic Custom Signage for CNCROi.com (Virtual Design to Finished Product)!
CNCROi.com has made a lot of unique and neat custom signage so I thought it would be fun to make a new one for the shop, one that I can carry to trade shows that I’ll be exhibiting at that’s incredibly strong, flat and easy to hand just about anywhere!
Now that you’ve seen the video, let’s delve a bit deeper and see how it was made, design to finished product.
First thing I did was establish dimensions, in this case, I have a scrap piece of white acrylic that has a usable rectangle of 72 x 36 cm.
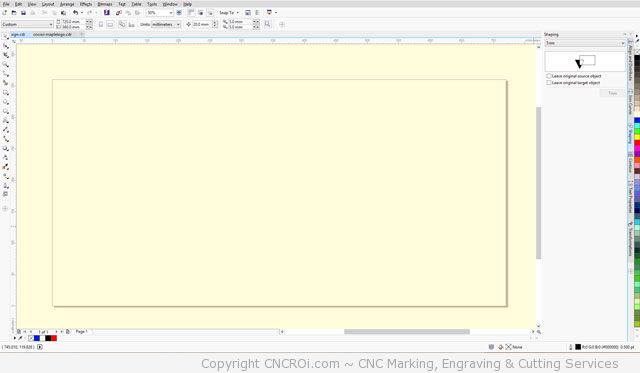
I want this to be a multi-layered sign with strong contrasts so my logo stands out as well as the entire sign no matter where I put it.
As such, the material of choice is acrylic, I have some matt black scrap in the shop but not orange so I’ll make some elements out of
wood and put enamel paint to increase the color pallet of what I have available. First part of doing this is bringing my logo onto the scene
so I get an idea of proportions I’ll be dealing with.
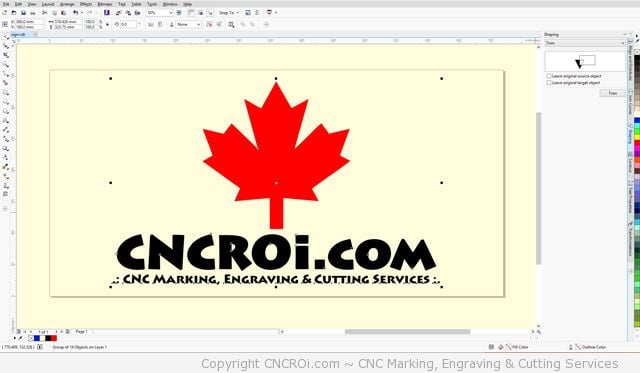
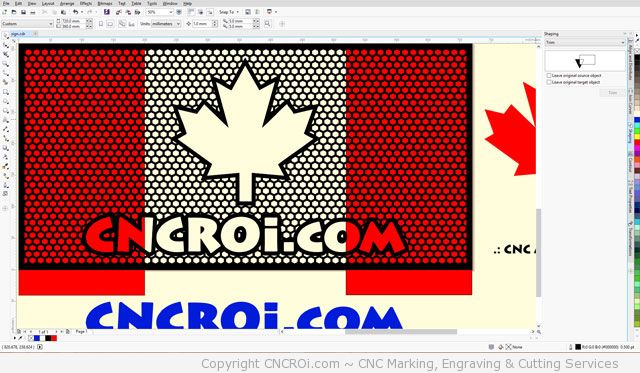
As we are a Canadian company, I’m thinking of integrating a high-tech flag with my logo inside of it. First part of that process is creating the
grid and a rough outline of where the various elements will go. What this tells me is that this will look pretty damn cool! Right away, I see a few
issues that will take-up a lot of time, if I make this multi-layered I create depth but also a problem where at angles other than straight-on,
the colors will diminish in effect as the grid will be 3 mm above the color pallet behind it. The way around this is to inlay each red and white element
right into the grid. That will increase the labor required for this sign exponentially but I don’t think I have much of a choice.
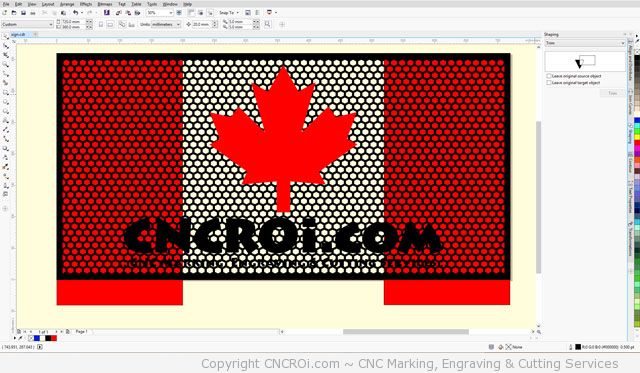
I now have my contours worked out and am still very much working out how to integrate these various levels of acrylic into one piece so it’s like
a flat mural.
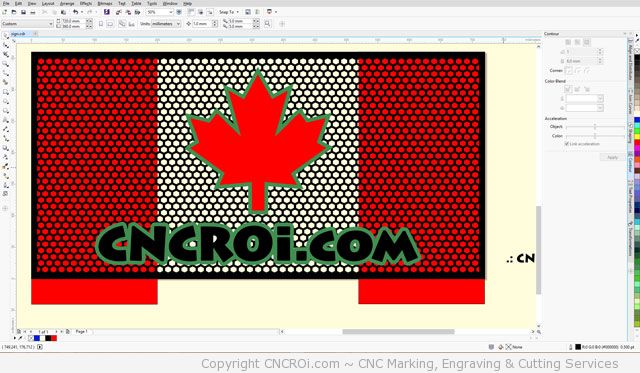
I’ve now integrated the various layers into one which I’ll then go about filling manually. The grid is very fragile which is why I made the lettering
and other elements a bit thicker to add a bit of strength to the overall design. The last thing I want is to lift this off the laser table and have it
break apart. You might be wondering where the tag line is, I’ve decided that I’ll put all this onto a sheet of plywood for added strength. I have lots
of it in the shop, by using that with double-sided tape, I’ve saved myself a lot of labor trying to glue each element one at a time.
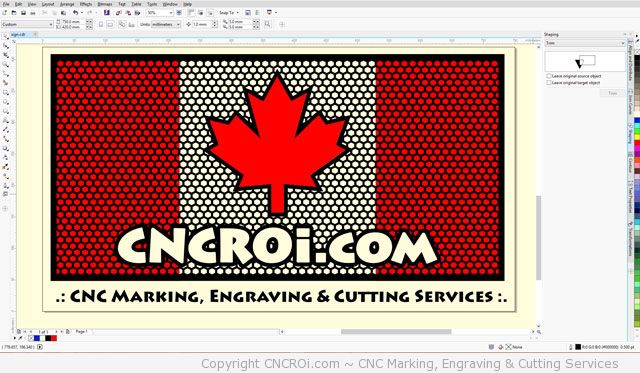
The sign is now done, the tag line will be engraved into the wood which will then have an inlay of the sign cut out of it. I’m still going back and forth
regarding the backing, either I’ll place each element in manually in the background or just lay the grid over everything and inlay only the elements
in the foreground such as the maple leaf and CNCROi.com. LET’S CUT AND BUILD IT but first, we need to separate each element of the sign.
NOW WE CAN CUT AND BUILD IT!
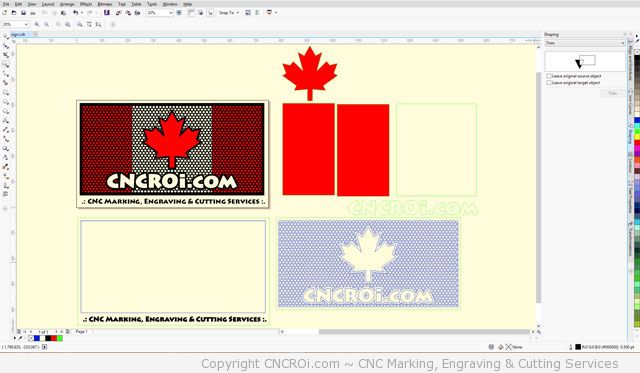
The virtual designing is now done, time to go into the physical one by building all these layers and elements one at a time, applying glue were needed and double-sided tape in others to complete the new CNCROi.com sign!
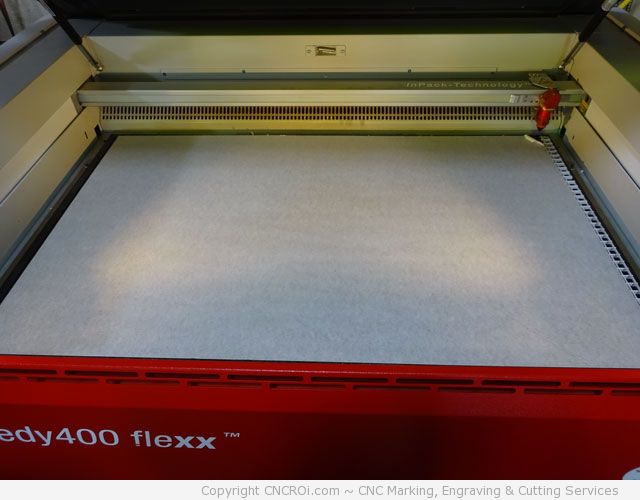
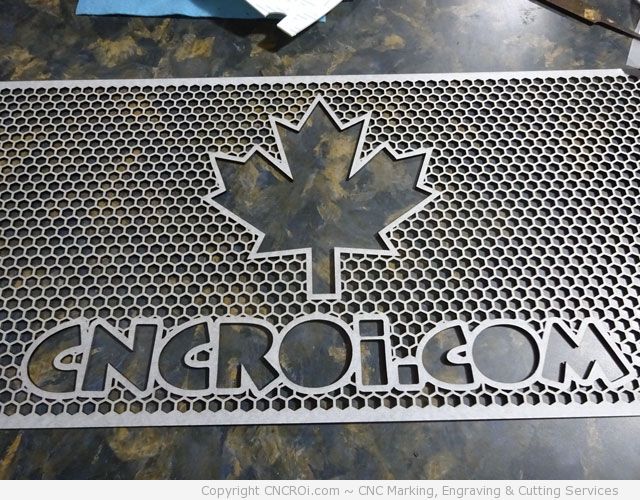
The first layer to cut is the matte black 3 mm (1/8 inch) acrylic. It has a protective masking on both sides of the sheet to prevent smoke from adhering to the surface during the extensive cutting process that this will require.
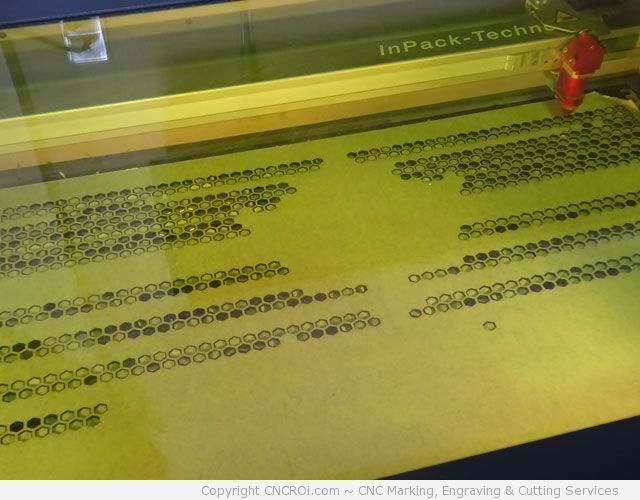
Each one of those little holes must be individually cut, if any hole is out of alignment or not identical to the other, your eye will notice it. This is why we got the best Industrial Wide Format CNC laser on the planet, so we can do things that normal CNC lasers would have trouble achieving day in and out.
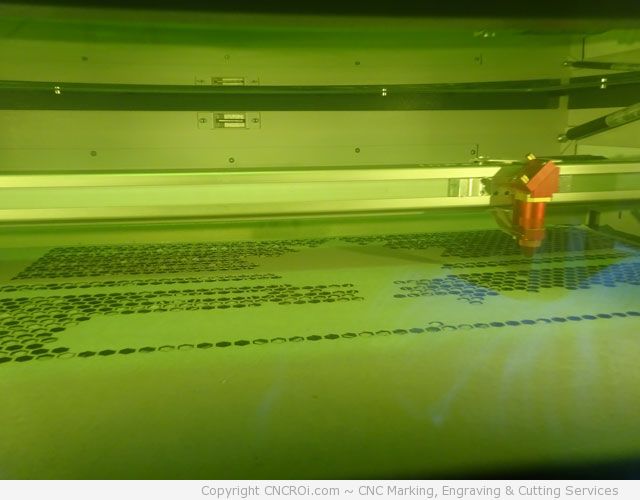
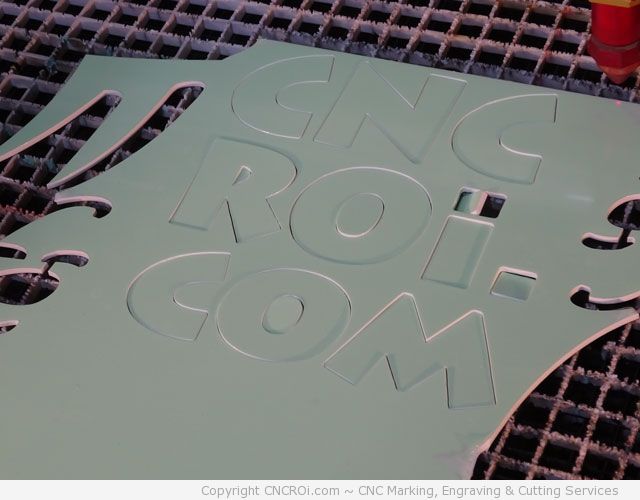
For acrylic, we used our Trotec Lasers’ 110 watt CO2 laser beam (we also have 30 watt fiber in the same machine). This allows us to make quick and clean cuts throughout this design without any pre or post processing required.
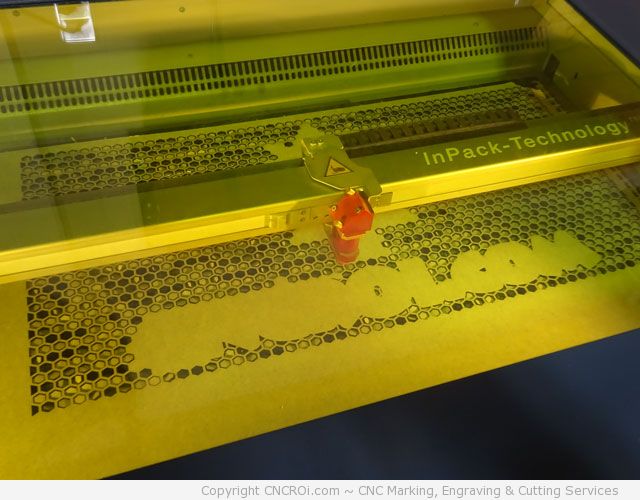
There is a lack of flame when cutting acrylic because we have a gas kit in our machine as well as a vacuum table and overhead extraction. Any hint of flame is quickly extinguished before it even has a thought of becoming a fire. Our CNC laser also has a fire warning system built-in too… just incase.
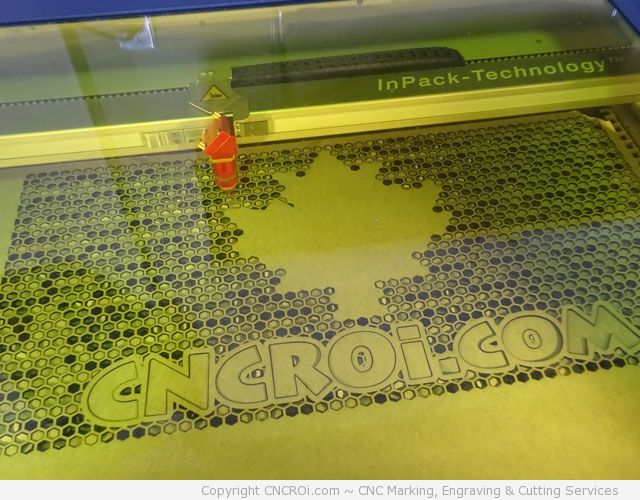
You can start to see the sign taking shape, this is by far the most complex sign with cutouts we’ve done to date, this took a very long time to cut through but we had no issue at all, we can cut blanks like this all day if required!
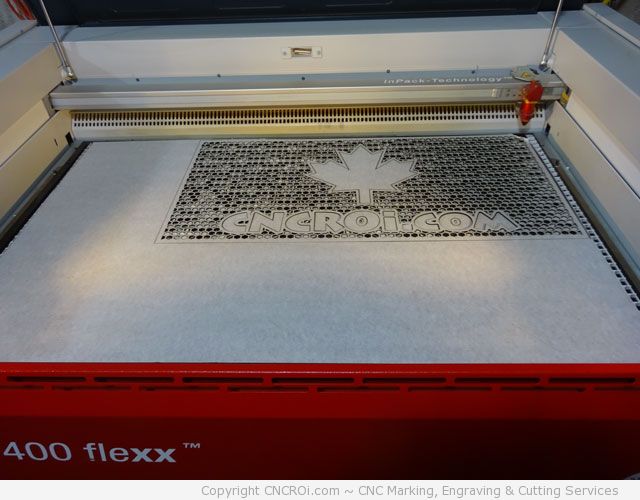
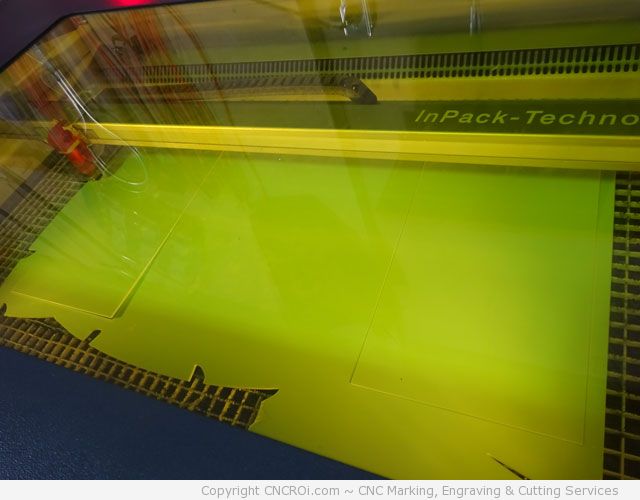
To give you an idea of scale, our CNC Trotec Laser has a cutting surface of a meter x 61 cm (though we can open the front and back for larger pieces). The sign wasn’t made full-scale because I want it to fit in my luggage when I attend trade shows… otherwise I probably would have made this to fit the entire bed.
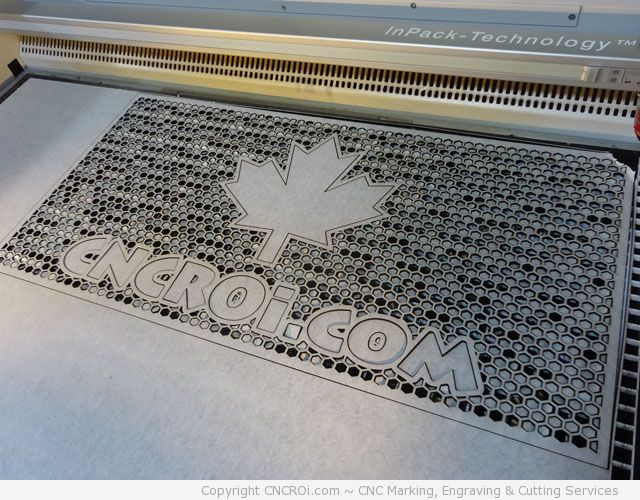
The moment of truth after extensive cutting is, were any pieces NOT cut through?
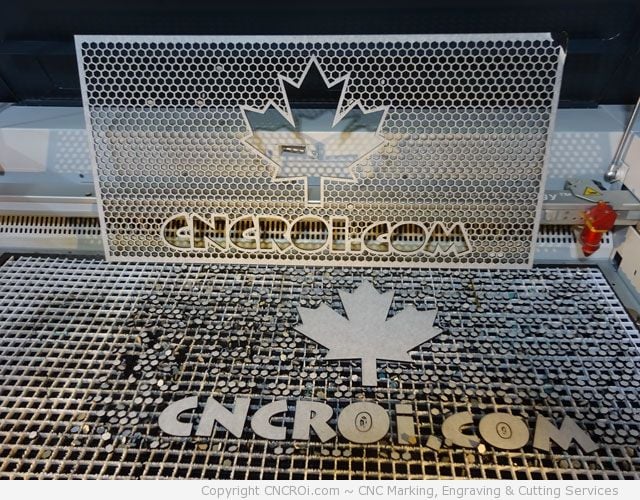
Everything got cut through perfectly, a few stragglers on the sign as you can see but those were just popped out with my finger. It doesn’t look all that impressive yet but wait till the masking and other elements are added.
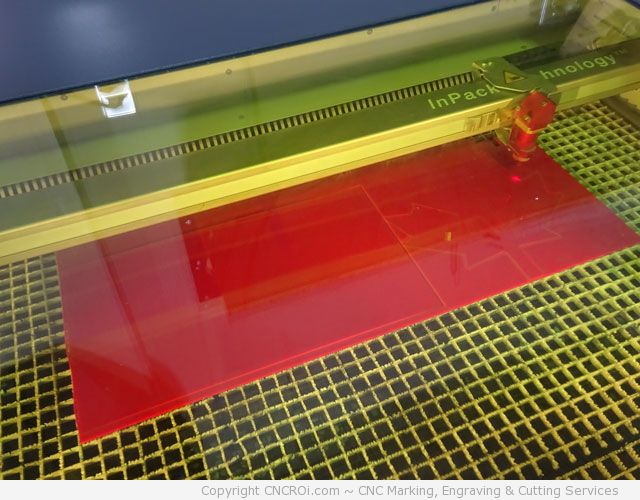
To add contrast to the black grid I designed for the CNCROi.com acrylic sign, I added white and red, which are the colors of the Canadian flag along with a big maple leaf!
There is a very thick “border” around the grid pattern to help make the lettering and maple leaf stand out more vs the background of the flag.
These individual white letters have double-sided tape behind them, which makes for quick sticking once the other elements (3 layers!) of acrylic are bonded together using contact cement.
The large red and white and red elements are actually just one sheet with two red rectangles thrown in. This makes for a stronger design and saves us from adding yet another layer to the sign – which reduces weight.
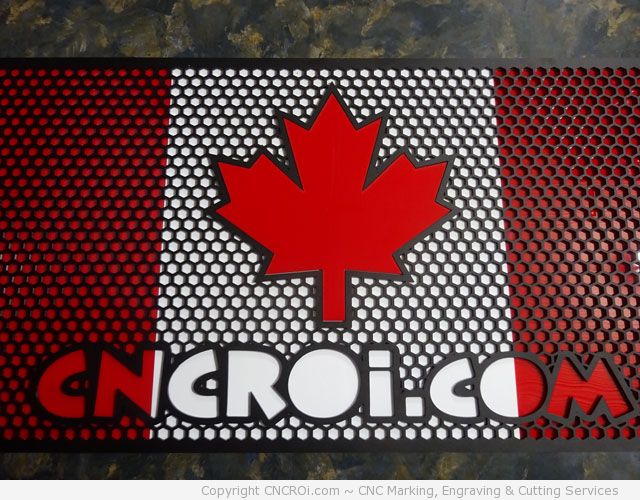
Now you see why I designed the white lettering to go inside of the borders, it’s to cover-up the flag border elements thoroughly in the logo.
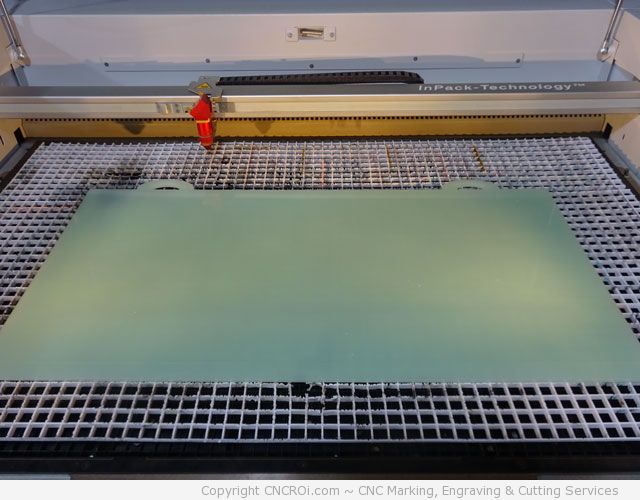
The last piece to be cut is the backing, unlike the other two 3 mm (1/8th inch) acrylic, this one is a solid 1/4 inch (6 mm) as I wanted the sign to be extra strong. It has built-in handles so I can essentially strap this onto just about anything for it to be hung using rope to hooks and anything in-between.
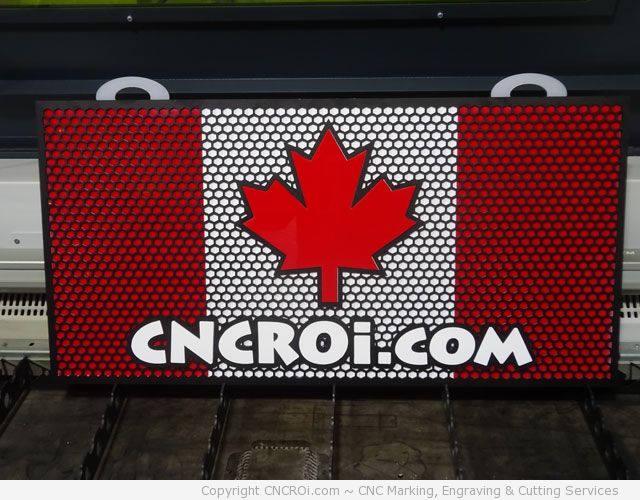
The completed sign was left alone to completely dry for 24 hours and cleaned a few times during this process as well. I was originally going to post this blog post yesterday but I decided to let the glue dry a bit more just to make sure it was nice and solid. I’ll let it dry for another 24 hours in the shop as some of the bonding glue inside the sign takes longer to take due to the lack of air than along the outside.
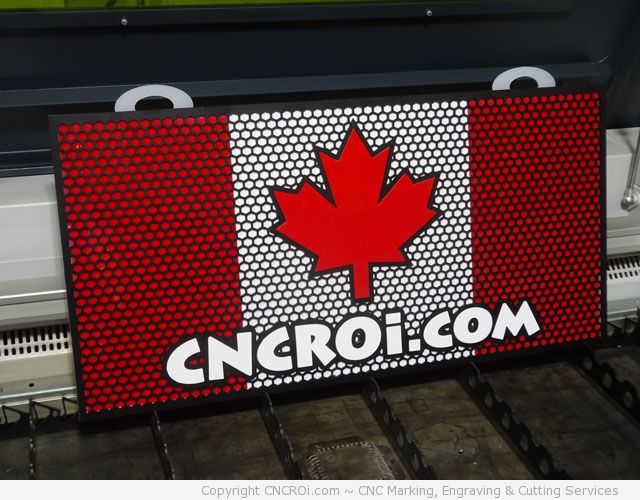
Looking at it from a few different angles, you can see how awesome this sign came out! The sign edges are perfectly symmetrical and square as well.
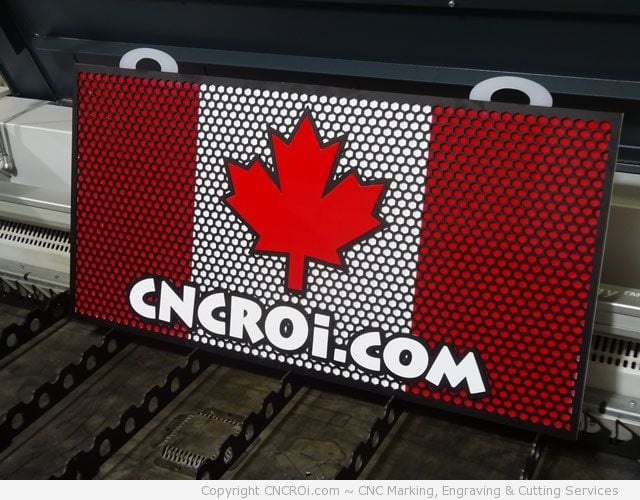
So, you need a cool sign, either traditional out of wood or modern out of anything else, give CNCROi.com a call and we’ll make it happen! This sign could have just as easily been made out of wood as solid stainless steel… even a mix of materials if required.
