CNC Laser Engraving a Wood Cottage
There is a special place in Canada that I like to spend time in on a very regular basis, it’s a wood cottage built by hand by one of my uncles. I’ve actually lived there for months at a time when I was younger and to me, it’s the closest place to paradise I’ve found thus far.
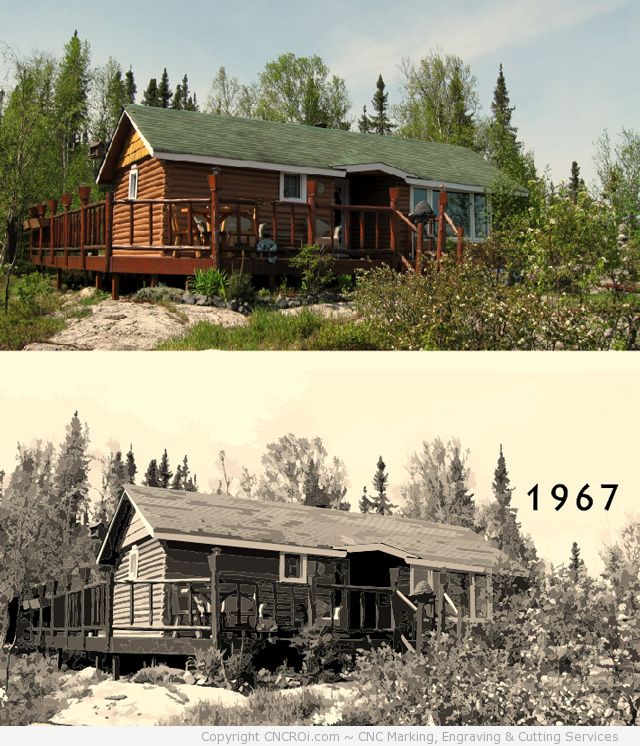
Original photo above, optimized grayscale for CNC laser engraving under it.
I took this picture a few years back and had a board in the CNCROi.com shop that was needing some attention so I put the two of them together! First step was cleaning off the surface and getting my dimensions right so the engraving was slightly larger than the board so I wouldn’t end-up with a line of un-engraving on either side or top or bottom. This was scrap so it wasn’t square.
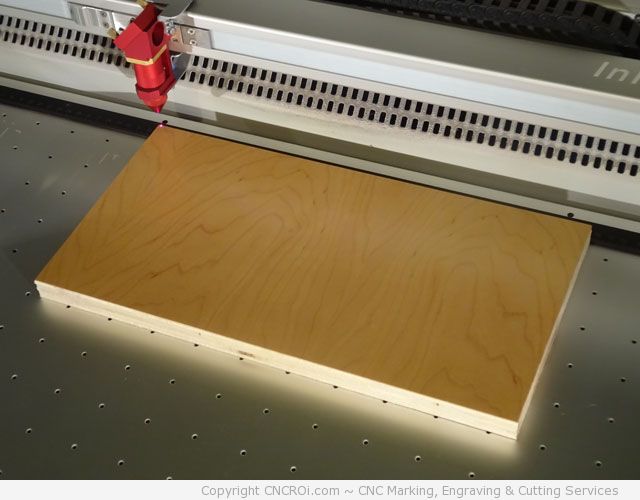
After all the calculations were made, I put on some masking onto the board to have less post-engraving work to do to remove the smoke and soot that would build-up over the piece.
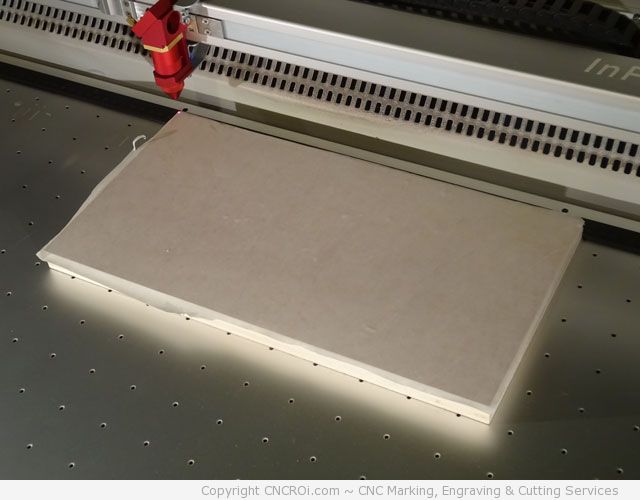
I also began the engraving from the bottom, working my way upwards so the engraved part wouldn’t be filled with debris if I had gone from top the bottom. The extraction is through the table (see the holes in the vacuum table) and the back grill… yeah, it’s due for a cleaning!
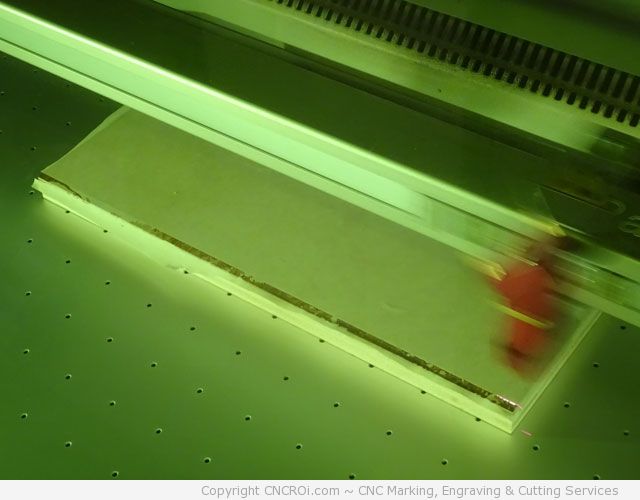
Once the CNC laser engraving with our Austrian Trotec Speedy 400 flexx, it’s time to sit back and wait. I had full compressed air going onto the piece with extraction so any smoke was quickly whisked away from the piece.
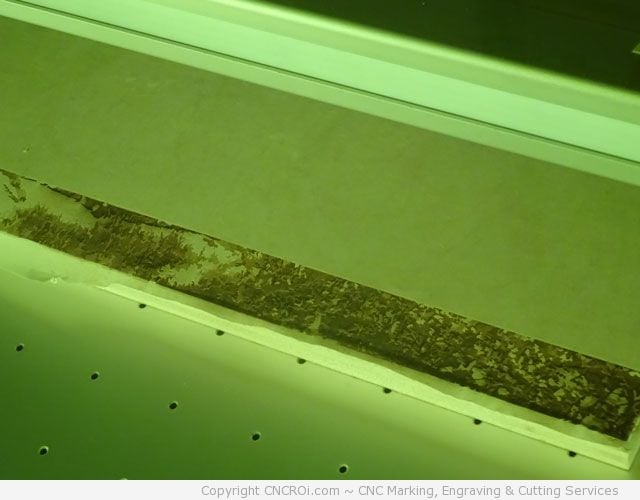
You can already start seeing the pattern, this process actually looks messier than it really is as the paper mask is removed after the project is done, but in the meantime, the soot builds-up on it. It’s mostly the wood resin that’s sticky which is a pain to remove otherwise.
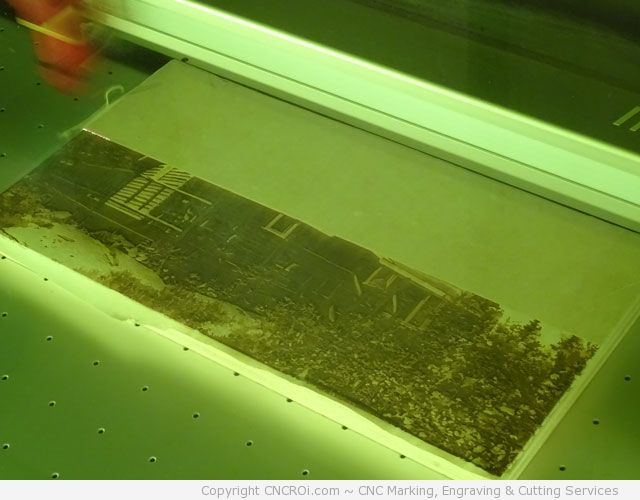
As the CNC laser engraving progresses, more details become apparent, what was once a piece of scrap is slowly becoming a pretty nice wall mounted piece of art!
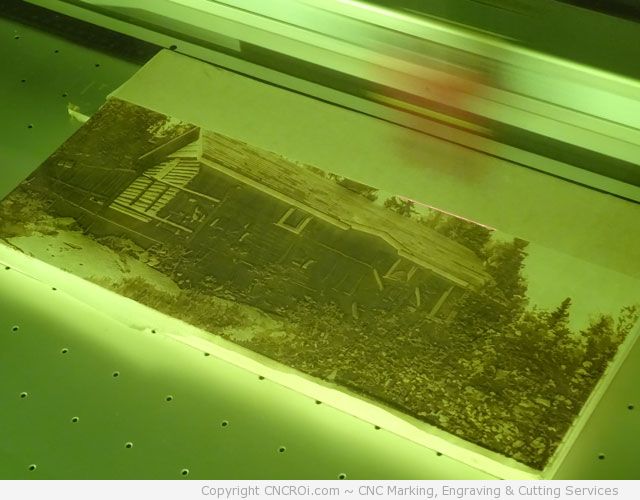
The masking also makes things look washed-out as soot builds-up, it just gets everywhere which is why having extraction put to the max is an absolute necessary so that the resins don’t have time to form and stick to the surface, though this still happens.
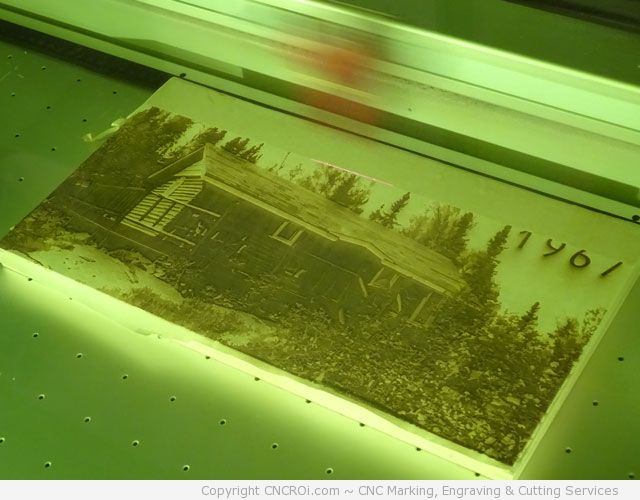
My Uncle Raymond built this cottage when he was in his 20s, that was 50 years ago, using only a hand saw on weekends! My Uncle Marcel then took it over many years later and updated it with a patio and solar power, still no internet though that’s why I go there, to take a break from real life!
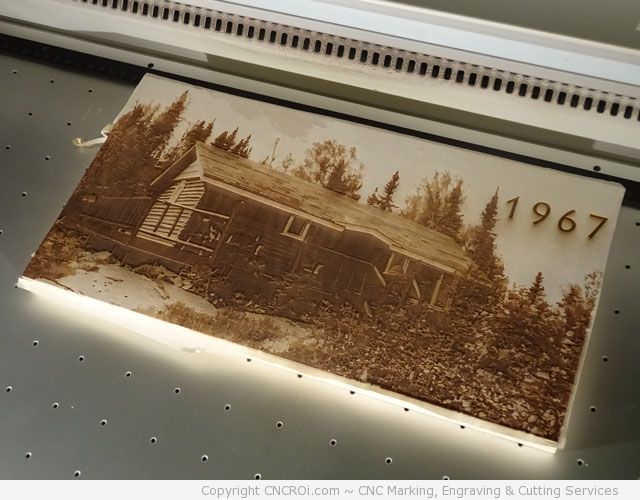
It’s looking good, but you don’t see the wood grain, time to remove the masking!
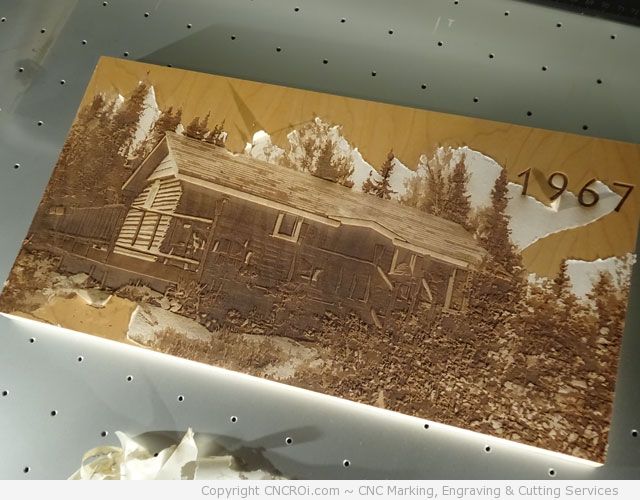
It’s quite a difference once you see the wood grain coming out from under the piece, it took several wipes with a damp cloth to remove the sticky resin that still managed to stick onto this scrap board of maple.
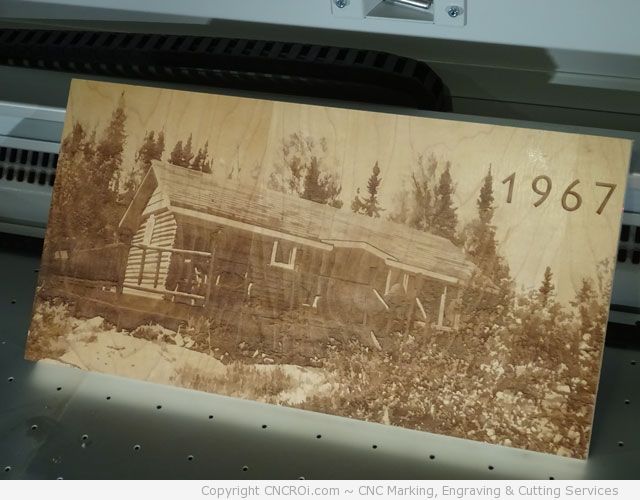
Very happy with the results, the image could use a bit more editing and I’d probably varnish this to make the color pop a bit more but otherwise, a pretty good attempt at CNC laser engraving a photograph onto wood!
CNCROi.com is here to help!
The most wonderful thing about this is that this same photo can be laser marked onto stainless steel or anodized aluminium to cement and even a brick, there is really nothing CNCROi.com can’t engrave other than PVC or Vinyl due to Chlorine gas release.
As always, here’s the video, had my time-lapse a bit fast but gives you a good idea of how this stuff comes together regardless!
If you want a photo engraved, whether it’s a corporate headquarters or executive team photos to stick on their office walls, we are here to help!
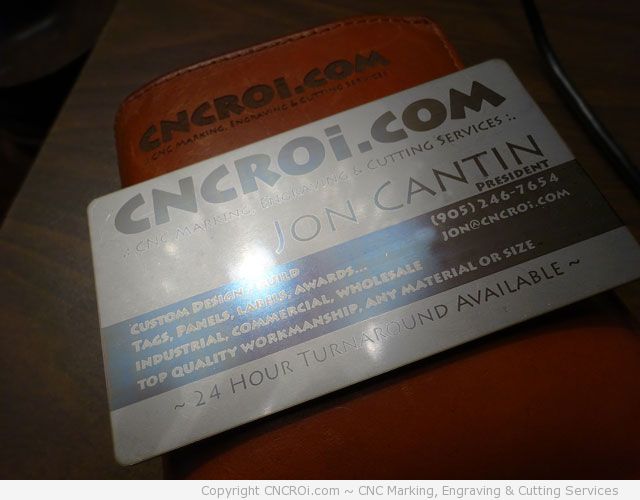
Annealed 304 Stainless Steel business card.