CNCROi.com Custom Sample Holder: Part 2 of 2 ~ Laser Cut and Build
This is the second part of our two-part series that saw the development of a custom sample holder for internal use here at CNCROi.com. Feel free to read and see the design process HERE. The video below outlines the second phase of a custom designed project, production.
I had some plywood left over from another custom project we made and looking at my current sample holder.
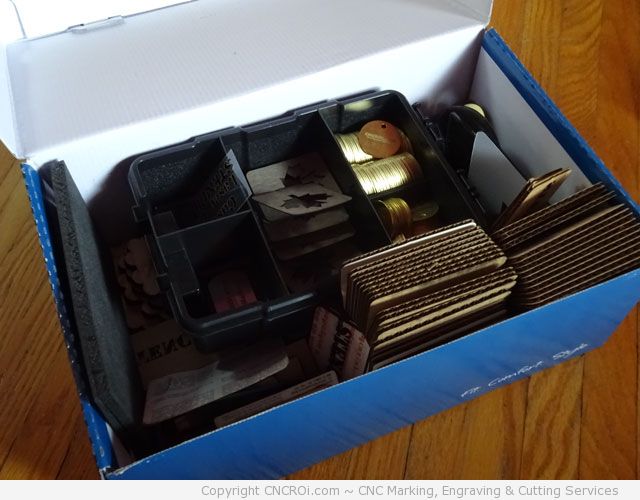
I put two and two together and resolved to make this far more easier to use here in the CNCROi.com shop and at trade shows I attend and exhibit at. It goes without saying, I designed this to be material agnostic, meaning I could have just as easily made my sample holder out of acrylic as rubber or anything else in the shop.
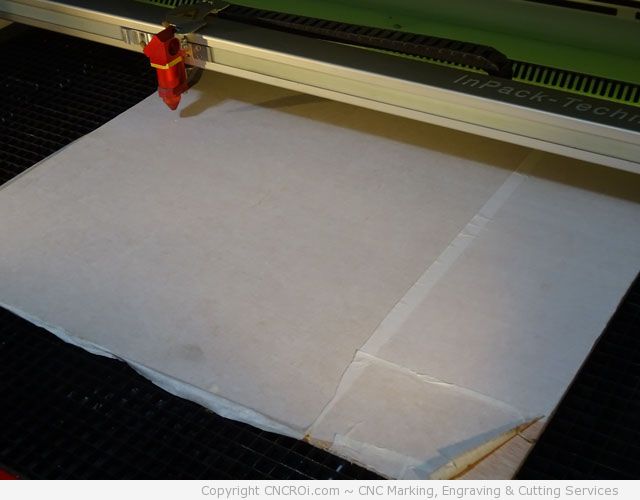
First step was masking the surface and underneath of the plywood board so any smoke and resin that stains the wood is easily lifted along with the masking material. For a box like this, both sides will be visible from various angles, for other applications where only one surface is shown, masking is only applied to the one being seen.
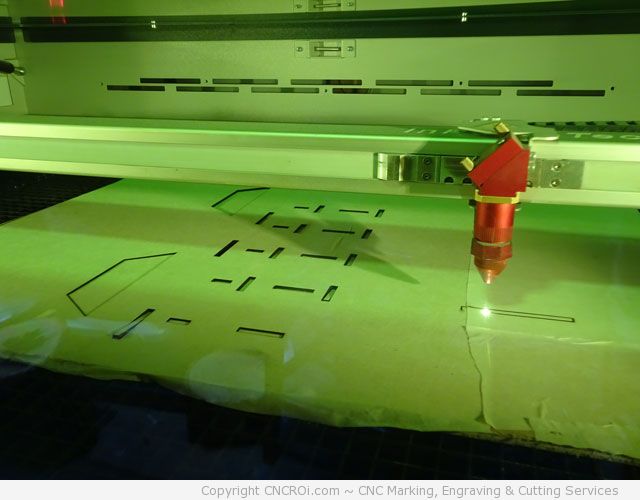
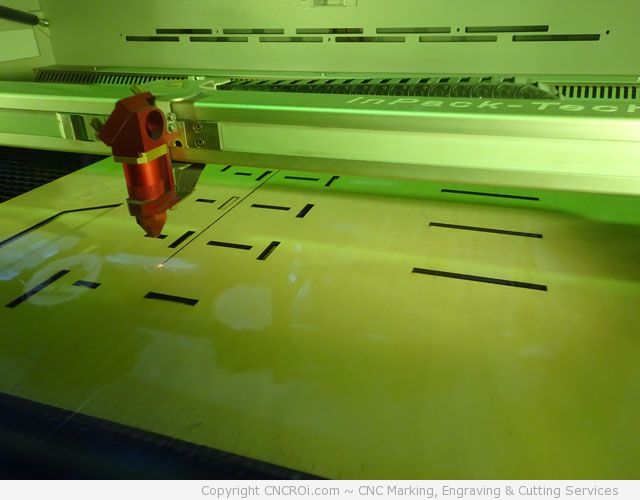
Cutting out the inside parts first makes sure everything is accurate when the outside parts are cut using our Austrian wide format industrial CNC laser. The plywood is straight without any warping so cutting can be done faster and more efficiently as a result as the focal point is always the same.
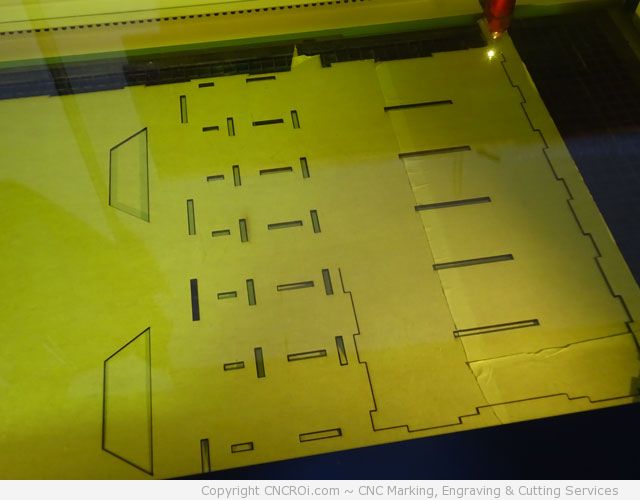
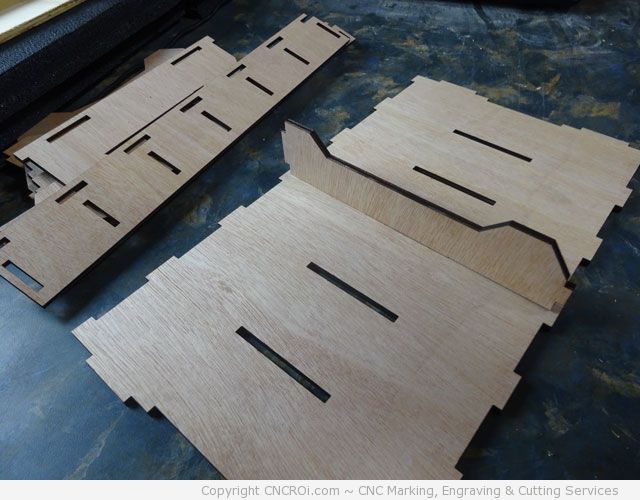
If you look very closely, you can see the various parts taking shape. All the lines are perfectly straight and the corners square. That’s Austrian CNC precision at work!
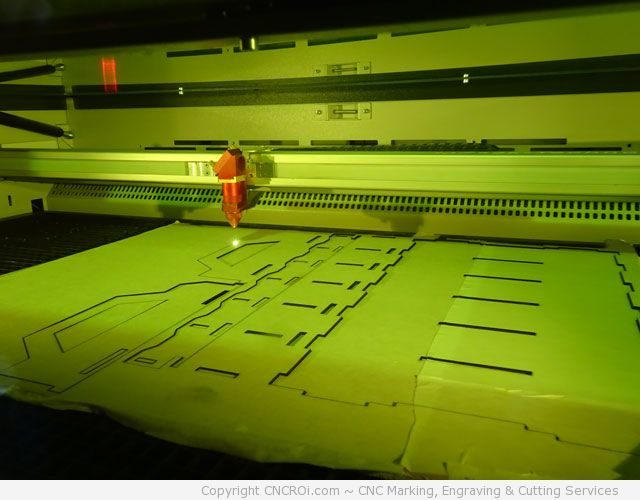
As for how much material is vaporized during the cutting process, it’s less than 1 mm. We’ve custom designed and laser cut projects of this nature across the world from Austria to Los Angeles, Toronto to Vancouver and New York to Tokyo.
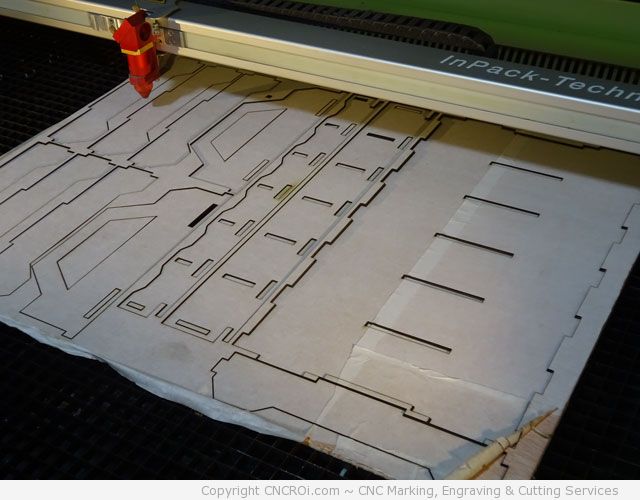
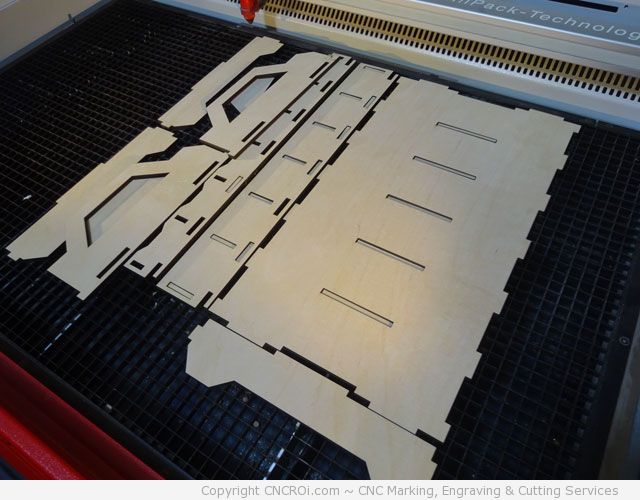
Taking the scrap away from the parts, you see how perfect the cutting was made, it cut all the way through no problem as our CO2 laser source is 110 watts! Our fiber laser by the way is 30 watts and is found in the same machine. If we wanted to engrave the wood, we’d still use CO2 but if we wanted to color change the plastic if this was made out of acrylic, we would have used our fiber laser source.
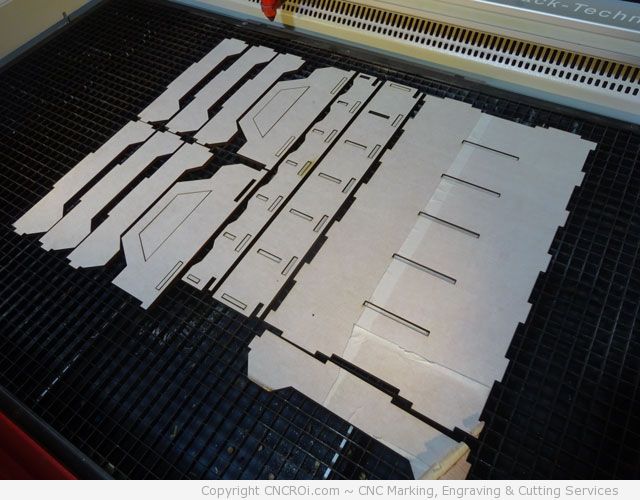
Once all the parts that make up this custom sample holder tray are removed from our CNC laser bed, the next step is removing the masking off both sides. You can see from the picture below that there is some resin and smoke that settled along the surfaces, no problem with masking!
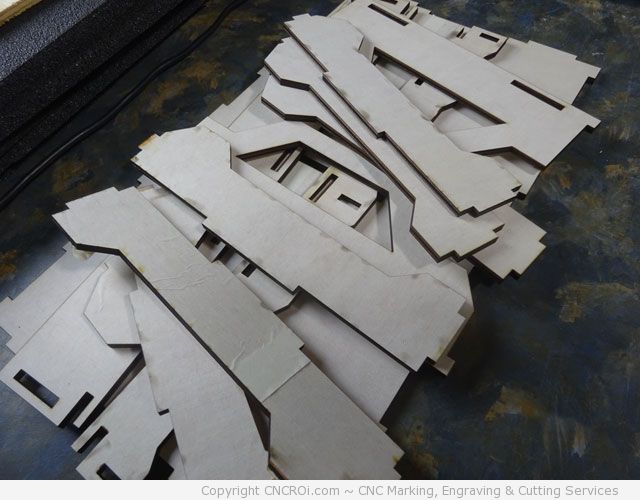
The birch plywood looks amazing, once the masking is taken off, it’s time to put everything together. My goal is to use this smaller unit for trade shows so I will not apply any glue, this is pure friction fit so it’s easy to travel with, its flat pack.
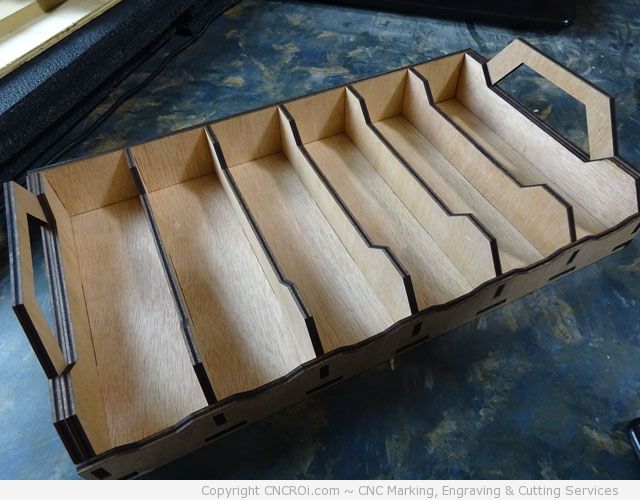
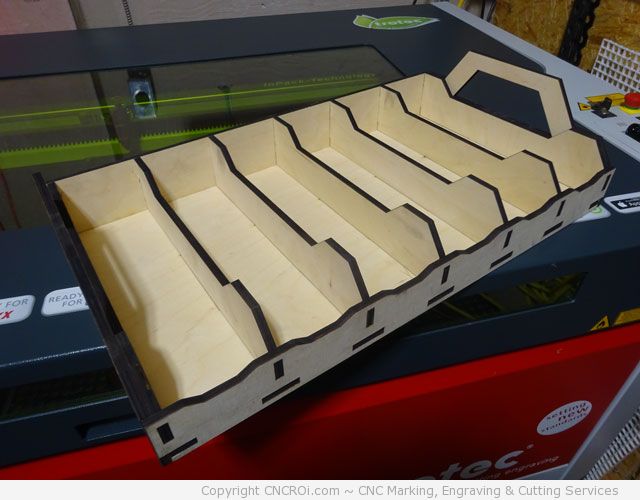
There you have it, the completed sample tray holder. Everything holds everything else tightly… this was done on purpose and is the mark of a designer who knows the machine he’s using, the material that will be cut and years of experience to make everything fit perfectly.
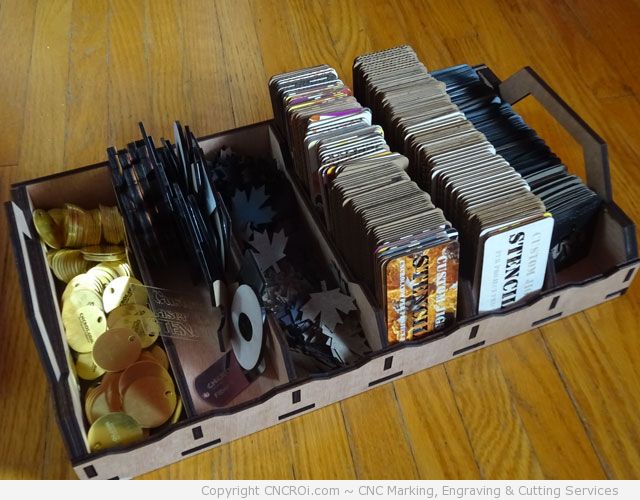
Putting samples in it to give you an idea of scale, it looks even better than the 3D animation and renders I did in part one of this series.
This went so well, I decided to cut another one out, this time, using slightly thicker plywood and maple instead of birch. The scale is 15% larger, I design all my stuff to be based on the relative material thickness, so scaling is a piece of cake and everything fits perfectly.
This time, I didn’t apply any masking on either surface, I want to show what happens when you don’t apply it. This larger custom sample holder will be holding the “extras” that don’t fit in our normally smaller tray.
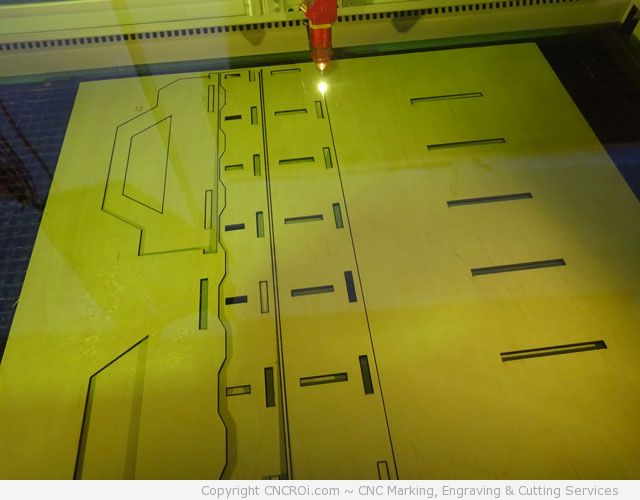
Again, our Austrian engineered CNC laser cut through this like butter. All the parts look fantastic, I had to cut a few extra pieces on another board (not shown) so I had the right number of parts. You can see very little burning or resin, that’s because we have a powerful gas kit and extraction system on our Trotec Speedy 400 flexx.
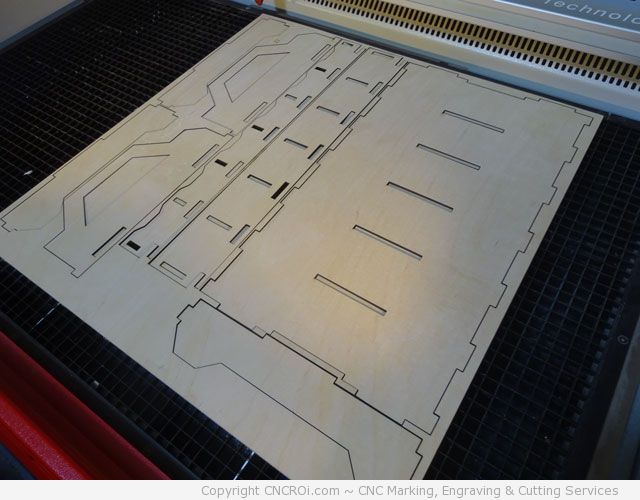
On the underside, we have a vacuum table but generally, it’s the underside that gets the smoke and resin stains, not the top.
Assembly was identical to the first, again, don’t need to apply any glue, fits perfectly, as it was designed to be.
Let’s view a 3D assembly animation of this custom sample holder tray! We do this with clients for their custom designed projects because it helps to showcase it to their boss (so we get approval) and keeps questions regarding “is it possible” to a minimum. If we designed it, it’s not only possible, but as you’ve seen… totally probable that you’ll like it!
Are you looking for something custom designed for your business, home or as a gift to hand out to your top customers? How about something to give at trade shows and corporate retreats? CNCROi.com designs, cuts, engraves and builds everything in-house. Send us sketches of what you want and we’ll transform your ideas and concepts into reality.
Contact CNCROi.com today!
