Custom Award: Step-by-Step How To
An ongoing challenge at CNCROi.com, as far as blogging about what we do here, is working through companies to make awesome stuff yet never being able to make such work public. I set-up CNCROi.com on purpose in this manner as companies like to outsource some of their production capabilities to us and I want to make sure there is never any doubt that beyond the NDAs we sign, what we do will never see the light of day.
That being said, this contest is rather public with me playing both the role of a judge (with others) and designer showcasing an award I designed for the Instructibles.com CNC Challenge winner so in this case, I’m free to promote what CNCROi.com did for them! It’s a unique opportunity and gives you an idea of the work typically involved with our projects.
Instructibles.com Background
Created by Eric Wilhelm and Saul Griffith, Instructibles.com was launched almost 10 years ago as a website specializing in the DIY upload of content that is then rated and commented on by the community. It’s basically a way for creative individuals to showcase their talent and have other creatives tell them how awesome their stuff is. It was acquired by Autodesk (the maker of the 3D software I use to design with) in 2011 and has since then grown even bigger and better!
Autodesk, is a multi-billion dollar corporation that pretty much owns the CAD and visual arts market with a host of applications from 3DS Max (my favorite) to AutoCAD. You can visit them at http://Autodesk.com.
Award Parameters
I was given carte blanche to design any kind of award I wanted which was great! I got their logo and saw the awkward robot who seemed a bit puzzled so I decided the award should also convey this message. Not overly technical, just something unique that would make people do a double-take.
CNCROi.com was given roughly two weeks to come-up with a design and submit a render for approval. It didn’t take me very long to figure-out how to make something neat that I would then build in the shop so here is how that design came together step-by-step so you can see the evolution of the final award.
I’ve designed probably over 300 CNC laser, 3D printer and router projects thus far, so I start with a rough sketch and just design away, this was my initial idea.
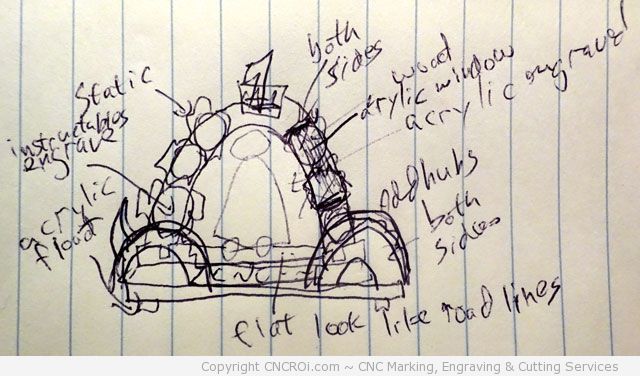
Generally, the finished design looks pretty close to the original sketch but during the virtual build process and the reflection that happens during this time, things change slightly. The screenshots you see below are from 3DS Max, the owner of both Instructibles.com and the publisher of the software I use on a daily basis for just about everything design related. All the 3D animations you see on CNCKing.com were made using this awesome software too!
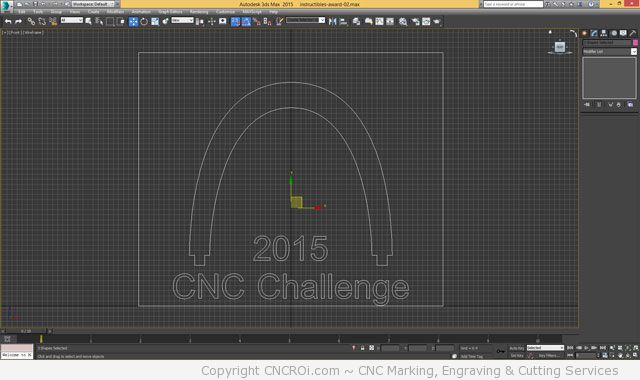
First step is deciding the dimensions of the completed award, in this case, I want something that will be easy to ship fully assembled so it shouldn’t be any bigger than 24 cm square. I’ll make the width proportional so that doesn’t need to be kept track of by me.
Like in my sketch, I want the robot to be paint filled onto clear acrylic which I’ll laser engrave using my Austrian Speedy 400 flexx Trotec Laser. This will make the contrast sharp and also make it appear as if it’s “floating” in the middle of the award.
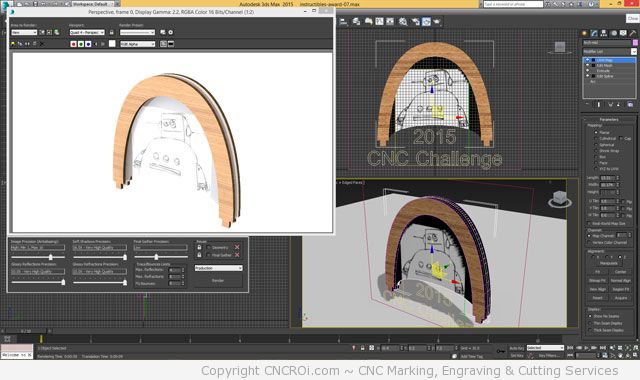
Now that I’ve given this model some width, I can start to play around with the placement of the instructibles robot floating mid-air. I have to play a bit more with positioning as I think a solid surface will look better than the “Star Trek’ish” cut off ellipse I have now in my rendering… it will also make the overall award stronger to have everything holding everything else in place via interlocking!
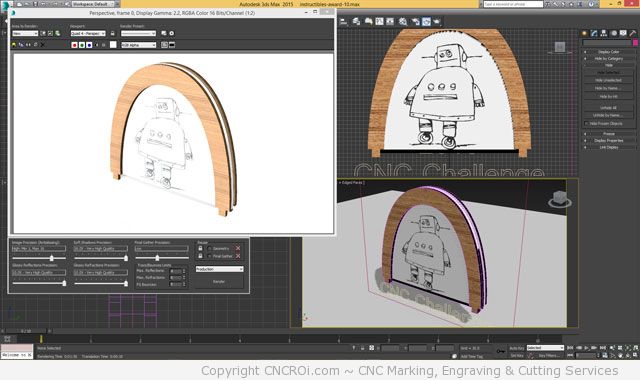
That’s looking far better now, time to work on the base of the award, I’m still debating whether to have the 2015 CNC Challenge engraved along the arches around the robot or on the base itself… so far I’m pretty close to my original sketch but I think I’ll make this looking a bit simpler than I envisioned. Will see how the award evolves over time!
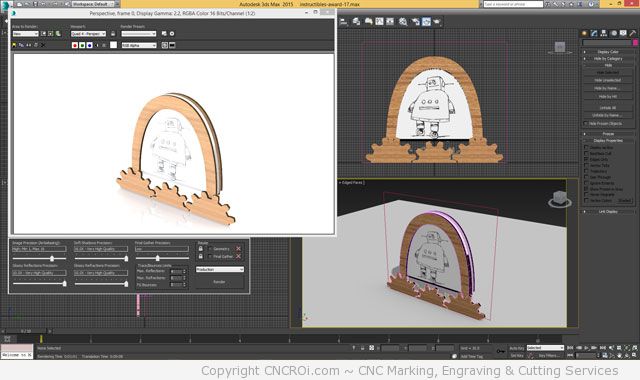
I want to have gears throughout this model just like in my sketch but not as busy, the entire model is going to be made out of 4 mm thick plywood and the paint filled acrylic will be 6 mm so this model will have a nice weight to it as well. Acrylic has more weight than plywood.
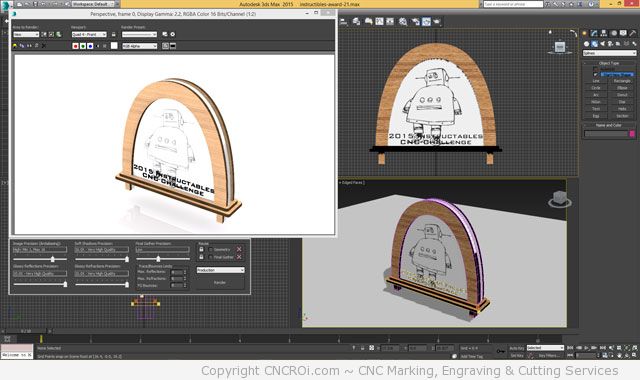
I added text which I think I’ll paint fill in black with the robot in gray onto the inside parts of the acrylic found within the arches. This solves the “problem” of having to build a flat surface on the award to put in both the award information and the name of the winner.
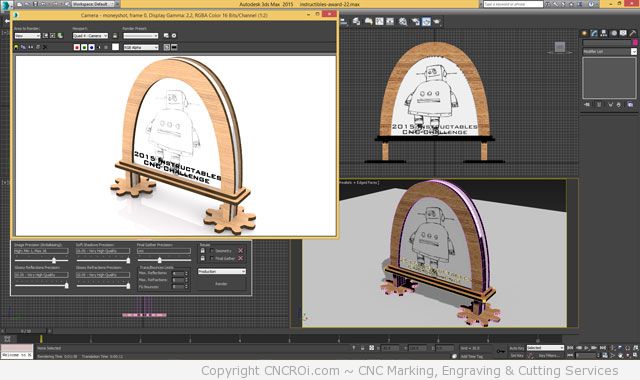
I think having the award floating over gears that alternate between wood (opaque) and clear acrylic (transparent) will look neat! I like the simplicity of the model yet it really stands out too.
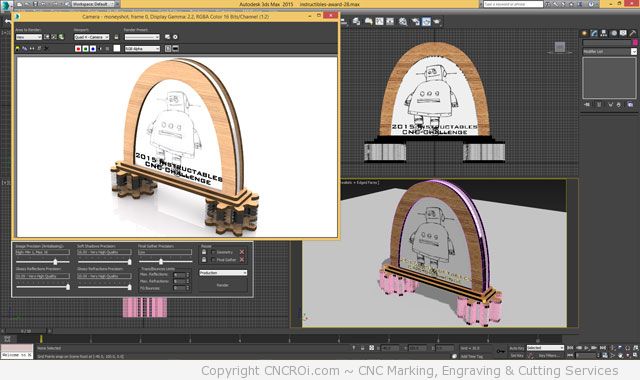
I think the gear idea works well but it looks a bit bland, while this was rendering, I thought it would be neat to have the winner’s name hanging down in the space now provided under the robot arches.
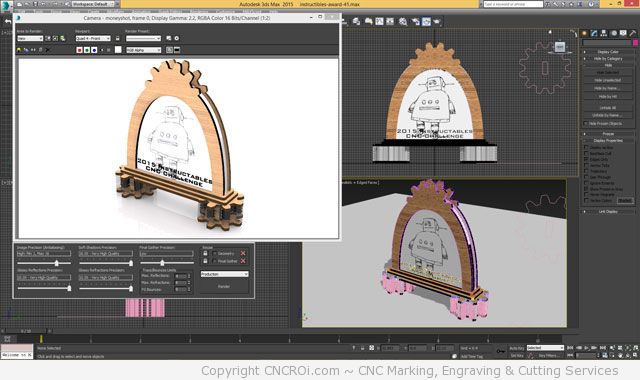
I’ve now added another “level” to support the arch with the integration of the bottom gear so it looks more interesting without adding any complexity build wise. I also added a gear detail on the top and decided against adding a bit of acrylic hanging down the winner’s name because it would be hard to see – instead, I’ll add a small spot for it to slide into from the upper stage.
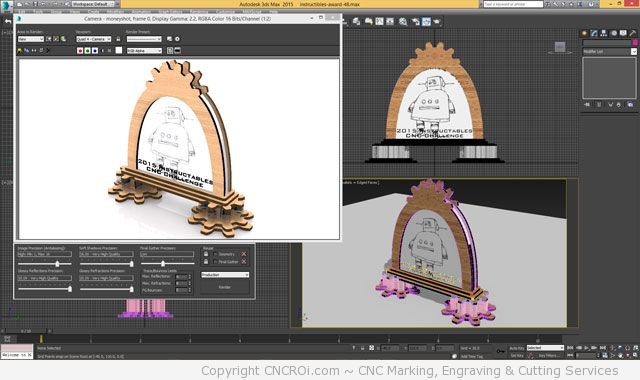
This award is starting to look fun and whimsical, just like the instructables logo. Now to make-up the nameplate, I think it would be cool to make it out of anodized aluminium, I’ve never seen that before so will be a nice touch to unbland this award compared to the resin junk you see most people get after achieving something of note.
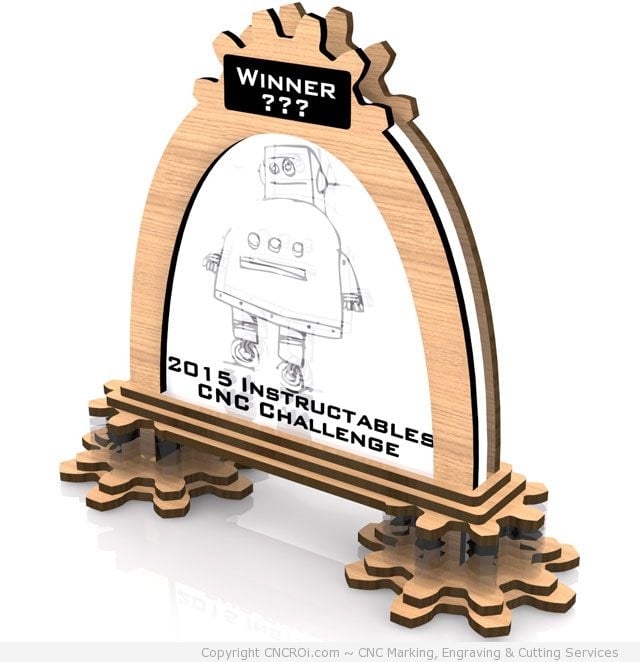
Custom Build Process
Now that the design is done, it’s time to build it! That will be done in another blog post but this award can ONLY be made with a flexx laser, the anodized aluminum tag has to be fiber marked so that it’s CLEARLY visible at a distance and the wood / acrylic is able to be easily cut using our CO2 laser source.
If you happen to be a designer, you can join the contest here: http://www.instructables.com/contest/cncchallenge/.