Custom CNC Laser Engraved And Cut 3/4 inch (18 mm) Pine Sign
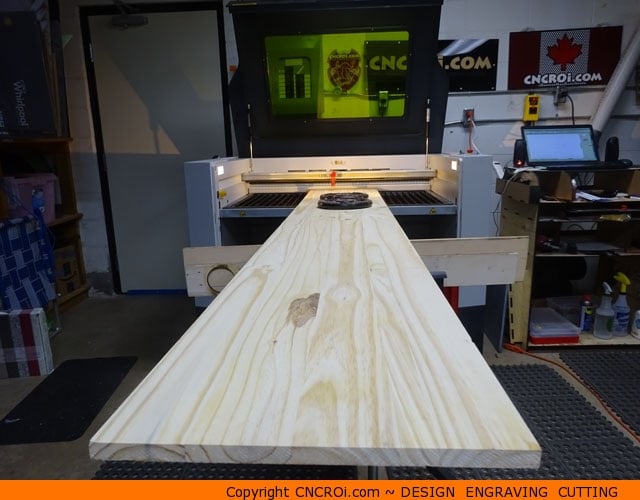
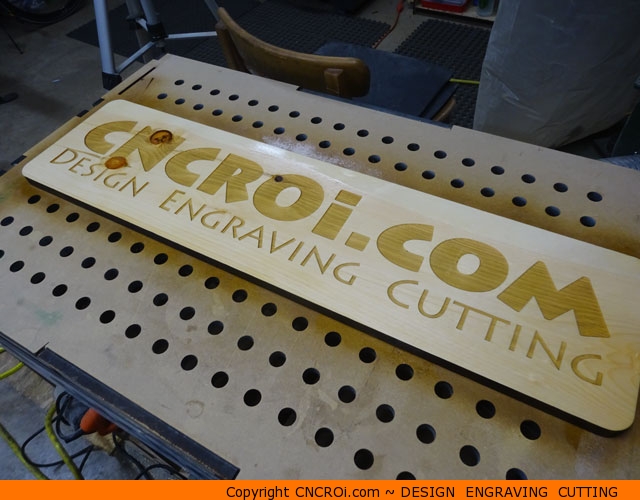
Like knots or hate them, that’s why I made this sign to bring-up the conversation ABOUT them with our CNCROi.com customers. Personally, I like knots but sometimes (usually), they just appear in the worst of places though if you look at this board, there was no “good places” for the knot to be.
I had this final board of pine lying around the shop after doing a production run of pine with our industrial CNC laser and so, I decided to use it to showcase what can be done with just a high-end CNC laser and a simple piece of pine. This is the “easiest” and “straight forward” signage video you’ll ever find here at CNCROi.com.
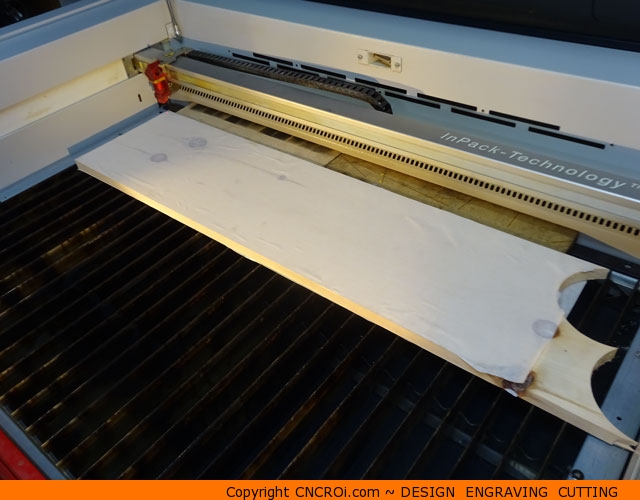
Masking both the front and back will keep the soot build-up to a minimum under the board and above it during the tedious CNC laser engraving process. This is a solid piece of board with three knots strategically placed where you don’t want them.
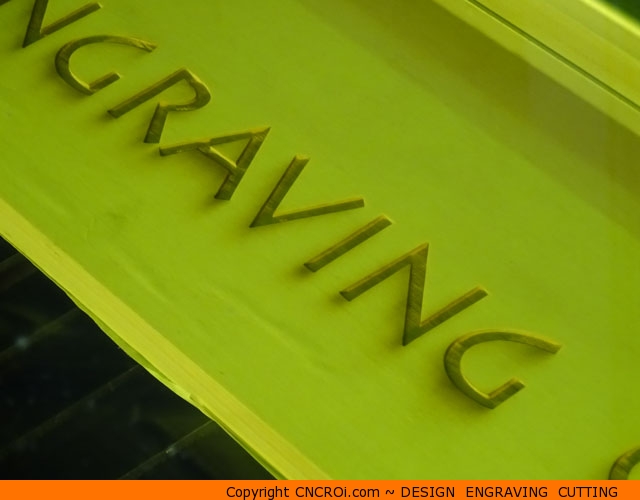
Looking closely as the engraving thus far, you can notice the build-up of the soot on the top surface, this is NOTHING compared to the flame and soot build-up underneath which is why masking was put on both sides. This is easily wiped off and sanded, it’s just nice to keep both processes to a minimum.
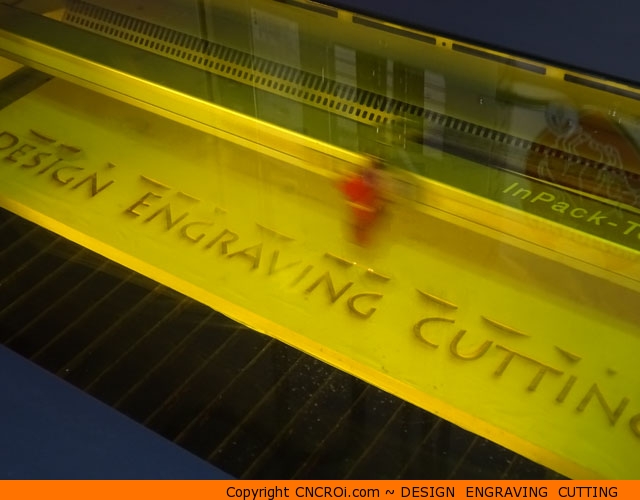
If no engraving was required, we generally wouldn’t mask the surface as sanding would be a more efficient process but masking the underside would be a good idea. Our wide-format industrial laser can make signage of any size, in this case, it’s almost a meter long or 40 inches but we can handle something much longer as well with pass-through.
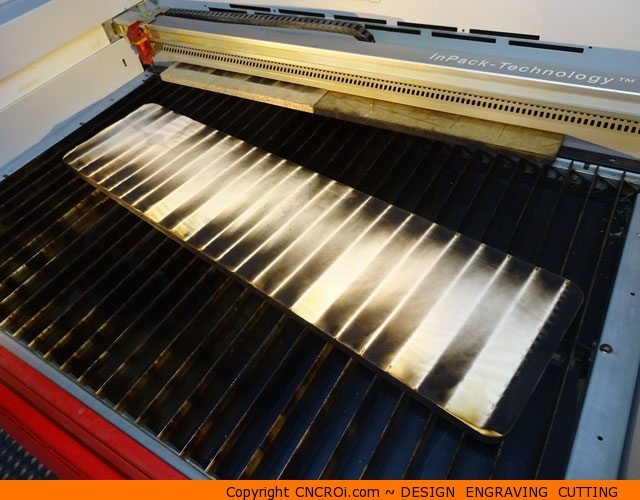
Looking at the picture below, you can really see how much smoke (vaporized wood) is produced during the engraving process, if it wasn’t for our vacuum table, gas kit and a few other bells and whistled, we’d really have to slow the entire process down so the extraction system could keep-up. Smoke build-up in a closed environment (laser) with incredibly high beam temperatures is a great way to start a flash fire!
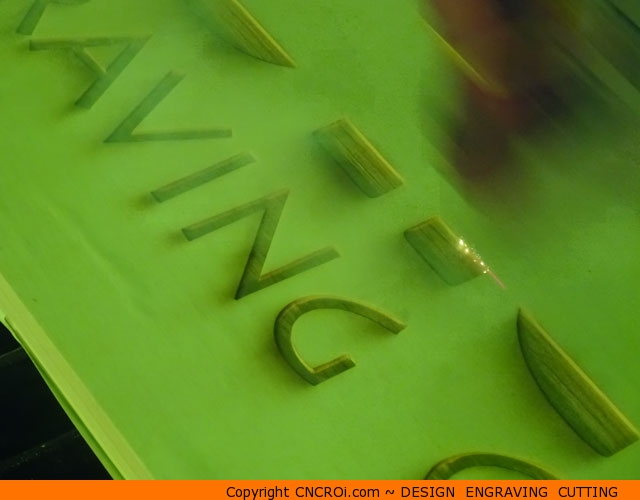
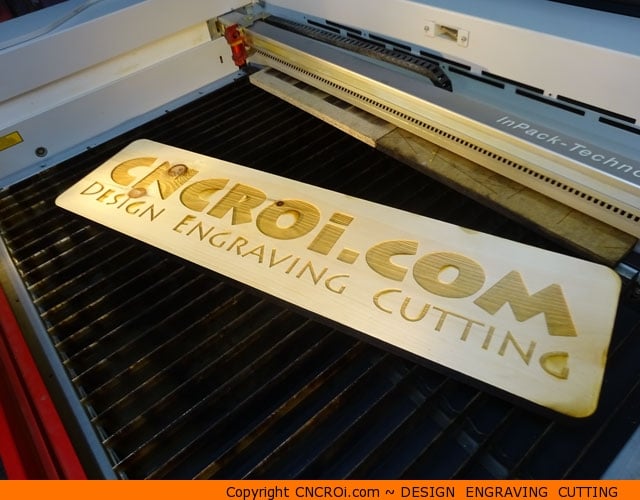
The depth of the engraving for this sign is slightly less than 1/8th or 3 mm, the depth is required to give it a little more depth with shadows when placed on a wall and also set things up for paint filling, which wasn’t done in this case.
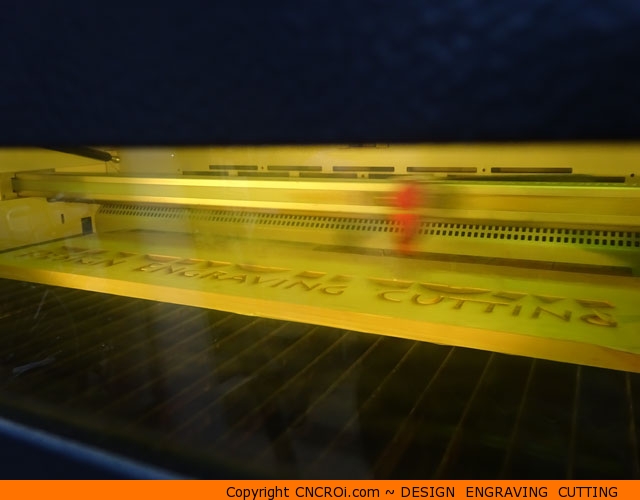
Looking at the entire process from another angle, the head moves so fast on our Austrian laser that the camera has trouble focusing on it!
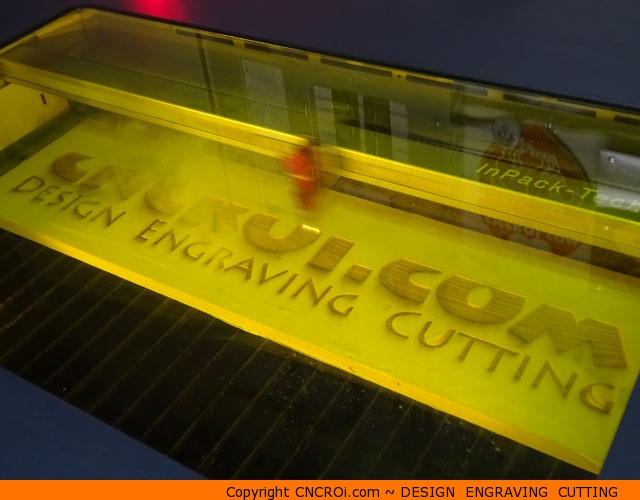
Engraving material such as pine produces a really nice contrast, this could be increased exponentially using paint filling – generally black – but then I’d hide the wonderful knots in this wood and not make this as much of a conversation piece.
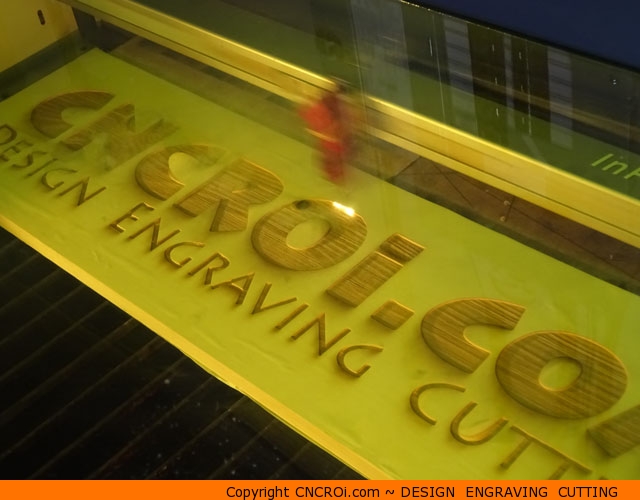
After the engraving is finished, it’s time for our industrial laser to cut through the 3/4 inch or 18 mm pine. Again, not something you typically want to do with a laser due to the flames and smoke produced but we are fine, we got a good machine!
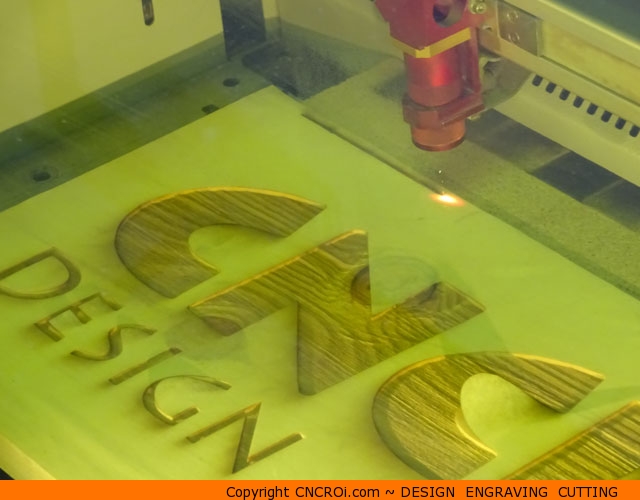
You can see that the masking as been blown off in a few places, even so, there is still dramatically less sanding required on the surface of his custom pine sign than would otherwise happen without the protective masking.
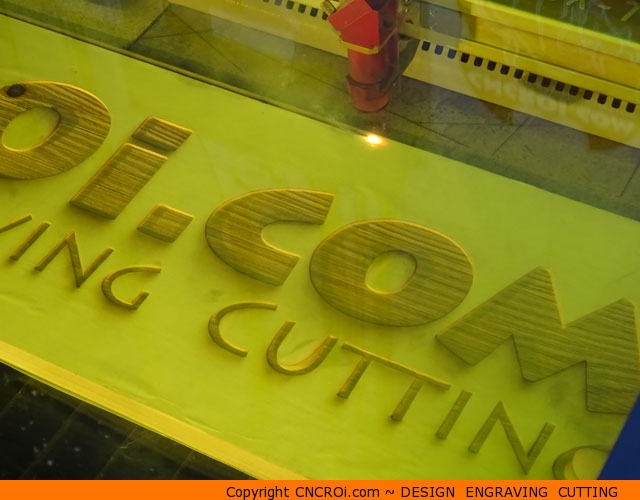
Notice how the flame is facing down? That’s our gas kit blowing the flame down, preventing it from going up where it could cause some major problems. We also have a vacuum table among a few other things so although this is watched closely, it isn’t of much concern.
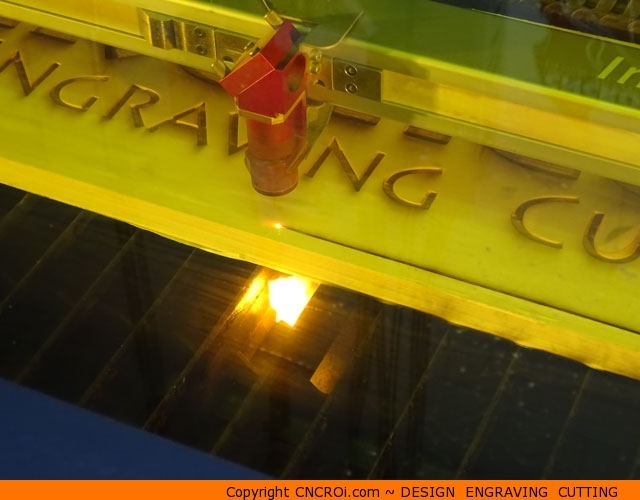
The industrial engraving of a simple custom wood sign is finished! The masking did a wonderful job, let’s take a closer look!
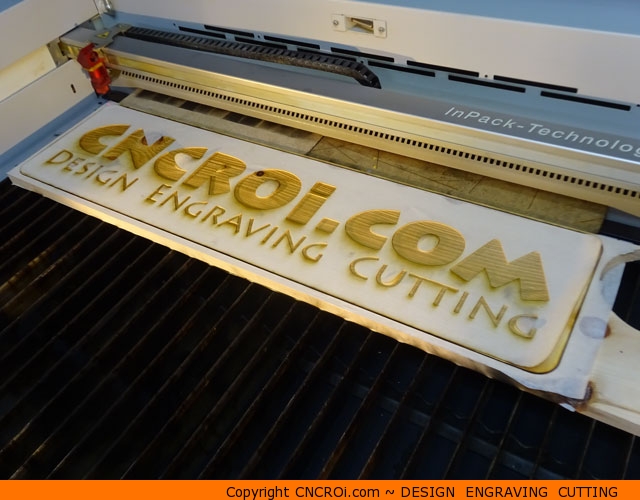
Unlike our CNC router, the laser vaporizes at different depths (very slightly) to match the higher density of the wood grain, I really like this effect, a CNC router would just power through this.
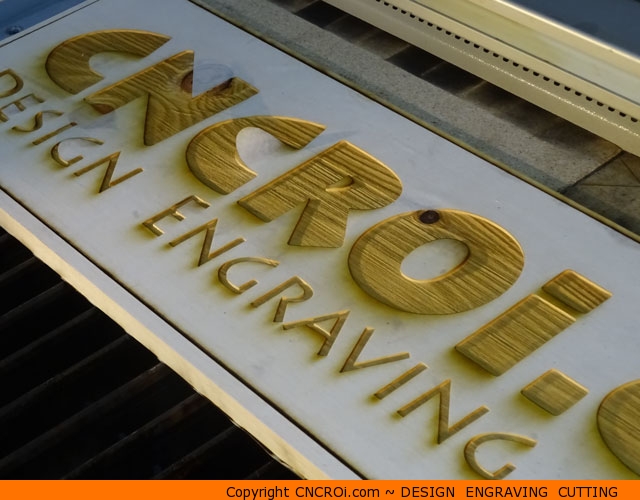
Taking the masking off, you’ll notice the bottom “G” in cutting is smoked-out and the top of the “O” in our company name as well but overall, this will be a piece of cake to clean-up.
The underside though, that’s a lot of soot! Thankfully, it was masked so the vast majority of this soot will be removed simply by removing the protective wrap.
That’s quite a difference! When we make custom pine signage, we generally paint fill it but beforehand, we give everything a clean sanding using our custom laser cut downdraft table.
If you are curious to see how that was cut, check this video out and you can read more about it at Custom Designed CNC Laser Cut Downdraft Table.
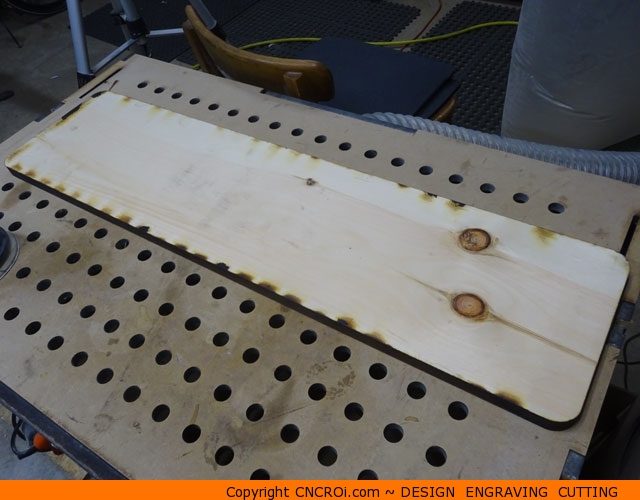
After a quick sanding, the back of the board looks brand new! That’s what’s great about pine, it’s so easy to work with!
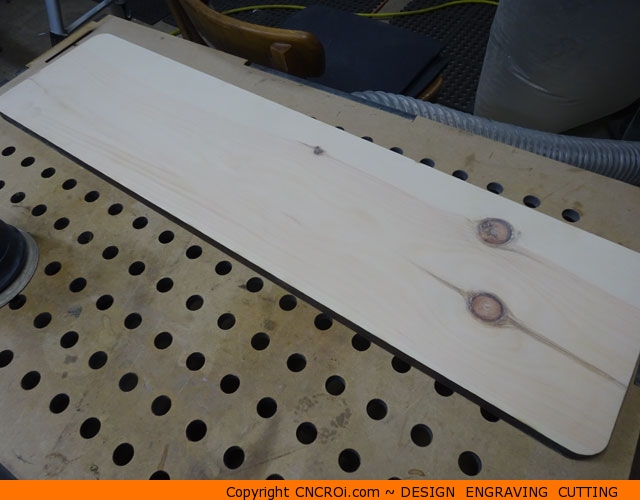
Now for the business side of this custom pine signage.
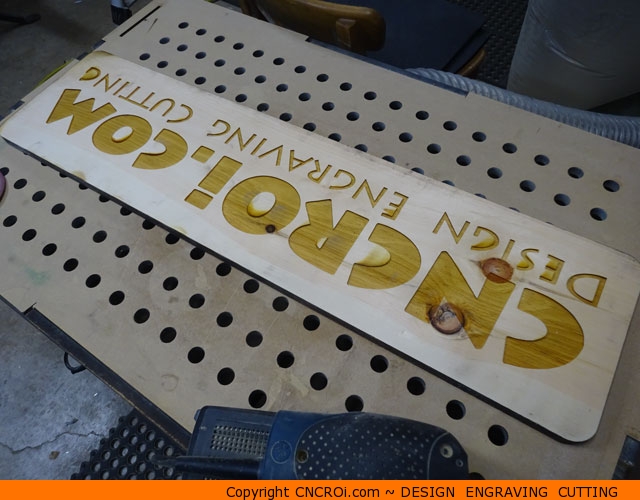
After a quick sanding, you can see how it’s already starting to look great!
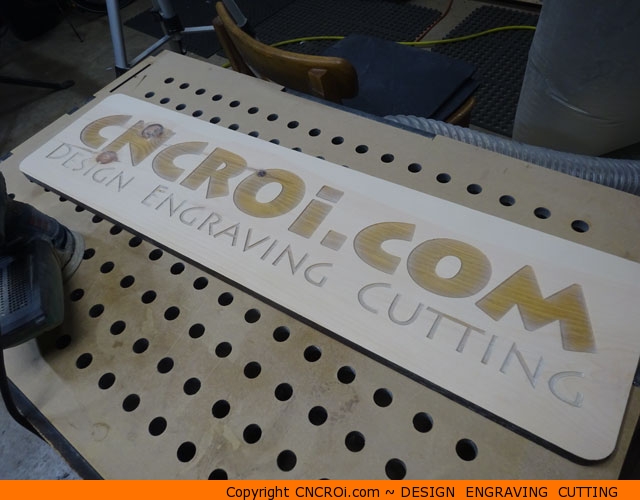
Remove the dust and wow, it looks fantastic except for those two knots on the left of the sign. I had a choice, put them at the end of the sign or the beginning, I thought a worse place for them is at the beginning.
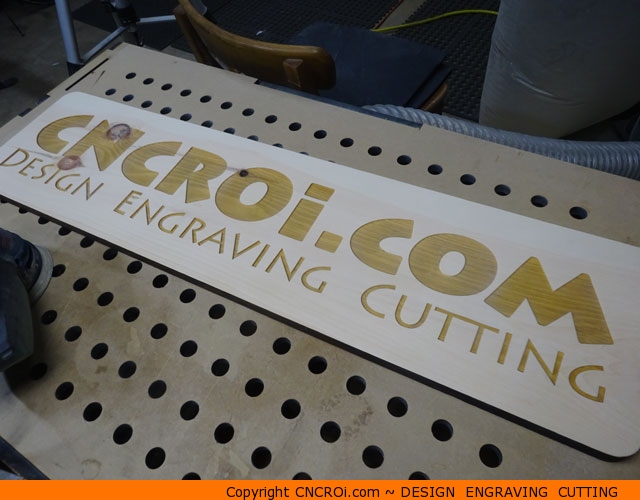
After a more thorough sanding and sealing to make it humidity and weather proof, the sign is finished. The nice thing about sealing wood is that it really increases the contrast of not only the wood grain but the engraving as well.
Looking for some custom signage with or without knots? Contact CNCROi.com right now!
