Custom Furniture: CNC Laser Station, Design through Build
As I alluded to in the previous post (Custom Furniture: CNC Laser Station), CNCROi.com has made lots of custom “everything and anything” and that list includes custom furniture as we’ll review more about today.
The link in the top paragraph shows you the design process so in this post, the focus will be on the cutting and assembly which present their own host of challenges as unlike the 3D animation, I have gravity to contend with as well as not being able to have two objects occupy the same space at the same time.
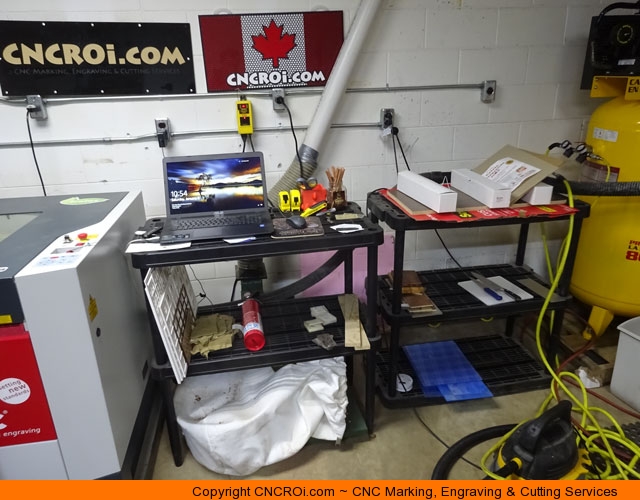
Here’s a picture of how things were sorted in the shop BEFORE the build.
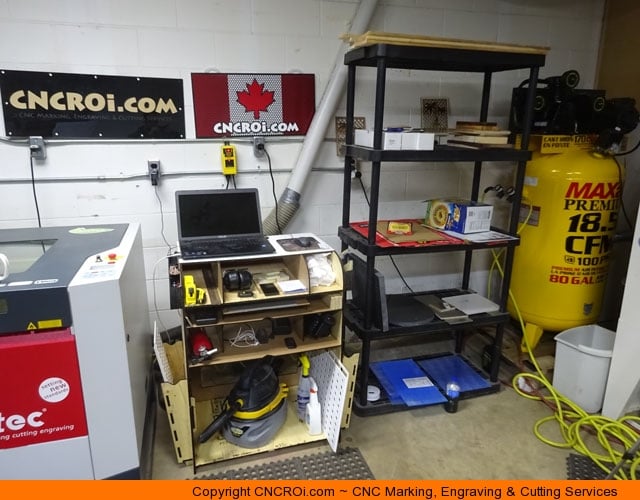
After everything was done, here’s what things look like now. The sand blaster is on the far right, will build a holder for the air compressor’s various hoses later.
The first step after the wood is acquired, in this case, rejected 9.5 mm (roughly 1/3″) plywood left half-cut at home depot and 6 mm (1/4″) MDF, was deciding what pieces needed the extra strength and which one didn’t.
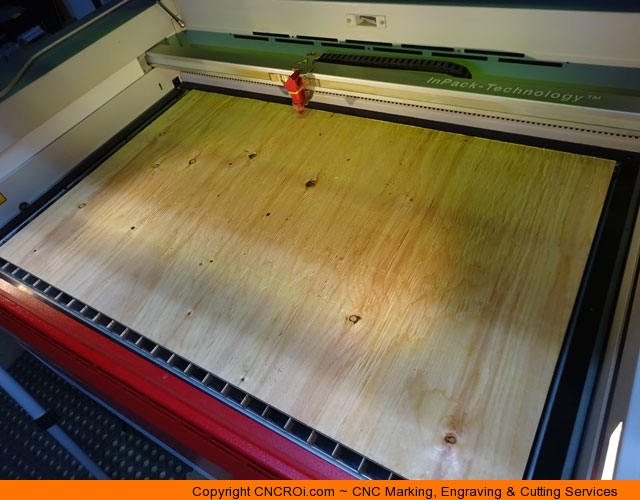
As a very much last-minute change, I decided to engrave a palm tree with corporate branding on one side – you’ll see why this was a waste of time later but at the time, it made perfect sense.
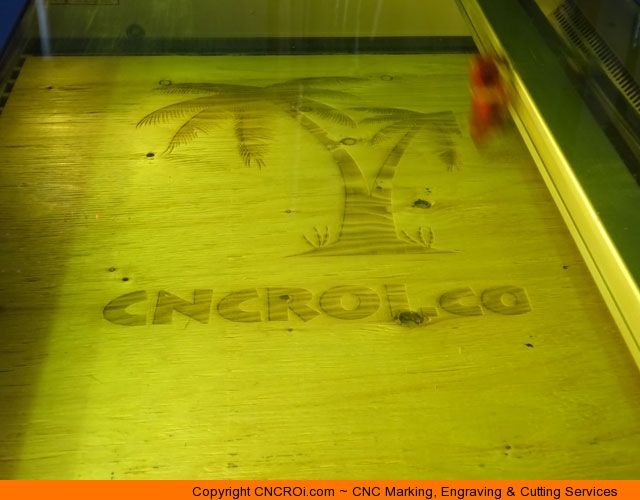
Cutting furniture out using an industrial wide-format CNC laser isn’t something you see all that much, that’s because, compared to a CNC router, it’s dramatically slower though unlike a CNC router, you have more precision regarding interlocking options on a 2D surface (3D surface locks are great router bonuses).
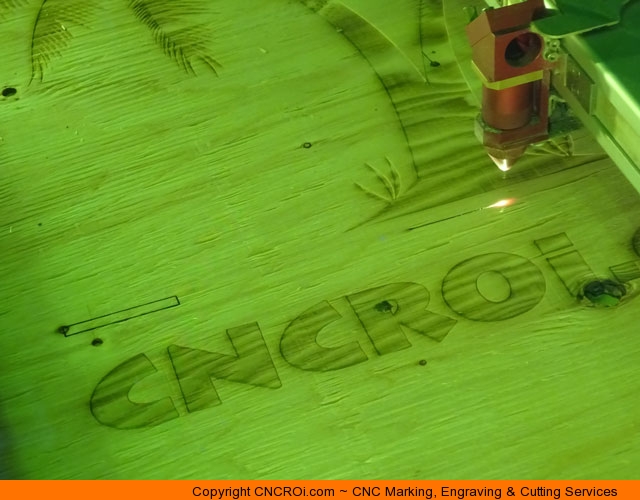
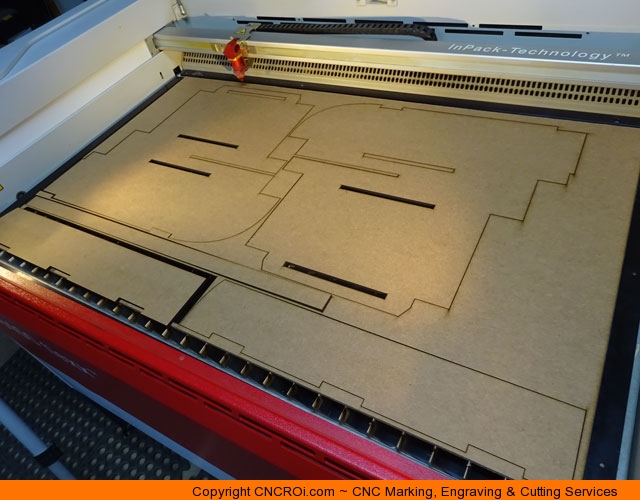
The very first piece I wanted to cut on the laser was the piece that would take the longest, hence engraving it for very easy identification. I decided to cut all the 9.5 mm material FIRST followed by the 6 mm MDF. I’ve found that if something will get screwed-up, it will happen when trying to mix and match things on the fly.
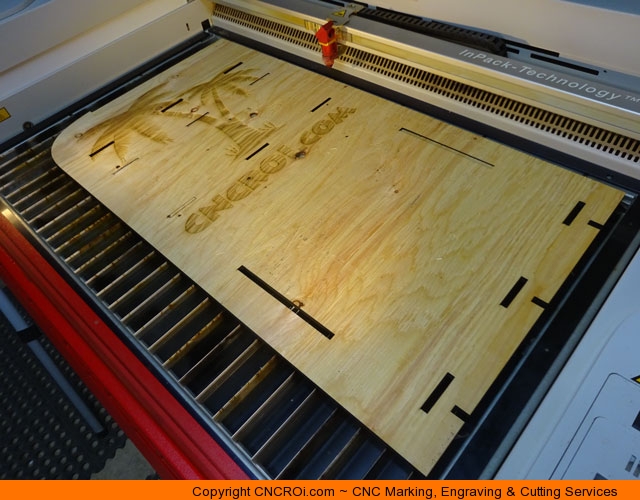
Keeping production as streamline as possible dramatically reduces the chance for error. Something to keep note of is that this was the FIRST TIME this custom CNC laser furniture was cut in real life, all the prototyping occurred in the computer. This means first time was perfect.
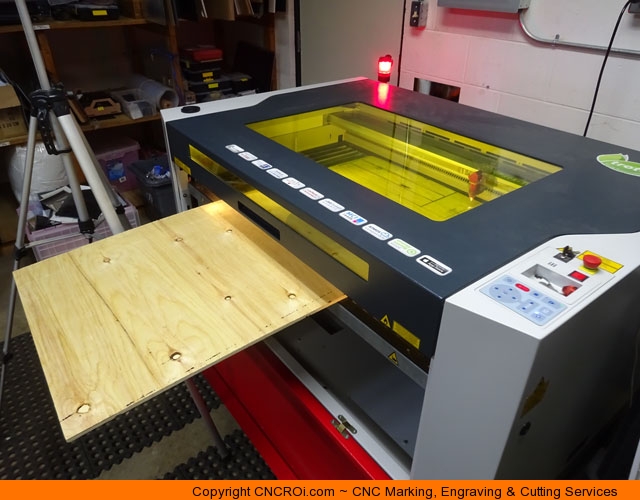
For some boards, it was more efficient to use pass-through so basically, I fed the plywood into the machine, cut what needed cutting and then with that “scrap” proceeded to cut additional pieces of custom furniture out.
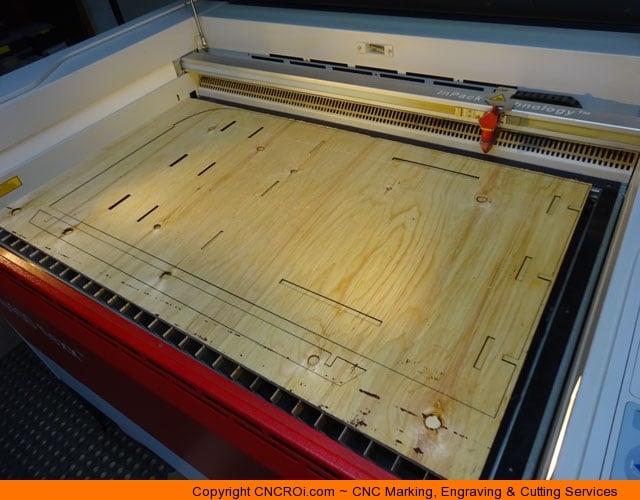
This increased production efficiency dramatically and also wasted a lot less material. It’s fantastic when you can use scraps of scraps to cut out additional pieces, leaving untouched full-sheets to be used in future projects.
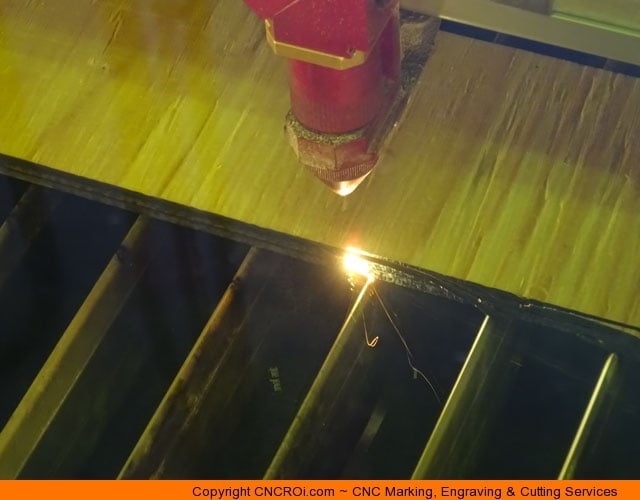
How precise is our Austrian CNC laser? Well, in the above photo, we are cutting off a fraction of a mm of material, it’s essentially shaving an edge off to create another piece. As our process with the laser is contact-less, this is possible across an endless variety of materials.
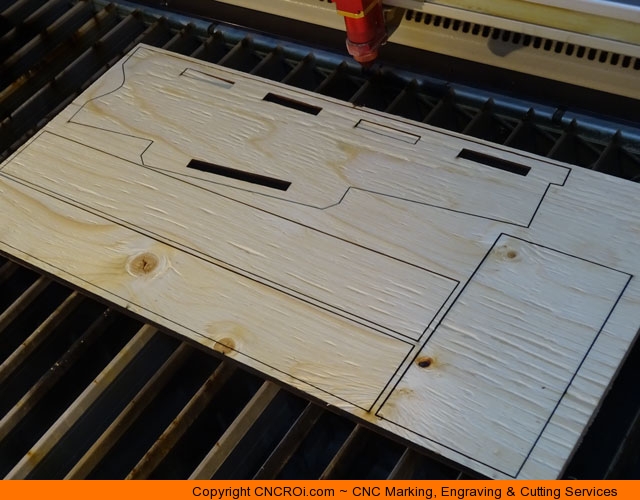
The above pieces form the side slots and an interlock underneath one of the shelves. The two long pieces are the side brackets that fit inside of the top piece while below, the bottom supports (which is why weights were put onto the model during glueing) followed by the floor of the custom CNC laser station.
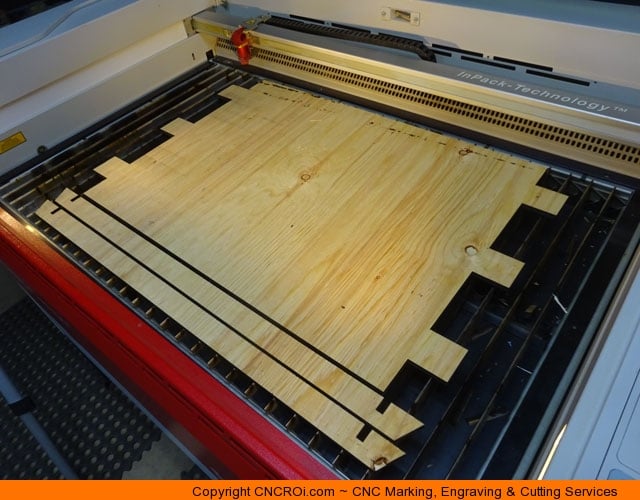
Once all the pieces were cut out from the 9.5 mm material, it was time to move to the 4 mm MDF. Sure, I could have used one thickness material for the entire model but I enjoy challenges (it isn’t all that big really) when it comes to making stuff for in the shop to show clients what is possible.
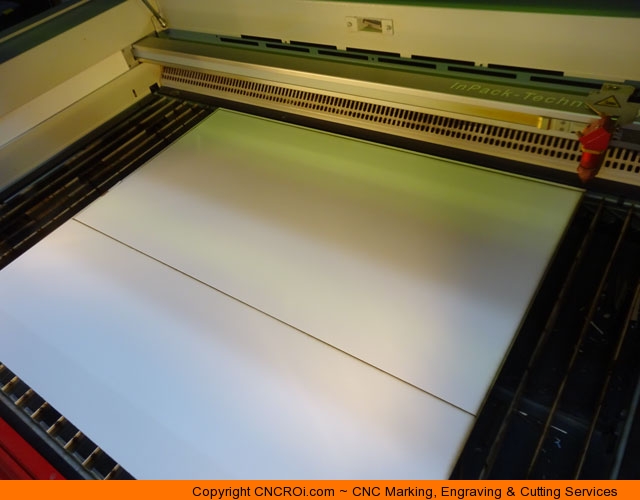
After all the MDF was cut, it was time to CNC laser cut the top white-board material. I find MDF is a pain to clean and for use in the shop, I don’t see the point of painting it so using material that’s very easy to clean like the whiteboard MDF is best.
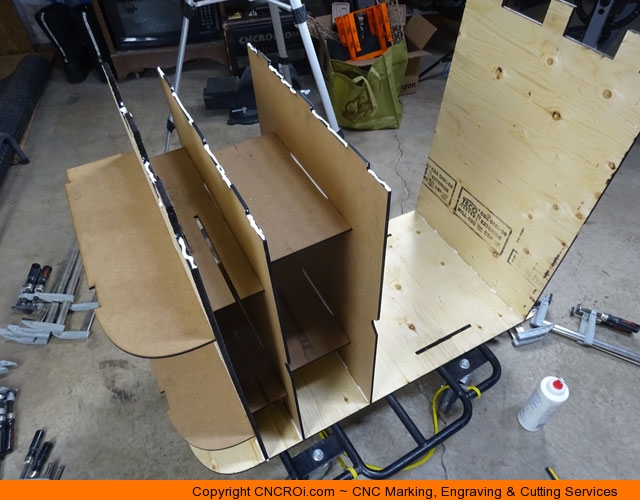
Although I wish I could suspend pieces of wood in air for assembly like you saw in the 3D animation found in the video at the top of this post, I have gravity to contend with and as the sides were NOT flat, it needed to be raised above the floor. In this case, a trolley did the job perfectly while everything glued.
Clamps, no such thing as too many, were used throughout the build to keep everything tight together while the glue dried. There is NO exterior hardware keeping everything together in this model, just plywood, MDF and glue. Why no need for screws or nails? Because of the interlocking, each piece helps support the other.
I could have technically assembled this model without using any glue at all but I don’t want my 2 000$US laptop to fall on the ground if I knocked this piece of custom furniture.
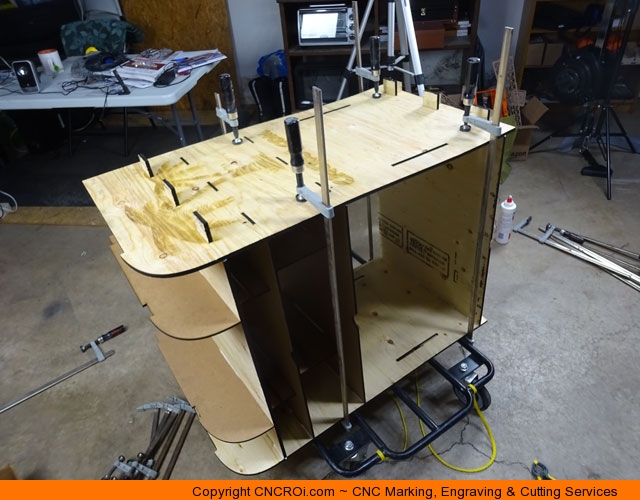
Weights were also used on the top to add additional weight to push everything together, sometimes, the simplest tools do the best job!
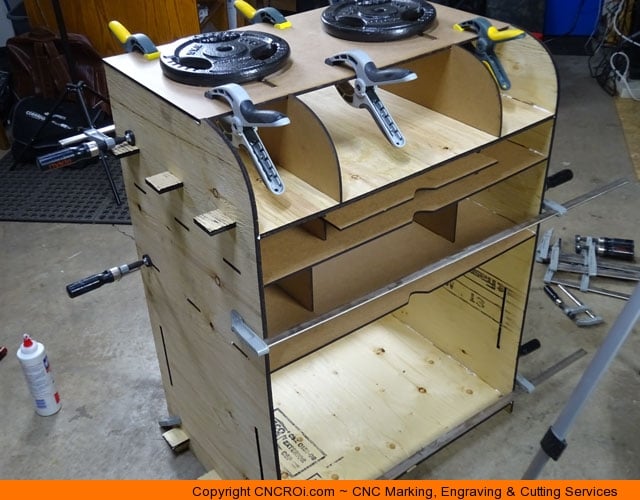
While in the back, a support was added to make sure everything was kept square and aligned. Making custom furniture for the shop doesn’t mean we do things half-assed because it’s just for “us”. The only difference between this and something we do for a customer is better material (if client requests it).
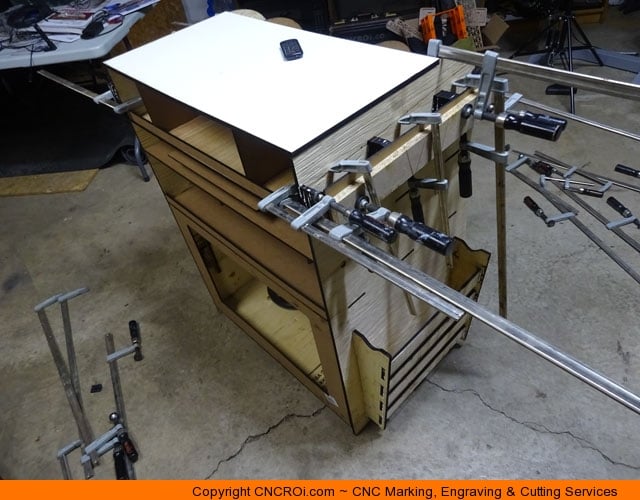
There you have it, custom CNC laser cut furniture, in this case, for use in our custom CNC shop! It’s a wonderful and needed piece perfectly optimized for CNCROi.com’s production needs. Light years ahead of what we had before, functional and at the same time, a wonderful excuse to show you how we make custom CNC cut furniture!
Contact us today for all your custom CNC furniture needs!
