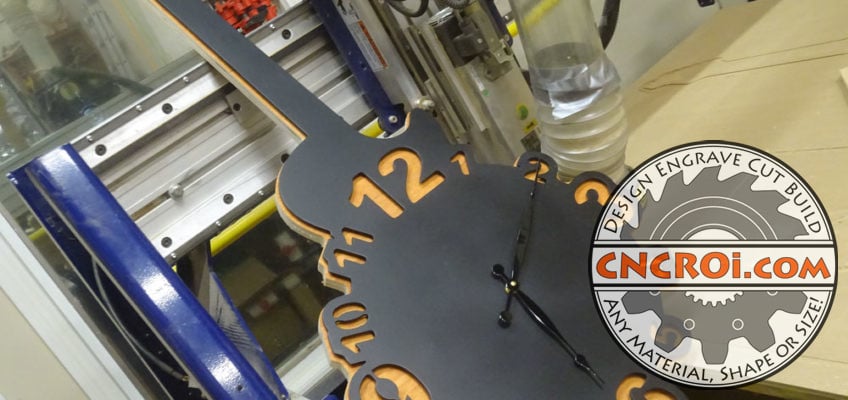
Custom Guitar Clock: 12 ga Mild Steel, 3/4″ Plywood
CNCROi.com needed a custom guitar clock in the shop, so I booted-up our CNC plasma and CNC router and made one so when I’m away from the computer, I can still see what time it is.
https://www.youtube.com/watch?v=vqiPA6lVGN0/
The metal aspect of this custom guitar clock is being plasma cut using 12 ga mild steel which is slightly less than 1/8″ or 3 mm thick, and it’s hot rolled which works great for this application.
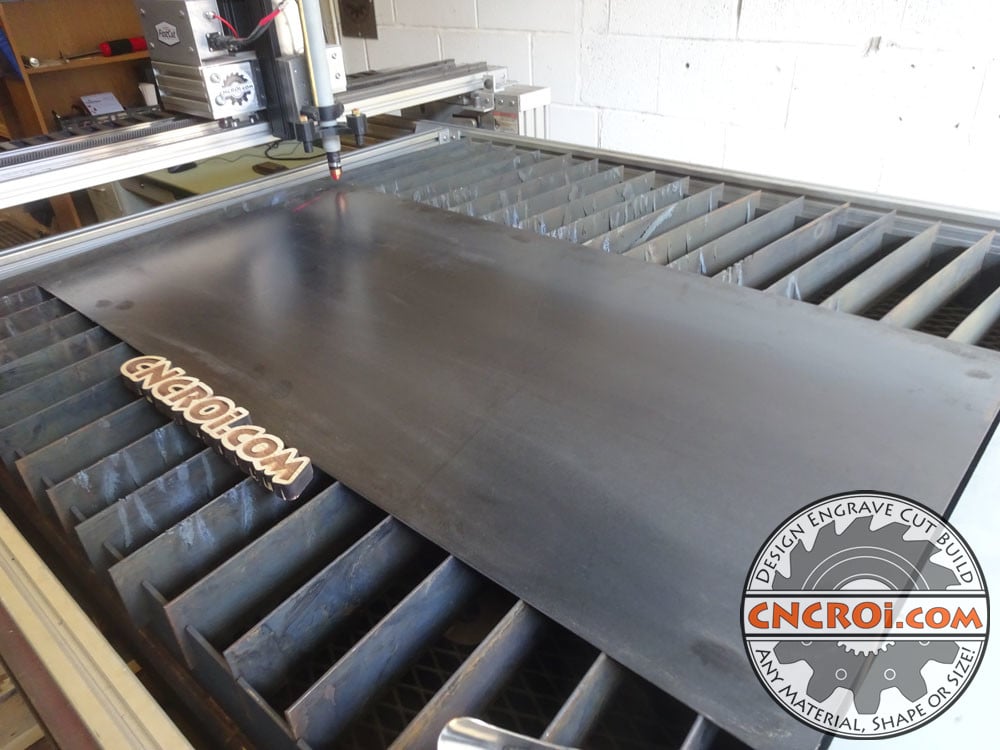
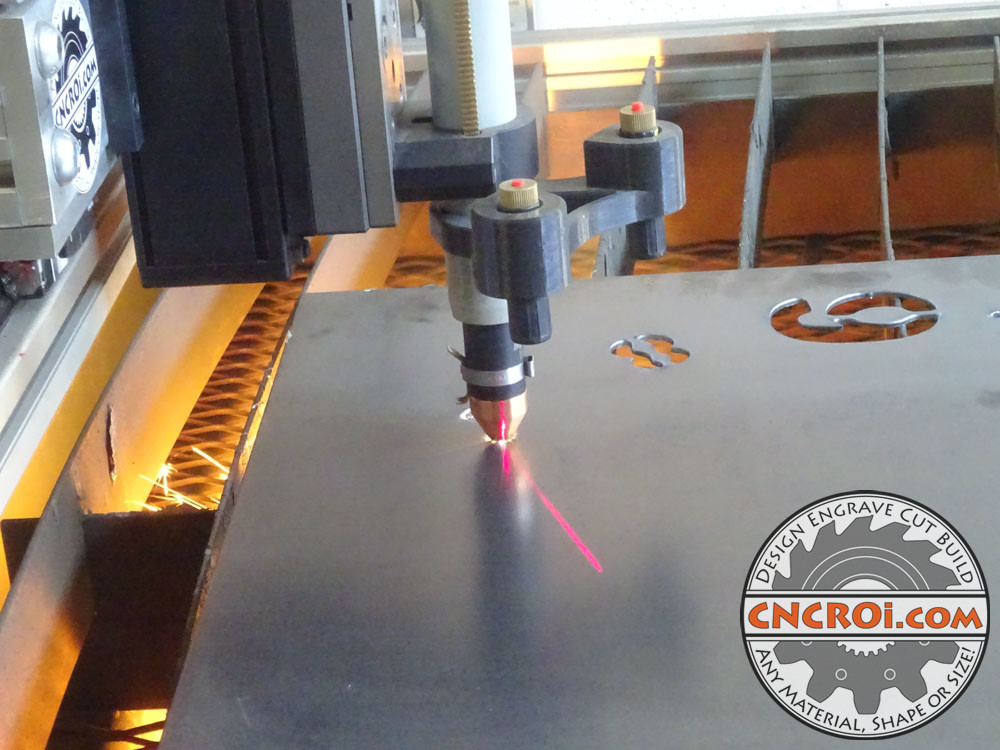
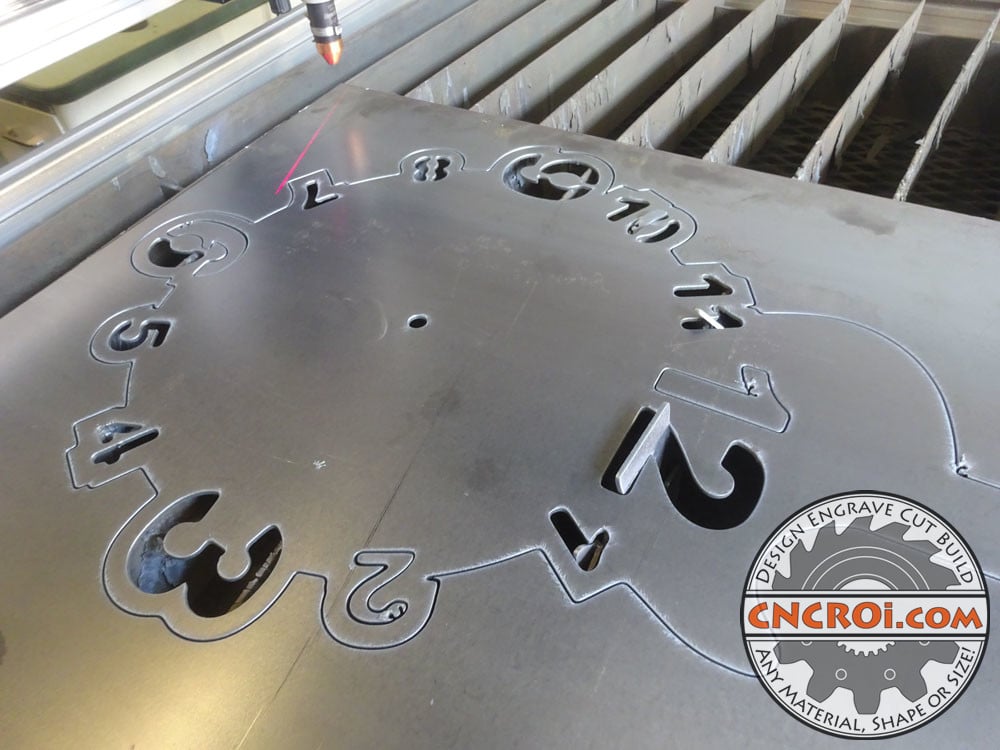
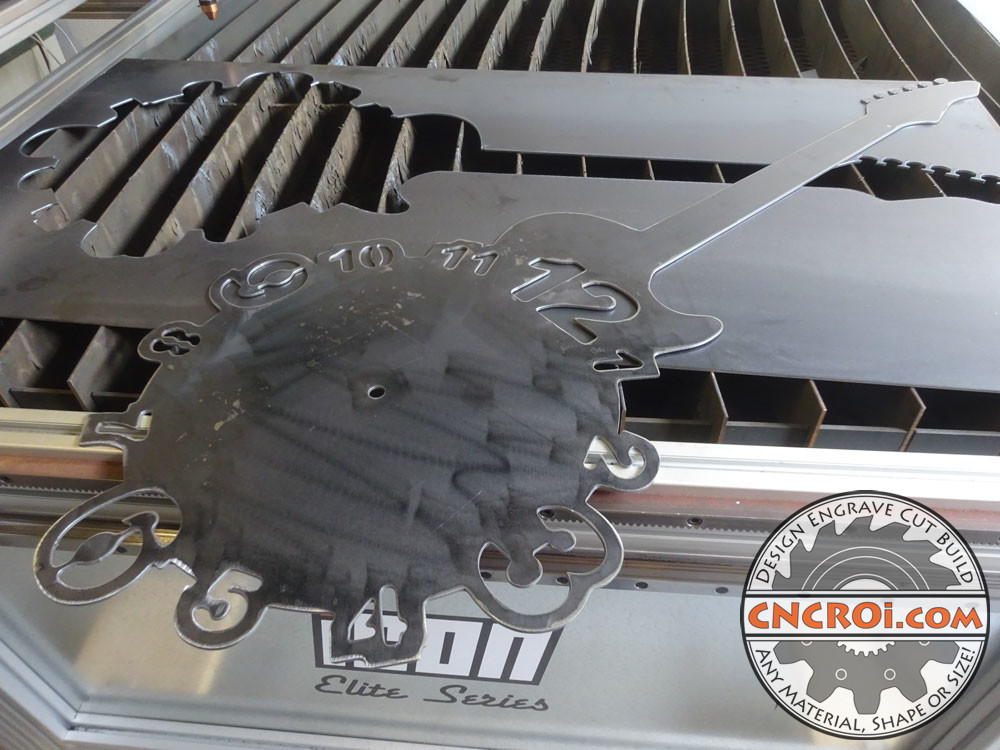
Plasma cutting at CNCROi.com is always lots of fun, but I got to be careful with parts that flip up such as the one below, this one was OK because the number two was low enough that it wouldn’t hit into the head of our Hypertherm PowerMax85 3 phase plasma cutter.
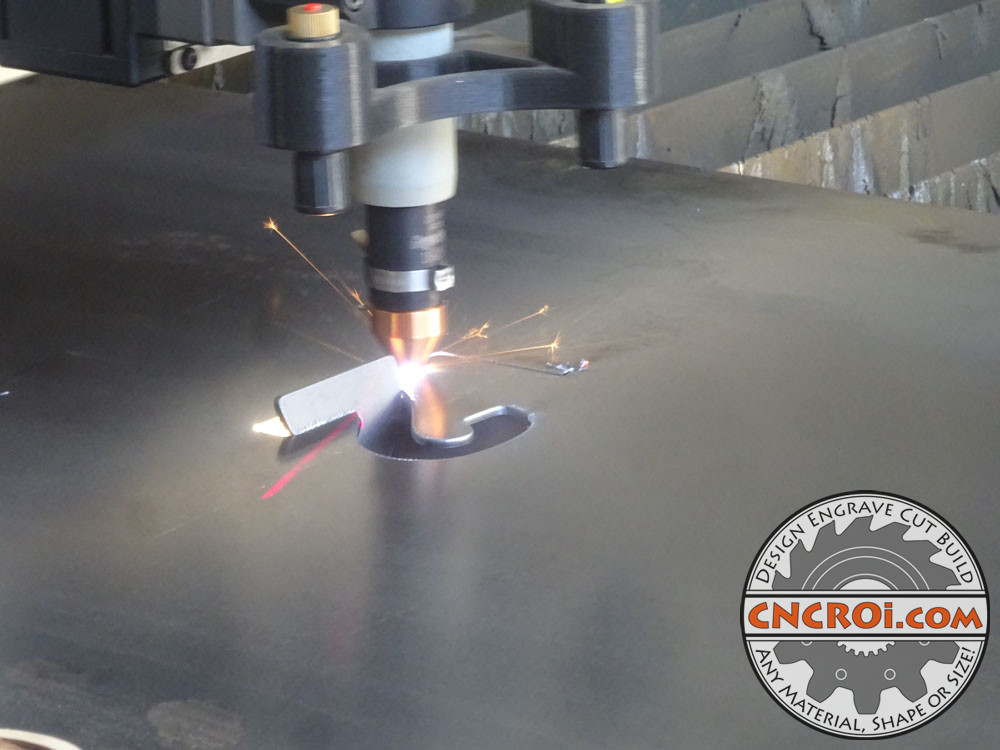
You’ll notice quite a few of these pieces flip over, there are two reasons for that, the first, there is a powerful stream of compressed air, about 125 psi, shooting down through the head of the plasma head nozzle which easily flips metal that isn’t supported by tabs, and yes, second reason is lack of tabs.
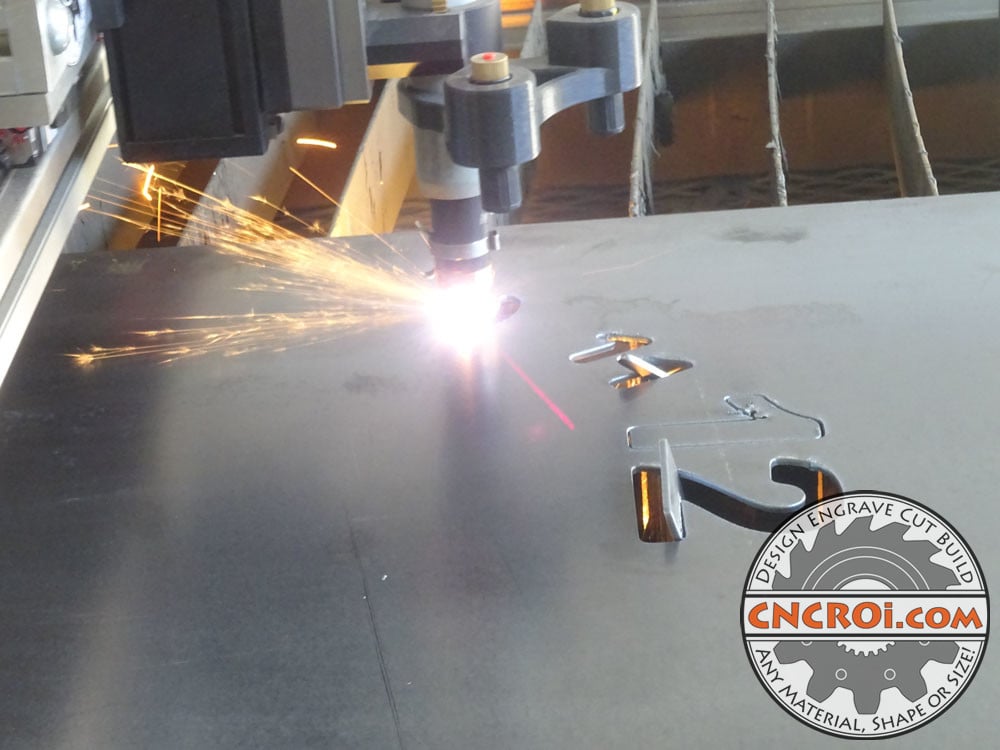
With CNCROi.com‘s CNC router, we often use tabs when the vacuum table isn’t the best hold-down method for keeping wood or other materials on the sacrificial board but when it comes to plasma, tabs are a headache for custom fabricated parts like this because then we got to boot-up our manual plasma cutter to cut out the tabs and the results are never as clean or as consistent as our CNC machine.
It’s a small thing but I’m reminded daily of my joy of metal, this material is the same I used to make my house number sign which is by far the best and most visible on the block!
https://www.youtube.com/watch?v=DxHyaObcZjs/
So, I prefer to pause the machine, if needed, to remove problem parts that flip during the plasma cutting process instead of doing the whole job then having to manually cut out tabs, and for this custom guitar clock, that would be A LOT OF TABS.
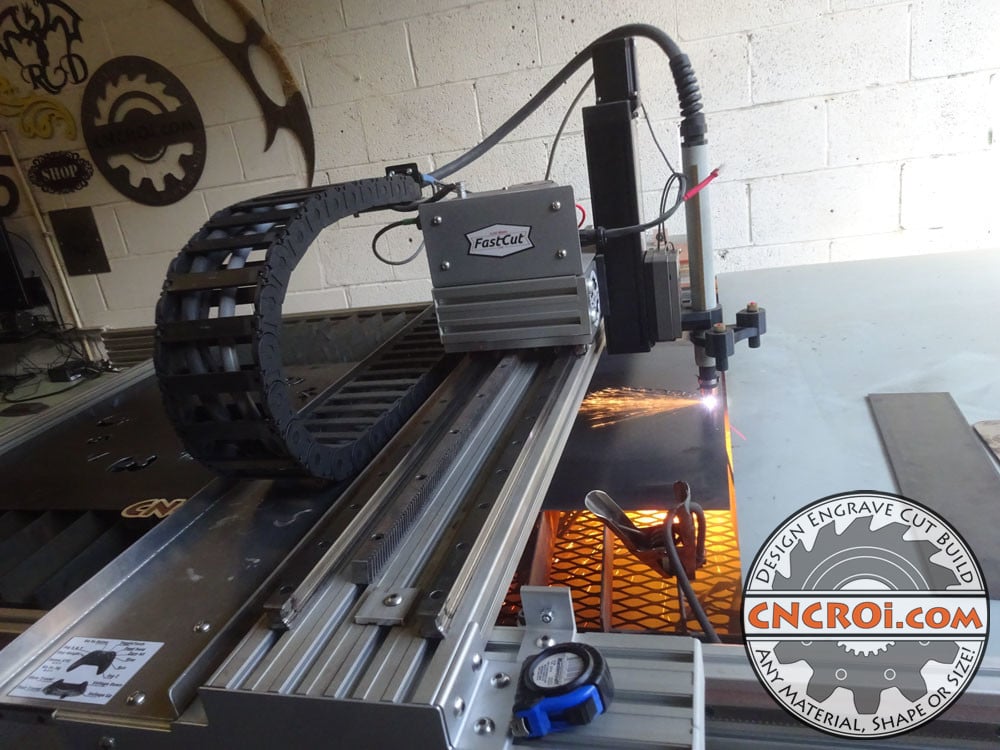
I really love our CNC plasma cutter, it’s got incredible power able to cut up to an inch and a half of material in one shot, so it just goes to show just how easy this material is on the machine to cut.
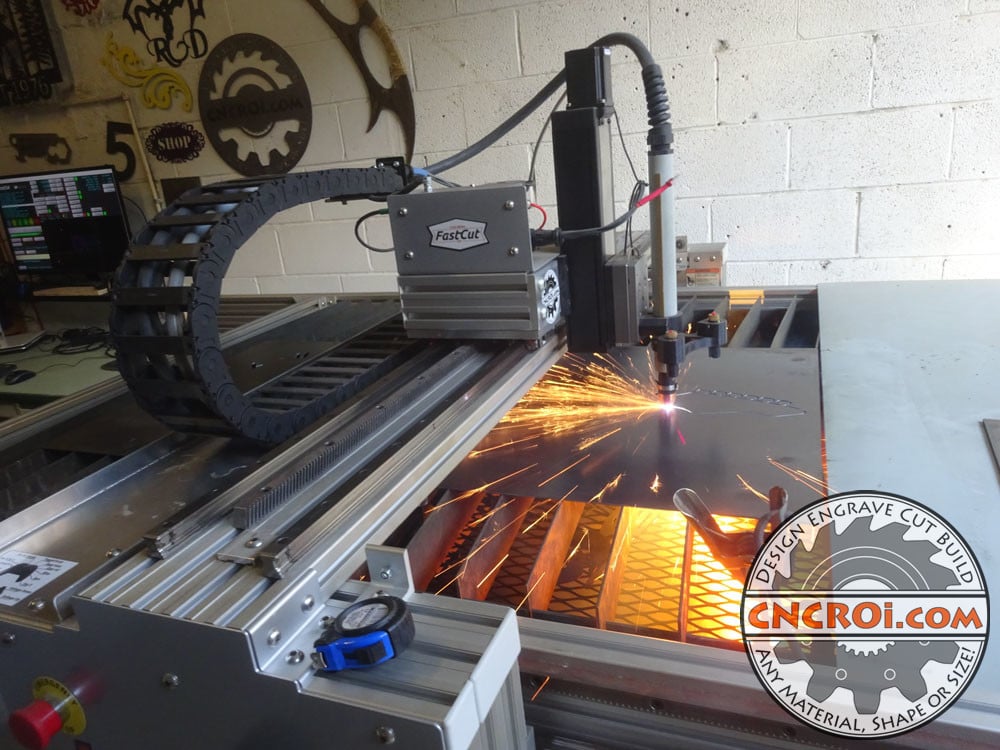
When it comes to plasma cutting, there is always fun to be had, but the general rule at CNCROi.com are if you are going to paint the job, go with hot rolled mild steel, otherwise, go with the more expensive and corrosion resistant stainless steel.
https://www.youtube.com/watch?v=74jQmvuThqk/
Yes, lots of sparks were created during the production of this custom guitar clock that I look forward to proudly hanging in my shop.
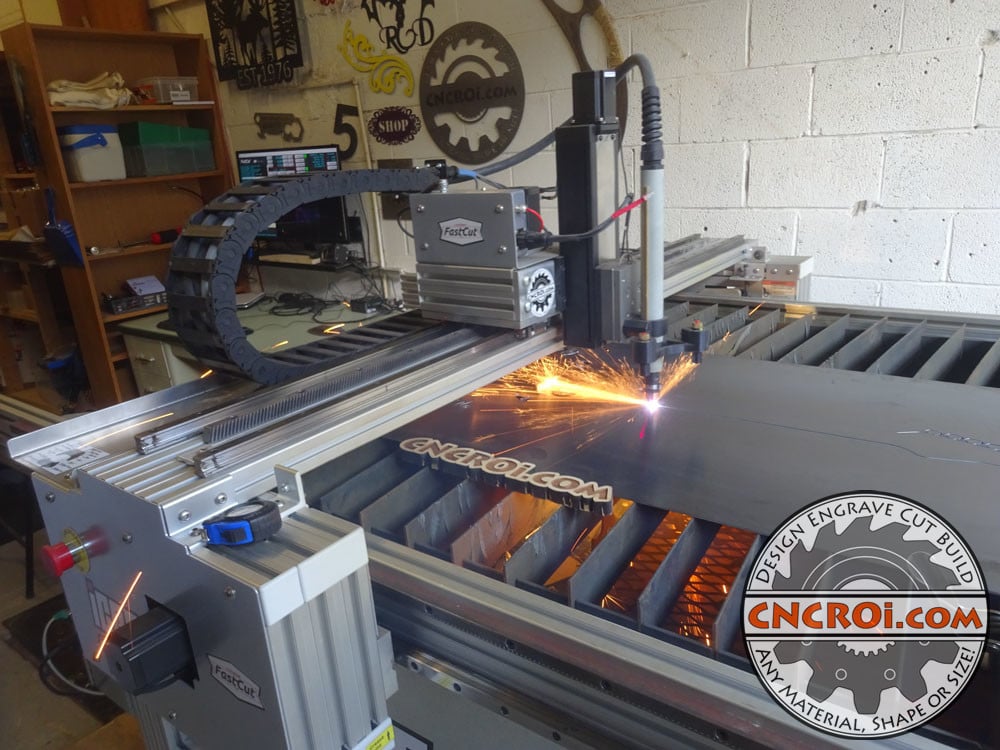
When I first envisioned this custom guitar clock, my idea was actually a little different, to cut it out using the same thickness but using stainless steel, which I’d then fiber etch using my laser but I decided that I wanted something high contrast and as a result, cutting through and painting this black would produce a better results for the esthetic I was after than etching all this in.
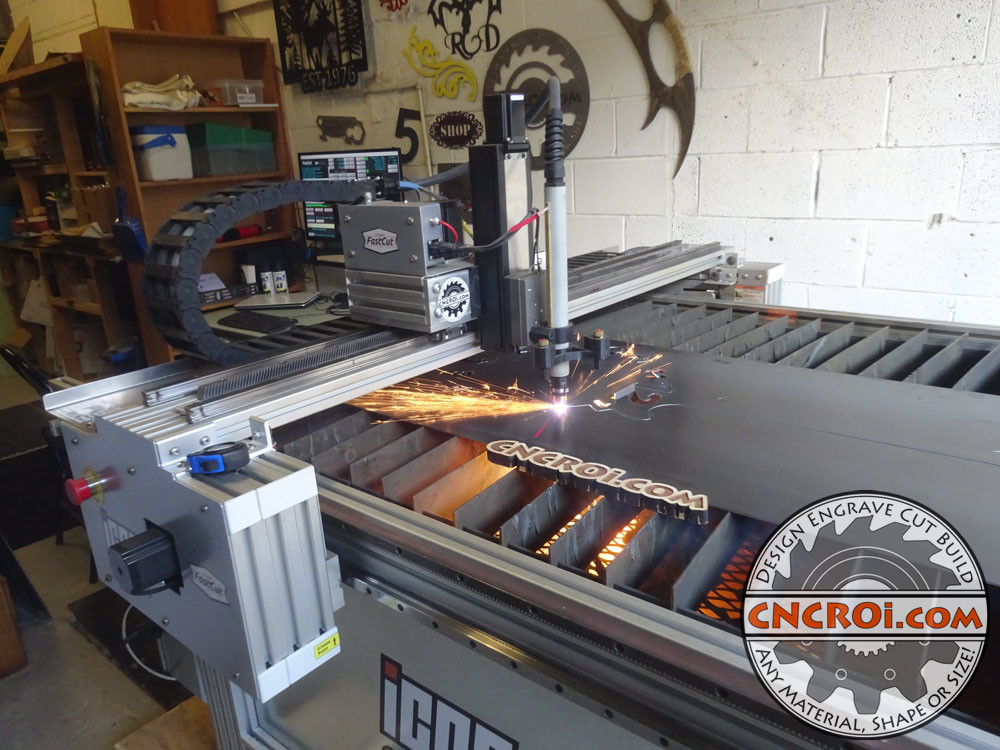
I work with a variety of metals in the shop, and the applications are all over the map, literally, from stainless steel BBQ grills to scenic natural wildlife scenes.
https://www.youtube.com/watch?v=StBesadXpkw/
https://www.youtube.com/watch?v=fsXTxcW_juQ/
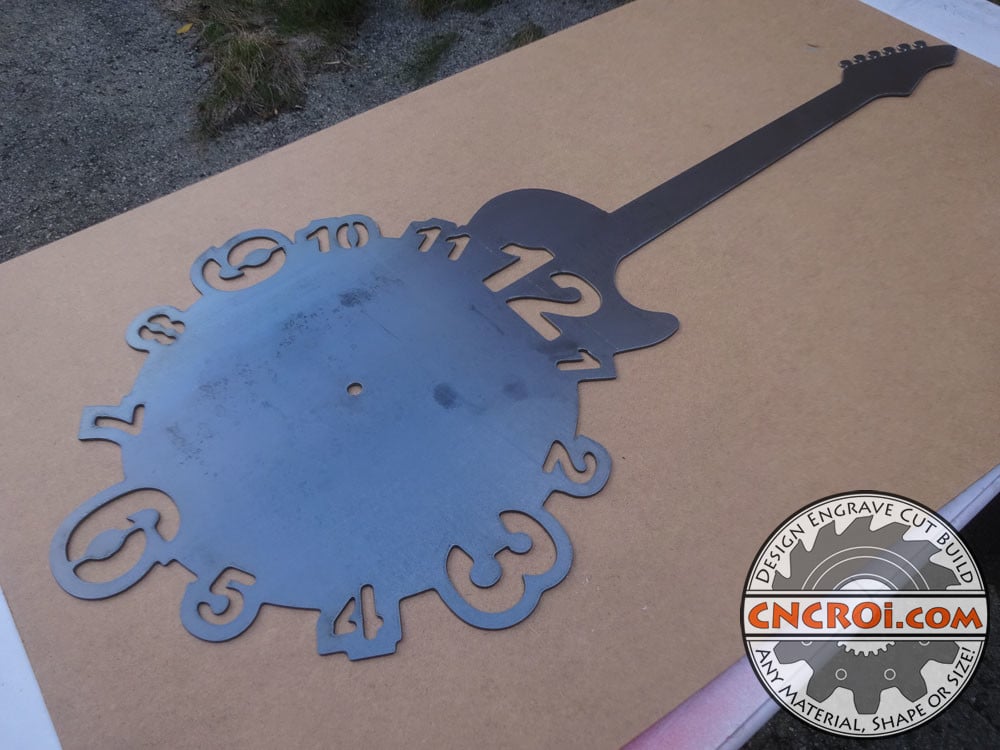
The final results below of the plasma cut custom guitar clock are amazing, the accuracy is amazing, just like all our other machines at CNCROi.com – buy great machinery, produce incredible results!
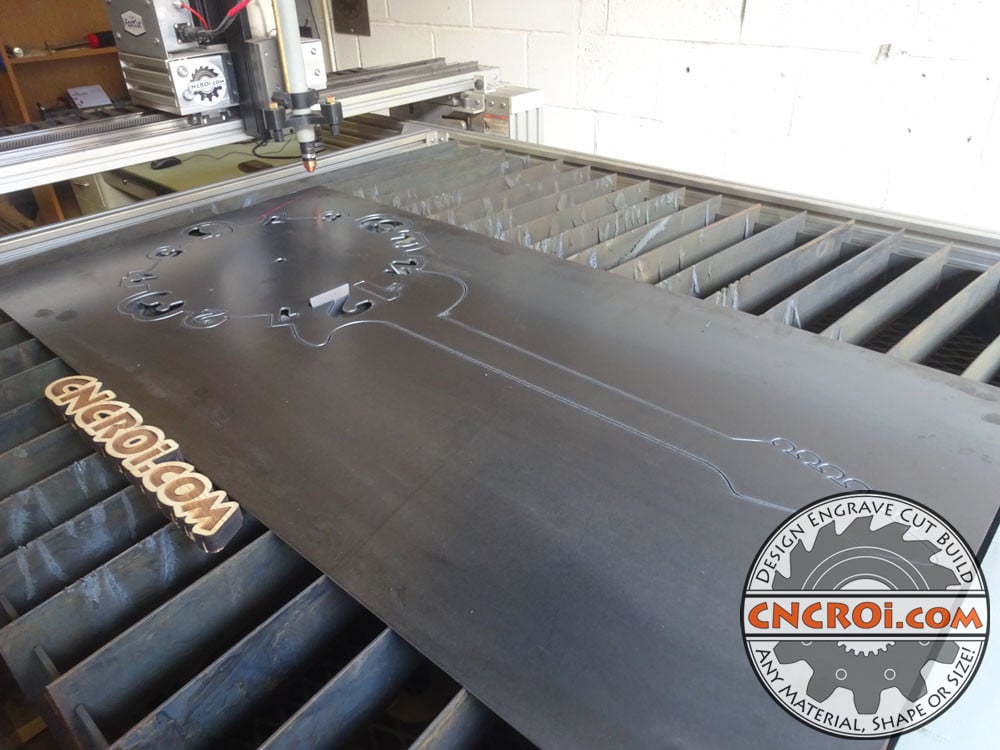
Taking a close-up look at the numbers, most of them fell through, and the ones that didn’t were in no way in the way of the plasma head to cause a collision.
Next step is angle grinding both sides of this custom guitar clock, the reason is simple, I need a clean surface to both weld bolts to (was a last minute decision) and paint the entire surface, front and back to protect and add color to this metal wall ornament.
Just to give you a comparison of the results, below is something CNCROi.com waterjet cut, the process couldn’t be any different but compared to plasma, waterjet is slow and expensive but it can produce sharp inner corners.
https://www.youtube.com/watch?v=mEDJyj24G_8/
After angle grinding, the next step for me is to give it a coat of paint, again, at this point, I hadn’t though of actually making offsets and a plywood backing, the custom guitar clock was to be painted and then clock mechanics added and it was done.
This is an important thing to remember, because if I knew I was going to weld the offsets, I would have painted everything AFTER the welding process on this custom guitar clock, not before, as it causes problems when you weld with paint on the backside, it can get heat effected.
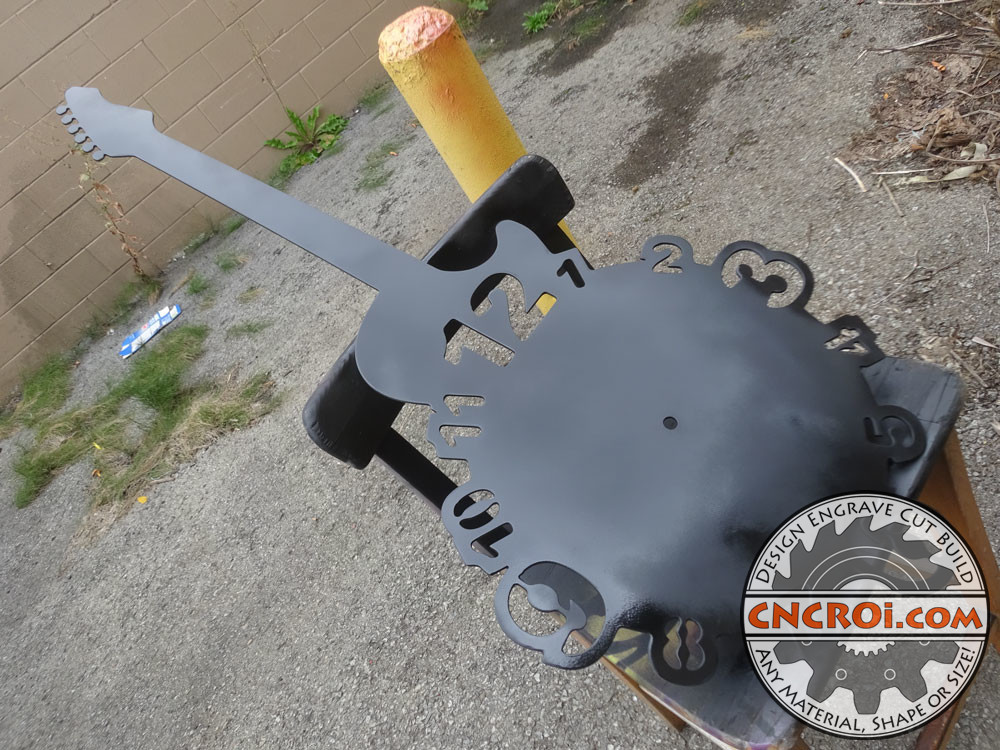
It’s when I saw the above picture that I decided that this custom guitar clock really needed more, it looks amazing… but it was just missing something that I couldn’t put my finger on it.
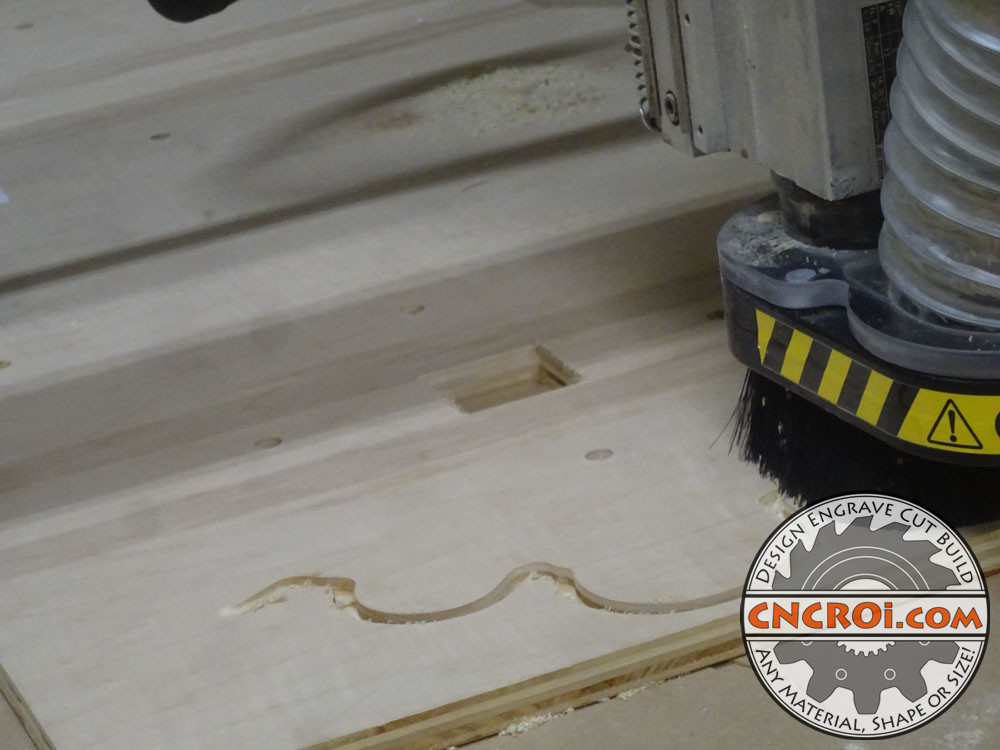
The reason I went with my CNC router to cut out this plywood instead of my laser was speed, the router plows through this very fast and this piece had no need for sharp inner corners.
https://www.youtube.com/watch?v=943SSQyBHa4/
So, I went back to my drawing and added a half inch margin all around the clock and as a result this custom guitar clock was going to have a 3/4″ plywood backing, there was one problem with this idea though, how do you adhere a metal piece, without showing any screws, onto plywood?
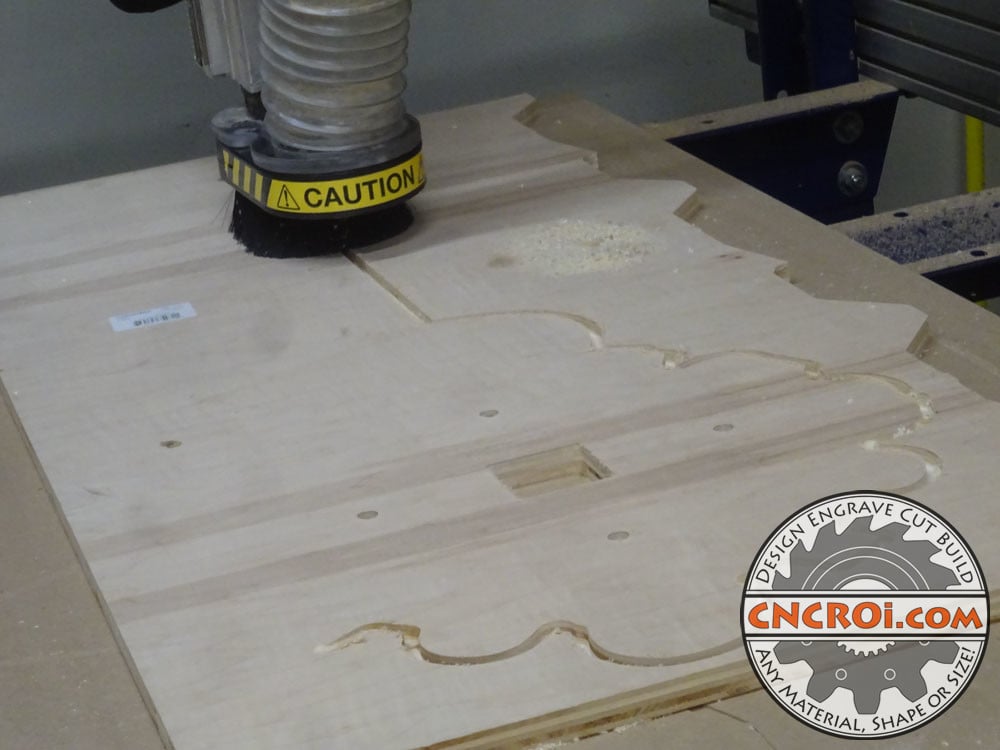
The solution I came-up with was bolts welded to the back, it was genius, so I quickly programmed this into the design of the plywood so that I’d have all my holes decided upon beforehand.
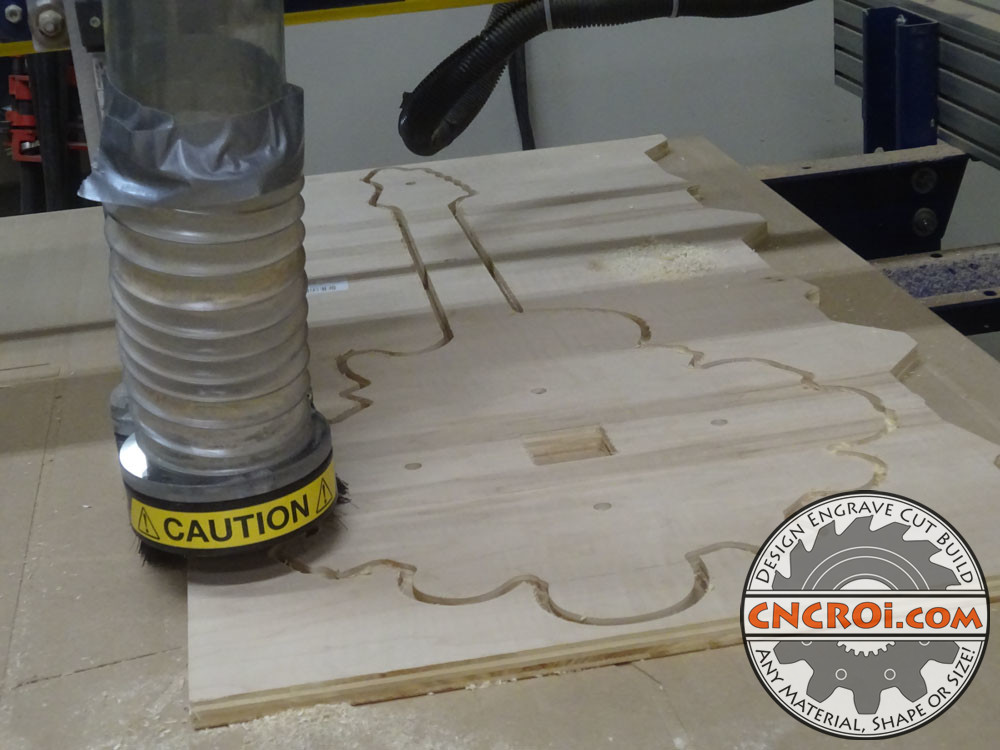
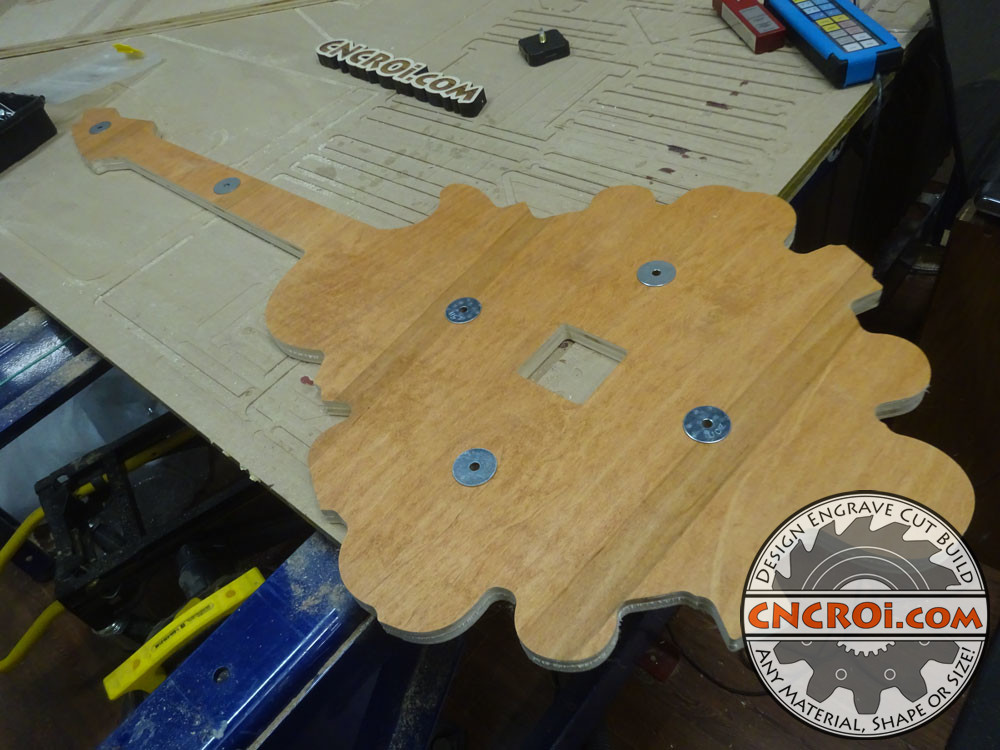
The plywood backing was now done, I did it upside down (stain was already on the wood) because originally I was going to have the clock mechanism not even show in the back, it would be pocked in, but then if you wanted to change the battery, you’d have to unscrew everything, so I decided to just cut all the way through instead.
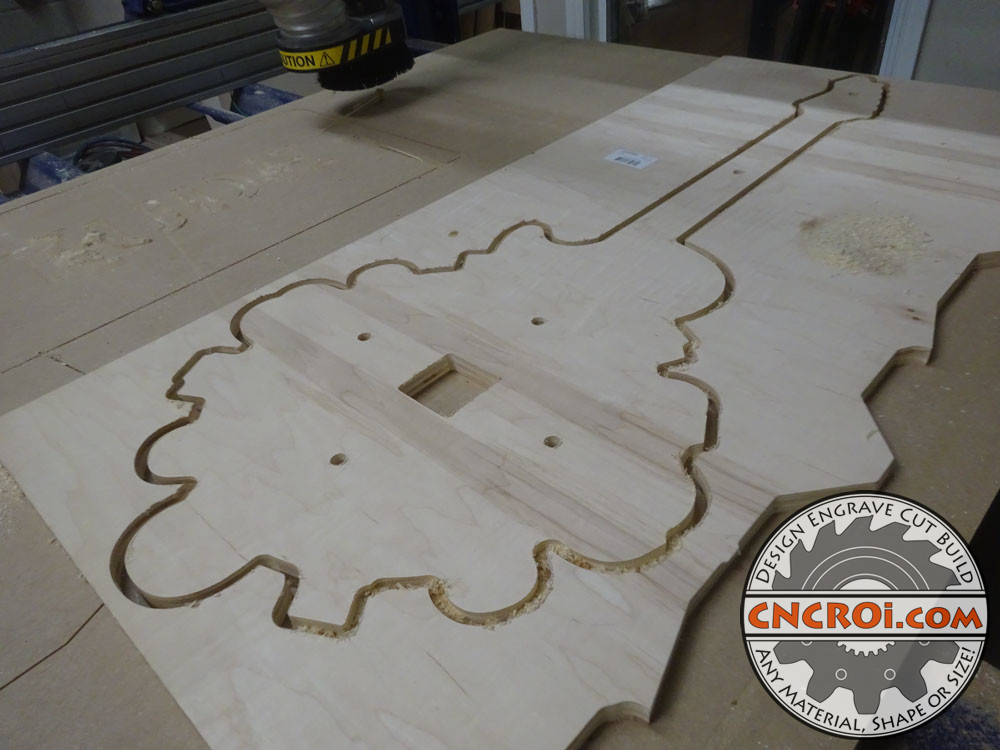
I’ve made a ton of jobs using plywood, it’s really an amazing material to work with, it’s cost effectively, incredibly strong and works very well with other equipment in the shop… and it stains too!
https://www.youtube.com/watch?v=KisYwjoUh2w/
A quick look at a dry run minus the offsets and you can see the decision to add the plywood and the offsets was a given, and I’m so happy I realized all this before it was too late to further modify my custom guitar clock design.
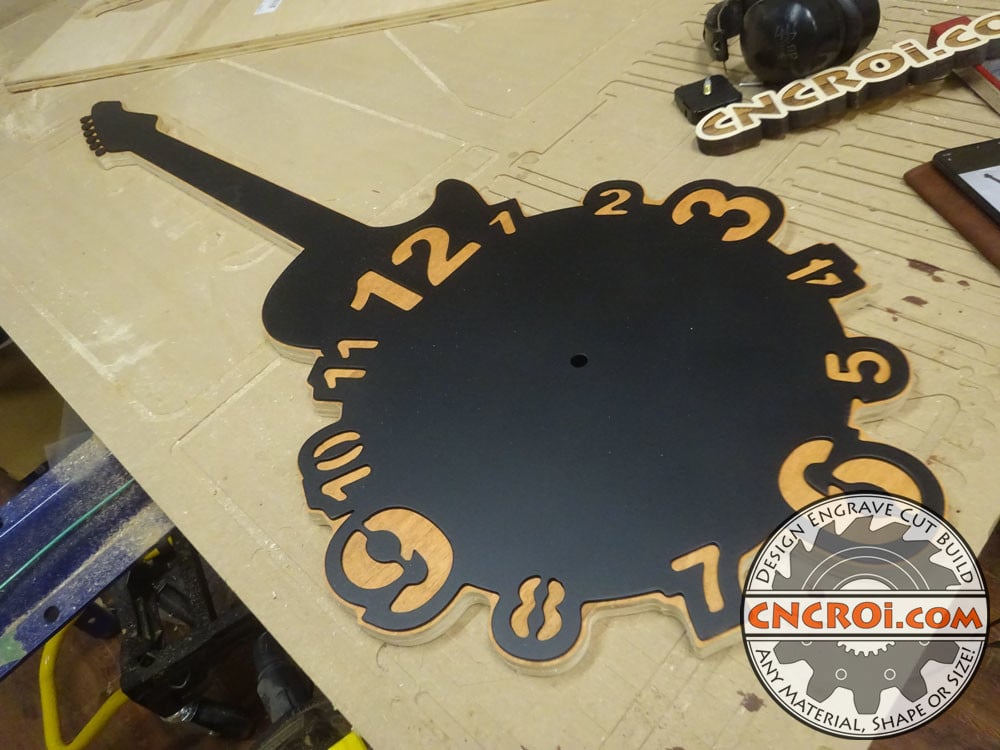
These offsets are nothing special, just MIG welded bolts on the back of the mild steel, I made the holes in my plywood bigger to give me some play and added washers for strength and tightening support.
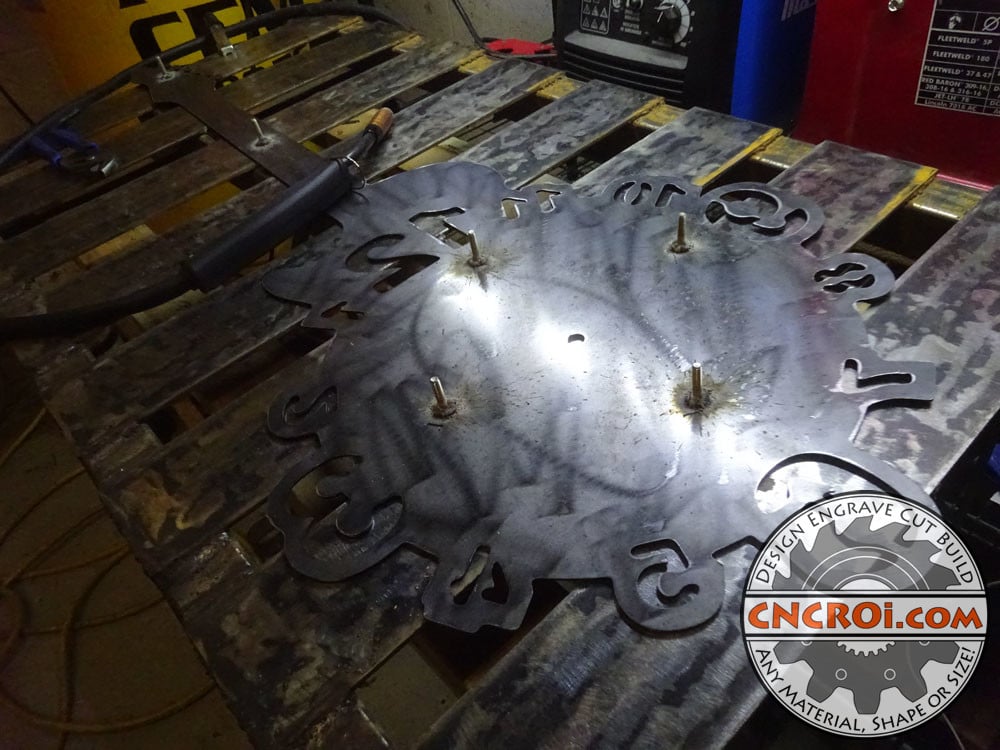
Below you can see the holes re-enforced with washers, that corresponds with the welded bolts from above on this custom guitar clock.
Just to give you an idea of what stainless steel etching looks like from a fiber laser, here’s an earlier project I did at CNCROi.com that would have closely resembled surface quality wise what I did with this custom guitar clock.
https://www.youtube.com/watch?v=a5JdXkAFz1M/
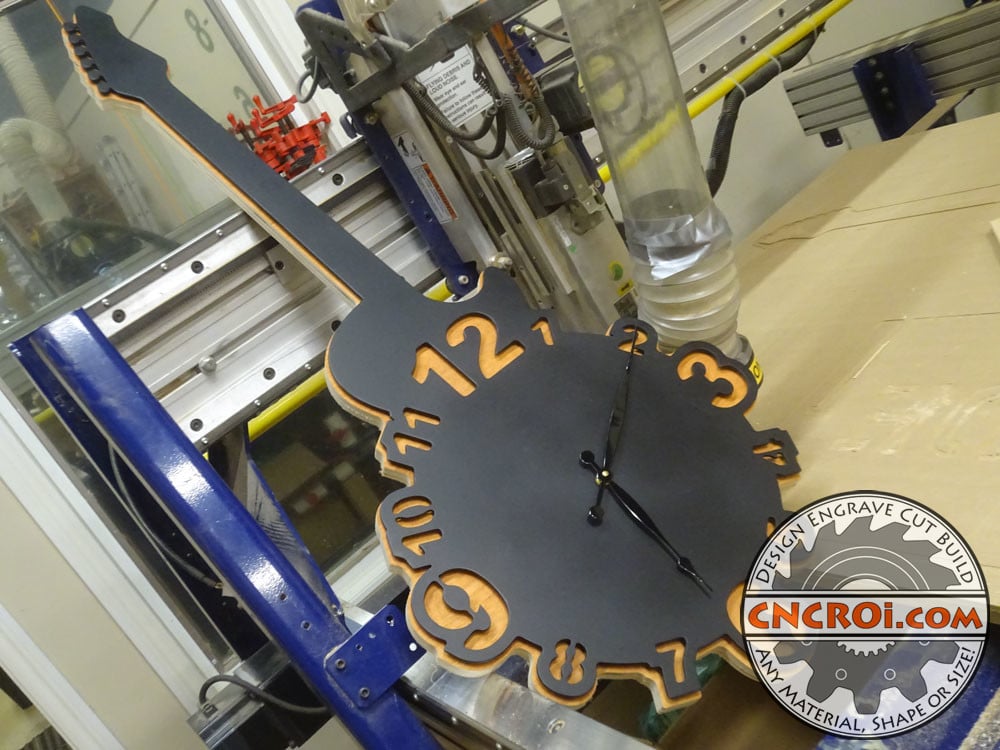
Once married together, you can see the final results below, I really love the offset, and more importantly, I really like the added detail that shadow has given to this piece for free!
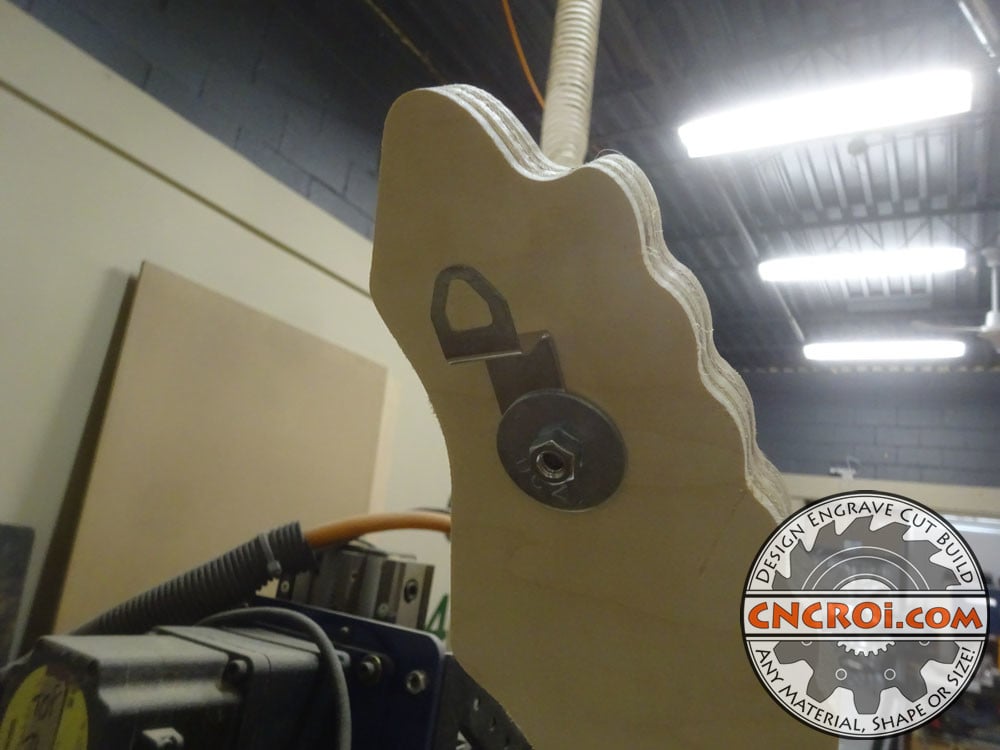
The back is hung up using just a regular clip bolted in back of the washer, so in this case, the bolt also acts as a way to stick this awesome metal custom guitar clock on the wall!
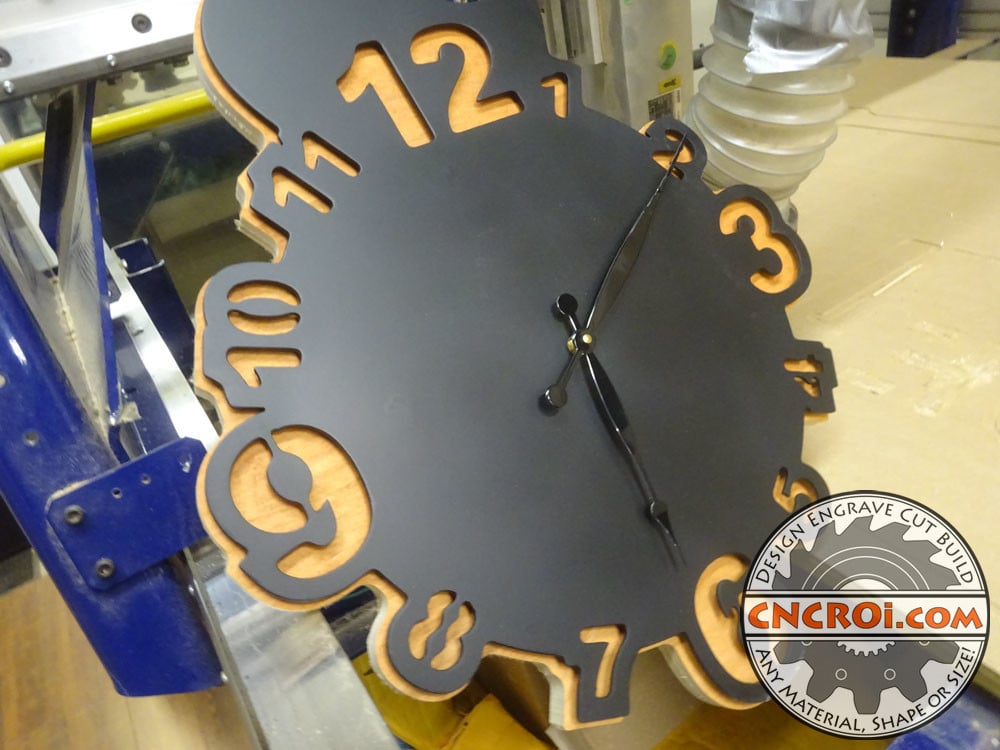
A close-up of the clock face, I can’t wait to hang this up in my shop tomorrow, the numbers are EASY to see, the the clock mechanism looks great and the overall custom guitar clock piece is certainly unique and will stand-out at CNCROi.com.
Need a custom clock or project made and designed? Contact CNCROi.com right now!
https://www.youtube.com/watch?v=gbrSZMquitg/
