Custom HDPE Jigs: UV Printing
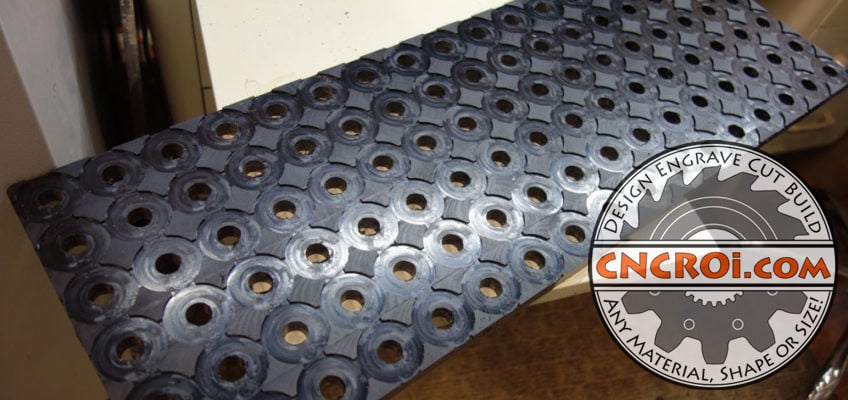
Custom HDPE jigs made by CNCROi.com can be made into any shape for a variety of purposes, in this case, the project is to make the customer a UV printing jig prototype, the actual production will happen after thorough testing.
https://www.youtube.com/watch?v=BcJ1Ct6bETo/
This custom HDPE jig is a relatively rigid material and relatively flat, both issues are “fixed” at CNCROi.com to make the jig of the customer’s dreams so that it has the perfect rigidity, flatness and well within tolerances for their production needs.
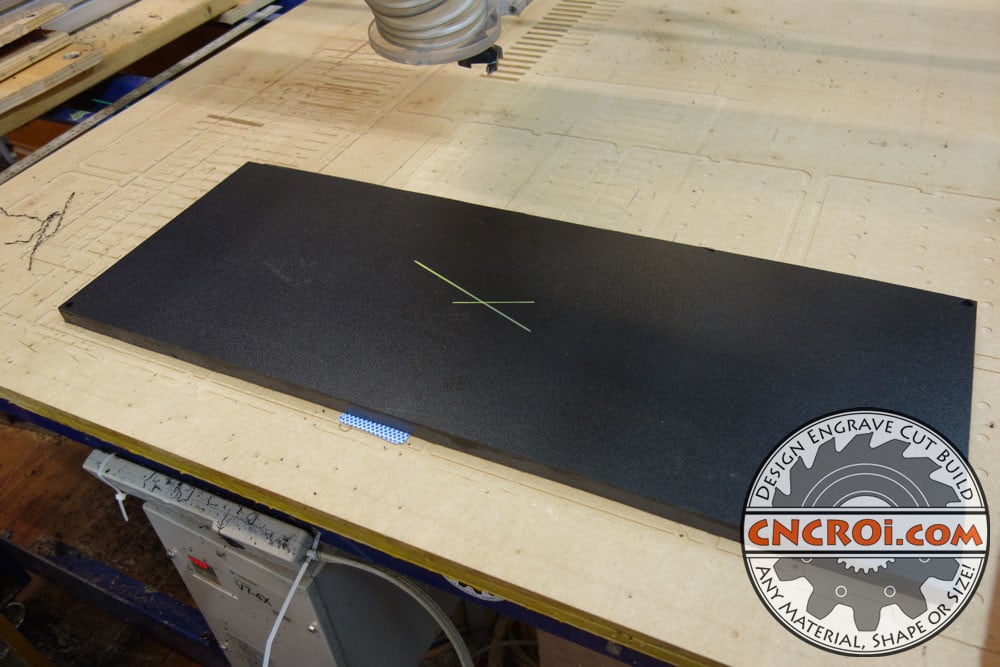
HDPE is not flat, regardless of the thickness, as such, this is the first issue that CNCROi.com must address for this project, flattening both sides and making this custom HDPE jig completely parallel.
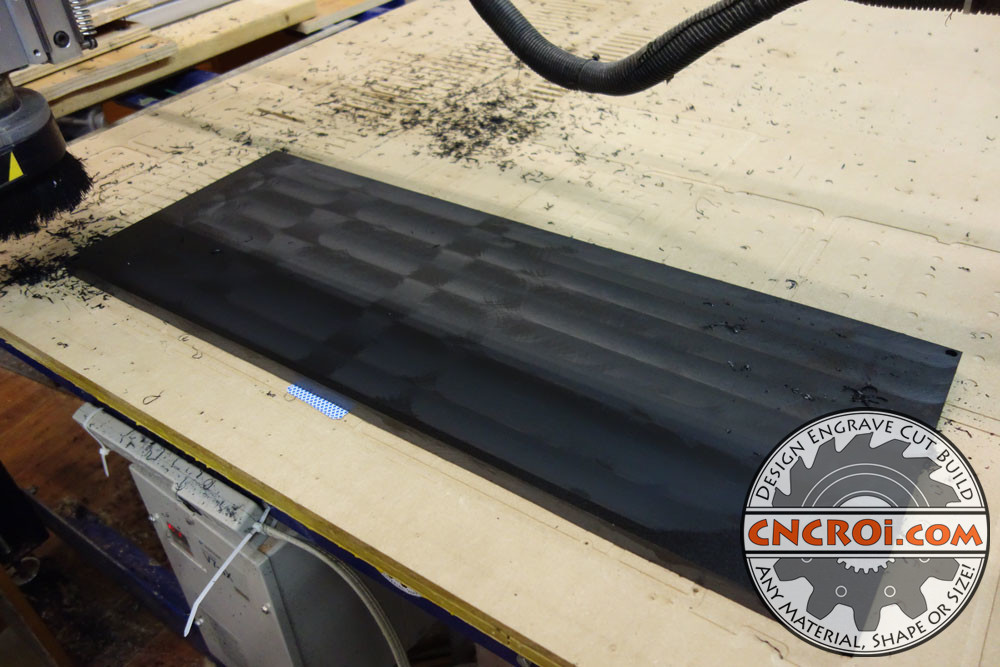
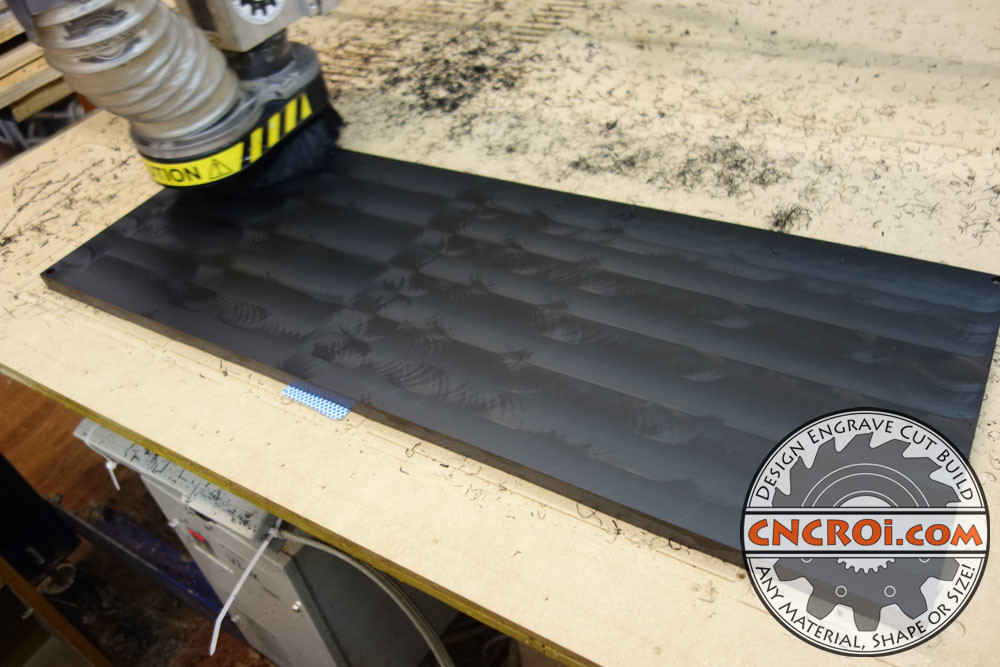
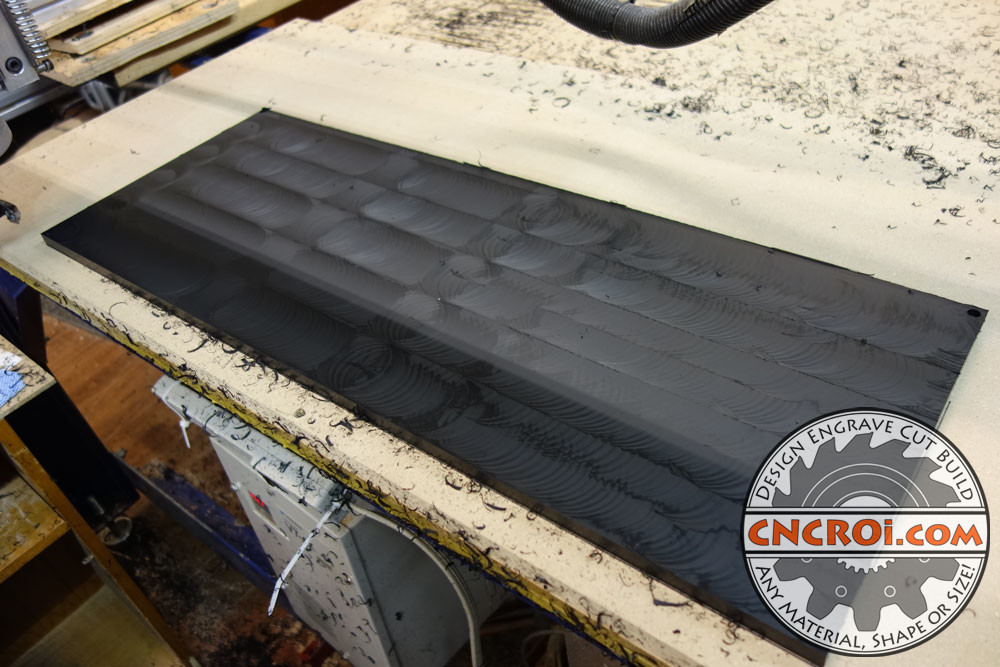
You can see machining marks on this custom HDPE jig but don’t worry, it’s like when you cut grass in differing directions to produce unique patterns, flat is flat, it’s just the edges of the flattening bit spin faster than the inside parts, as such, this difference in speed polishes the custom HDPE jig in different ways.
For use at CNCROi.com, most of the jigs I make are actually out of MDF, it’s cheap, it’s relatively durable and best of all, it can be glued-up pretty easily.
After flattening the “bottom” of this custom HDPE jig, it can be extremely slippery, so I must introduce a bit of texture to give it a bit more grip, which is easily done using a little hand sanding… this also improves the aesthetics and feel of the overall jig.
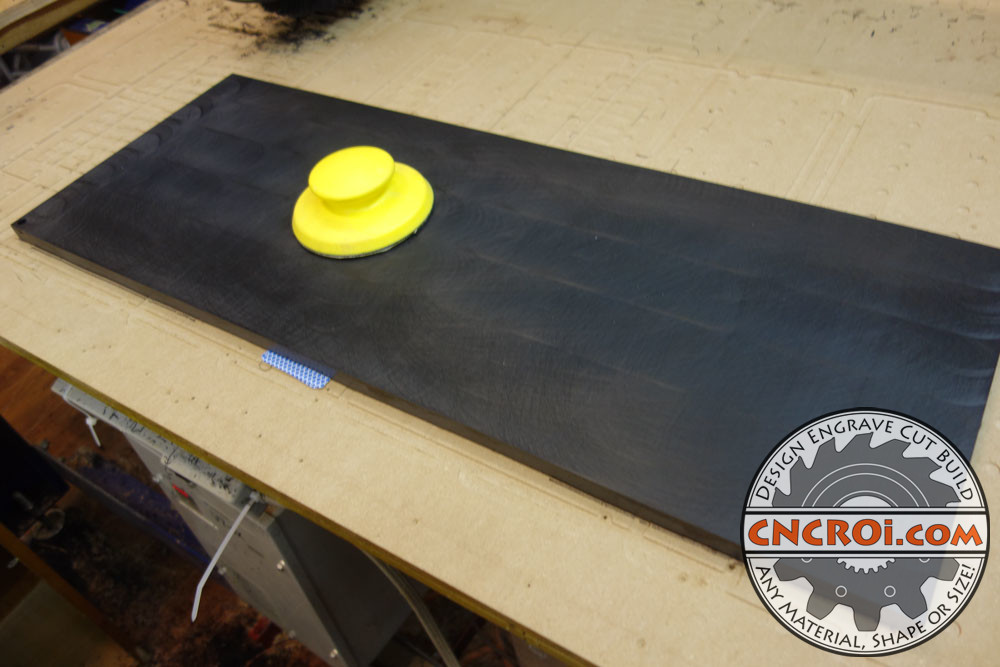
After the “bottom” is totally flat, it’s time to flip the custom HDPE jig and repeat the flattening process on the other side, we don’t want this jig to be just flat on one side, it needs to be flat on both sides, producing a totally parallel UV printing jig.
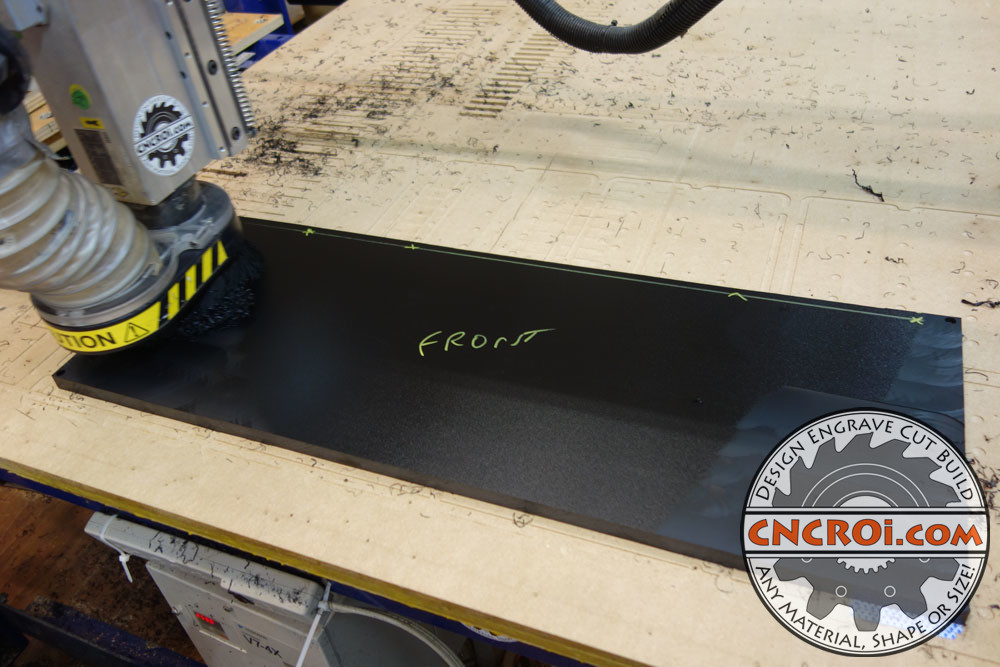
The photo below really shows you how warped this is, this causes problems with UV printing especially as the vertical tolerances are tight with that process and you don’t want stuff moving around on you during production either, which will happen if you don’t have dead flat jigs.
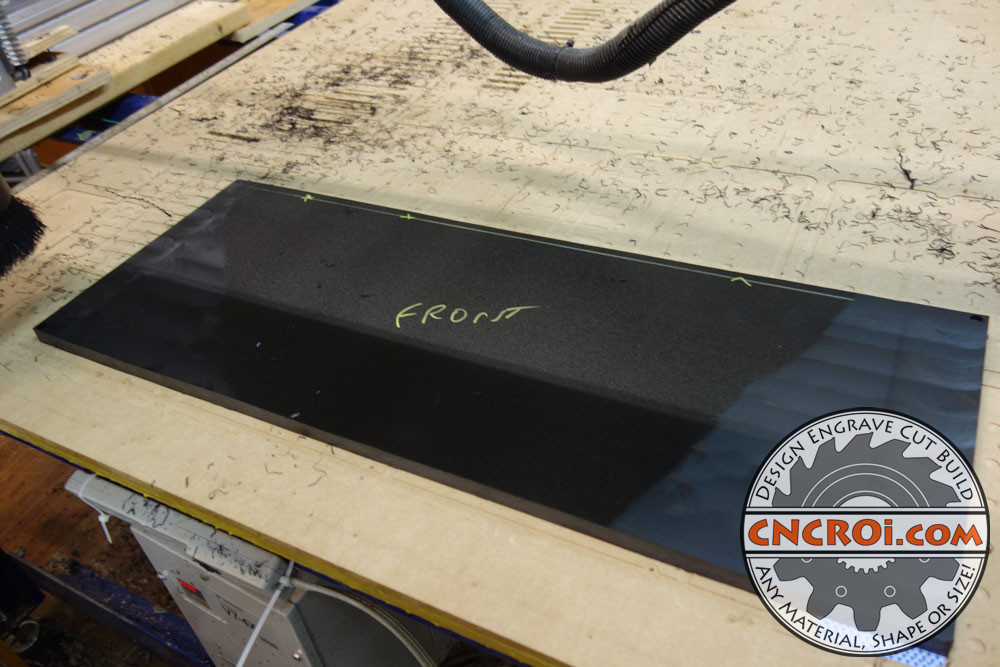
Custom UV printing jigs specifically can be made using acrylic of course, the added advantage to this is color, so you know a piece is missing!
You can see the same texture that’s created by the flattening process now on this side, no point in sanding this as CNCROi.com will be carving right into this to produce the pockets needed by the customer so they can insert their UV printing products into this custom HDPE jig.
This is probably the tightest jig spec wise I’ve made thus far at CNCROi.com, the parts are within fractions of a mm apart from one another and the machining of the jig has to be dead-on for each and every cavity, which of course, it is!
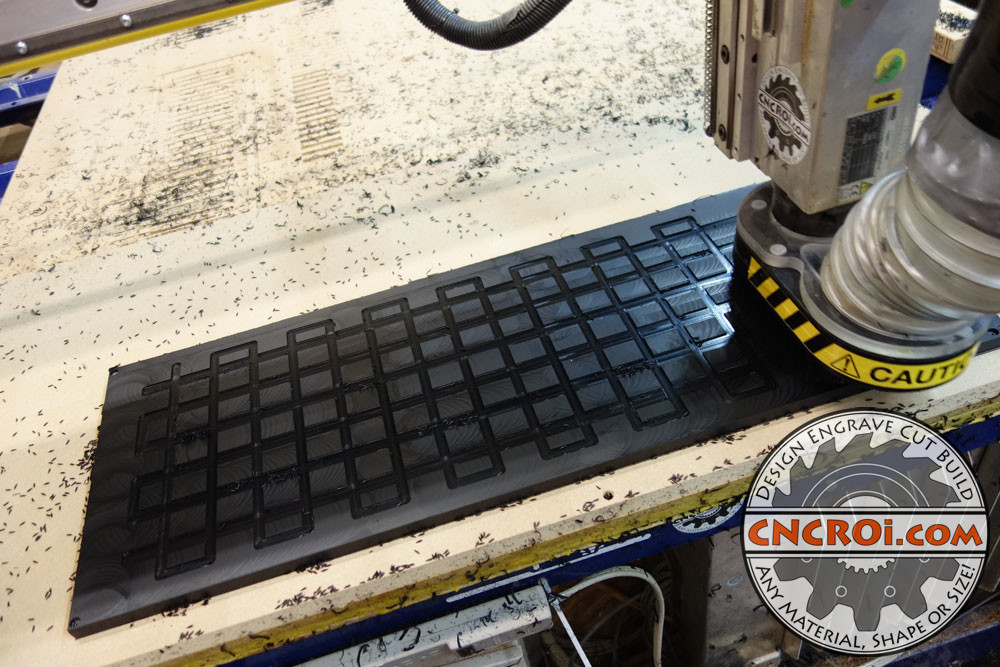
There are quite a few steps involved with the production of this custom HDPE jig, several passes are required to add their own little level of detail, and this is where my experience making this type of product really come in hand, as if you have the wrong sequence of events making this jig, you waste time (and the customer’s money) along with a lot more material than necessary.
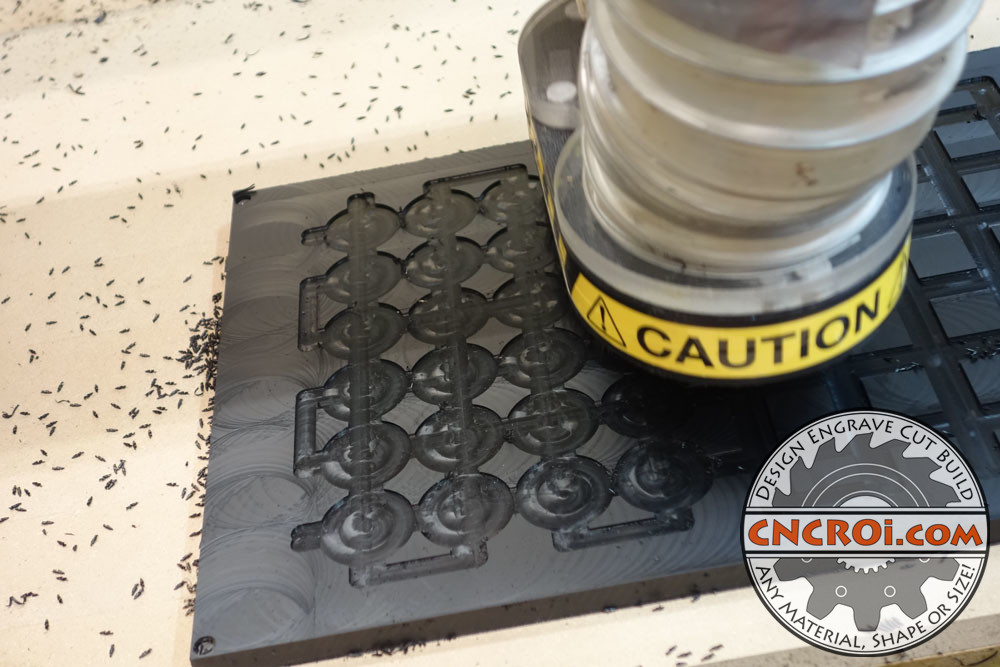
Jigs can also be made so customers can use them to machine their own parts, this is where the line blurs a bit between templates and jigs, as they can totally do double-duty!
Up to this point, CNCROi.com has made jigs using every material imaginable, from metal to plastic, wood to composite, but this is the first time we delve into making custom jigs using HDPE and I must say, it’s a great material to work with!
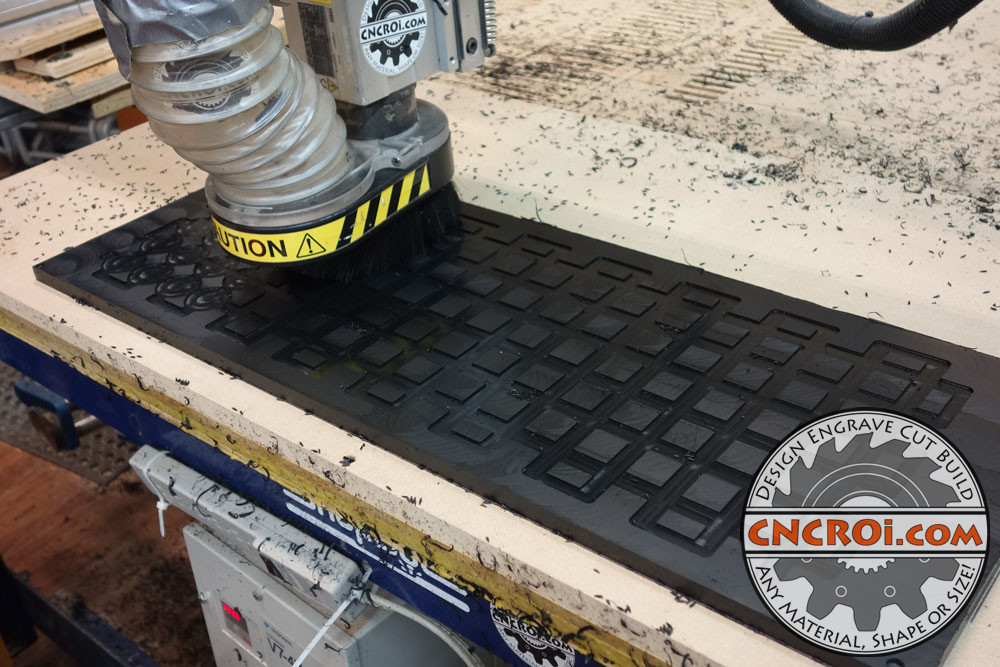
The one downside to machining HDPE is during the flattening process, it produces interlocking clumps of, what’s best described of as, hair… and it kept gumming-up my vacuum system, so I had to make a few modifications to resolve that issue.
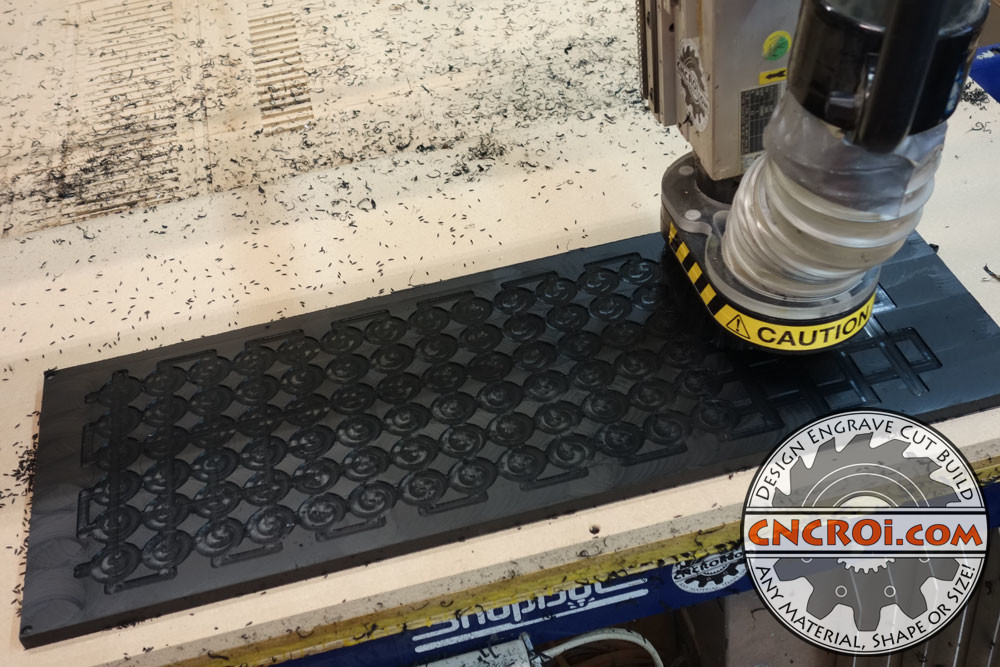
The depth of these pockets is only 1/8″, this is why it was vital to “begin” work on these custom HDPE jigs using a dead-flat material, otherwise, if the jig warps up or down by roughly that amount in total, all your spec tolerances have flown out the window.
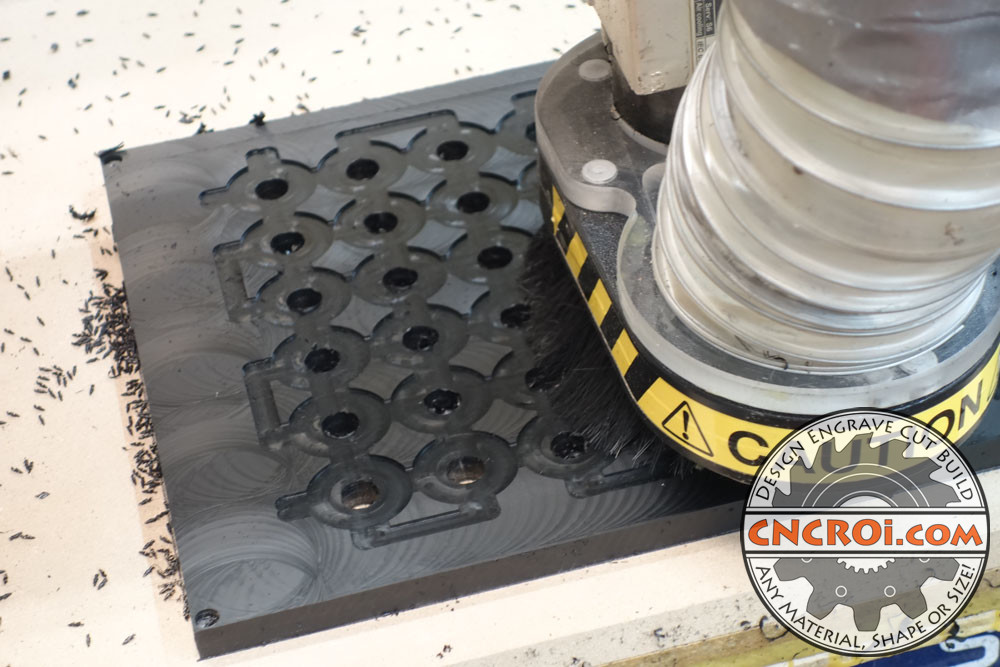
I’ve gone through enormous amounts of tags and other widgets for laser engraving, and jigs are the only way to process these types of jobs while keeping your sanity.
As this is a prototype custom HDPE jig for internal testing by the customer before proceeding with the actual production, I had to make two of these custom HDPE jig in two separate “instances” just to make sure that the steps involved worked, it’s not a very efficient method of working, but it does thoroughly test repeatability in a larger setting, using a lot less units.
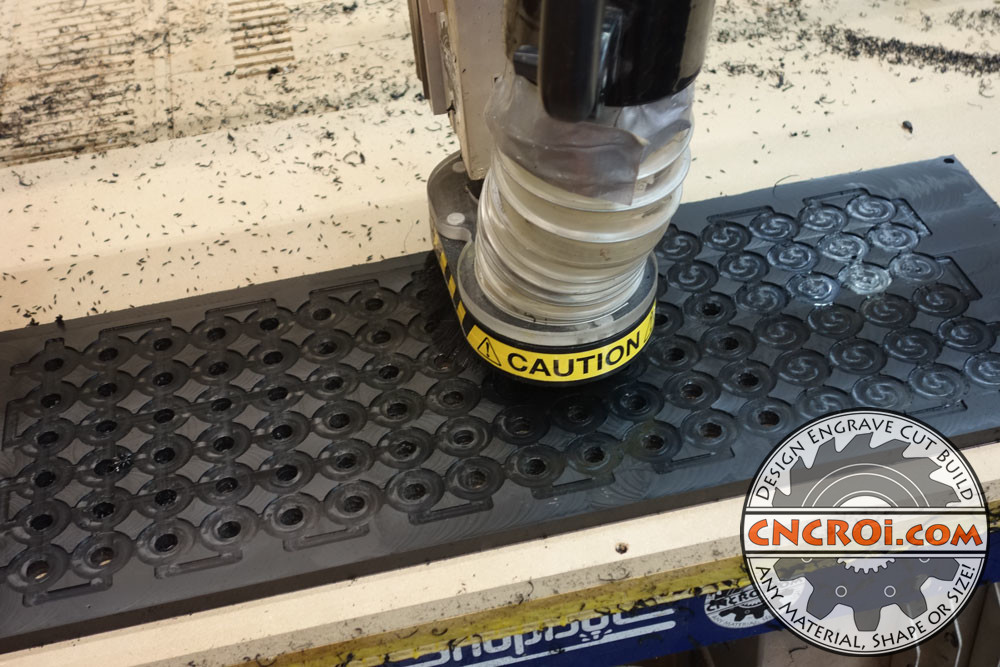
One of the major challenges for this project was that I’m not able to use the vacuum system at all for the entire machining process, as it would suck the jig down if there was any minor warping, which would then go right back up after the vacuum was turned back on after production.
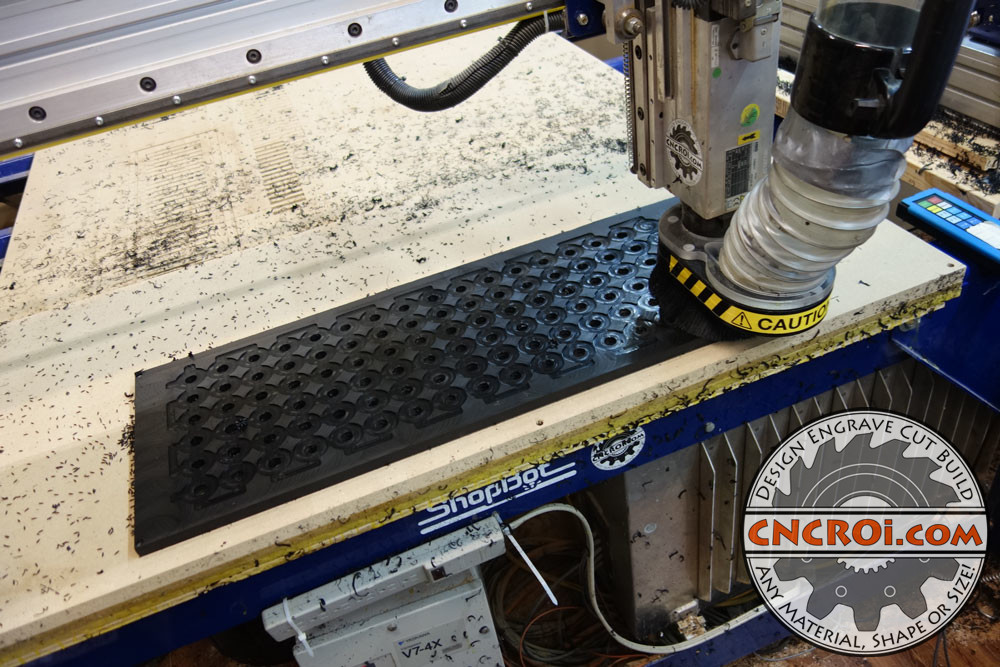
Having no vacuum means I had to rely on screws to hold this down during production, this being plastic though, this poses no problem as the forces involved with the machining process are minimal.
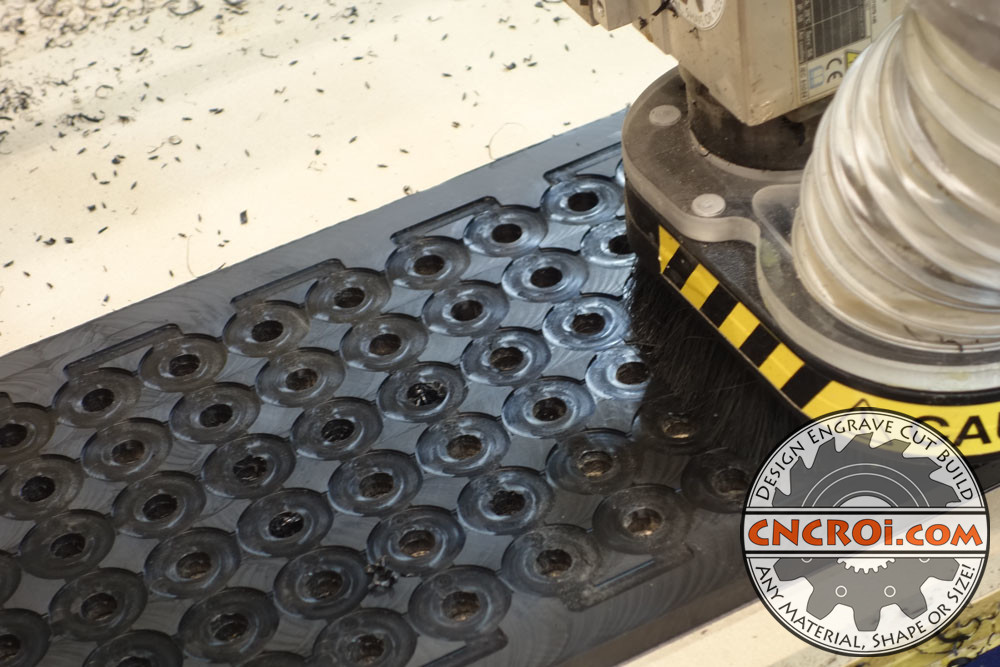
Even if I could use the vacuum with this, there are so many holes and bleed areas for air to escape, that it would quickly become impracticable, so screws win for more than one reason for this custom HDPE jig hold down wise.
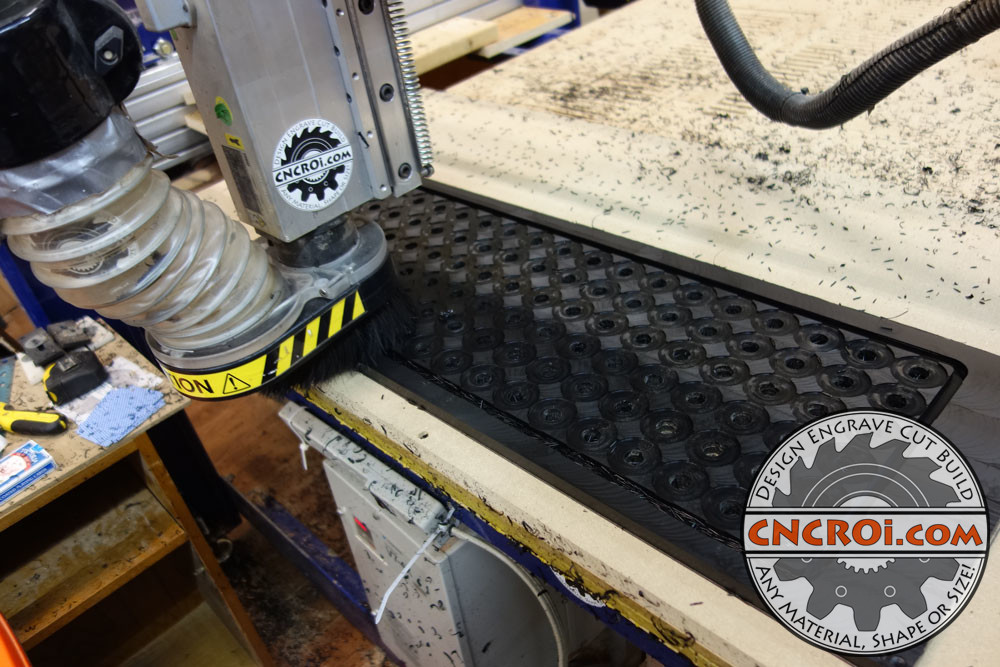
When it comes to jigs, each material possibility brings its own challenges and benefits, there is no perfect material for all jobs, just a good combination for the job at hand.
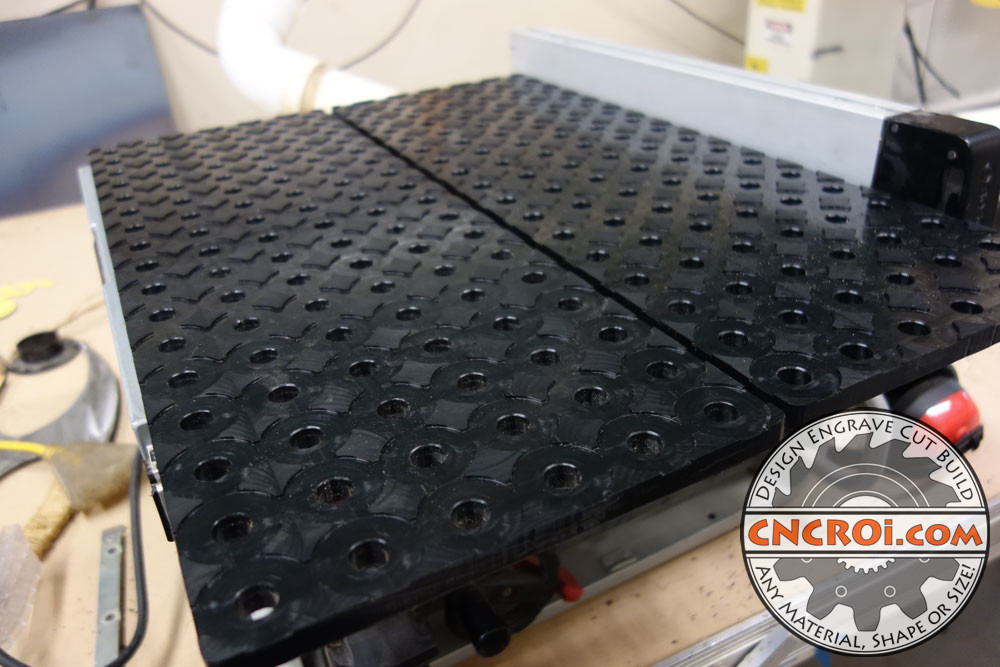
After the jig is produced, you can see I have tabs on each side, those need to be cut and sanded flush, as these jigs need to go side-by-side as well, that’s required because although the custom HDPE jig are finished, they still need screws to hole them in place right till the very end, and those screws and related holes, cannot be on the jig itself as things are too tight.
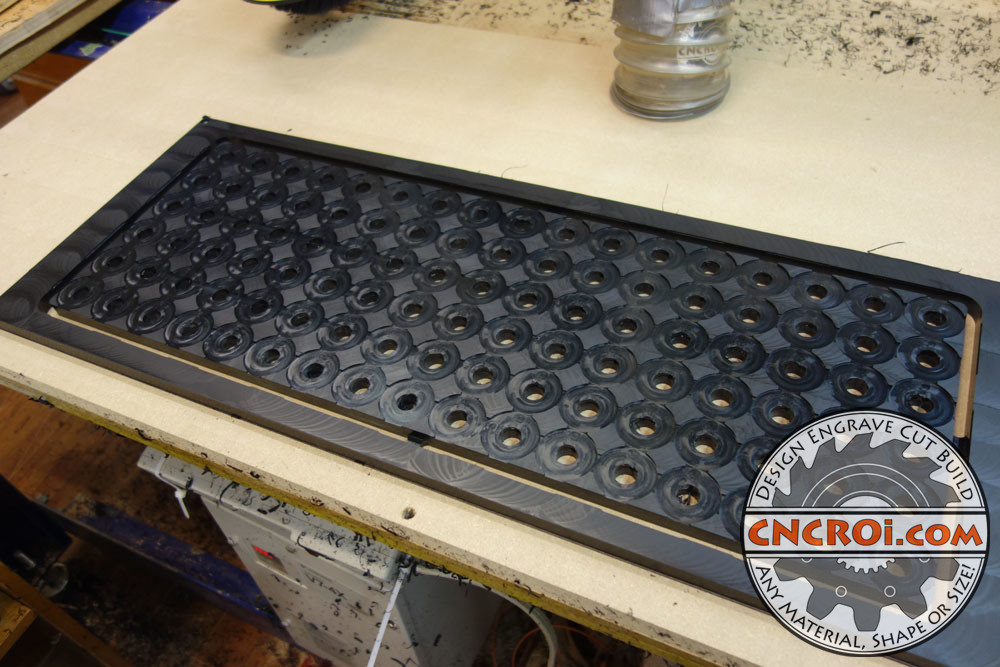
The finished custom HDPE jig looks great, well within tolerances, which I tested at CNCROi.com using the customer’s items that fit in all these pockets.
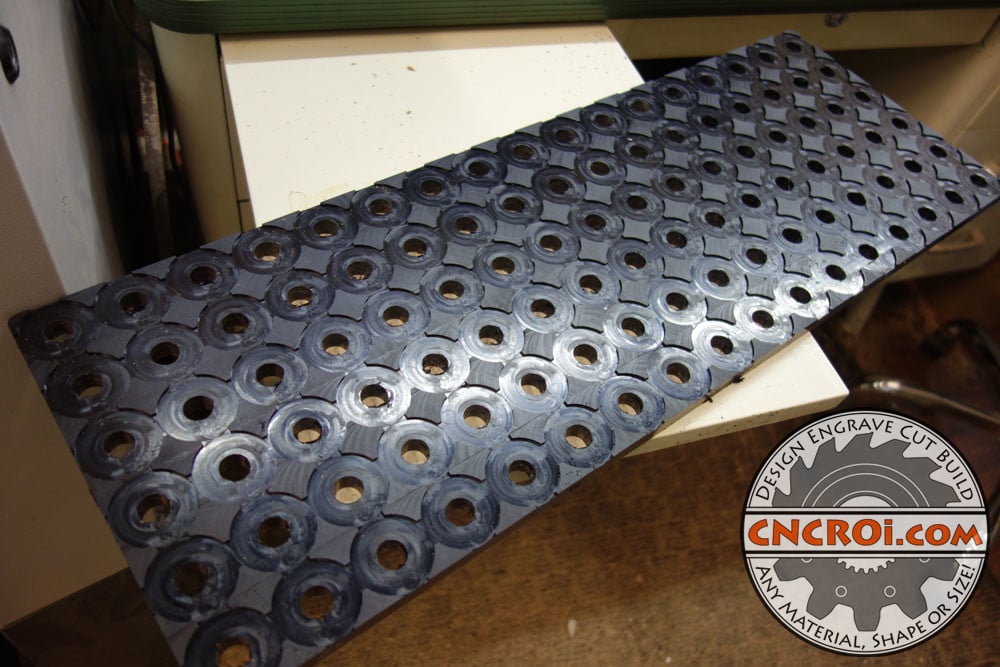
Of course, not only does the individual jig need to be made at spec, but it needs to but against others and not change the spec or spacing neither, and you can see, side by side, you really can’t tell where one begins and the other finishes.
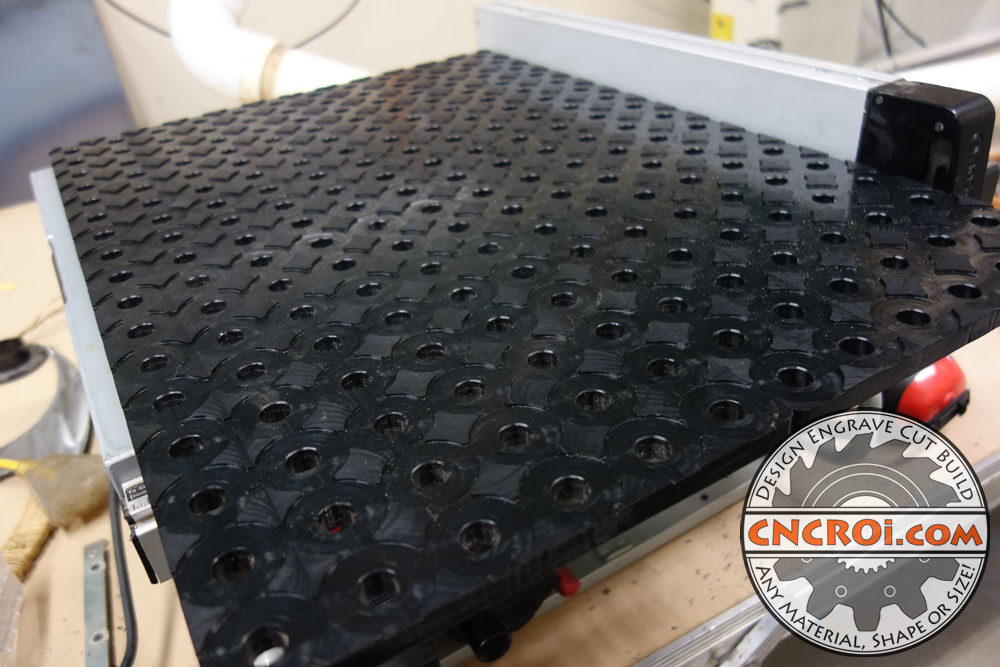
I’m very proud of how these two prototypes came-out, it’s been a surprisingly long road to get these to this point and the results are fabulous!
Need custom jigs? Contact CNCROi.com right now!
