Custom Laser Cut Rear Bike Basket (Part 2 of 2)
My custom laser cut rear bike basket is now finished, if you want to read about how it was designed, read the previous blog post Custom Rear Wooden Bike Basket: Design (Part 1 of 2).
I decided to go with Pine for this project, not because it’s strong or light but because I had some extra of it in the shop and needed something thick. Pine is great for absorbing shocks but it isn’t a particularly strong wood but it’s lighter than Oak which would have been a better choice.
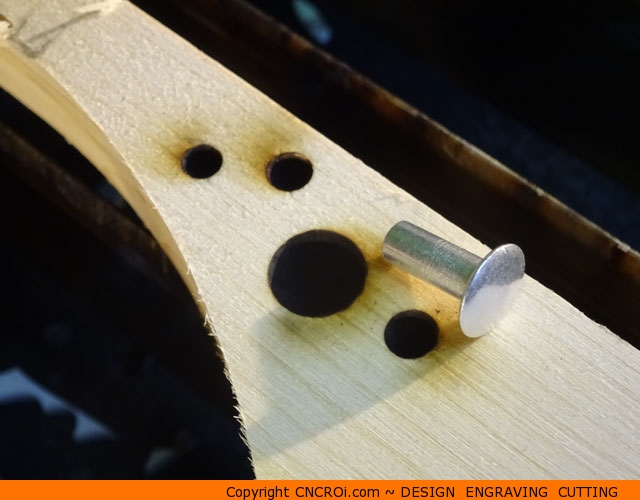
Before any cutting, material testing needs to be performed. The design I made is 100% ideal world and no material is that perfect, so the thickness is a bit off and the design scaled properly to account of this variance among a few other issues.
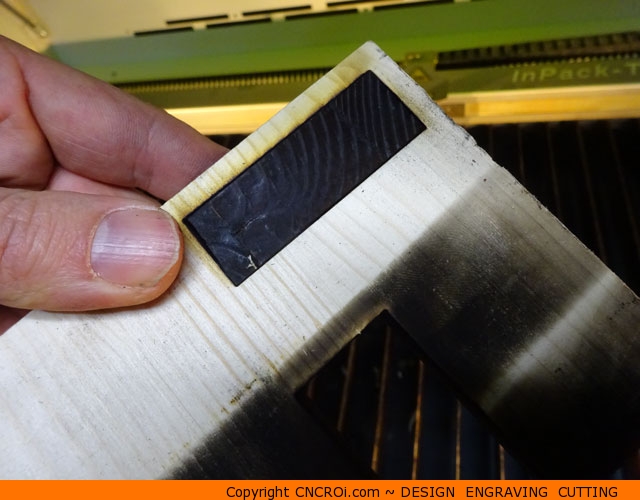
In this case, I cut a rectangle and then pushed it through the same hole at 90 degrees to get the correct proportions. Flush on both sides means I’m dead-on and all the interlocking parts will fit together perfectly.
I prefer using pass-through on bigger projects, big parts of lots of little ones like this rear bike basket, it makes cutting more efficient as you can use more of the material at hand and it makes it more fun to feed things through. I can open-up the back as well, it just wasn’t needed on this project.
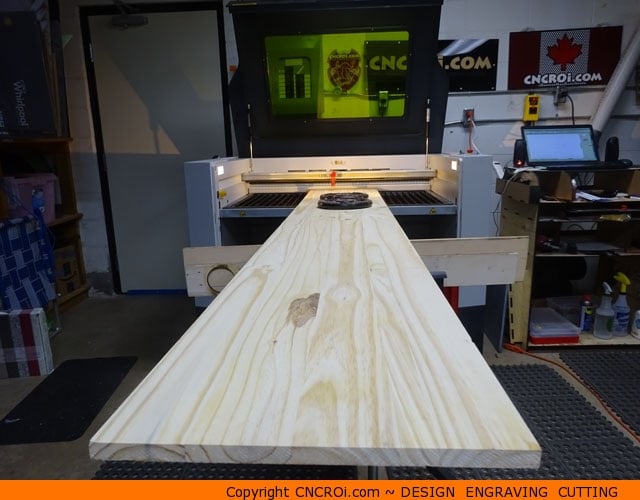
These were very long Pine boards I had in the shop, I hate running out of material when we have a project so I always buy more than needed and then figure-out what to do with the extra at a later time. It’s better than running out and then discovering the next delivery isn’t going according to plan and itself a week or more later than scheduled.
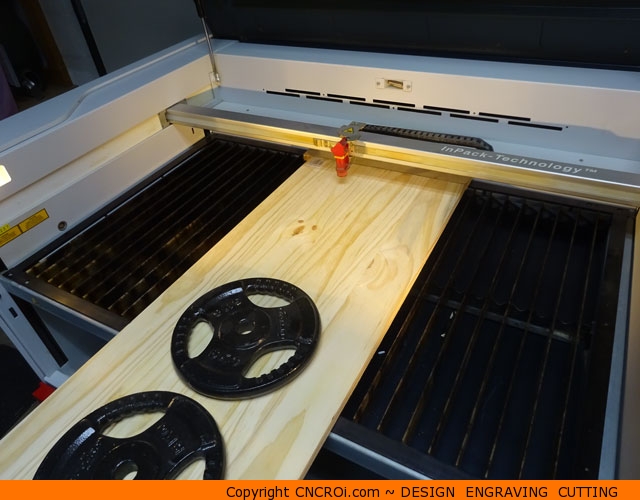
The weights are used to hold the material down, not because the laser touches the material but because this board is slightly warped and I need it as flat as possible to keep things in focus with our industrial wide-format Austrian CNC laser!
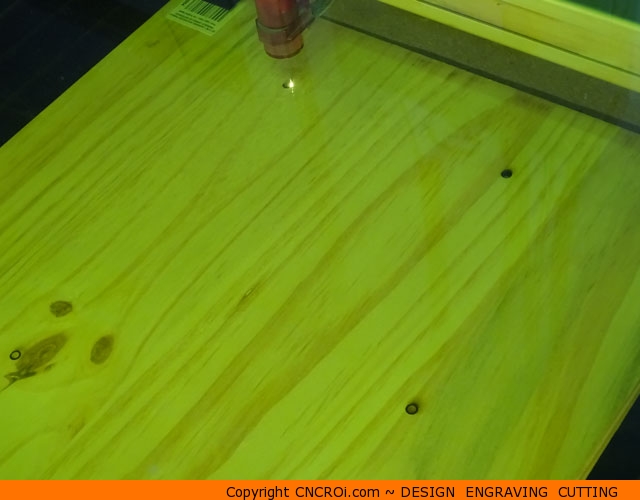
These holes were originally to be extra hardware I was going to add to the box but at the end, I didn’t need them so the holes in the box will just be air holes for now.
I didn’t need them to guide the parts together either, which was their secondary process. Remember this is V1 of the rear bike basket, sometimes what you “think” is required during the design process really isn’t in real life.
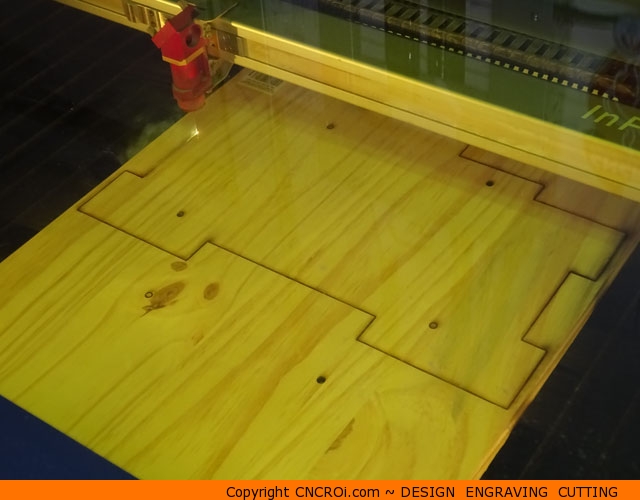
This box has never been cut or assembled in real life, this is the first time ever it’s been put together so the design is being proven out digitally and then improved upon after physical mock-ups are produced. This saves a lot of time and the experience just leads to a more refined design over time.
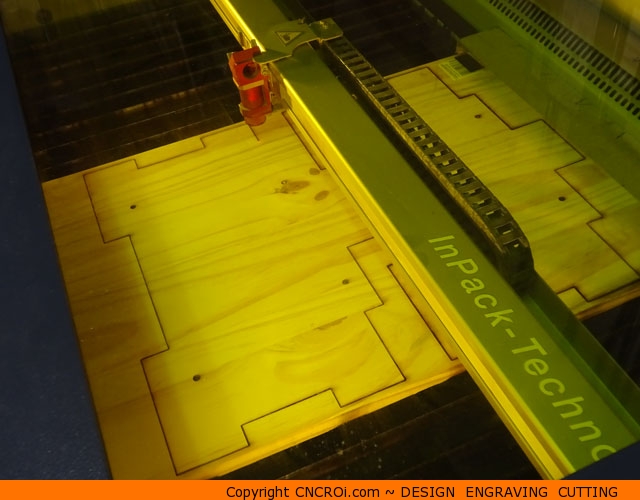
Our industrial CNC laser has no trouble cutting through this 3/4 inch pine (18 mm), the challenge I had with this project is preventing this rather weak wood from breaking under the pressure of the clamps during the drying process (after glue was applied).
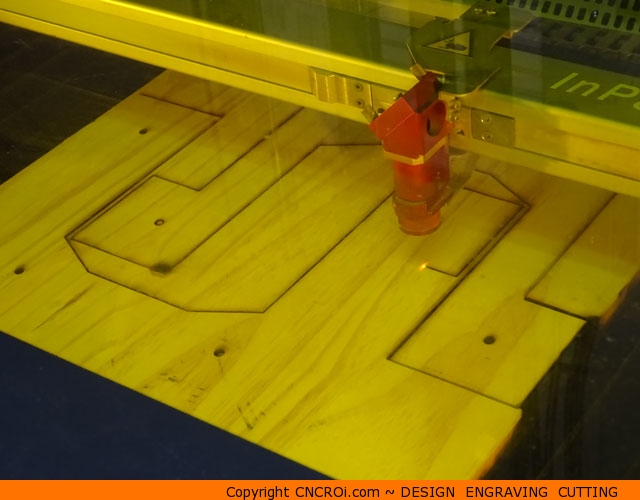
Each shape in this custom rear bike basket was designed to look distinct from every other piece on purpose, this makes assembly way more intuitive and easy. The reason thick material was used was to keep the overall number of pieces in this project as low as possible.
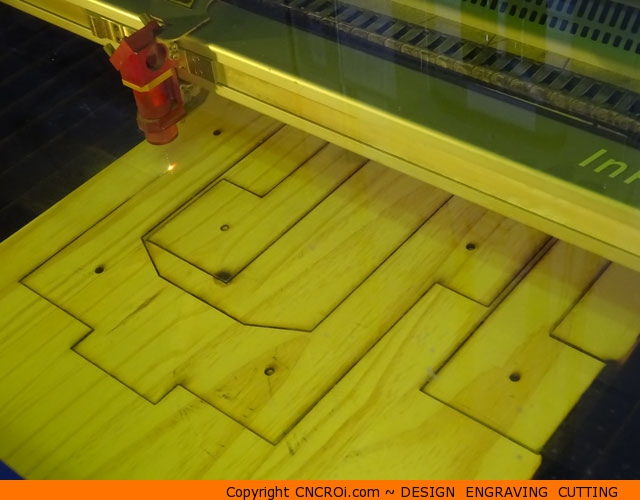
While laser cutting this pine basket, it’s still important to double-check the interlocking aspect of the box. Although I did my material testing earlier before starting the production process, it’s still important to check things throughout to make sure nothing was overlooked.
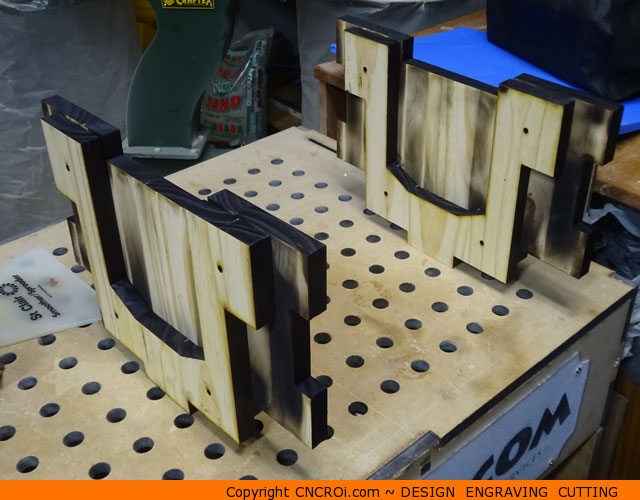
I didn’t apply any masking on this project just to show the amount of smoke cutting through this thick a board produces, it’s only on the absolute surface so it’s easily removed with a damp cloth and sanding.
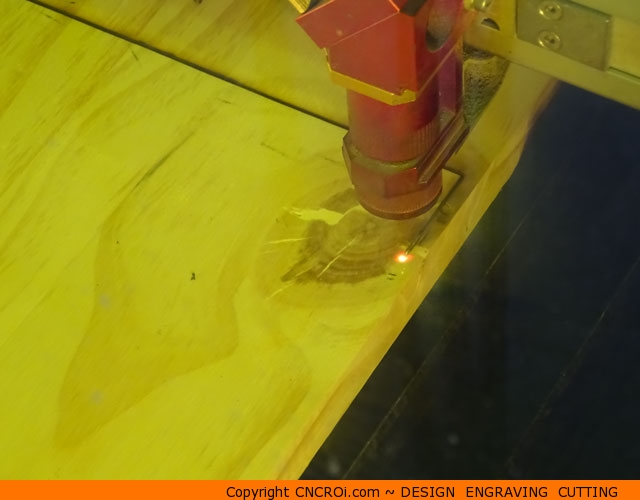
Our laser is powerful enough to easily cut through just about any wood knots, so they don’t pose an issue for us in a production environment nor for this rear bike basket.
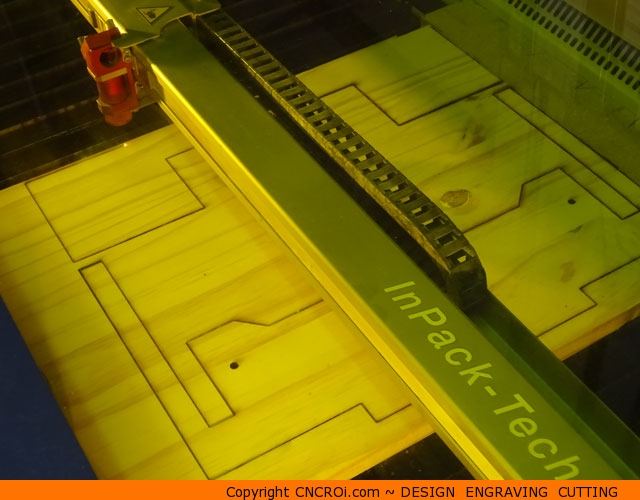
As each part is cut out, it’s added to the other parts so that testing is done throughout the production process, if there are any problems, they are discovered RIGHT NOW instead of down the line. A few of these pieces had to be redone by the way, they broke during assembly.
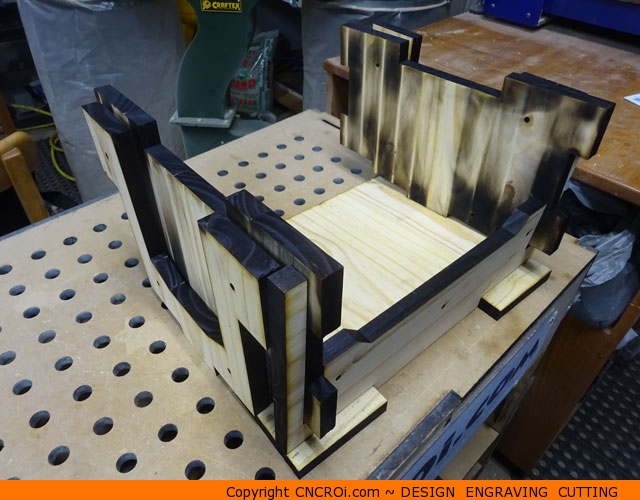
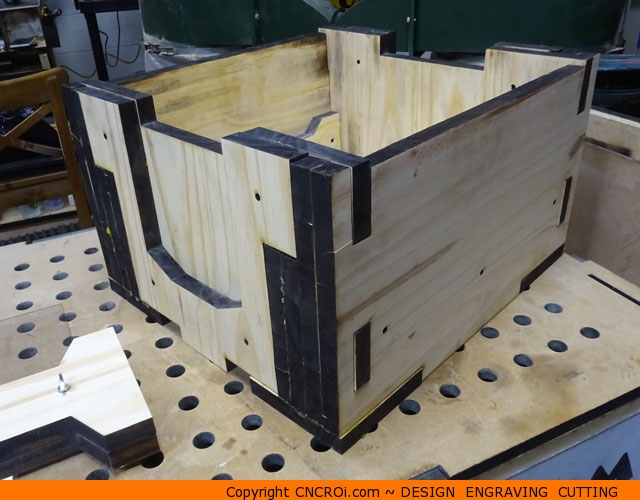
So far so good, all the parts interlock perfectly and the box actually stays together without the use of any glue or exterior supports.
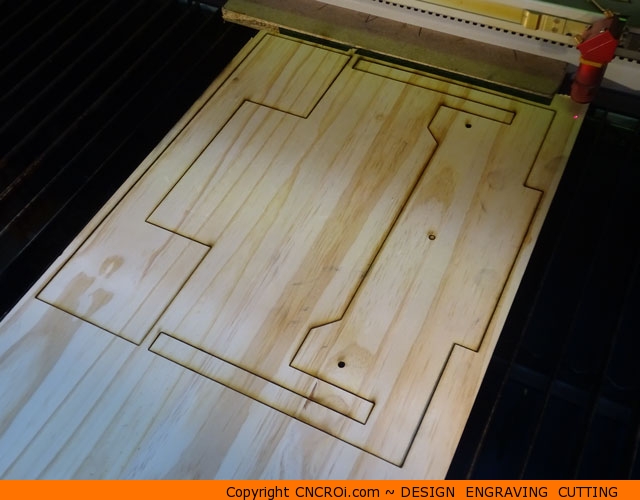
Now that most of the rear bike basket is proven, it’s time to cut away the other side of it with the laser to finish the entire process.
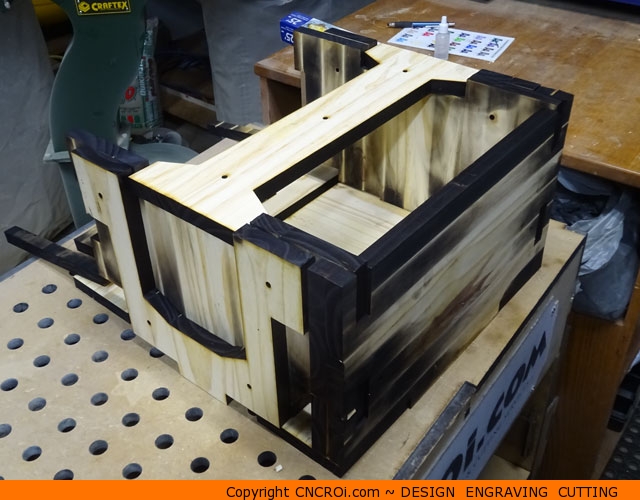
The lines you see in the soot are actually where the wood layed on our professional cutting table, it makes a pretty cool effect but playing around with these makes everything in the shop dirty pretty fast, it’s like playing with charcoal, which is essentially what all the black you see on this basket is.
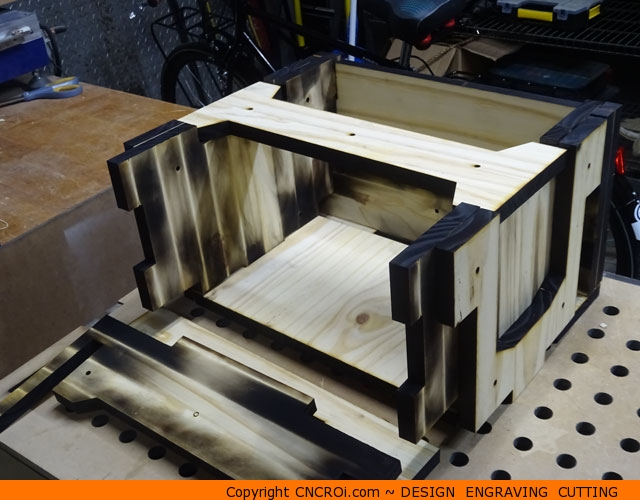
There is a reason why you don’t see too many big items like this cut with a laser, compared to a CNC router (which we have as well), laser cutting is a slower process, thus not as efficient but the advantages are straight inner 90 degree corners which you can’t do with a CNC router.
Each machine has a + and -, it’s deciding which makes the most sense for a given project.
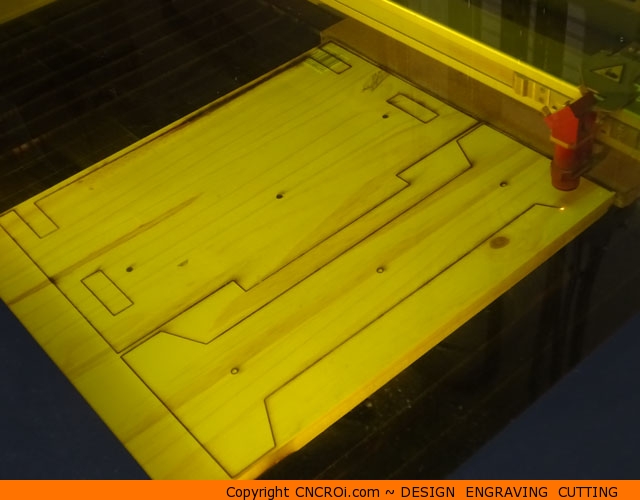
If you are curious, yes, there is some serious fire being produced in our laser, you can see the out-of-focus flame underneath extending all the way to the bottom of the table. It’s shoot down (which is what you want) instead of up because our wide-format industrial laser has a gas kit system and vacuum table.
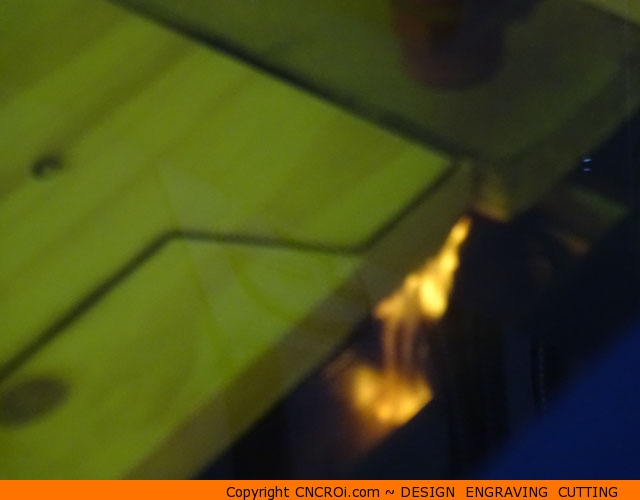
Gas kit means compressed air shoots out of the laser head nozzle and is quickly sucked out from underneath using the vacuum table. Without these technologies, this would be a massive fire hazard, yet another reason why most people don’t dare do this type of work with a lesser laser.
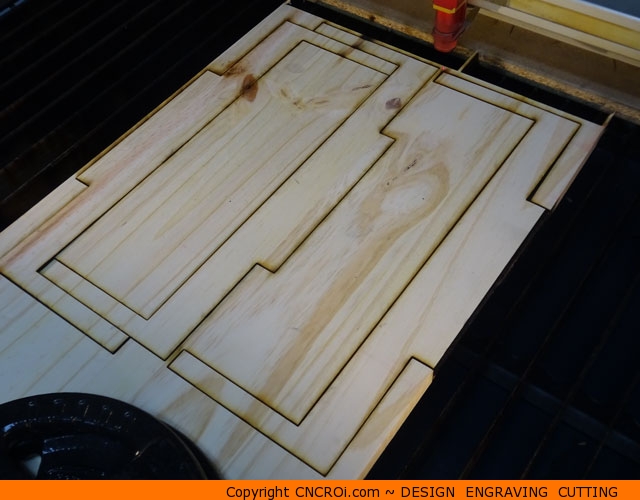
Now that the final pieces of this custom rear bike basket are cut, it’s time to see how everything fits together. Everything is dead-on.
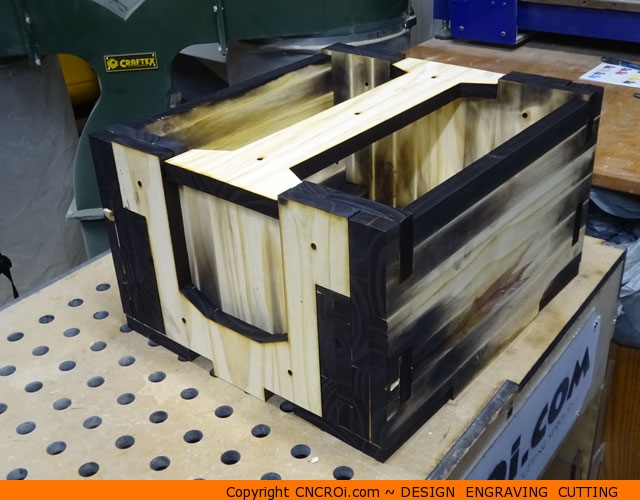
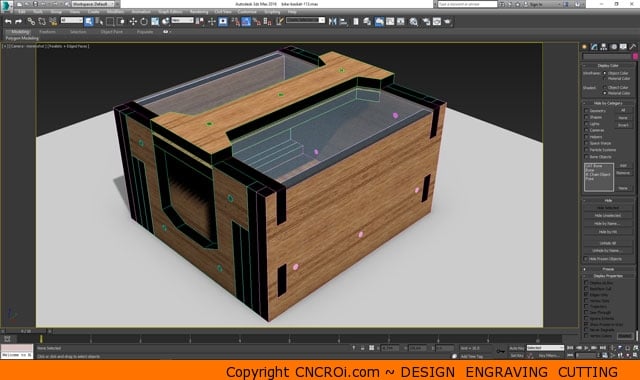
Let’s compare that to the original rear bike basket render whose files we used to make the CNC laser version of this basket.
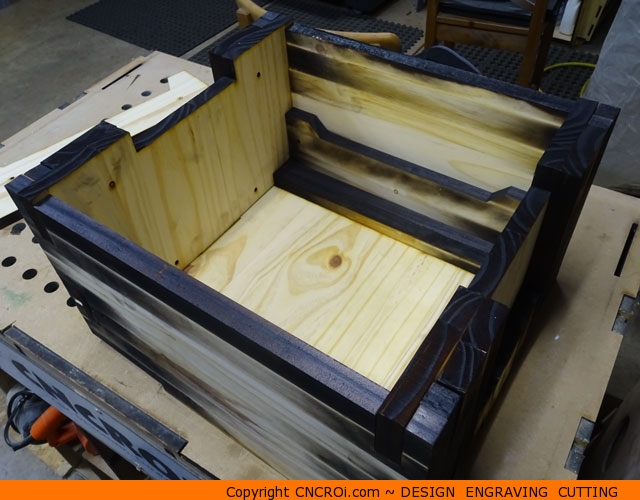
The inside is as water-tight as the outside, and everything stays together without any support, that’s the power of friction fit designing! Now, I wouldn’t put this on a bike just yet, it’s still wickedly dirty. How dirty?
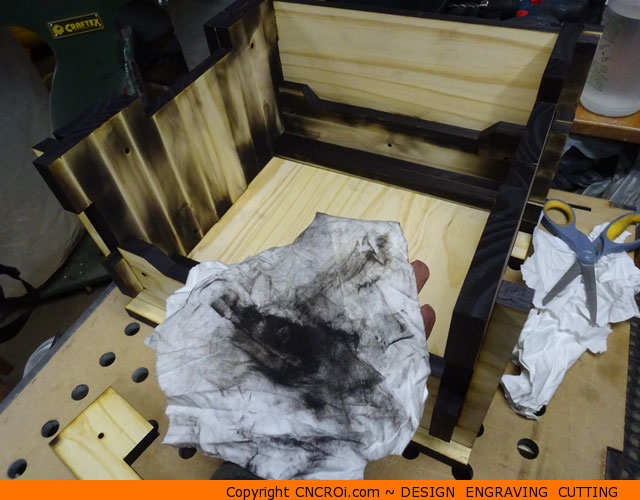
It took several rags to clean off the edges and surfaces of this custom rear bike basket, it’s still cheaper and more efficient to do this after the fact than to mask everything and then remove the masking, again, this is all on the surface only, it didn’t burn through.
Now, for the polycarbonate, the laser cut out (with holes for the hardware) 0.06″ polycarbonate lid for this custom rear bike basket. CNC laser cut polycarbonate is just as dirty after laser cutting (even more so) than the pine, so that too needs to be wiped down. In this case, the polycarbonate is masked on both sides to speed things up.
Using never enough clamps, the entire rear bike basket is held together using regular carpenter’s glue.
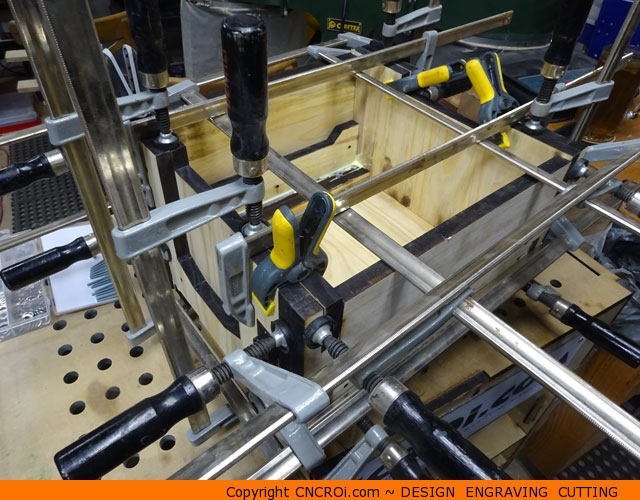
This is the step that caused a few pieces to break, pine isn’t the best material for some of these parts, so care must be taken. To give you an idea of strength differences, a sheet of 1/4 or 6 mm plywood is far stronger than this 3/4 inch or 18 mm pine and it also has a lot more give, this pine is hard and movement causes it to break under pressure.
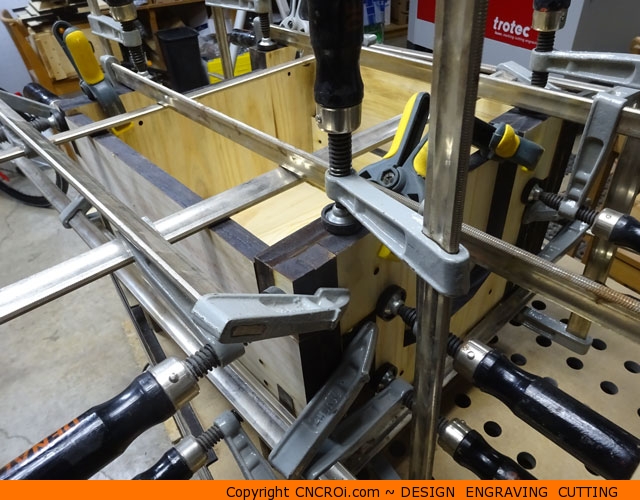
That’s why material selection is vital to any project, after all the glue has dried overnight, the box was unclamped and it looks great! It’s still a little bit dirty but that’s fine as it will get a lot more during regular use on the back of my bike.
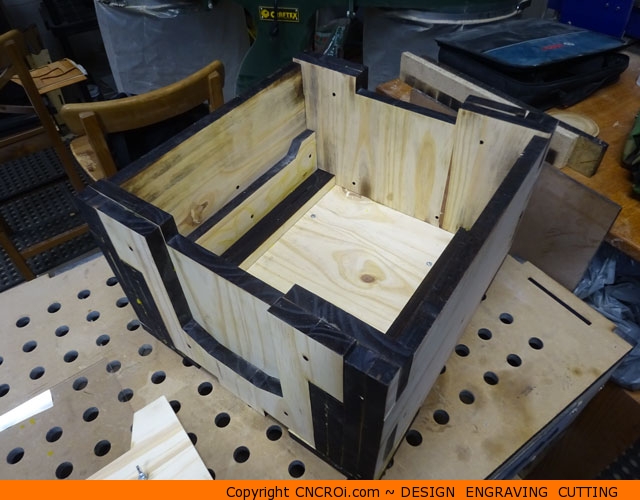
After the glue dried, I put in a few more supports, running along the edges with a nail gun and putting in bottom screws, this just makes sure that the box is as strong as possible so if the glue gives way, the screws and nails won’t.
Now it’s time to put on the clear bullet-proof polycarbonate to complete the rear bike basket design.
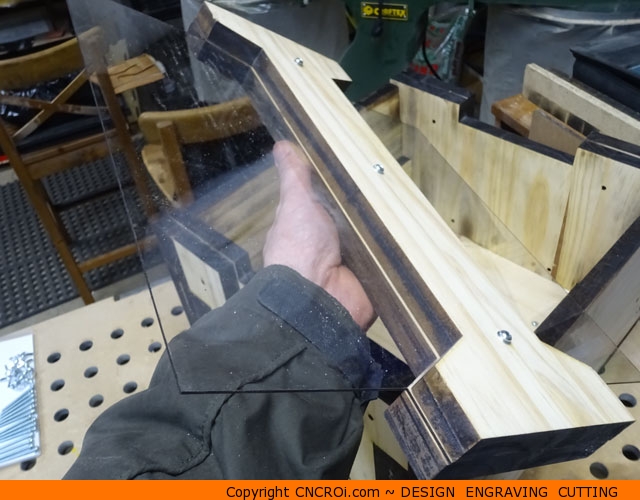
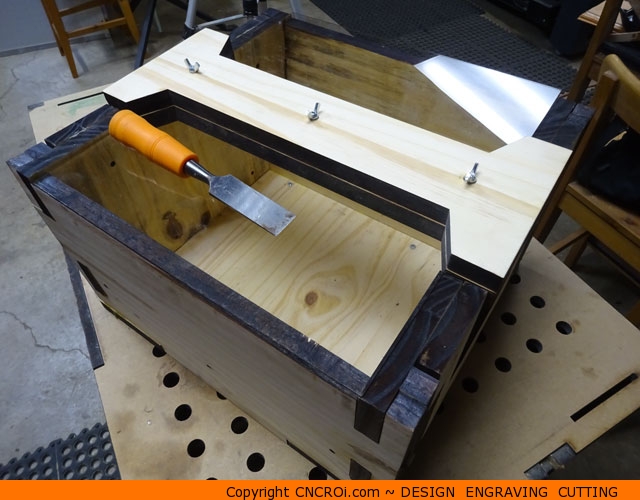
It’s so clear, even more transparent than glass, that I put a chisel on the lid to prove there actually is something there!
As for scraps from broken parts, they were recycled into CNC routed coasters, very little ends-up in the waste bin as we try to use as much of the material we have on hand, even scraps, to do other projects with.
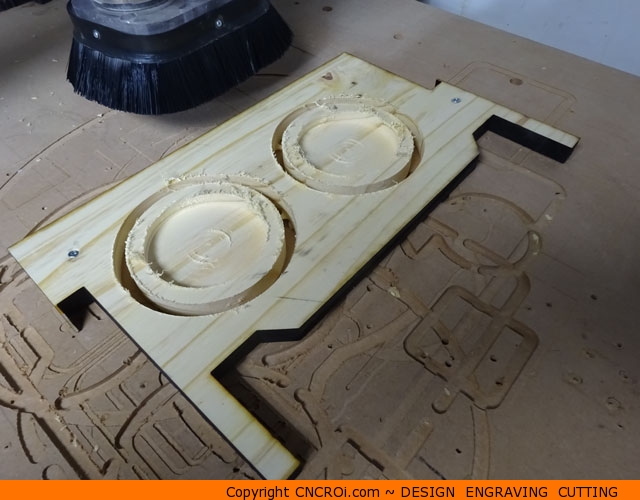
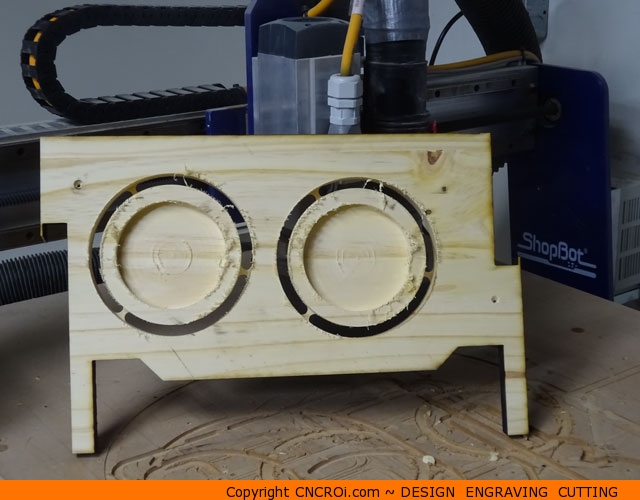
These are fine-looking coasters, a little sanding and a laser engraved metal insert and they will be happy in our customer’s businesses.
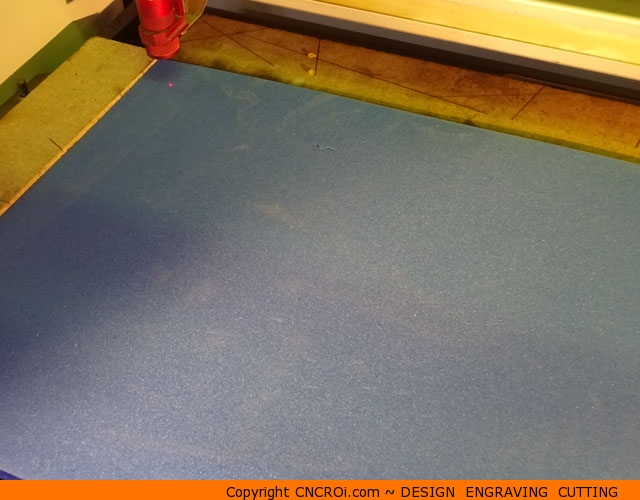
Now for the inside foam piece, again, scraps from another project we did so we booted-up the laser and cut away. Again, we have a highly respectable laser, cutting foam in a laser is dangerous due to its flammability, but with our precautions and bells and whistles in the laser, not a problem for us.
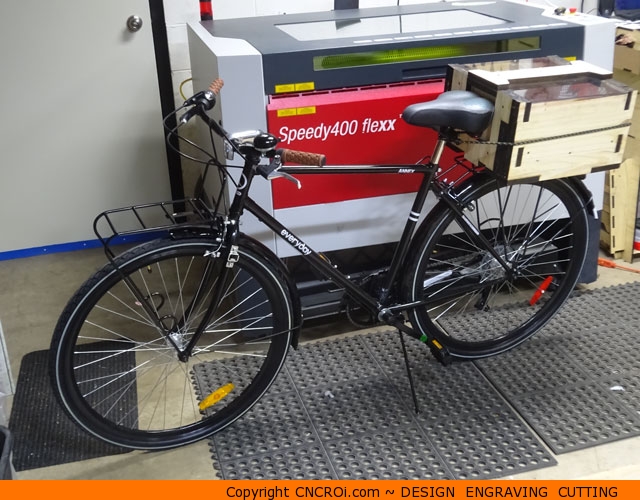
The finished rear bike basket is now at its proper home, and looks great!
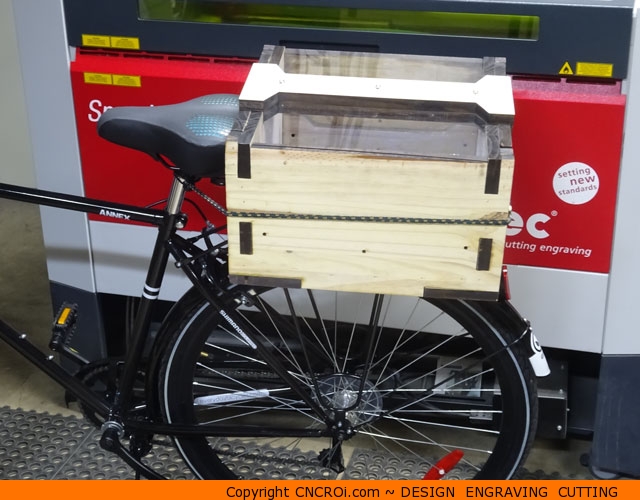
The foam gives a nice little bit of contrast, overall, the first physical version of this rear basket was a great success, a few slight design modifications would be done to the second version where stress points were a little to high for pine board (if the client would only accept pine) but it’s a great first start.
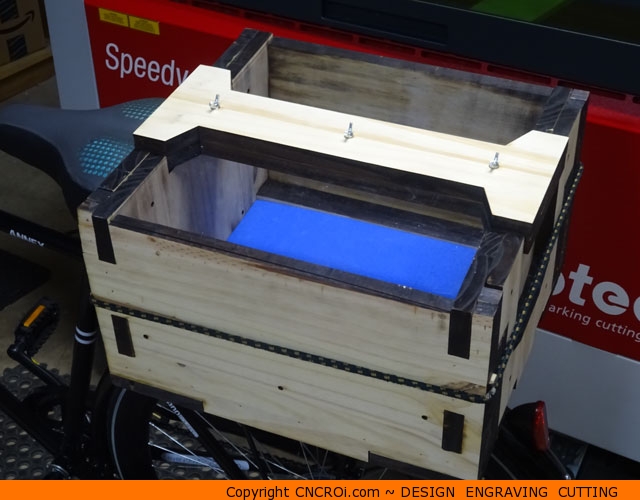
Looking at it from another angle, it fits snuggly against the back seat, there are “pegs” built into the bottom which means it stick into an underlying rack and actually has wooden rails built into the underside so that shifting is an absolute minimum.
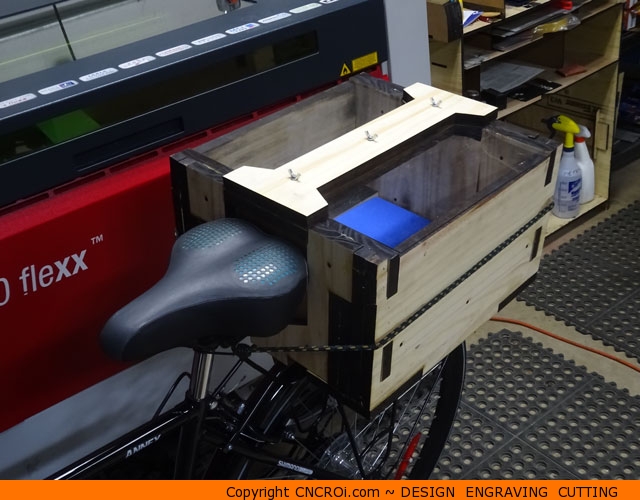
Using a bungee just keeps the box from sliding off should a bump happen.
Looking for a company to make something custom for you? Contact CNCROi.com right now!
