Custom Tile Paint Filling CNC Laser Engraving
Laser engraving custom tile then paint filling it is always different as each tile reacts differently to laser power and paint adhesion is also different depending on the substrate.
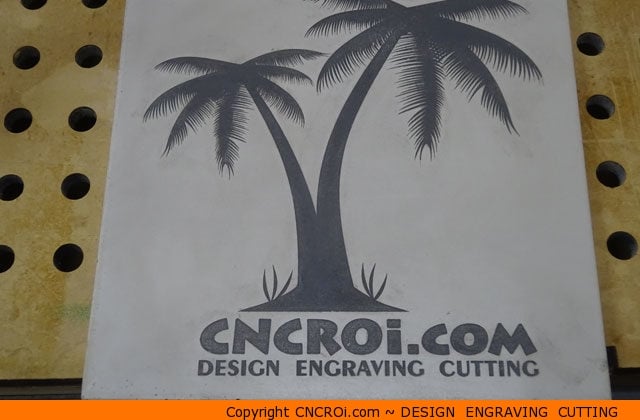
In this case, we have a white tile that we’ll engrave a detailed palm tree onto at a thousand DPI then follow-through with paint filling. To make things easy, only one color used for the paint though many colors could easily be incorporated into the design.
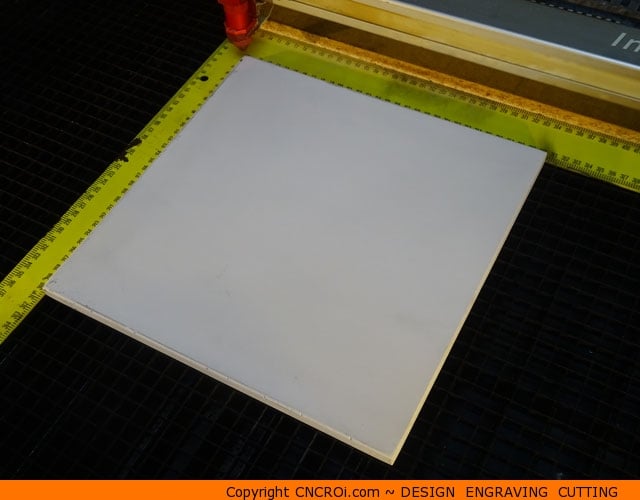
The tile is measured and the design is scaled proportionally, laser engraving tile is pretty similar to other hard materials like stone or cement in which the substrate plays a direct role in how much depth is achieved AND how the paint adheres to the finish.
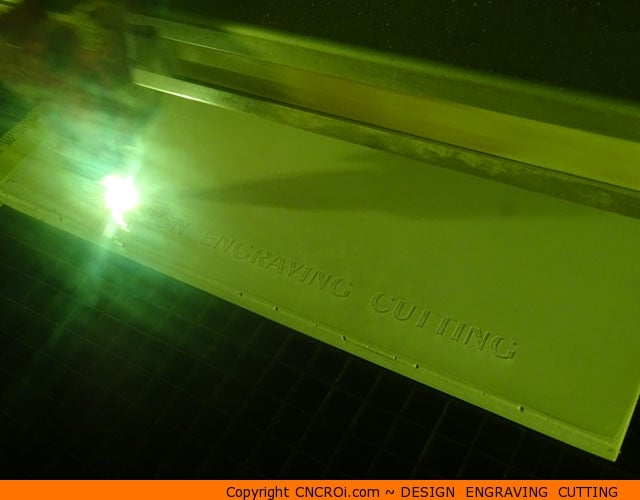
CNC laser engraving tile is also a very slow process, it requires a lot of power and although the detail looks great, the final results won’t be known until the final step of paint filling is performed.
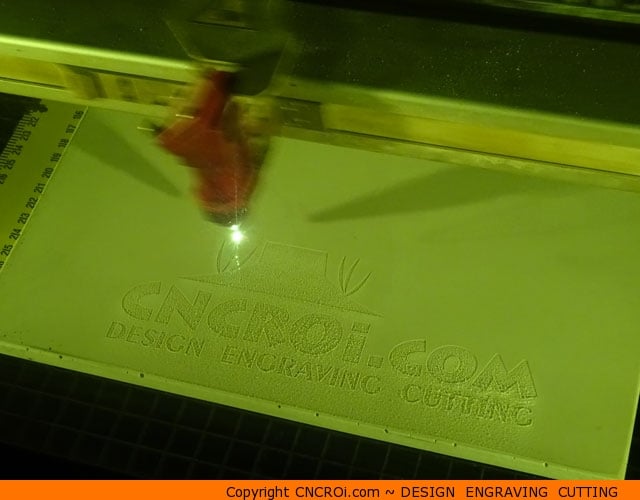
Our laser is a dual sourced Austrian CNC laser with plenty of power to engrave even the hardest of materials. For instance, a while back, I engraved a bunch of random beach pebbles.
Tile is very much the same, there are so many differences even within tiles from the same batch that it’s always interesting to see the nuances under the hard finish applied to the tiles after production, which is the part we are digging deep within.
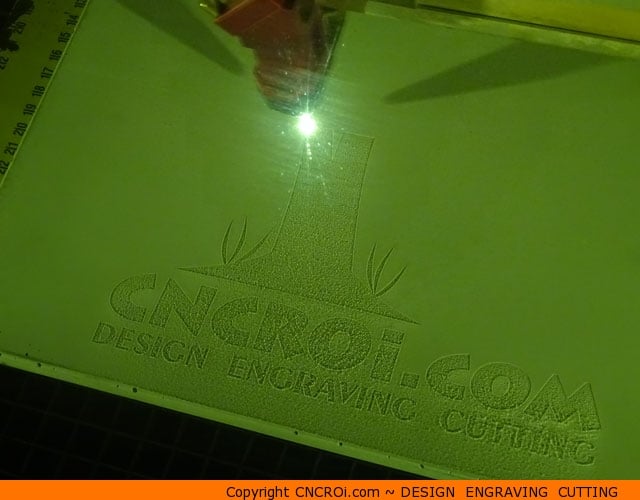
Unlike stone and other hard surfaces though, tile tends to use consistently small grains in their consumer products, marble and granite or real stone are different from this mass-produced cheaper tile which is what we used for this video demonstration.
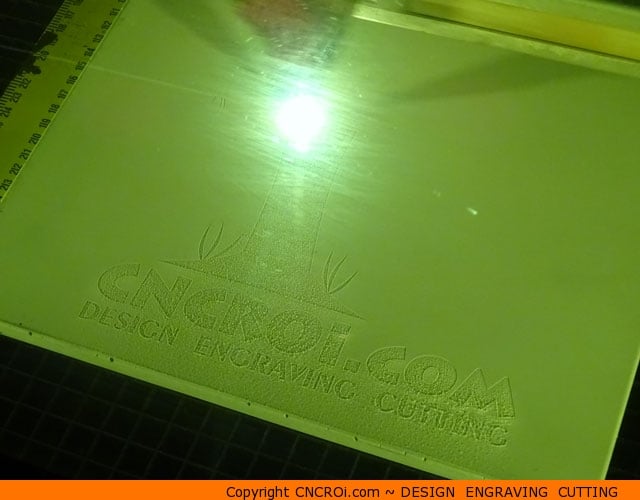
Because they use finer grain substrate, we get a more consistent depth and results, while with tile from a natural source, there isn’t that level of control so the results are hit and miss on some projects that we have high volumes of tile engraving to do.
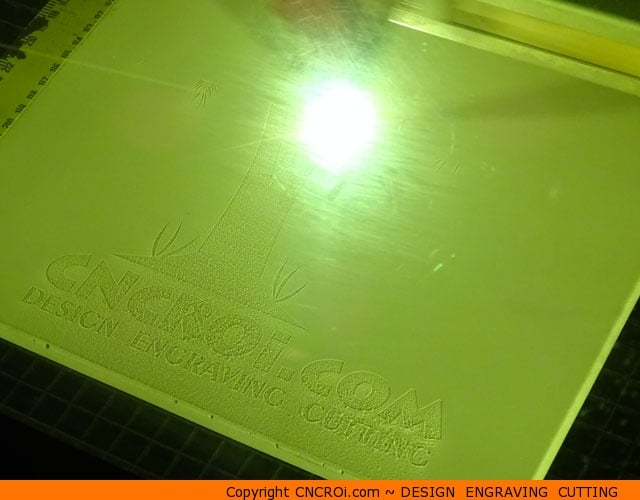
Industrial wide-format lasers don’t know what they are doing, they have no two-way feedback like a CNC router would have, as a results, the power is consistent across the piece as well as speed so when a substrate that’s especially hard or big or angled is hit, the laser treats it like any other substrate, hence you notice the difference visually.
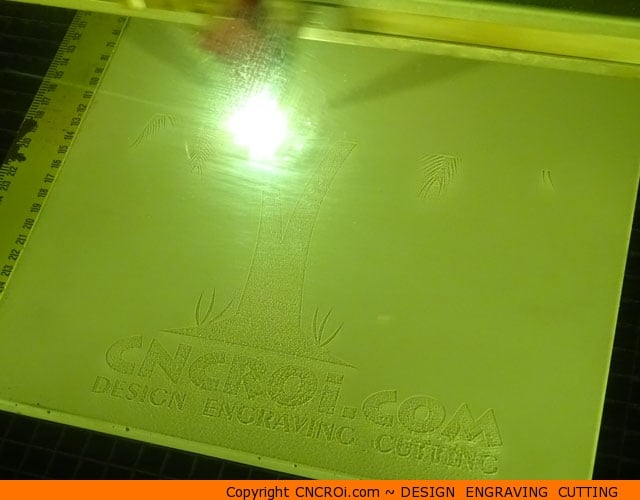
This is nothing special by the way, other materials like wood have the same effect when you hit the grain, it’s denser thus you get less depth vs other areas. Wood, like stone, granite, marble etc. all have natural variances which the laser “shows off”.
There isn’t much unknown about the effects and we show clients on a regular basis that our laser has a wonderful way of showcasing material defects, variances and density patterns.
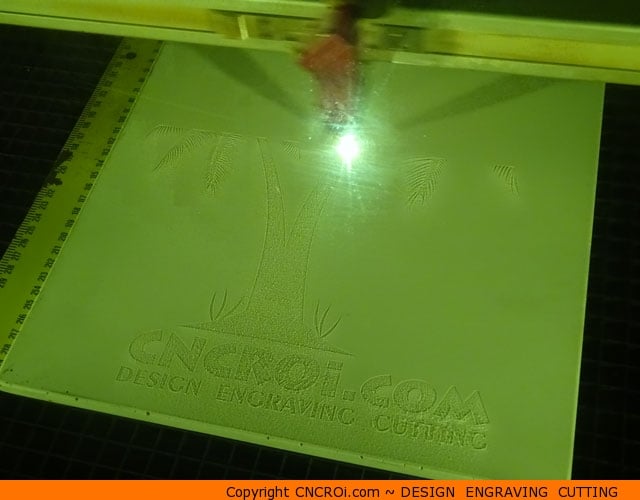
You can see that this tile engraves incredibly consistently, unlike another tile we did a while back, where you can see a wavy pattern.
This is why paint filling is wonderful for tile because you essentially obscure or mask this variance somewhat. The colors overpower the inconsistencies in the material.
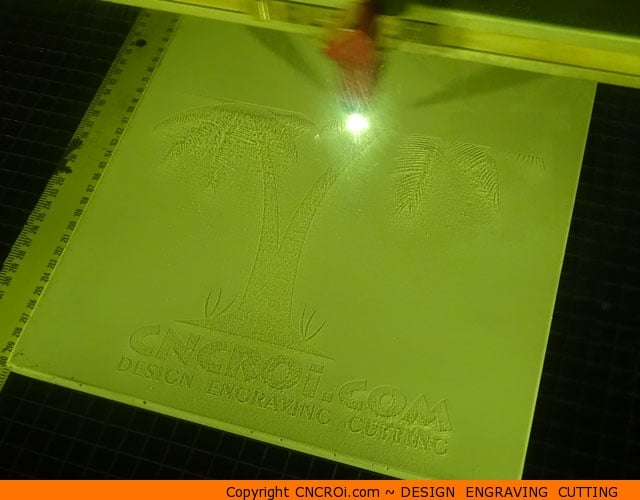
That fine dust you see is just tile dust, it’s taken care of by washing the surface after the laser engraving process. We cannot cut through tile EFFICIENTLY so we just stick to engraving it.
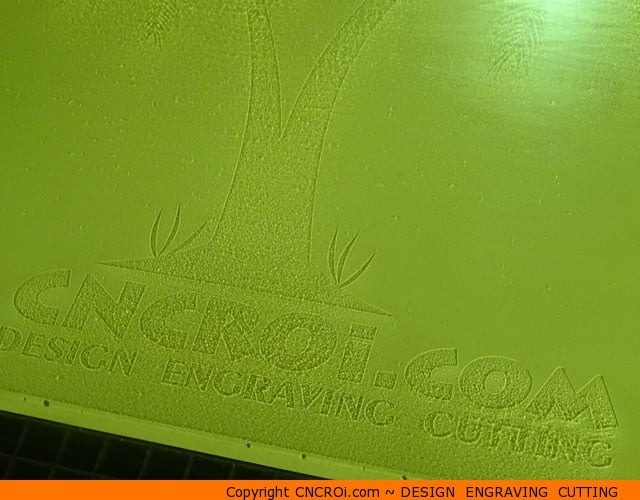
As for designs, whatever you come-up with as a pattern for a tile, we can laser engrave into it, the depth doesn’t matter as much as after the paint filling process, we seal it in but if you wish to do other things to lock it in at your end like a high glaze, that’s totally fine, we’ll work within your production stream.
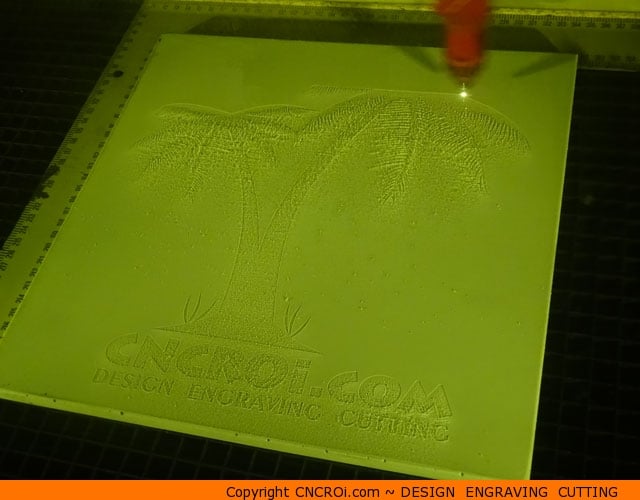
CNC laser engraving tile can be done at any scale, we can also take individual tiles and engrave a panorama across a whole bunch of them, including taking into account grout lines.
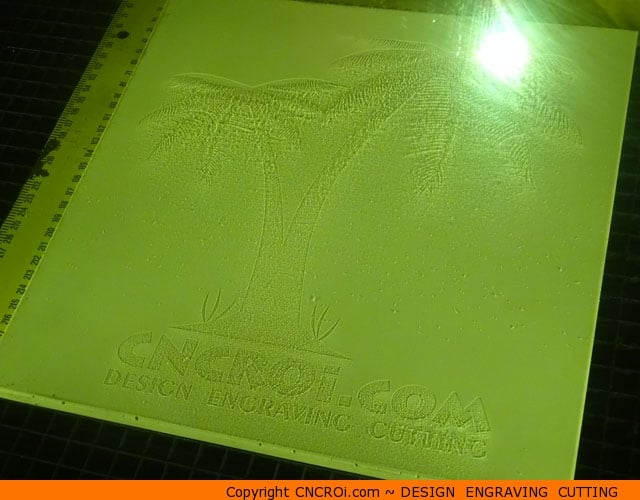
The laser engraving process is also completely permanent, you cannot remove the laser engraving we did to the tile unless you use an angle grinder and grind the entire tile flat again.
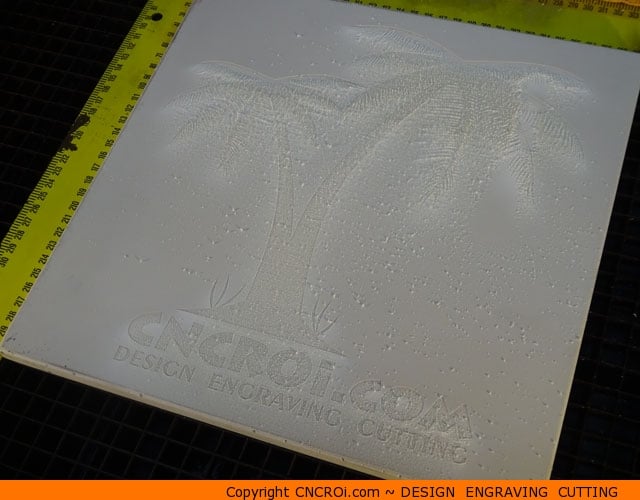
There isn’t much smoke produced (though there is some) during the tile laser engraving process, there is a lot of fine dust. This dust is quickly taken care of by our extraction system and by washing things down afterwards so it isn’t much of an issue for us. We also have a booth so that any further dust from surface grinding is also taken care of.
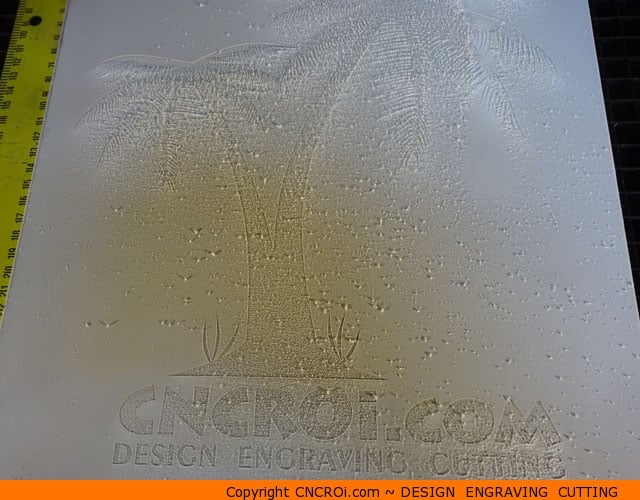
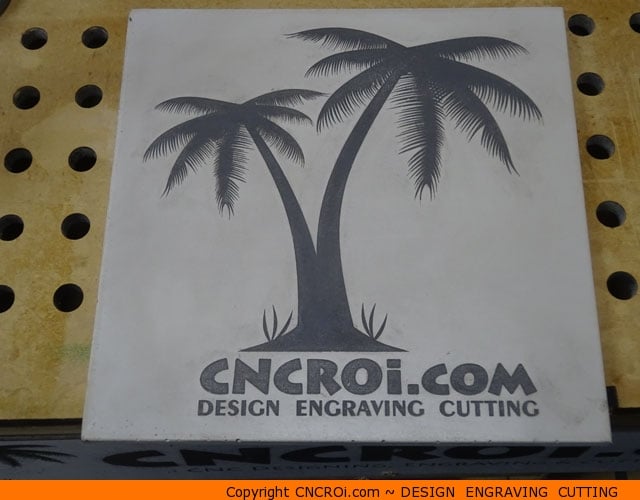
After it’s cleaned off, you can see how amazing the tile looks after being laser engraved with details, we can work across a number of different resolutions, sometime we only need to use 125 DPI because the substrate is so large and the design doesn’t require high-resolution while in other cases, like this one, 1 000 DPI all the way!
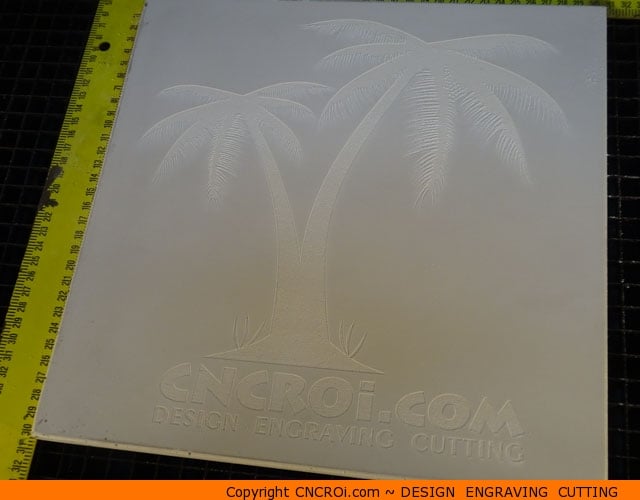
You can see how detailed the design is with the laser, each palm leaf is sharp! The edges are consistent, the detail incredibly fine and lines follow one another – meaning you don’t have jagged results. This is achievable as we are using EPS files (vector) rather than bitmap at these very high resolutions.
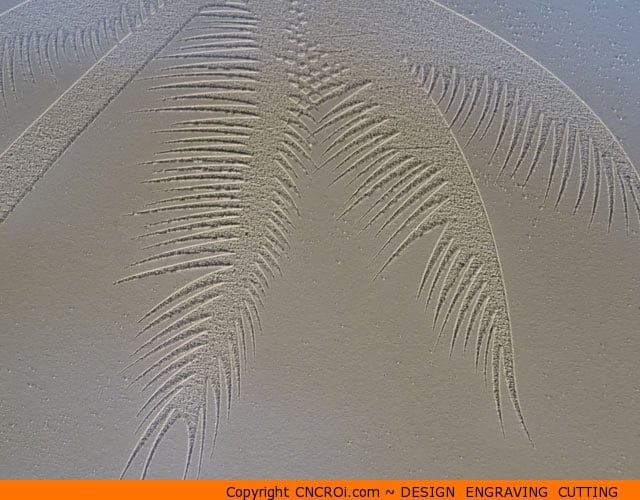
The logo is also clearly legible and if you look closely enough, you’ll even notice a consistent line pattern that the laser makes on each pass over the tile.
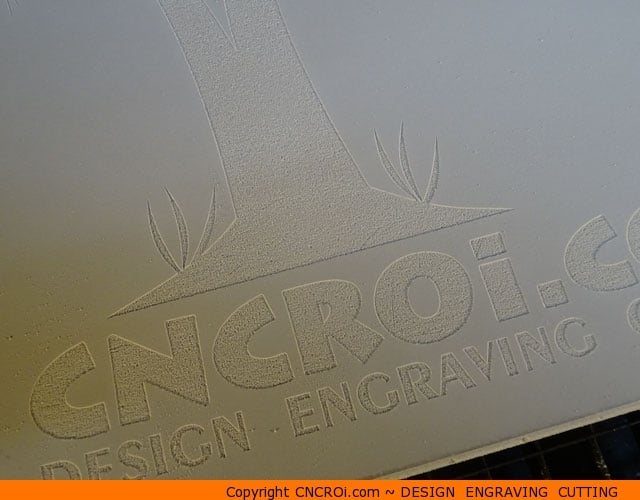
It’s hard to photograph tile correctly here in the shop, it doesn’t do it justice – we aren’t really set-up for professional photography here being a custom CNC shop!
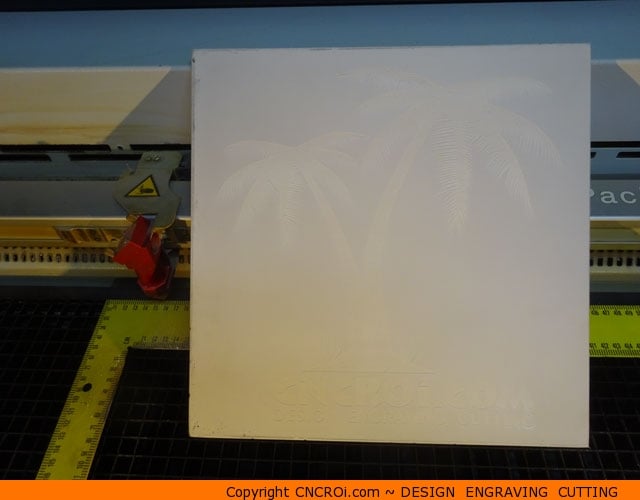
Looking at the design in another angle, you can see how brilliant the tile has come out.
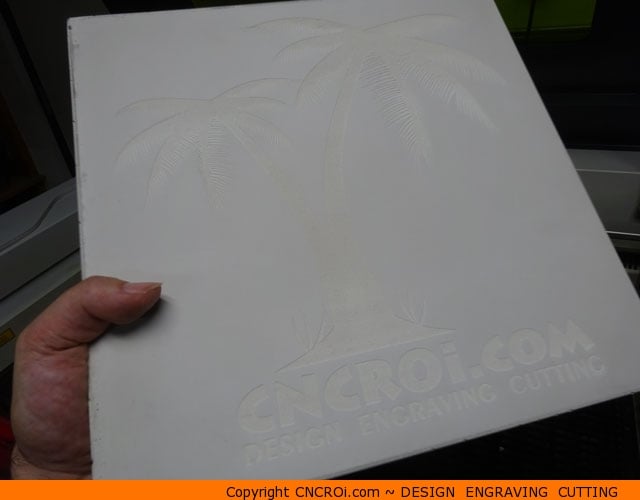
This provides OK contrast but we’ll do much better, we’ll stick some paint in the engraving!
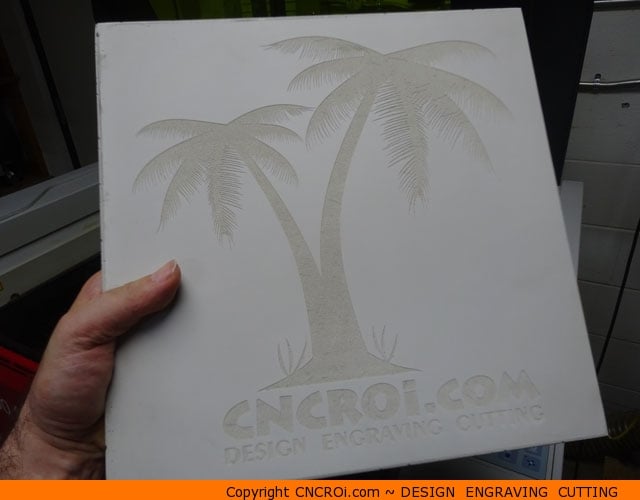
After another extensive cleaning, the tile is put on our painting platform.
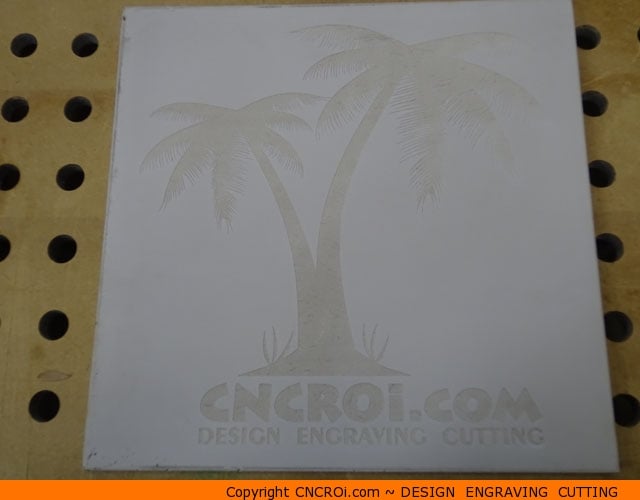
Paint is smeared across the laser engraving.
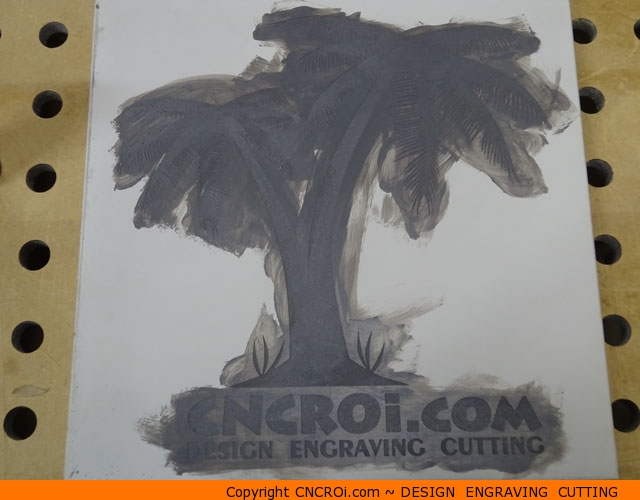
The cleaned-off. It still needs to be sealed then cleaned-up once more but you can see how a little paint goes a very long way towards providing additional contrast to the laser engraved tile!
Looking for a professional shop that can laser engrave, etch, mark or cut just about any material out there? Contact CNCROi.com right now!
