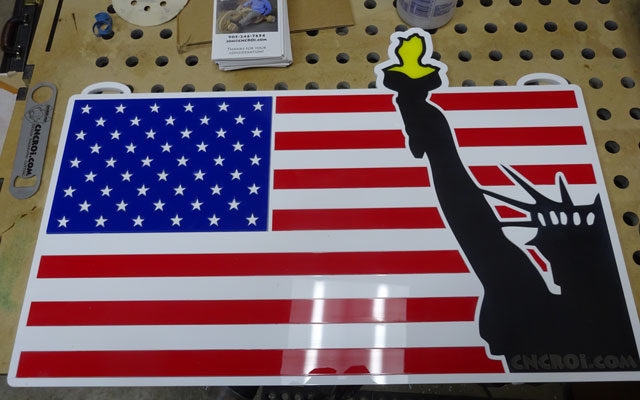
United States American Flag: Custom Laser Cut Acrylic Inlay
Making custom signage is as much an art as it is a science, using an industrial laser to cut out fragile plastic to create something meaningful isn’t the easiest challenge out there. Freedom knows no limits, in our lives nor in design.
In that train of thought, I decided to do an interpretive example of an American flag using custom laser cut inlays of acrylic along with a statue of liberty silhouette coming out as freedom knows no limits, it shouldn’t be limited within the bounds of a flag either!
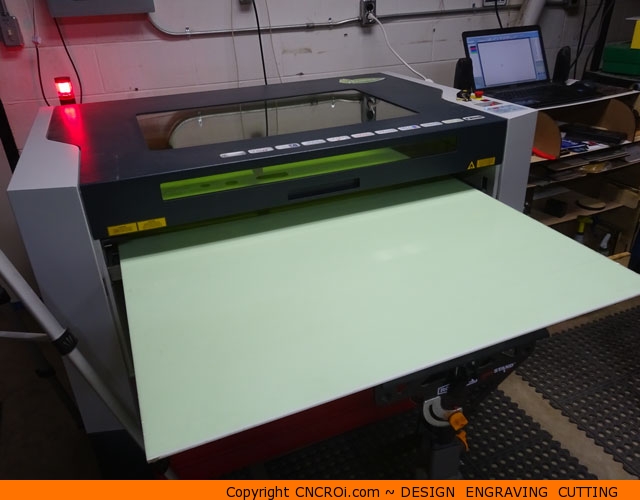
Having a large Austrian CNC laser means that we can optimally use material without having to cut it down to size, for instance, this is a big chunk of acrylic sheet without having to make it fit our bed as we were able to make it fit through the front.
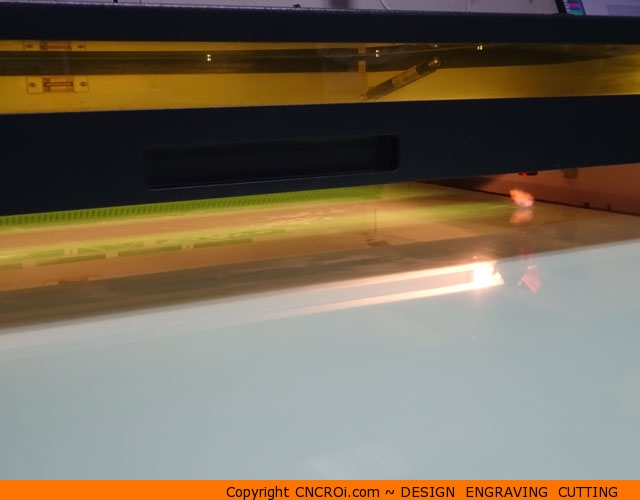
We have a powerful extraction and compressed air system on our wide-format laser, so even with the entire front opened-up as it is, the flame and combustion materials left over from vaporizing acrylic, which is highly flammable, is still no match. The fire goes out as fast as it starts.
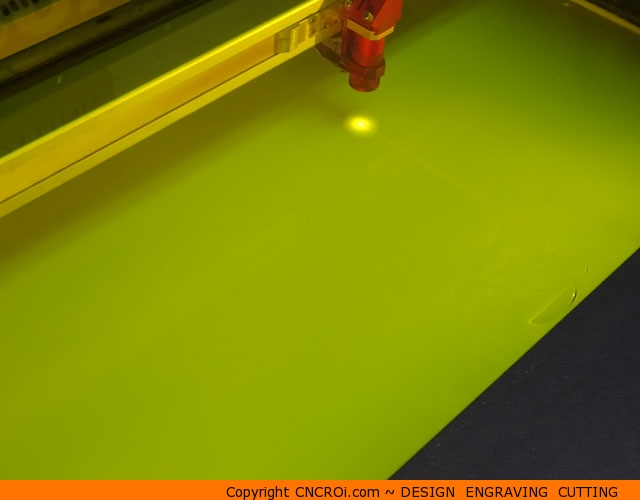
The acrylic that you see being cut here for the backing of this custom American flag inlay sign is 6 mm or quarter-inch thick. It’s the perfect mix of strength, durability and presence for this application and its the closest match I had in the scrap bin.
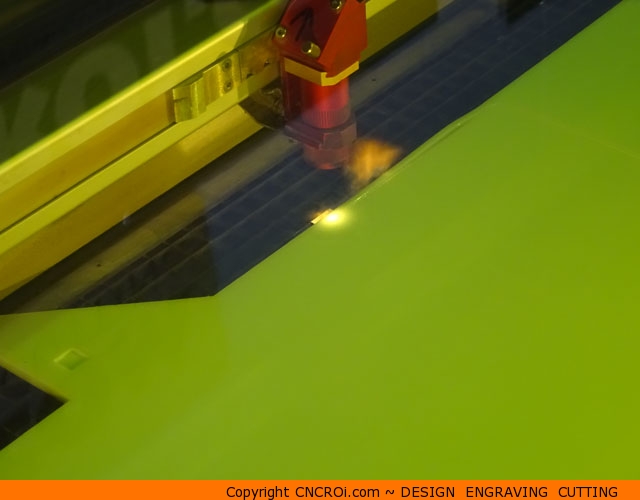
As this will support the entire sign, it needs to be strong and have just enough flex in it to remain as one solid piece after the acrylic bonding process.
Every step of this American flag inlay sign is a one way street, there isn’t any tolerance for mistakes when it comes to inlays, and that doubly true when it comes to acrylic bonding.
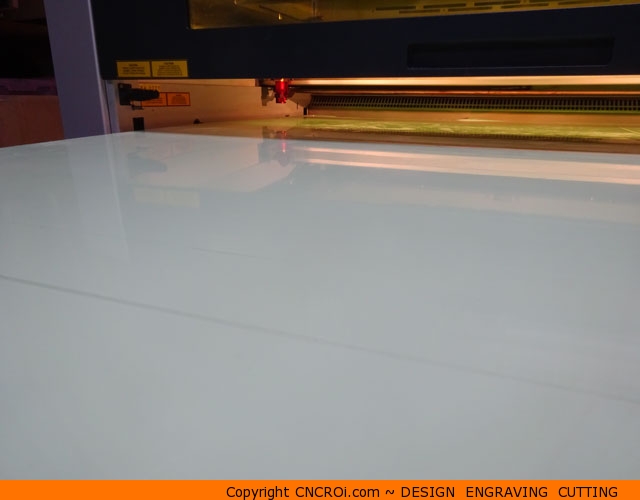
This acrylic has the protective plastic on both sides, keeping it from getting dirty or stained during the laser cutting process. It’s easier to keep this on NOW than buffing them out later.
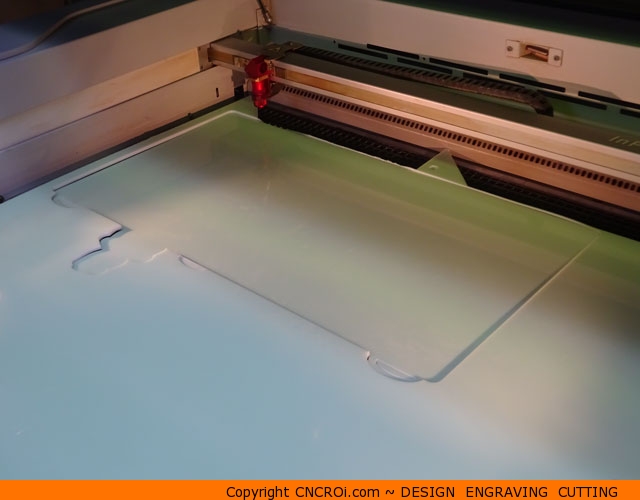
Acrylic is an extra challenge when doing inlays because it’s especially brittle, the flex tolerance in acrylic is very small compared to other materials like wood, metal and laminates so extra care must be taken.
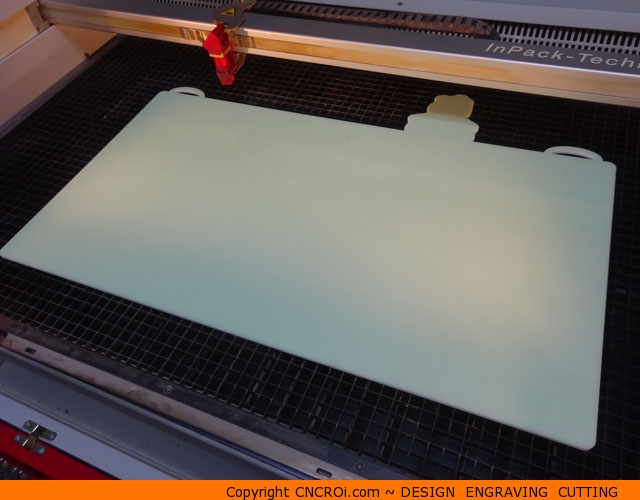
You can see the incredible flame polish that CNCROi.com is renowned for in the picture below. It takes high quality lenses, machinery and software to achieve this on quarter-inch (6 mm) and thicker acrylic.
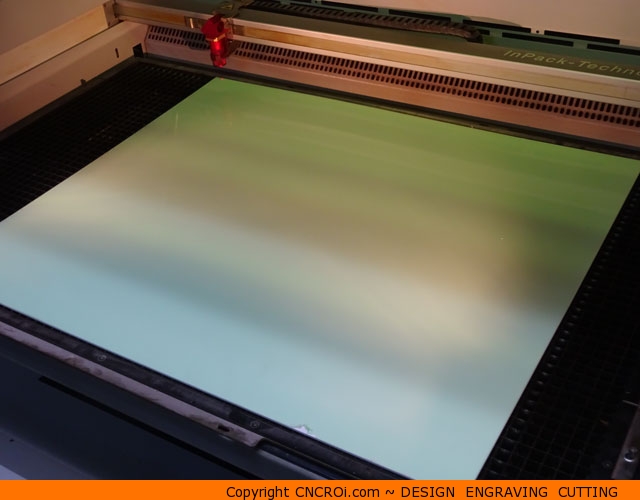
Now that the backing is done, it’s time to cut the thinner 1/8th inch or 3 mm pure white front aspect of this American flag inlay sign which will provide the foundation for all the inlays that are to come.
As there are a few layers of inlay involved with this American flag inlay sign, all the little pieces are kept and accounted for each time CNC laser work is done until we have a finished sign.
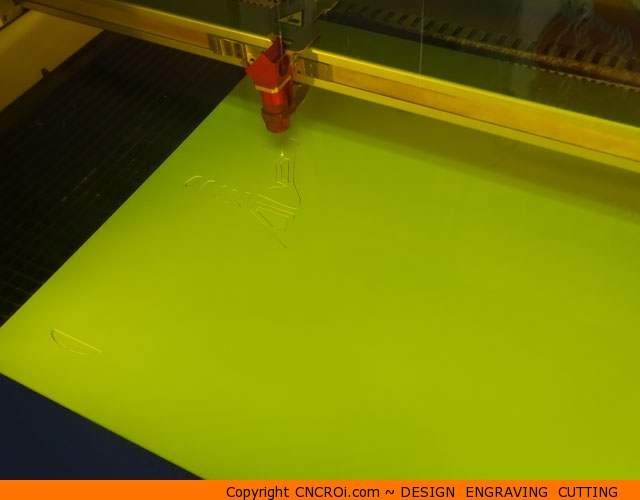
Anybody can cut one or two pieces, making inlays is a whole other ball game as having two different materials cut at different times under different settings must still fit perfectly together for proper inset and bonding applications.
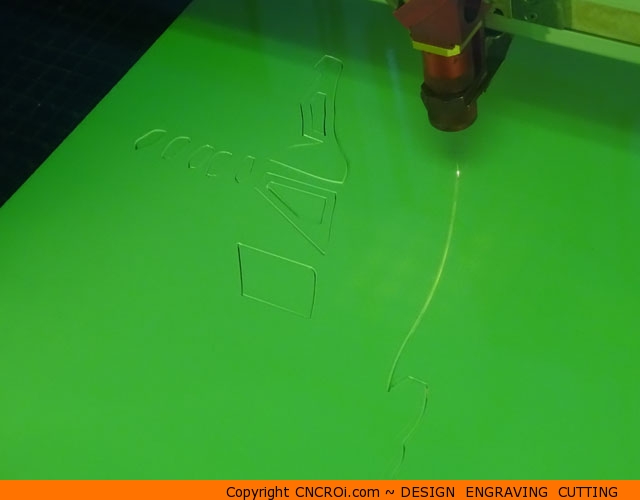
This piece of laser cut acrylic is essential for this American flag inlay sign, it will contain all the different colors of this sign in place and provide the extra contrast not present on the backing for those colors to really pop!
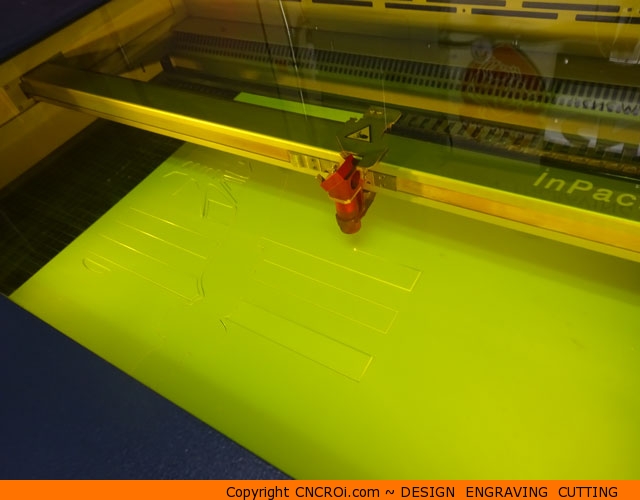
I used thinner acrylic on the surface as I don’t need the extra weight for this sign if I had gone thicker and it’s what I had the most of in my scrap acrylic bin. Thinner acrylic also cuts faster so if I was on a budget for this project, this is what I’d want to use more of than thicker if required.
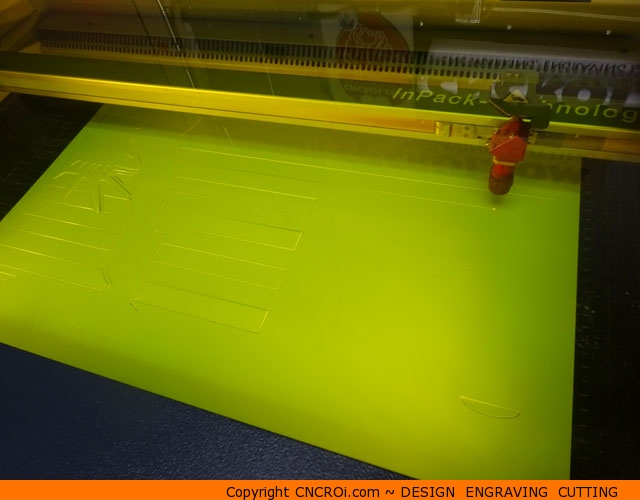
Just like the thicker acrylic that will go behind this and the acrylic inlays that will go into this piece, everything is nicely flame polished, which makes bonding and adhesion far easier.
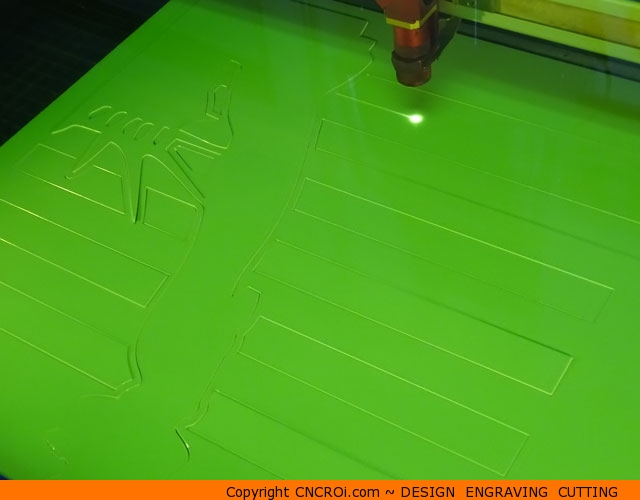
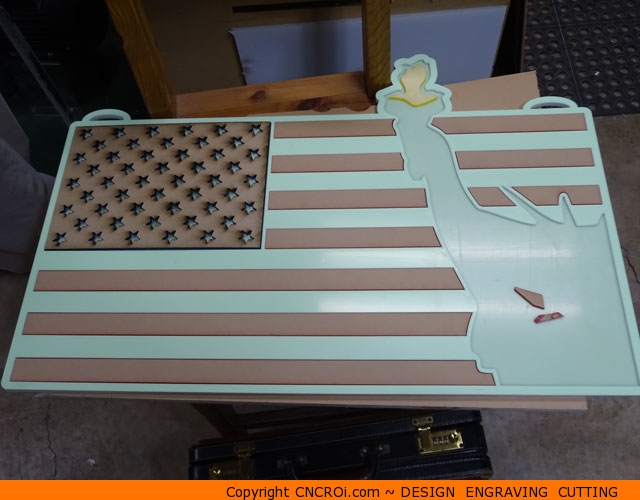
The entire white area is now cut out, it might be hard to see but once those inlayed parts are removed, you’ll start to see this American flag inlay sign really start to take shape.
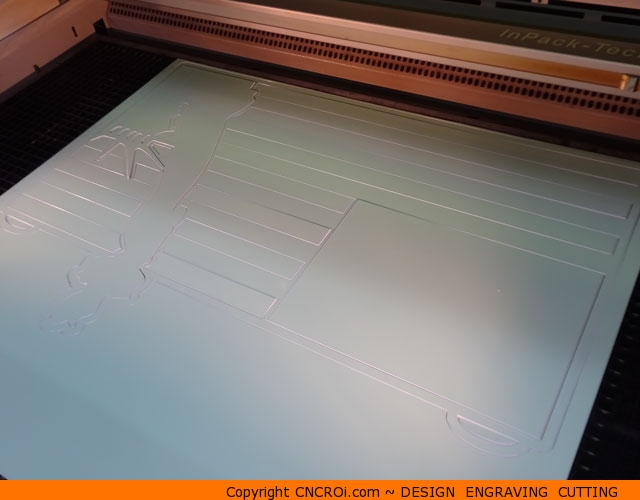
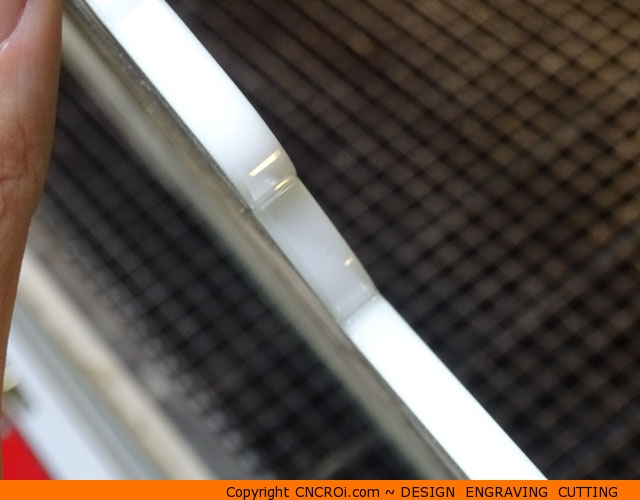
Beforehand, let’s take a closer look at the laser cut thin white acrylic, there is some slight bending from the heat generated by the laser, this and many other issues must be accounted for during the build process. As such, there is a lot more that goes into these inlays than may be apparent at a distance to produce something of the utmost quality and finish.
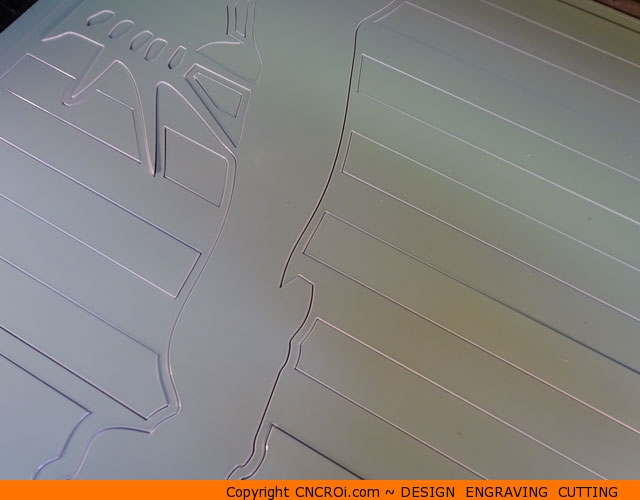
There are extensions going out the top just to provide a clear surface on the front, I could have cut out the top torch area completely from the design but I decided to have it on both white acrylics just to give it a bit more presence.
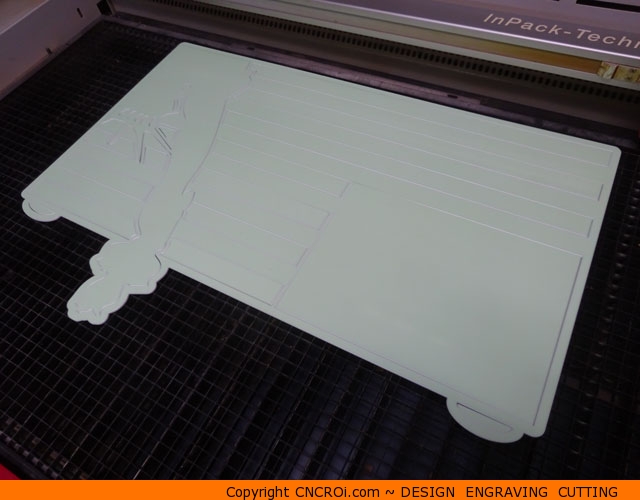
You can now see the thin white American flag inlay sign in all it’s glory, it’s reversed in the photo but will be perfect in the other direction. Everything has a front and back as well, so cutting things properly in the right order and orientation is critical to make something from good to awesome!
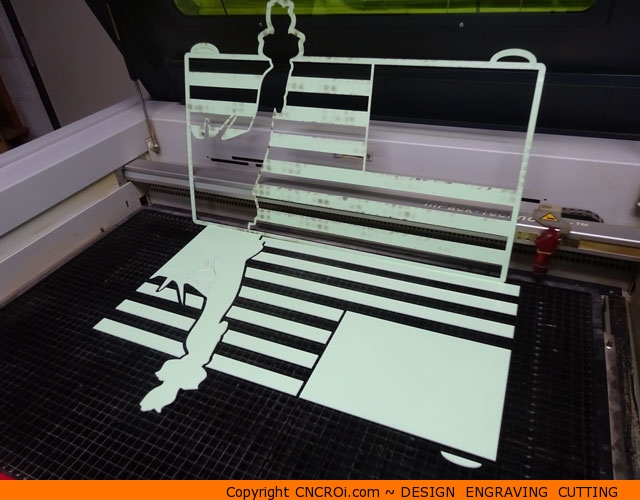
Putting the two pieces we’ve cut thus far together, you can see how perfect the edge quality is across both shapes, how little warping from the heat is present and just a glimpse at how fantastic this sign will look in the background of all our future videos!
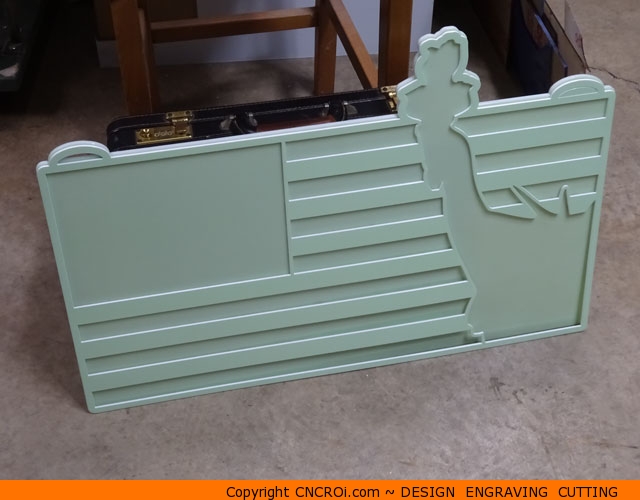
My acrylic scrap bin didn’t have any 1/8th inch or 3 mm blue, only something twice that thickness, as a result, that’s what I used and I ended-up doing a few on-the-fly changes to account for this in the final design as I discussed in the video above.
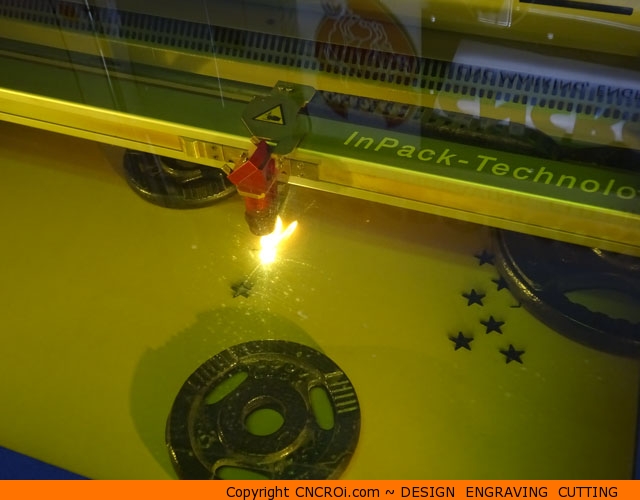
There are weights put on this thicker acrylic as it was older and thus, dryer and hence, when laser cutting, it tended to bend and warp more than fresher acrylic would. As a result, this project was cut twice, I noticed the warping initially as you see on the right and accounted for it doing it NOW.
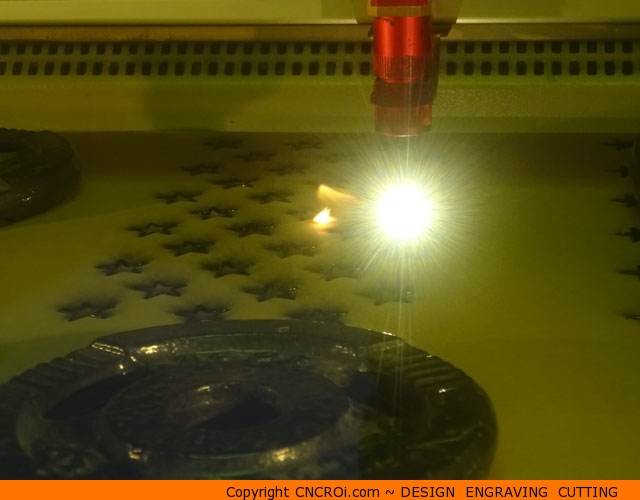
The thicker the acrylic, the more fire is produced by vaporizing it and the more heat build-up the piece generates, again, no problem for us, CNCROi.com has a top of the line industrial laser with powerful auxiliary equipment to account for it.
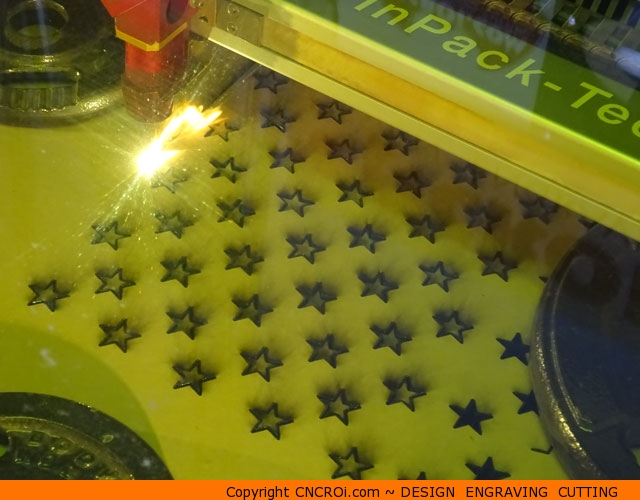
This might not seem like blue acrylic but once the masking is removed, it’s as blue as the sky on a hot summer day. This will provide fantastic contrast for the American flag inlay sign to balance the black, yellow and red from the sign and white outline.
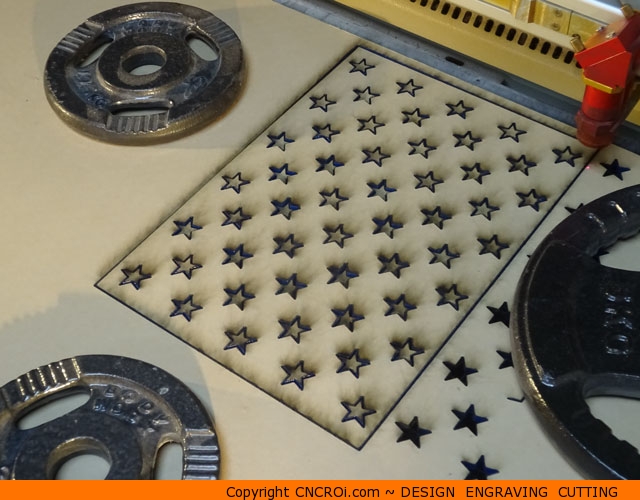
You can get a glimpse of the blue acrylic in the small pieces that were cut out, as it’s thicker acrylic, it’s harder to see the color in what was laser cut the blue color is all there!
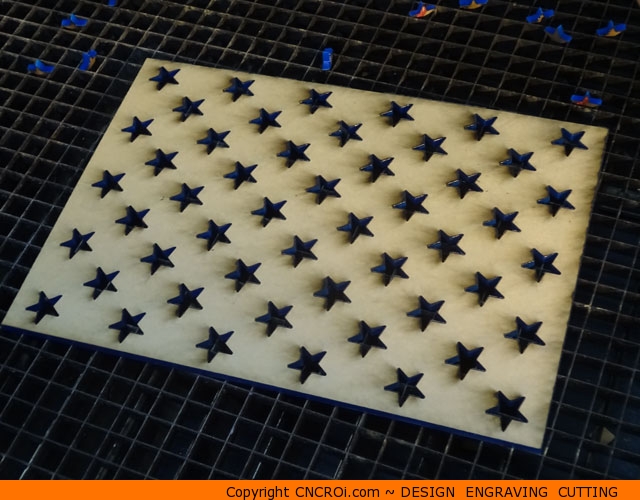
That’s the third color taken care of for the American flag inlay sign and so far, everything fits perfectly as it should. The other reason why I do this is that I can spot a problem as the sign comes together and account for it or recut parts if needed.
You can see a slight bowing in the acrylic, that was due to the age of the acrylic and heat from the laser but bonding will resolve that issue.
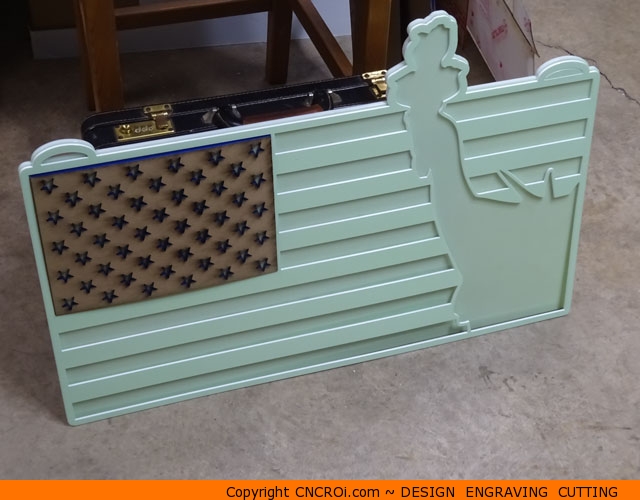
It’s now time to cut out the red aspect of this American flag inlay sign, they don’t need to be separated like you see in the sign as they are inlays that aren’t joined in any way.
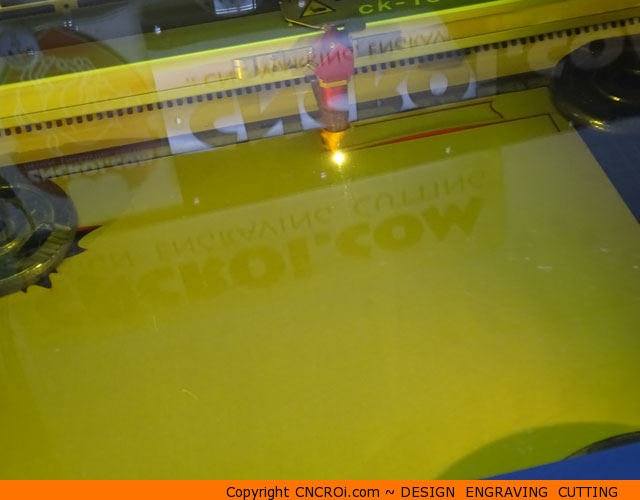
As I’m trying to make this scrap red acrylic a bit easier to manage in the scrap bin, I made the layout of the various red parts to allow me to cut it completely out along with the leaf you see on the right.
I like having flat boards in my bin, not a bunch of sharp and nested edges all over the place that catch on other pieces.
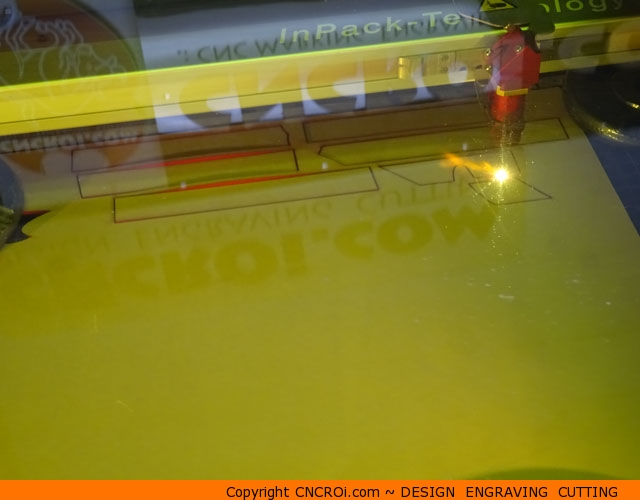
These projects allow me to do two things in the shop, bring my scrap bin levels down and optimize what I have left over for future use. Thirdly, it allows me to share with YOU what we can do across a whole host of projects.
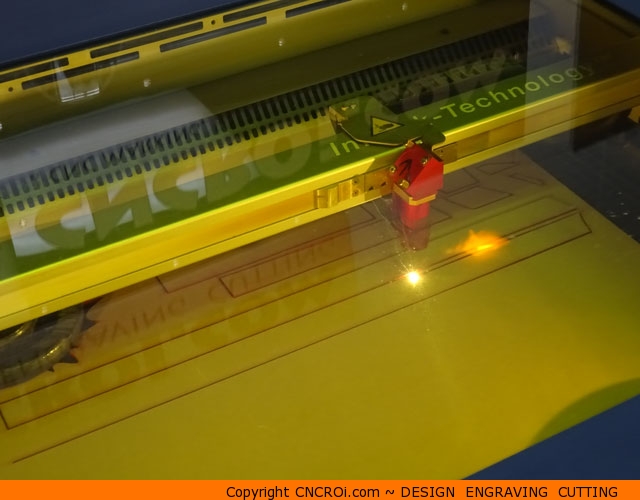
CNC laser cutting acrylic is a process we’ve done a lot of, from 1/8th inch or 3 mm thick to three-quarter or 18 mm thick and literally everything in between across a whole host of colors to form shapes of all sizes.
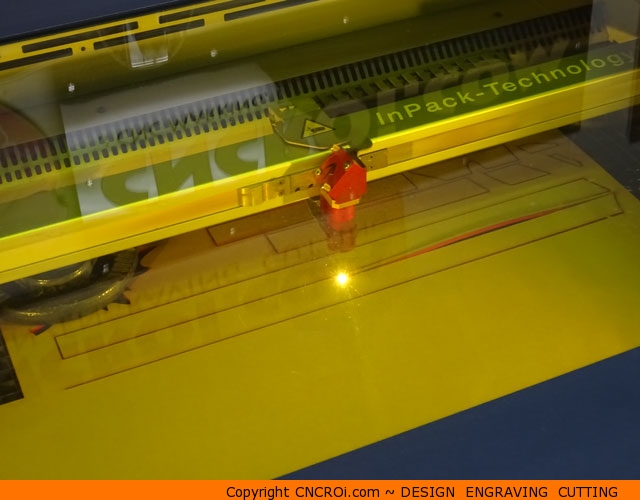
Even with the weight plates on the acrylic, there is still plenty of height tolerance when we do our CNC laser cutting. The weight is there to lessen the amount of warping, again, I don’t know how old this acrylic is as it’s been in the bin for a while so it’s a bit dryer than normal.
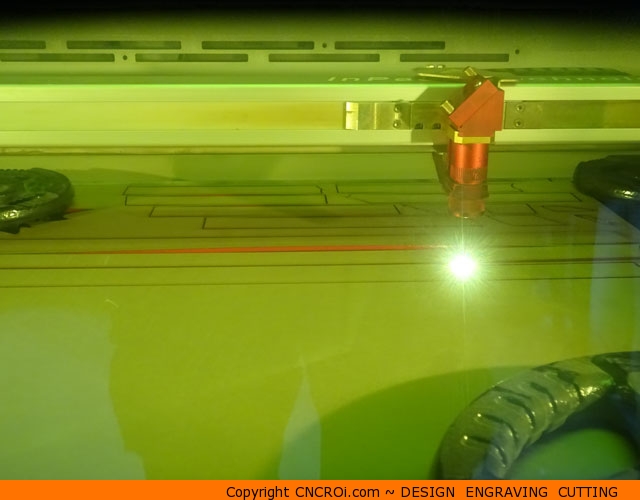
Ironically, the leaf that you see in the image below covered by the weight plate is for another custom acrylic sign we made a while back. Acrylic signs are endlessly flexible in design and application options. That’s what makes acrylic such a wonderful material to work with.
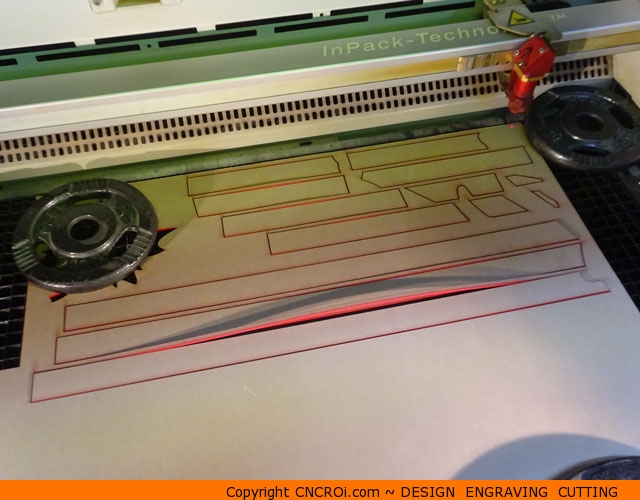
The reason for the spacing between the red acrylic sheet below is to limit the amount of heat generated, the thing you don’t see in the CNC laser cutting video process is that there is a huge flame shooting down. If it wasn’t for our vacuum table, this would be quite dangerous to cut with a CNC laser.
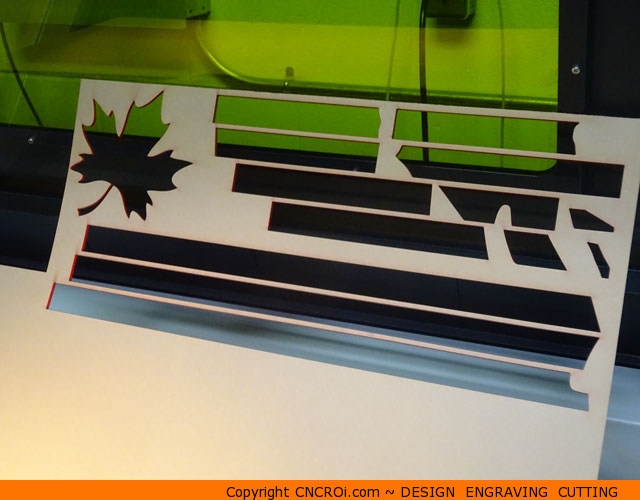
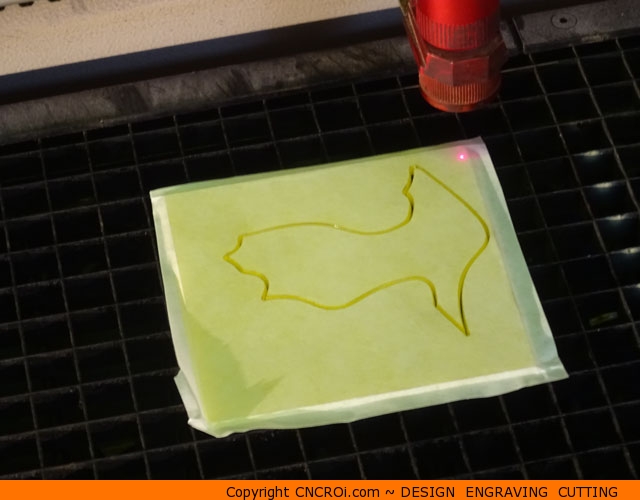
Now it’s time to cut the yellow acrylic torch detail, this was something I also designed last-minute to give some extra contrast to the overall design. It stands as a beacon on the overall American acrylic flag design to provide just a bit more “light” to the black silhouette of the statue of liberty.
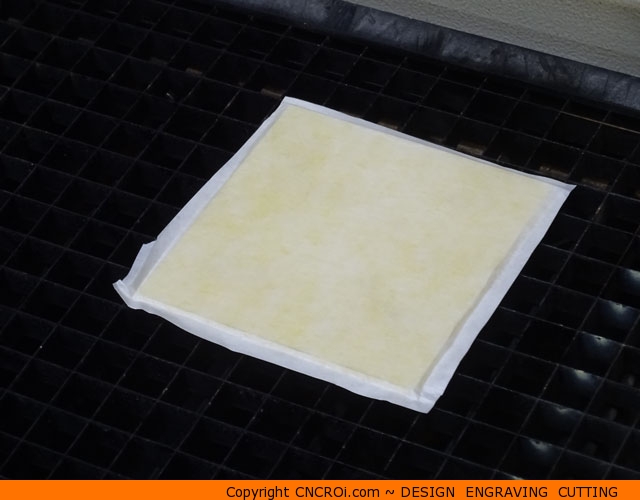
I had just a little piece of yellow acrylic left over from an earlier project and in this case, it was just perfect for this application. I really lucked out on this front!
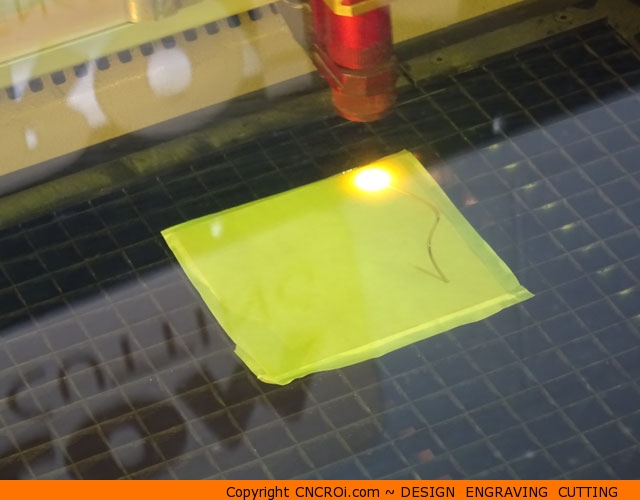
This had no masking on it so I put some on myself to keep it nice and bright yellow without needing to be polished or buffed afterwards. More protection now leads to less problems down the road.
You can see that the red, blue and yellow acrylic are done being cut but you’ll notice that the stars are darker than they should, that’s due to a shadow so I decided then and there that I will cut out white acrylic stars after the black Statue of Liberty is cut out of black acrylic.
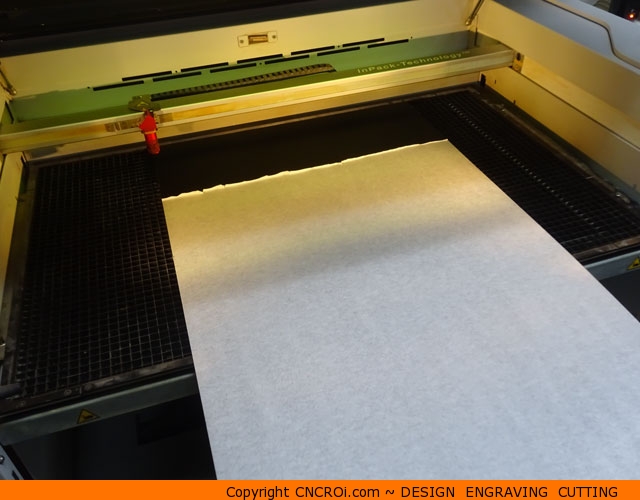
This black acrylic is special, it can be color changed using our fiber laser source, so far, we’ve only used our CO2 to cut the acrylic but now we’ll use our other to stick our logo into the sign without having to make yet another inlay.
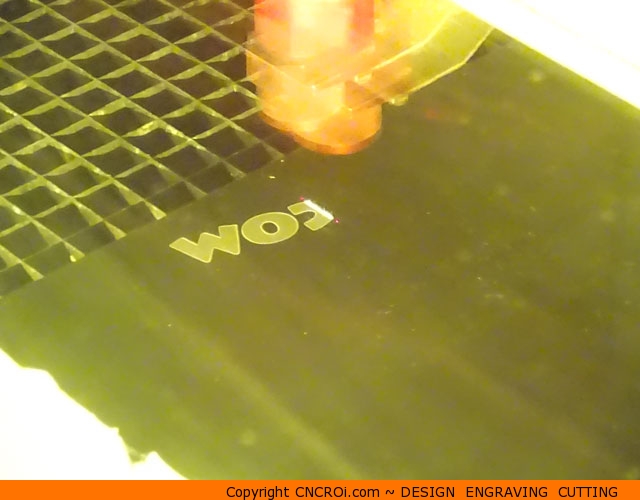
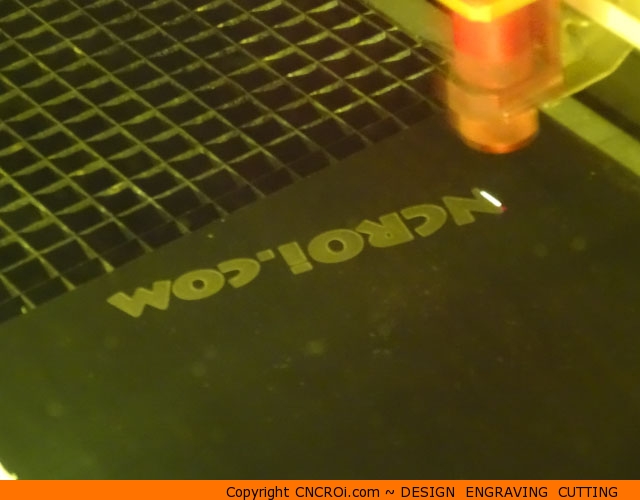
Although we can go a lot more brighter white as per color changing, I prefer to make it a bit whiter in the outline and a bit darker inside, it just provides the overall logo a bit more depth. I want this sign to be branded but not as “in your face” as the other acrylic sign you see behind me in the photo.
This is a nice matte black acrylic, I want the shine to be on the flag but not on the Statue of Liberty silhouette, just to give it a bit more stand-out contrast.
CNC laser cutting this 1/8th inch or 3 mm thick black acrylic is done using the same setting we used earlier on the red and the white. Laser cutting still has a flame polish regardless of the thickness, just the flame isn’t as big underneath as the dwell time is lower.
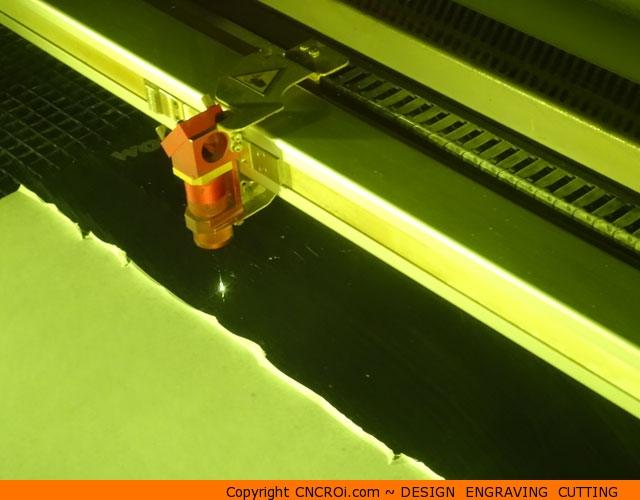
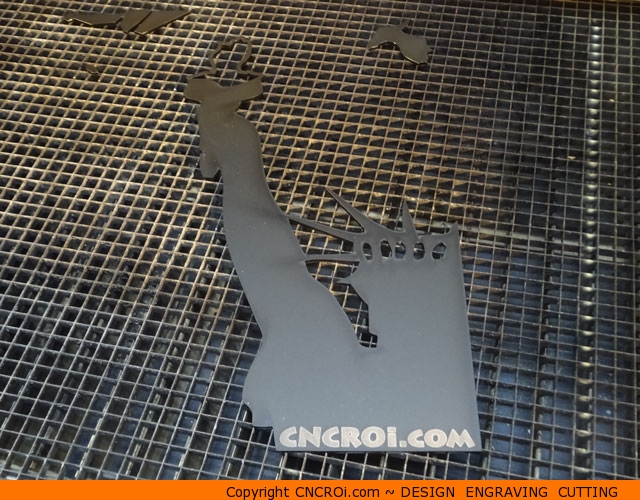
The black aspect of this custom acrylic USA flag sign is now done, you can see how nicely the CNCROi.com comes out even before it’s put against the pure white acrylic that it will be inlayed within.
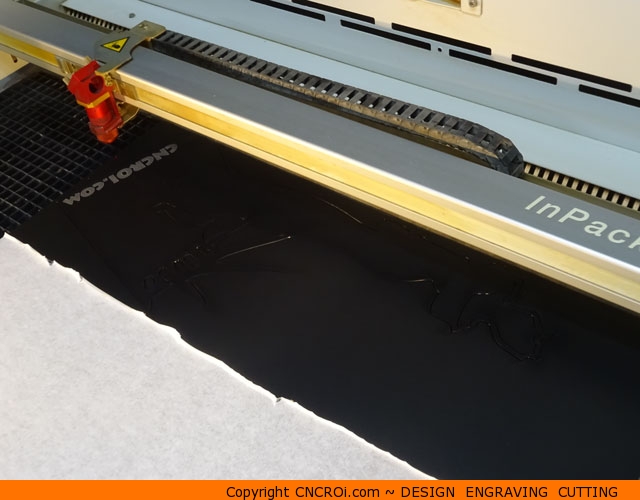
The nice thing about acrylic is the color saturation changes based on angle of viewing, this is why using strongly contrasting color schemes were used in this custom American acrylic inlay sign.
Now you can see what all the pieces look like when put together, still with the protective masking of course which will be only removed once everything is cut out.
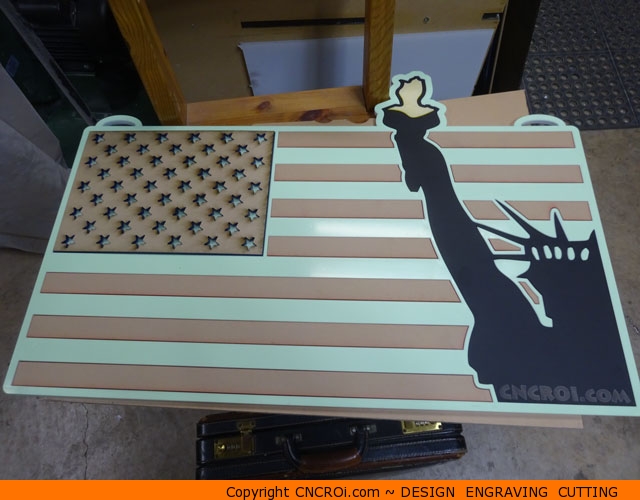
The final piece of the puzzle are bright white stars to really make the entire USA flag pop, it reflects light nicely so it accounts perfectly for the disadvantage of using thicker blue acrylic with shadows inside.
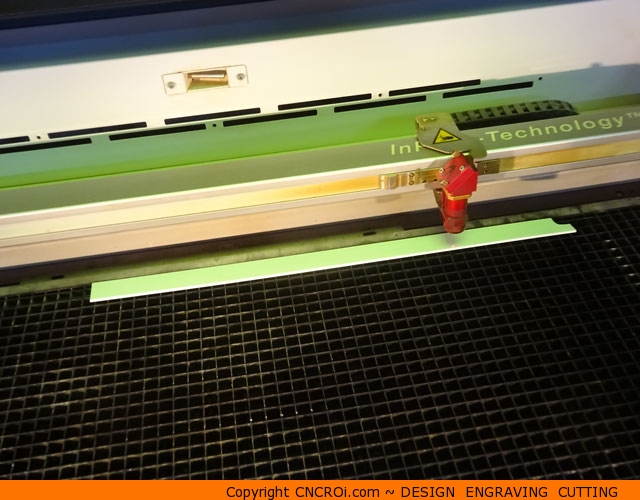
As this is a very thin strip, used from scrap cut out while the thin acrylic inlay foundation was being generated. The flame underneath is more clearly viewable here as there isn’t material in the way. I was lucky that the white stars fit perfectly on these scrap strips that they themselves came from scrap of scraps.
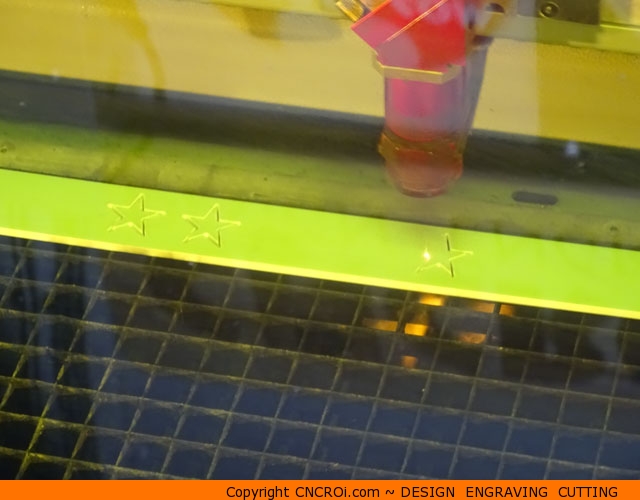
The masking wasn’t removed because I wanted to protect the acrylic surface during the cutting process even though such small pieces will be a paint to remove on both sides due to the minimal surface area I’m contending with.
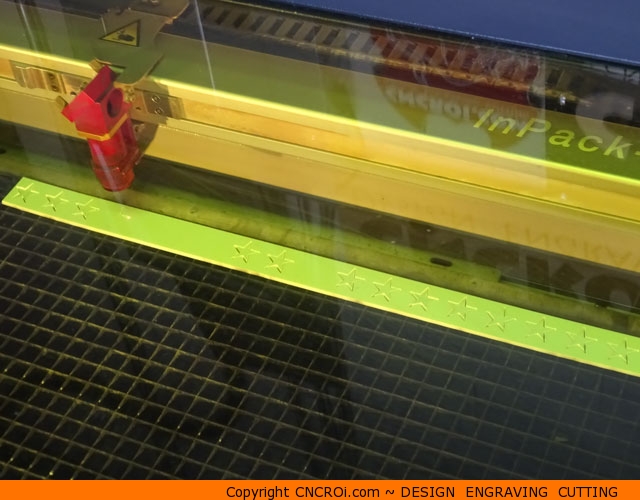
All the custom little white stars are now completely cut out, and ready to go onto the custom acrylic American sign we are making in this blog post at the CNCROi.com shop!
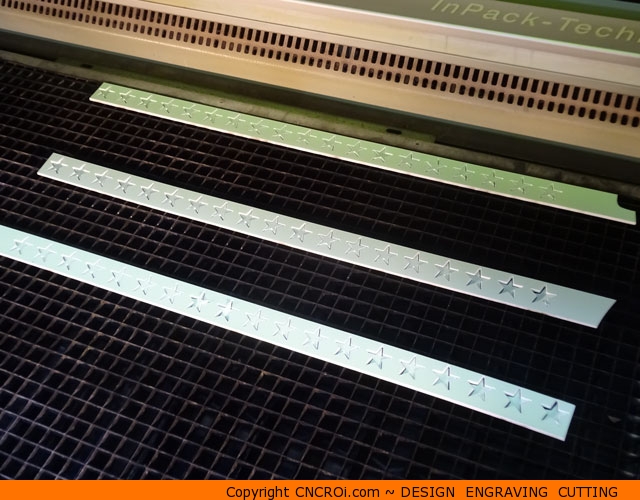
But first, the tedious prospect of removing very thin protective plastic film off each of the stars, not fun but that’s what we get paid the big bucks for. Sometimes it’s worth spending a bit more time and money to do a job properly, especially when it’s such an important piece to go in future videos.
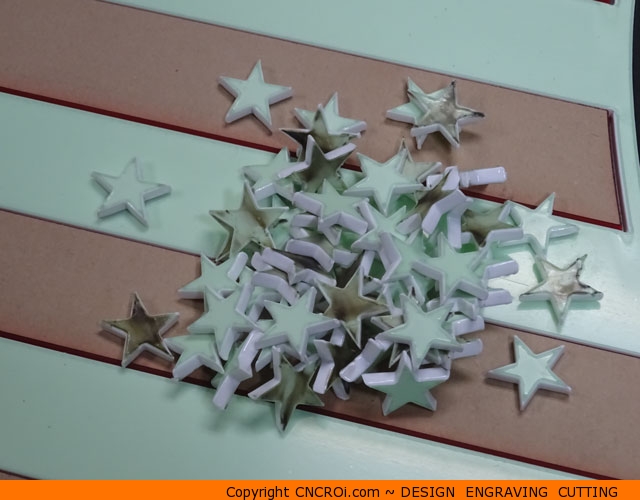
The first part of this custom American flag sign is applying the bonding agent across the entire flag with the slightly bowed blue being put with weights on top to keep it flat during the entire bonding process.
Although this is bonded almost at contact, it’s left there for 24 hours as, just because the edges are bonded doesn’t mean the inside parts are bonded just as strongly.
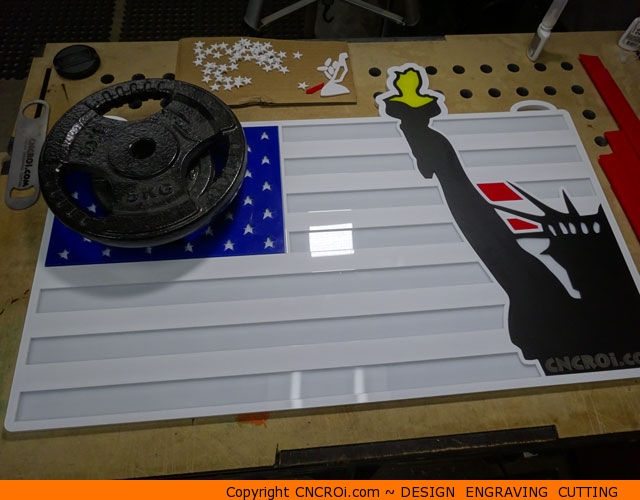
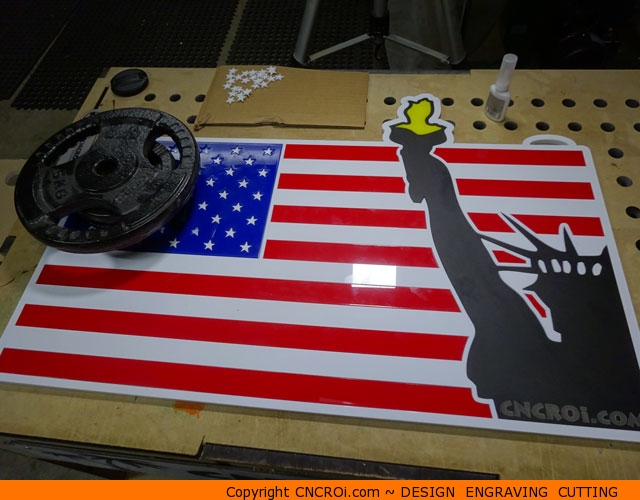
The colors are starting to pop before a final cleaning process, the color scheme is quite beautiful and vibrant, as the American flag should be and the extra yellow really provides a bit more detail to the overall design that makes it stand out all the more.
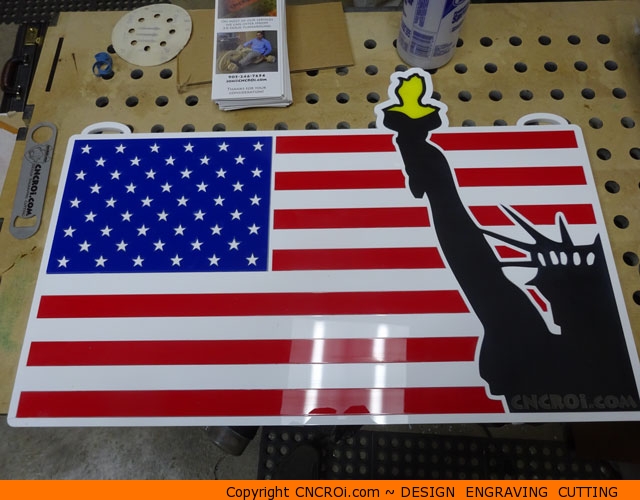
The final sign is now done, nicely polished and cleaned-up. I look forward to making lots of future videos with this behind me to showcase our capabilities.
I’m very proud of this design and the sign, as I am very thankful for all our American customers. CNCROi.com does work across the world, and I will be adding a lot more flags in the future to showcase our capabilities.
You can see our earlier Canadian inspired sign in our brochure page below, again, with a unique touch to give it a bit more detail. I’ve included a video of that earlier custom acrylic sign below the brochure image.
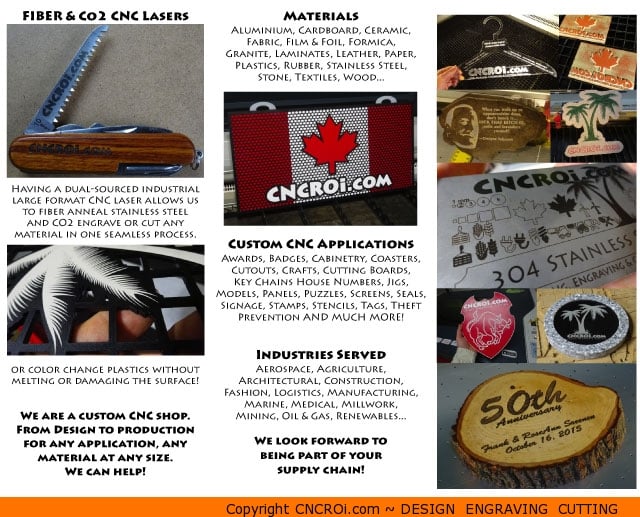
Here is the acrylic sign CNCROi.com based on the Canadian flag below.
