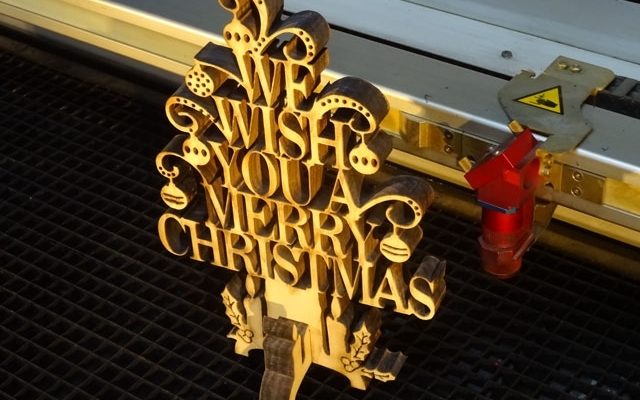
Highly Detailed Custom Christmas Ornament: CNC Laser Cutting and Sand Blasting Pine
Today we’ll take a look at making custom Christmas ornament but regardless of the season or event, we can make custom ornaments to suit your budget, timeline and branding requirements.
This is a fantastic design from David Newman, who has lots of designs at my other site CNCKing.com, but I decided to make it especially highly detailed by giving it very little support material with the laser to show you just how much fine work we can do with our CNCROi.com industrial laser.
As with most of these blog posts, I’m using a rough piece of wood, this was the front of a damaged pine box I had in the shop, so I decided to transform this 30+ years old, old military ammo crate, into a “we with you a merry Christmas” highly detailed desk ornament.
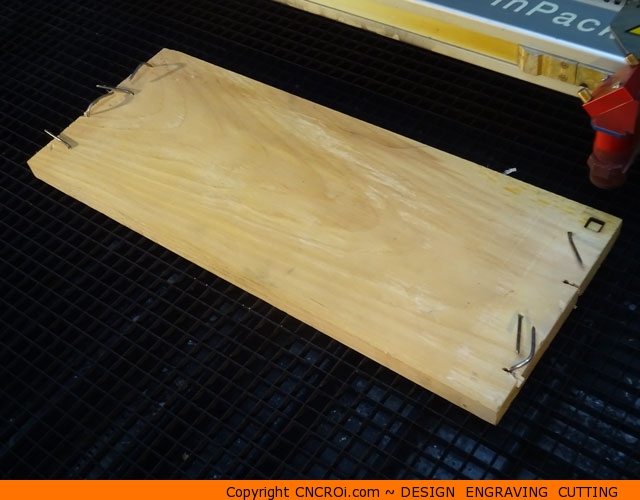
Of course, I left the nails in the pine, reason being, we were going to cut out this custom shape from the parts that were still good and there was no point removing nails as they had no effect on tolerances when laser cutting this desk ornament out. We have that much clearance!
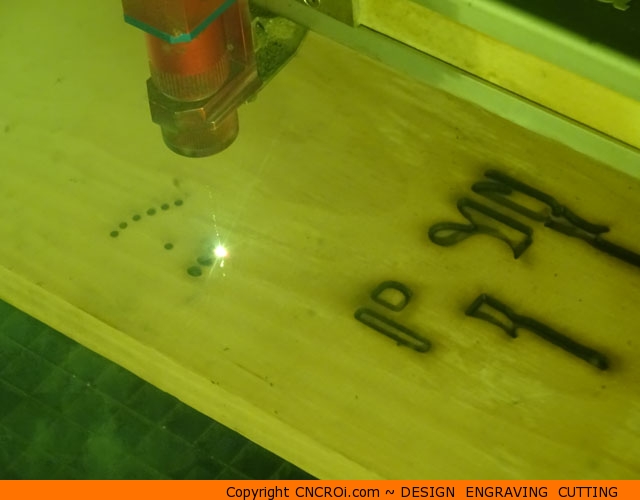
This is 3/4″ thick pine by the way, or 18 mm which means, THICK for a laser but no problem for CNCROi.com. The reason is two-fold. Pine is a very light and not very dense wood, as a result, we can cut “faster and deeper” into it in one pass than if it was, say, Oak.
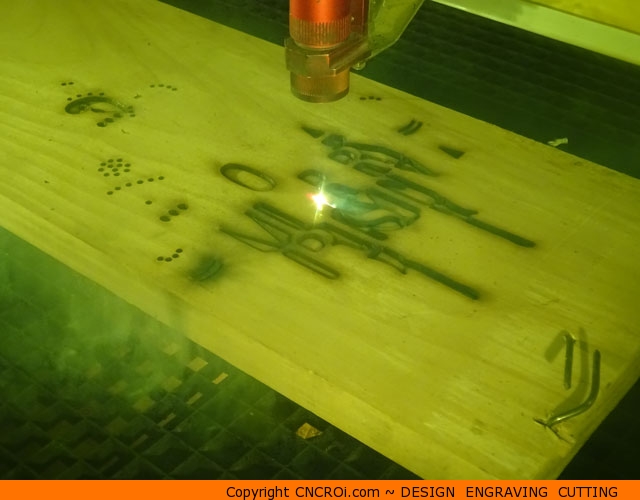
Secondly, the design has a lot of very fine details but all of them are well within our capabilities so yes, thicker material can be a challenge when it comes to cutting things with a laser but with the proper optimized design and Austrian engineering, we can make fantastic work out of just about anything!
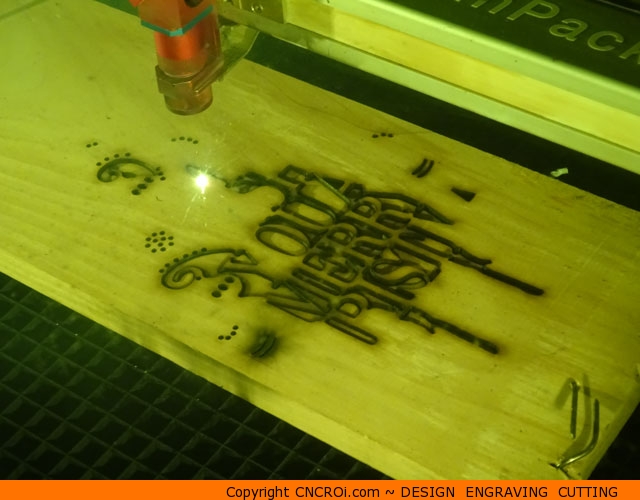
There was also no need to mask this project as I had no plans on sanding the surfaced of this highly detailed Pine Christmas ornament, besides, the masking wouldn’t be doing a good job anyways on the very thin parts and most likely just blow off and around the machine.
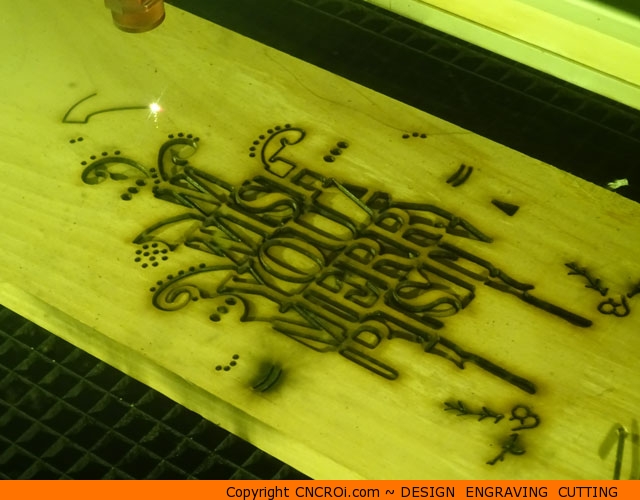
As the parts are being cut out, they fell a few mm or a fraction of an inch down, the reason is that the board is slightly elevated due to the nails, you might wonder why the whole design doesn’t fall out at the end, the reason is too much surface friction. Small pieces don’t have much surface area but something with this much cutting absolutely does!
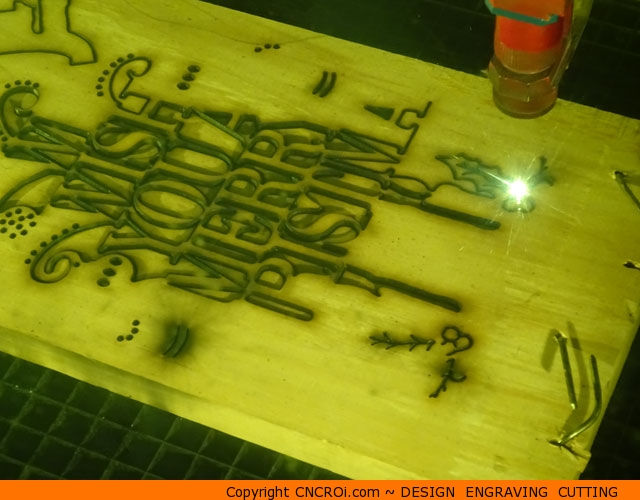
Like most woods, we have some fire shooting out the bottom, the reason it’s shooting down instead of up is because we have highly compressed air shooting down along with the laser beam from our industrial wide-format machine. We also have a vacuum table and a few other things in the machine that help to quickly evacuate the smoke before it builds-up to dangerous levels.
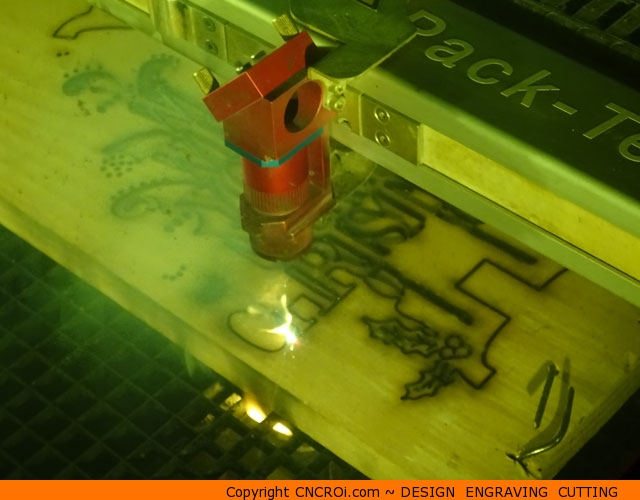
There is some charring as well happening on this project, that’s what you see in both the finished photo edges and on the top and bottom surface, this is just the way the laser works. If you didn’t want that, we can either sand or sand blast it off but it provides a nice contrast for this design when cut out so I prefer leaving it there.
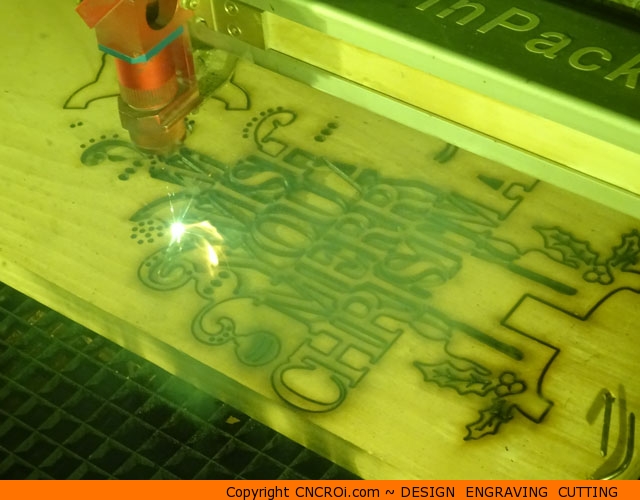
What’s really nice about this piece of wood, and one of the main reasons for using it for this specific custom Christmas ornament, was that it had no knots. Sure, we can power through knots when it comes to both engraving and cutting, but for cuttings out, a clean, knot free surface generally works best.
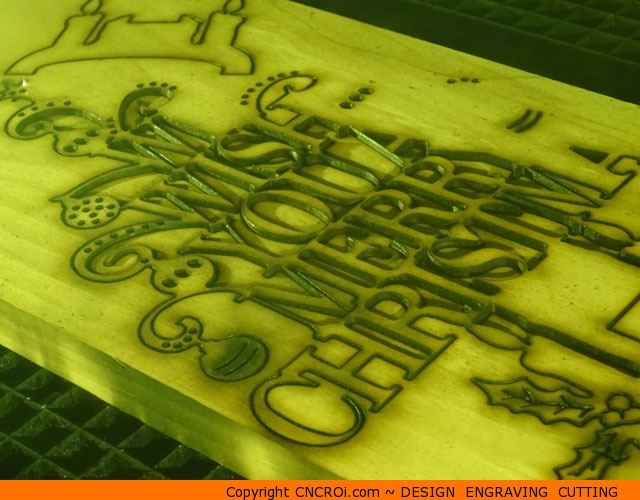
Keep in mind that we could have cut this design out of any material, acrylics to laminates and even steels (volume and budget depending). Now that all the inner parts of this custom Christmas ornament are cut out, it’s time to cut out the silhouette of this design so that it can be released from its wooden bounds.
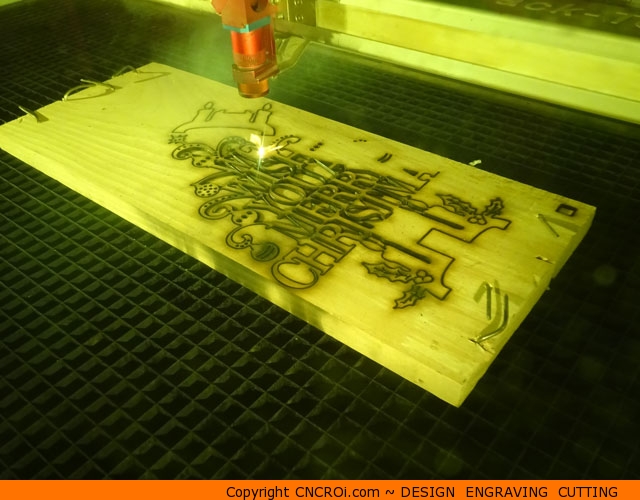
The cut on this pine is sharp and INCREDIBLY FINE, many of the letters in this are a fraction of an inch or mm thin, that’s so thin you can’t sand it! It poses no problem for us though, we have the ultimate precision, capability and equipment to pull off even the most crazy precise drawings.
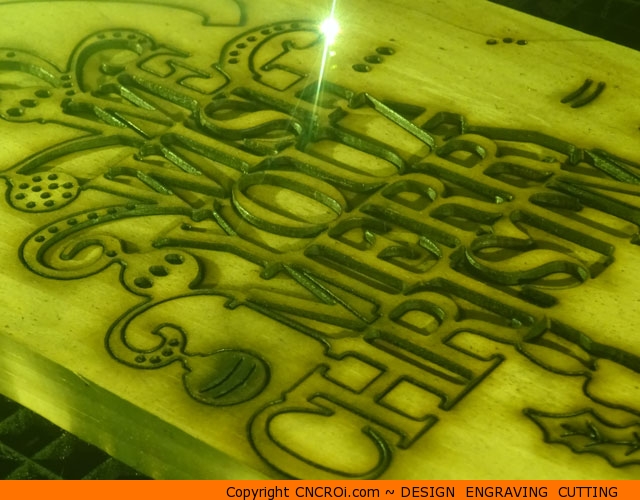
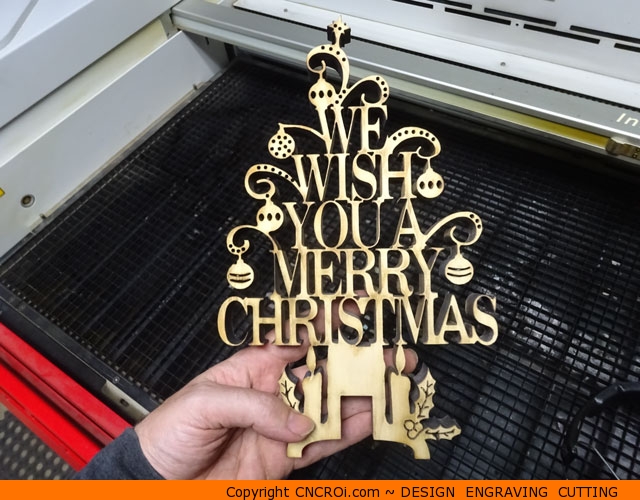
Now that it’s finished being cut, you can take a step back and see how the design comes together, that part in the top left simply locks into the bottom of the design, which holds everything up straight.
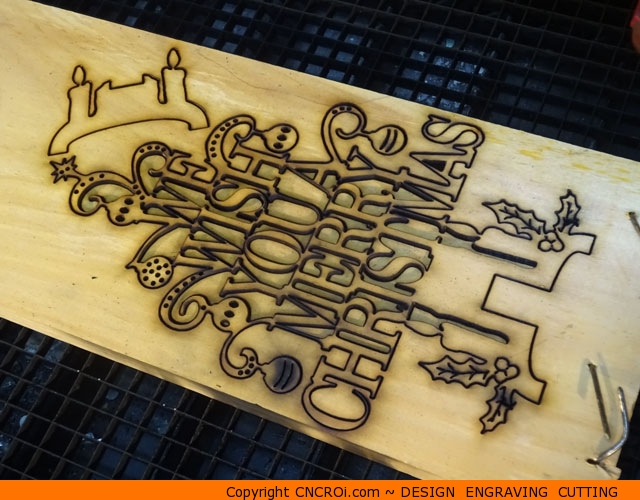
Some parts are easy to remove, they do it on their own, but we’ll keep this custom Christmas ornament in the pine for now, as we are going to another machine that, even after two years, I have yet to make any video of me working on and with it. Our industrial sand blaster!
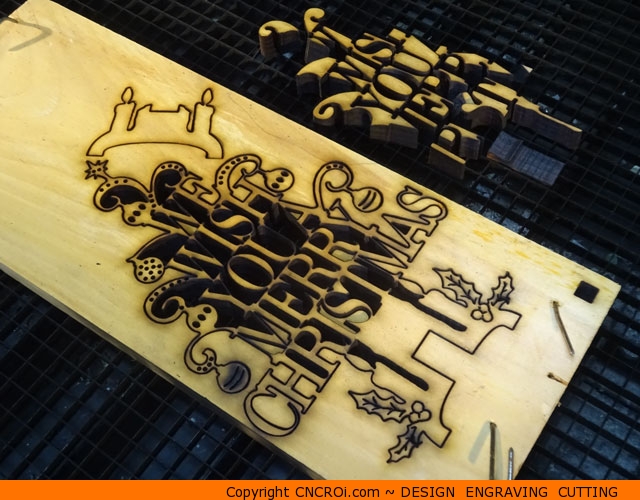
Before we move to sand blasting, you can see how extremely detailed this design is, we cut it using a wider beam on purpose to produce these very fine details. It isn’t easy to cut and not burn through the edges but we have the experience to pull it off more than not, most of the time!
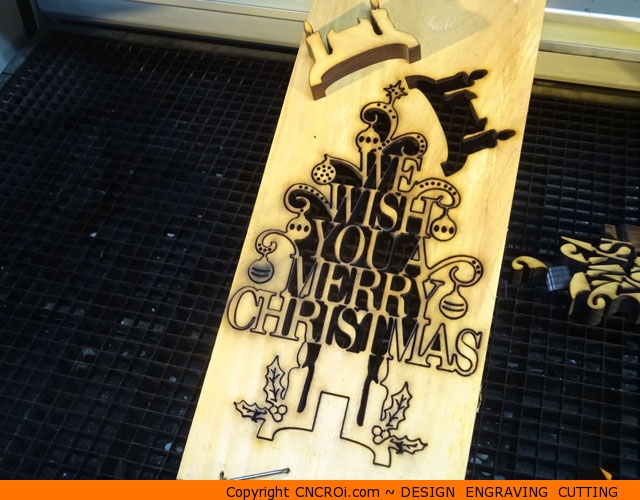
Below is our sand blaster, you can see how well it removed the soot from the bottom of this pine, to the right is “after sand blasting” and to the left, “before sand blasting”. You can see how noticeable the soot is and how it’s removed. One thing to keep in mind though, the surface finish of sand blasting isn’t smooth or fine, it’s rougher to the touch. We aren’t sanding using sand paper flat to the surface, but blowing compressed air along with sand onto the surface, as such, the surface quality is different.
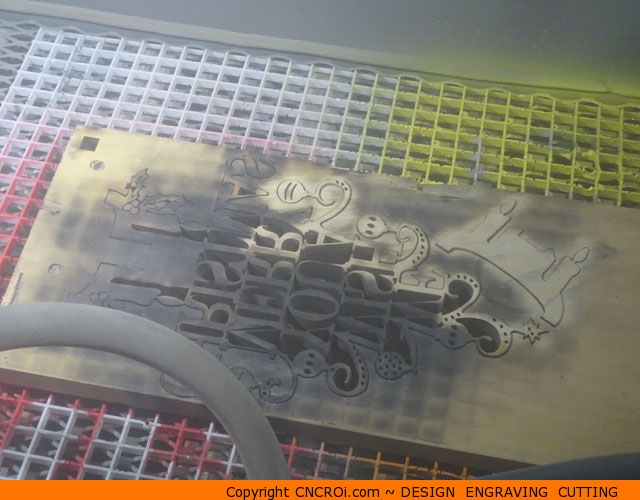
Due to the manner of production there is not as clean a surface but for our purposes, it’s totally fine as the edges provide the contrast needed from the front surface of this custom laser cut and sand blasted Christmas stand-up ornament.
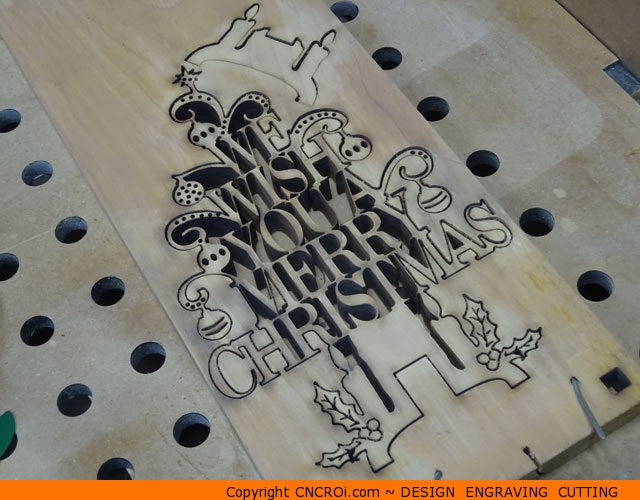
Taking a closer look, you can see some very fine grains of sand on the wood where the crevices are, this does pose some unique challenges as they act as “stops” when you try to remove the design from the wood as those are very well pined right in there.
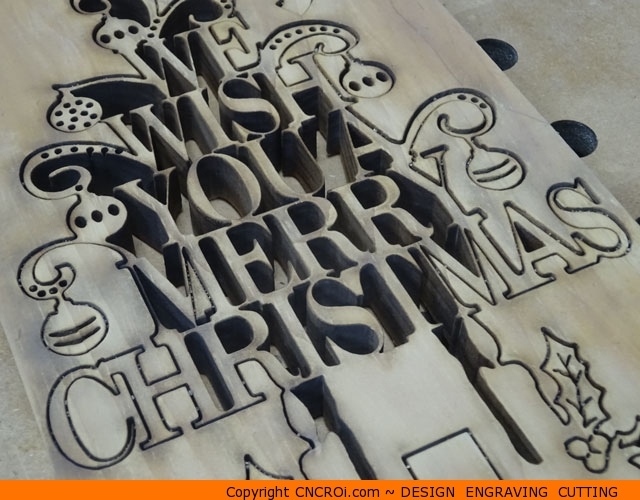
It’s still clearly legible and looks fantastic, generally this would be only part of the process where next-up would be painting it but I really like how this custom Christmas ornament came out, so I’ll leave it as/is.
A closer look you can see the pitting, some of this is natural wood grain and wood variance, what the sand blaster tends to do is sort of blur it all together on the surface while with regular sanding, it tends to add contrast, not muddy it.
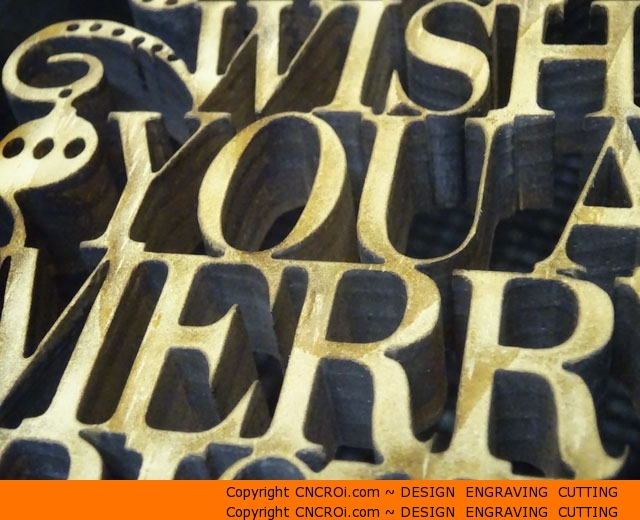
The added benefit of sand blasting this unit rather than sanding is that all those fine pieces are not broken! so many of these letters have barely any wood holding them in place, sanding would just rip up this design in the manner that we cut it.
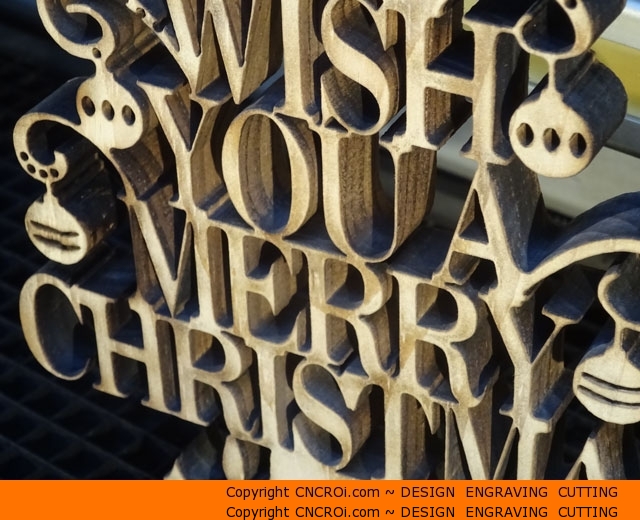
The finished custom “We wish you a Merry Christmas” laser cut and sand blasted Christmas ornament came out great! Even in less than ideal light, the warmth of the wood comes right out!
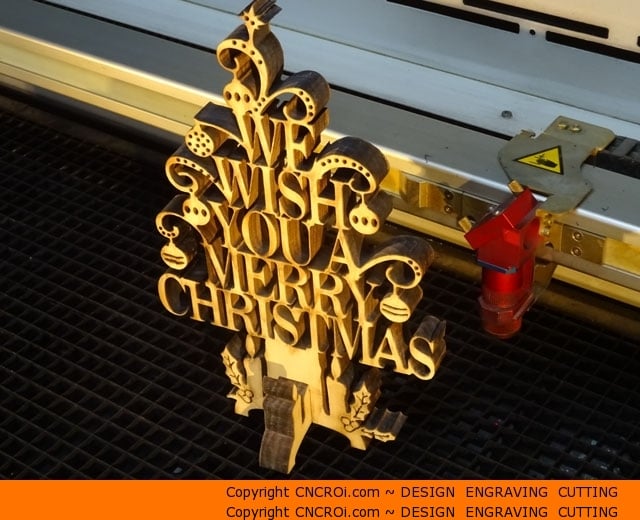
Need custom holiday, seasonal, anniversary or birthday gifts and ornaments? Contact CNCROi.com right now!

