Laser Cutting a Hardboard Jig
At CNCROi.com, we often have customers with a lot of little parts or pieces that need a number or logo added to them. If you have 10, generally you do one at a time but if you have hundreds or thousands, it makes no sense to do one at a time. We create a jig!
Lasers are wonderful tools, not just for marking, etching, cutting, annealing and engraving just about any material but also to make accessories that make those processes far more efficient than would otherwise be possible.

Running a lean operation means being efficient with the time you have in the shop and in life in general – it takes a bit of calculating and testing upfront – but it’s well worth it in the long run. This allows us to get a job done, regardless of volume, at an affordable price and on time and within budget. When a customer tells us they have thousands of pieces needing to be date stamped, I’m happy as it’s a challenge internally to get them on the laser bed, engrave/mark/etch/anneal and then get them off as fast as possible at the highest quality.
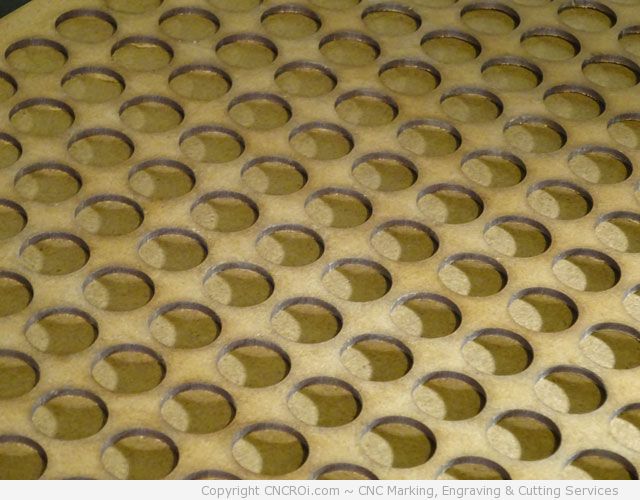
Generally we use hardboard and don’t bother masking the material before cutting it as it’s only for internal use and this material is strong enough to hold just about any widget when supported from underneath. We generally use two sheets, one on top with the hole and another under that’s solid, this keeps everything rigid. There are a few other tricks we use in both production of the jig and working with the customer’s parts but that’s for another blog post.
This is yet another reason why I purchased a dual source Trotec Speedy 400 flexx – it has a massive bed that allows us to be incredibly efficient which saves our customers money and us time. We all benefit!

