Making a Custom Laser Cut Acrylic Dog Tag Jig (part 1 of 2)
Making a custom laser cut jig out of acrylic is an area CNCROi.com is doing a lot more of these days, the quality of the finish and precision of the jig itself compared to alternatives is tough to beat! In this case, we are going to make a custom Dog Tag jig holding 121 units at a time.
We could easily make one 3x the size but for our purposes, a run of 121 at a time is more than adequate for now! This blog posting is about making, part 2 will focus on using it!
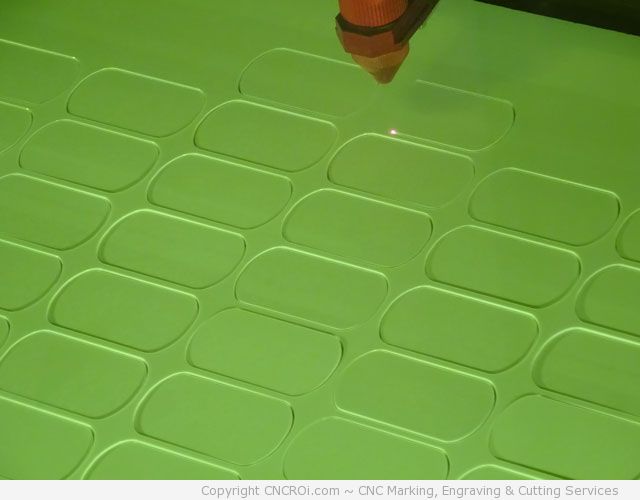
The material we are using to make this custom CNC laser cut dog tag jig is 3 mm white acrylic, it’s less prone to warping like MDF or plywood tends to do and we don’t need to mask it for cutting.
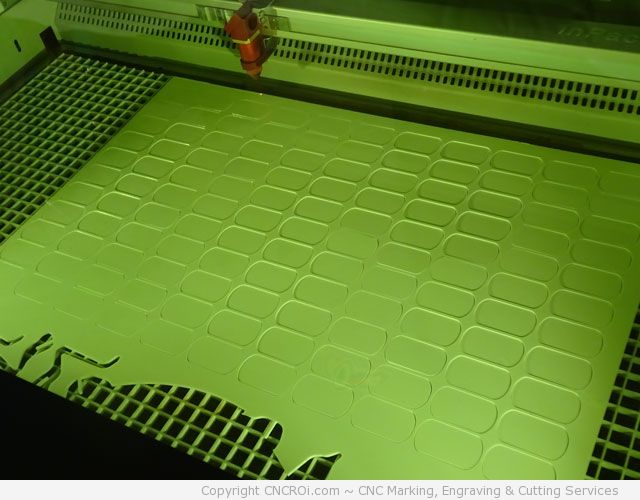
What’s especially nice about an acrylic jig is that dust and debris that builds-up on it is easily removed using compressed air and worse comes to worse, methyl does quick work of stains so it can be hung-up in a showroom when not in use!
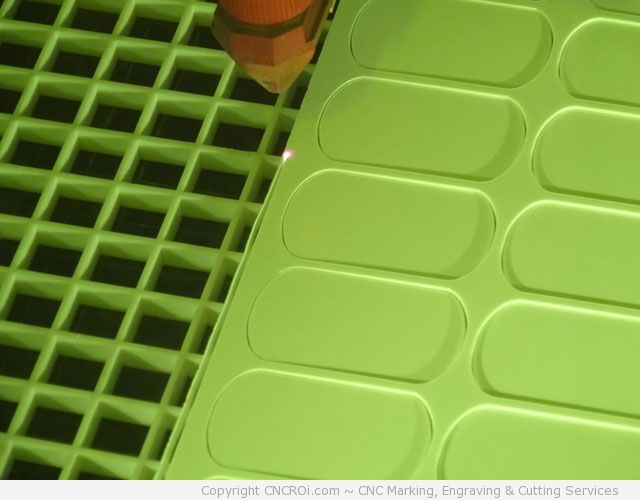
NOW THAT’S PRECISION! Here we are removing 1 mm off the side of our jig, if you are going through the “trouble” of cutting out a jig, might as well make sure everything is dead-on and that means not using any sides from the source material.
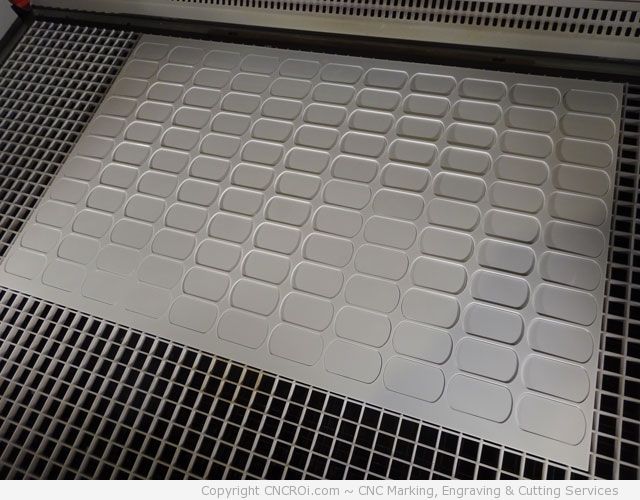
The first part of the jig is now done, how well did our CO2 laser cut?
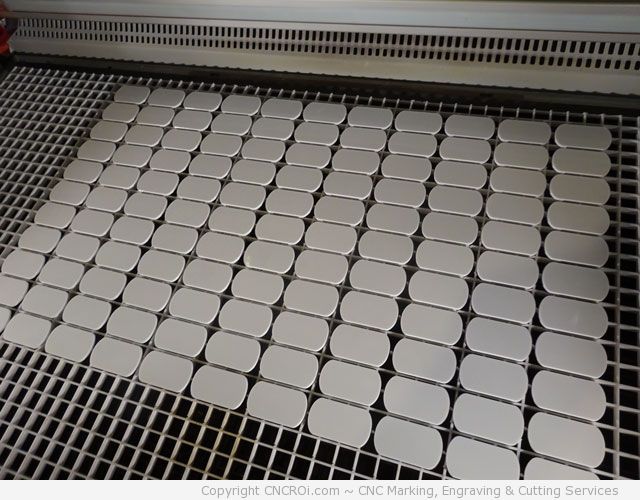
That’s how well, these little “extras” are being kept, they are great for making foil stamp samples in our mailouts! This acrylic is 100% recyclable by the way, so either way, there is no waste.
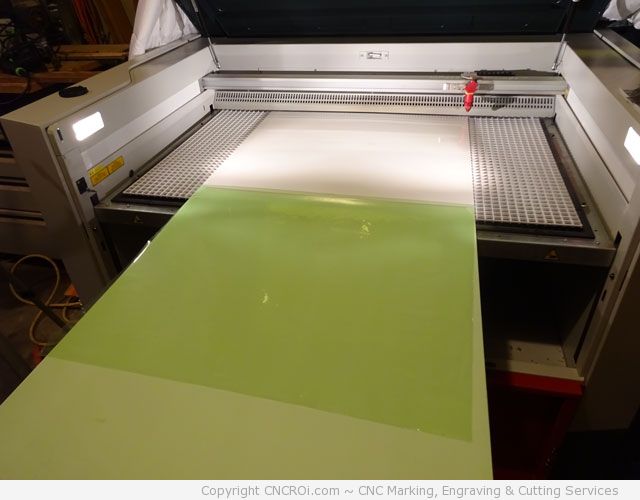
The first sheet was a left-over of another project, this one is a “raw” full sheet that was cut down to carry it in the truck. Why is pass through so awesome? We can feed the piece straight into the machine!
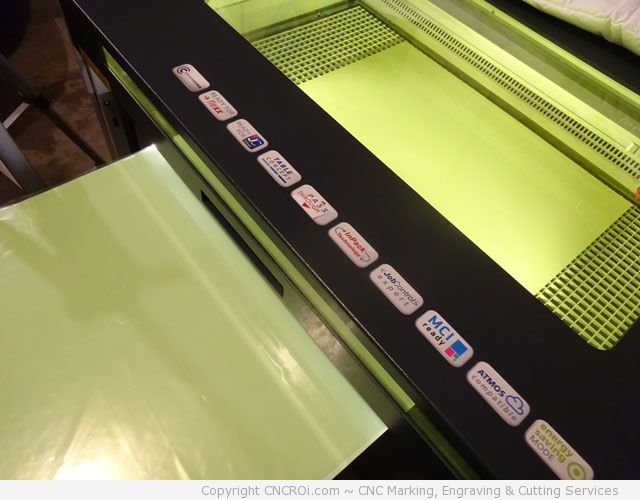
This means cutting out the custom dog tag jig (in this case, the underlay) is efficiently performed as we don’t have to cut a piece out ahead of time to fit into our machine. We can of course open-up the back if needed but in this case, just the front was more than adequate! A lot less waste using this method!
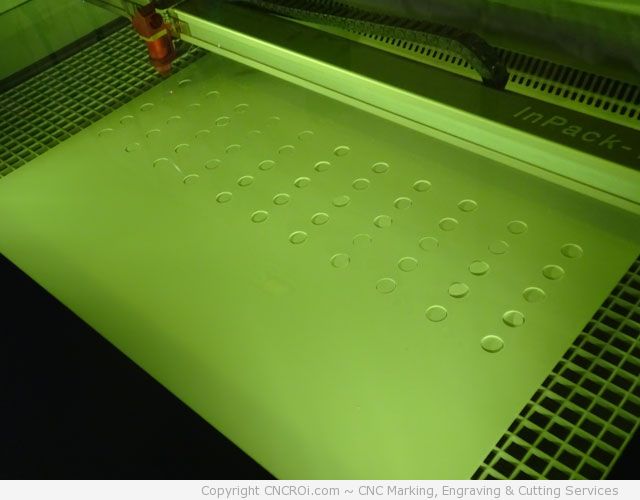
Cutting out round holes for a dog tag jig might sound odd until you realize that sometimes those little dog tags get wedged-up or just won’t come out for various reasons. Having a way to remove them quickly by punching them out via the underside is far more efficient than making tabs on the front to try to pull them out.
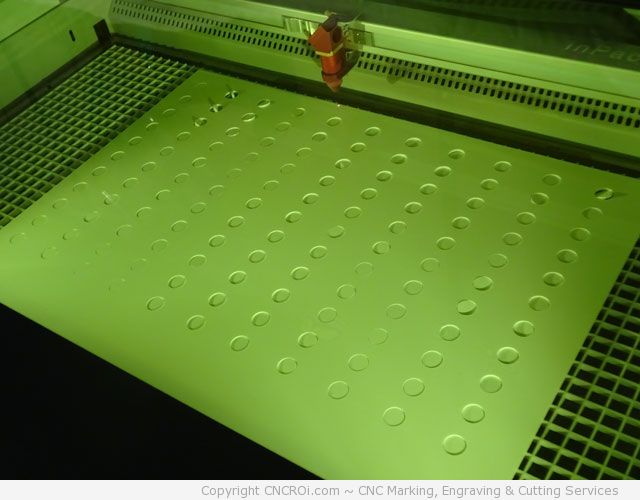
Using a punch-out system means far higher ROI as the jig surface is ALL your source material, you don’t need extra room for fitting things in our pulling things out. Yes, this is for a 304 stainless and if you are annealing (for instance) a large part of the surface, I’d make this out of MDF instead of acrylic as the dog tag would get hot and maybe melt into the jig but I’ve modified our design so this won’t be an issue.
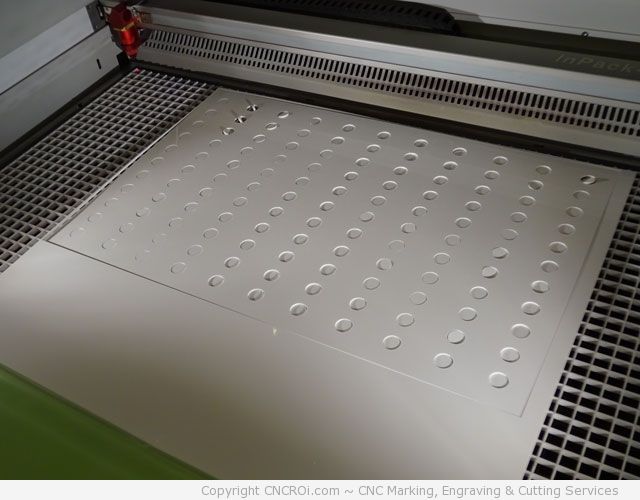
The jig is done! How well did it cut?
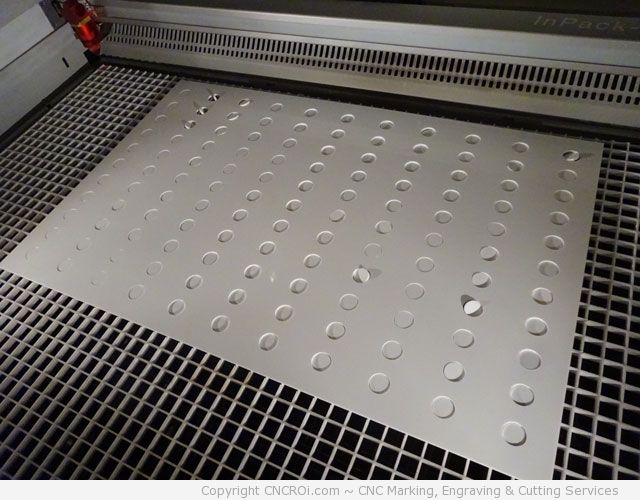
Pretty good! Very little waste and just breaking off the tabs on the bottom means we are ready to make another jig by taking this one out and and sliding the acrylic in for another run!
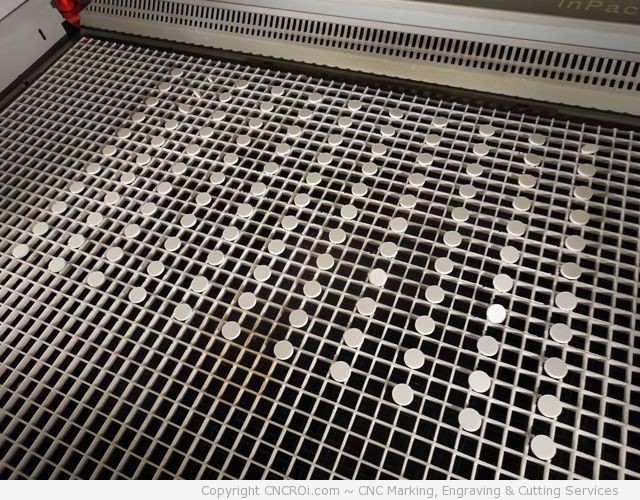
Now, that’s an awesome cut, all these circles are heading to a school, kids love using these for counting… at CNCROi.com, we try to use any “waste” for alternative uses with our clients. Recycling is great but if somebody else can use what we don’t, even better… they can always recycle it after anyhow.
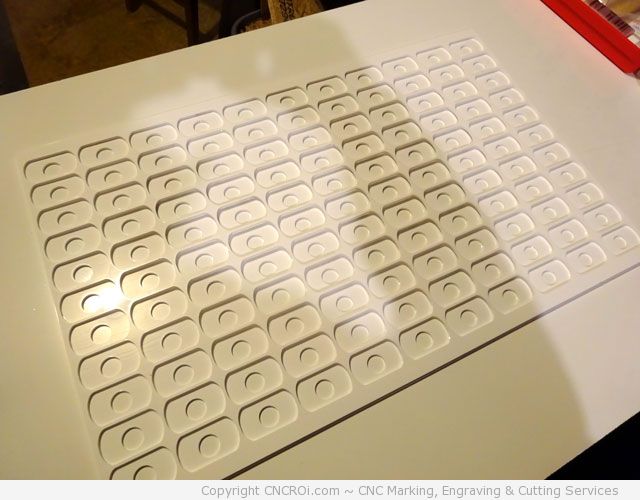
Putting the acrylic jig together with glue produces a very clean result! In two days, you’ll see this jig being used in the same CNC laser we used to make it with, fiber annealing and marking dog tags for another sample production run! In the meantime, here’s a video to watch of the entire process.
Looking for a company that can make awesome jigs out of acrylic, MDF or even stainless steel? You found us, contact CNCROi.com today!