Making Scrap Banks: Red Oak CNC Routing Mistakes
How do you get good at making something? Makes lots of mistakes! These custom red oak scrap banks are no different.
Through all the years I’ve done woodworking at CNCROi.com, I’ve never required a jointer to laminate boards together, these banks are the first job where such a tool would not only be useful but is essential… it’s on my to-buy list as a result.
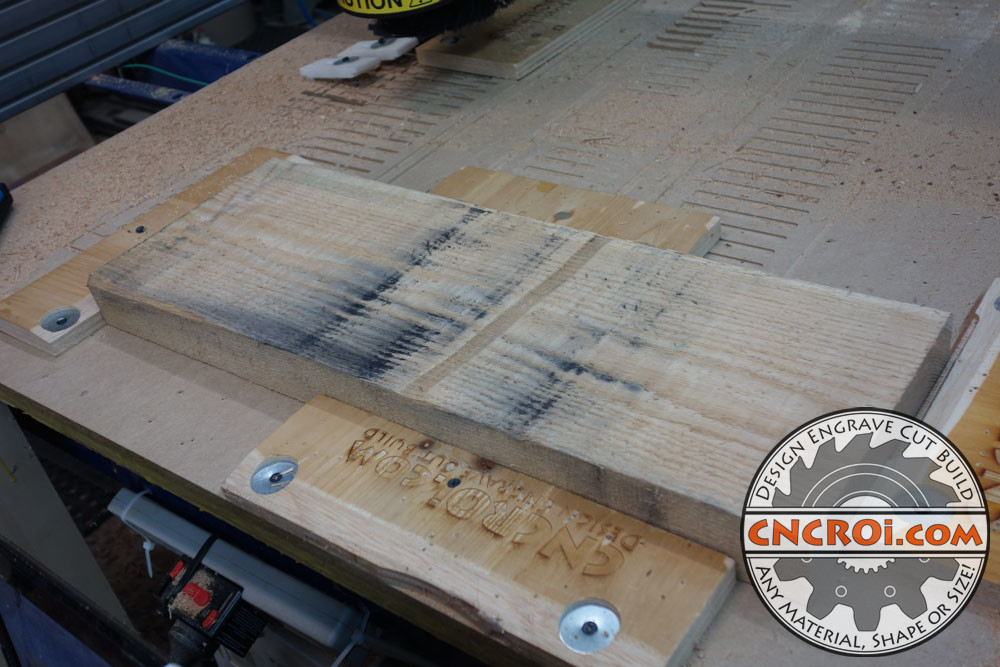
As I don’t have a jointer, how do you dress and square boards so that you can laminate them together? Well, with CNCROi.com‘s CNC router of course!
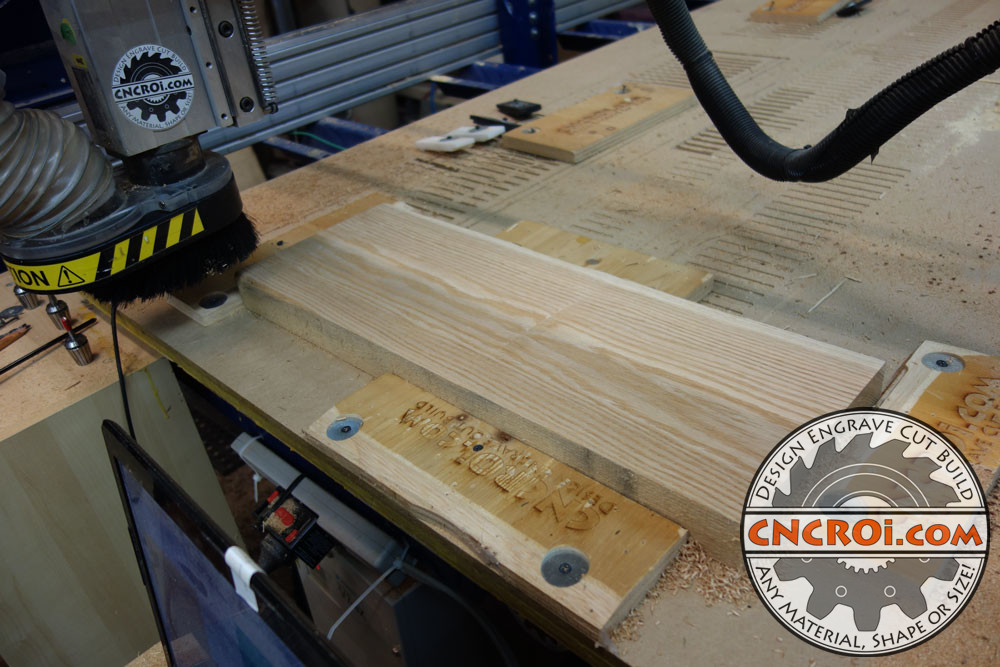
It isn’t the most obvious tool when it comes to making custom red oak scrap banks but it works wonderfully for this application, there are a few downsides of course, as there is no one tool to rule them all, especially when it comes to making laminated boards for this application.
How much detail can be added to a custom bank made at CNCROi.com? It’s endless, we can also add a layer of texture to the entire front of it if you had the budget and inclination.
Using the CNC router not only cleans-up the edges, but it also flattens and makes them parallel surface to surface, amazing! The downside is that it wastes a lot of time and wood doing so.
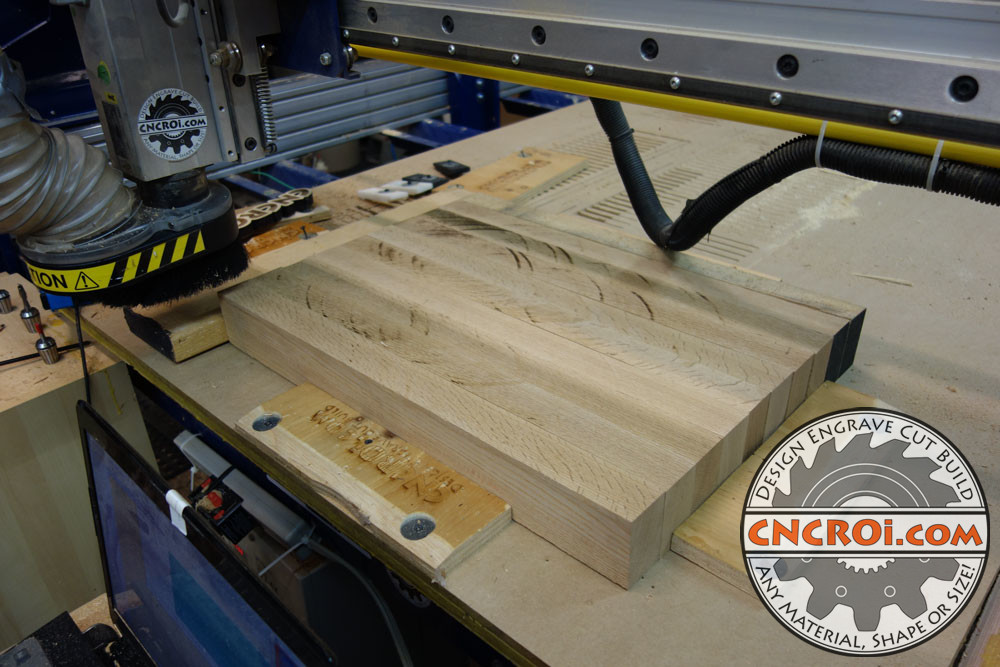
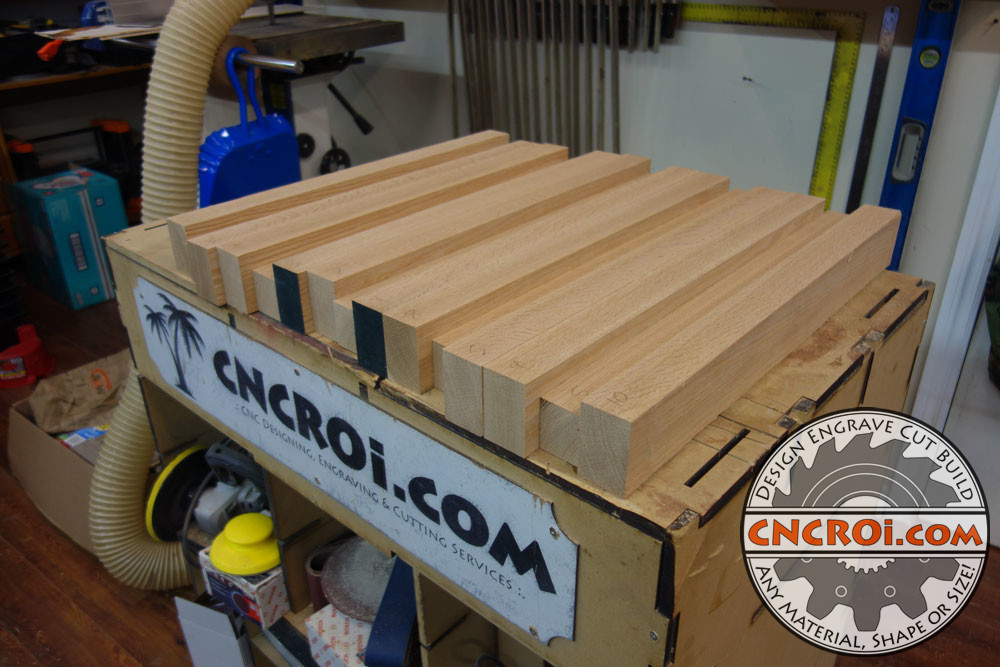
So after cutting the boards at roughly 2″ increments, flattened all the edges of the material that will become custom red oak scrap banks and then it was ready for glue-up.
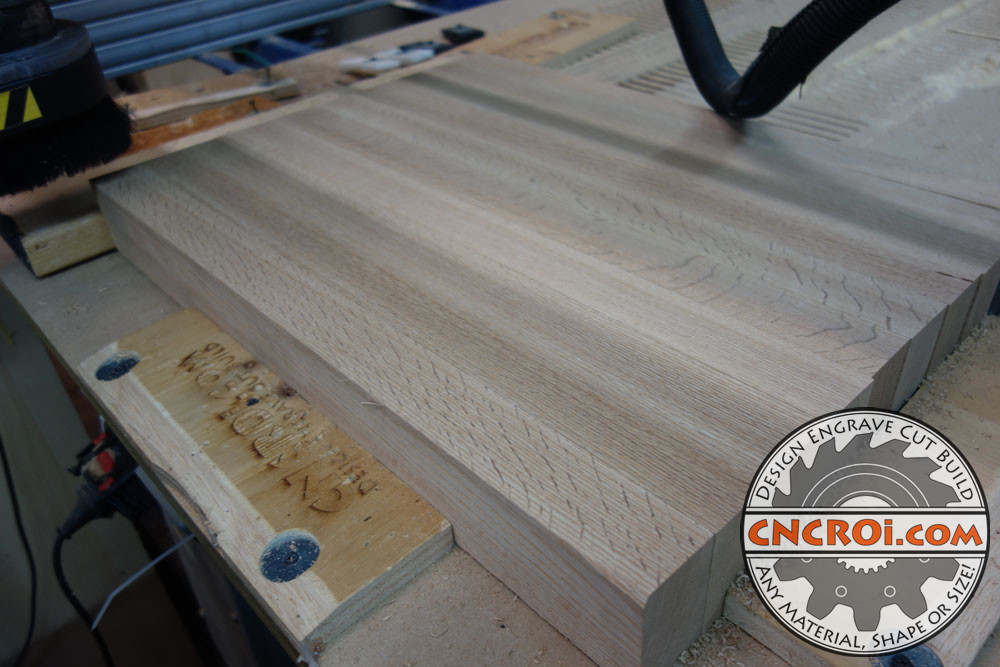
I can’t emphasize how wonderful of a jointer a CNC router is, the biggest issue is that I can’t go any deeper than the shallowest board, so if one board is a quarter inch “shorter” than the others to be cleaned and dressed, you guessed it, ALL OF THEM need to be made a quarter inch shorter at CNCROi.com.
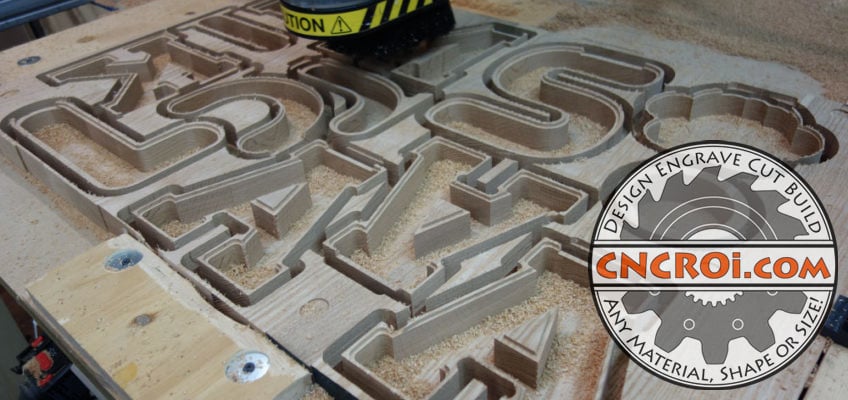
CNCROi.com has done a lot of live edge wood and big wood jobs, here’s a sign we made a while back.
Regardless, gluing perfectly parallel and flat boards is a breeze compared to the alternative where tons of resin and glue fills would be required, for this custom red oak scrap banks job, I only had one small section that needed to be filled after all this work was performed… not bad at all!
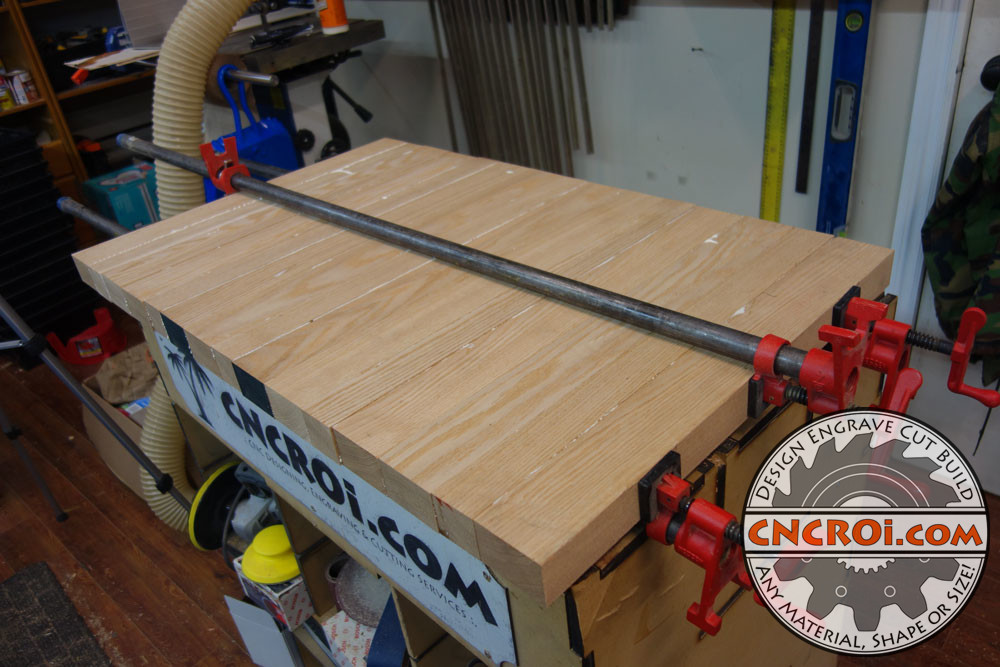
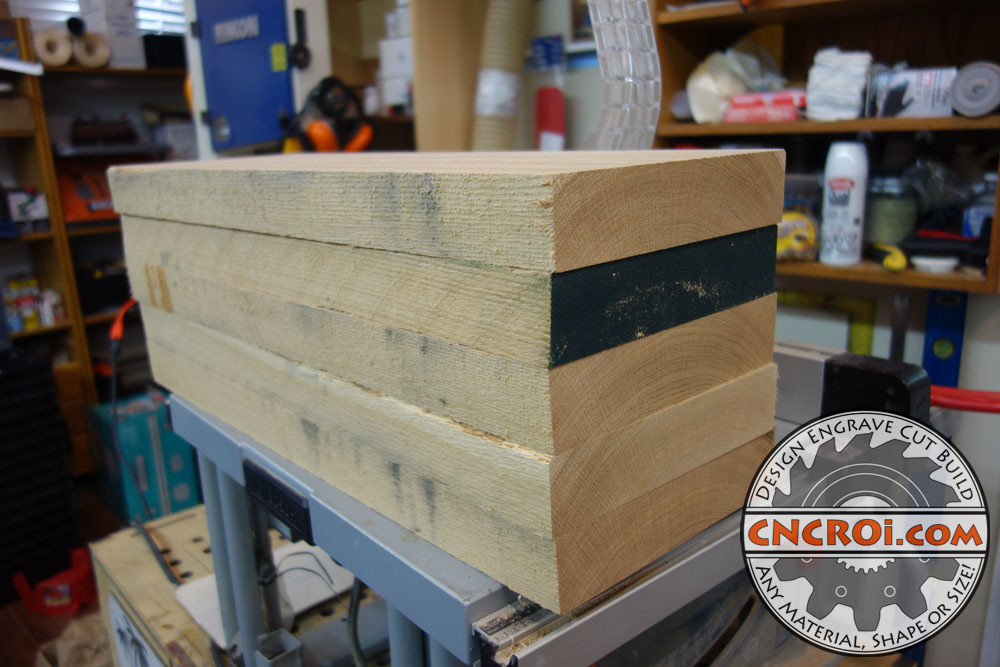
Gluing all the boards went very well, when everything is flat and parallel, minimal glue is required to hold it all together as the surface area of the custom red oak scrap banks is perfect for lamination.
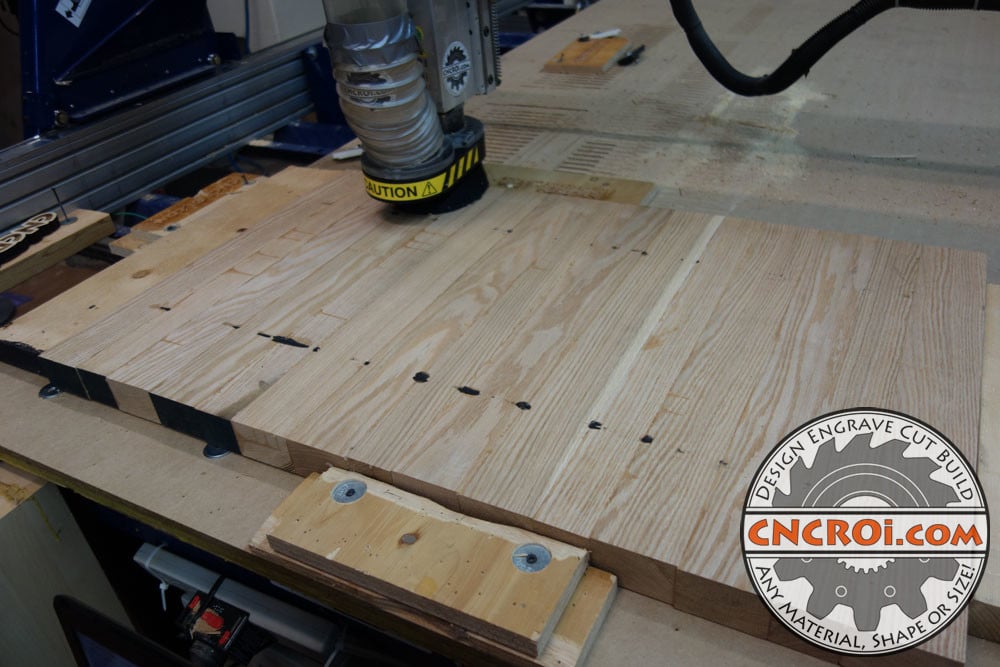
After lamination of the custom red oak scrap banks, it’s time to flatten the boards yet again, so little to no sanding is required during the final process of these banks, the goal is to go as fast yet as clean as possible on these banks.
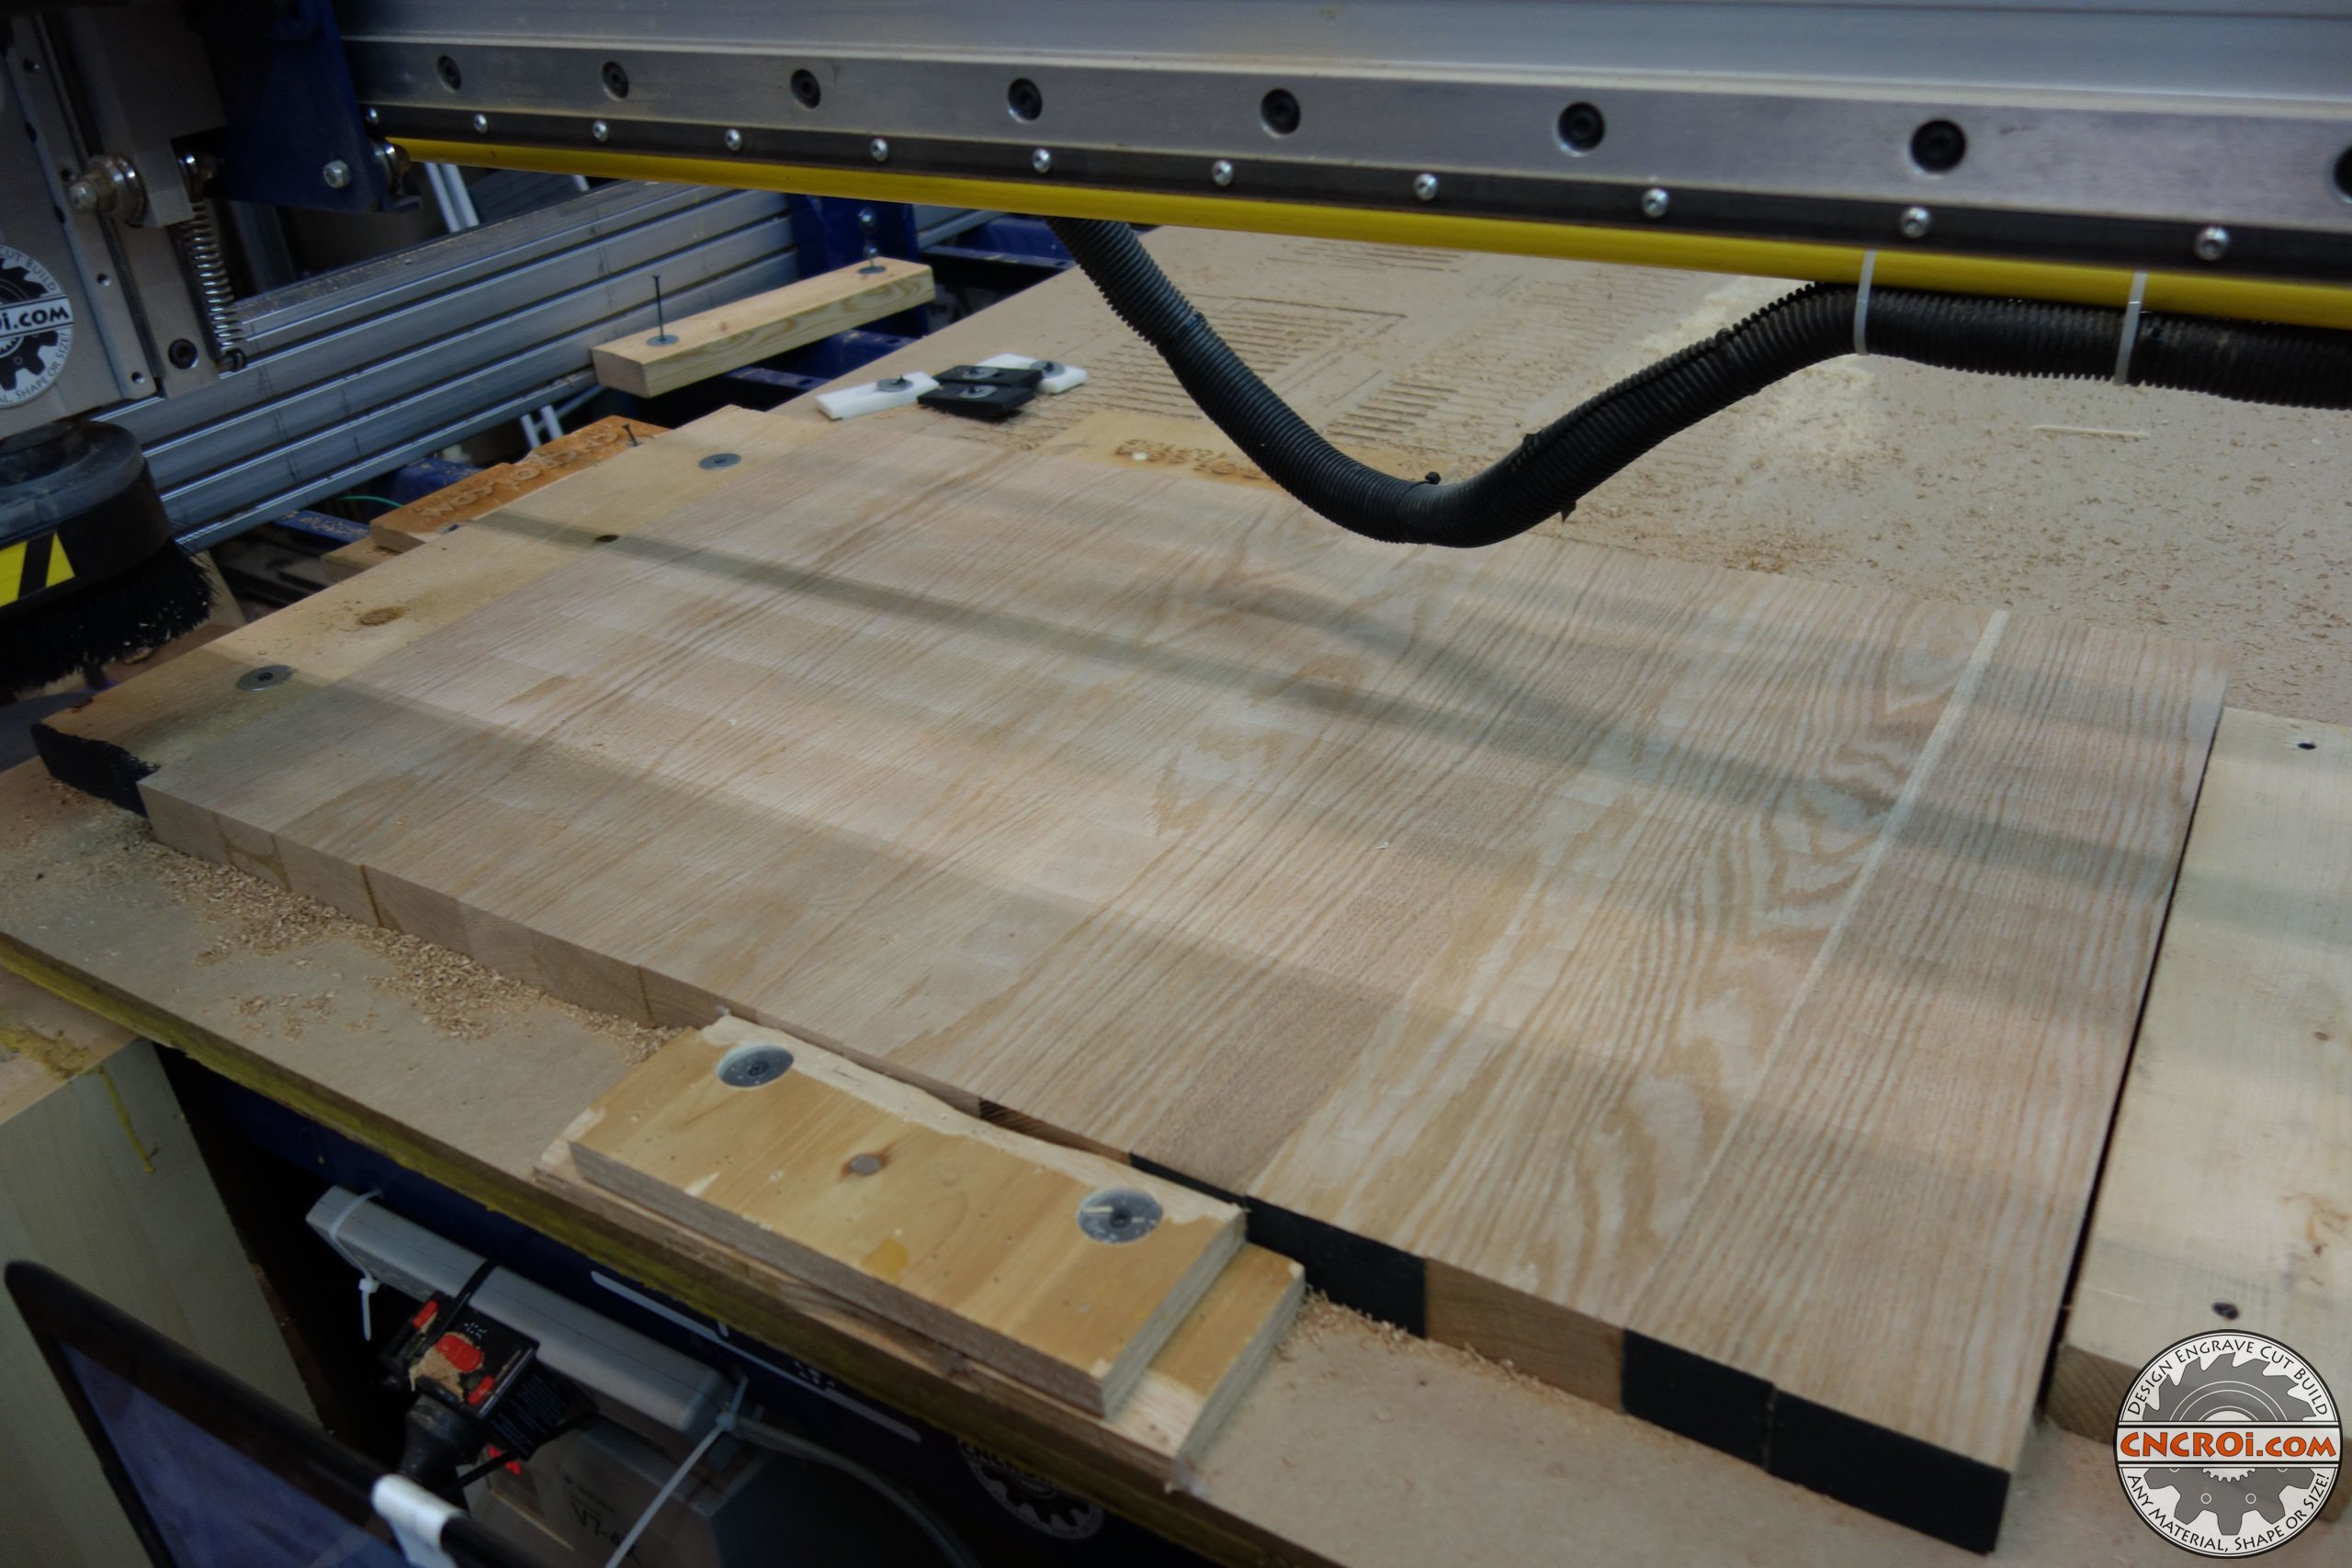
You really couldn’t ask for better material to work with, it’s hard to believe this is made-up of many boards all flattened and made parallel, if it wasn’t for the grain, you’d think this was a solid board of red oak at CNCROi.com.
Most of the work at CNCROi.com involving wood is generally flattening it and making it parallel for use by woodworkers to build tables from .
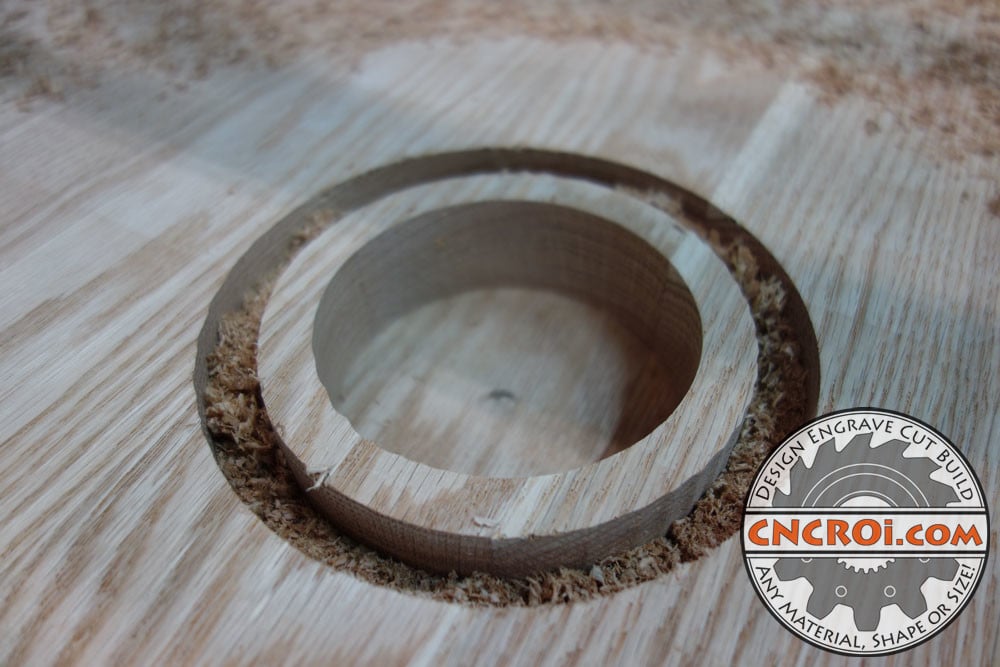
As this was the first job I used half inch bits, I wanted to test out my feeds and speeds along with many other elements that require a clean production of these custom red oak scrap banks before doing the real ones, so I made a small circle with an area excavated that would act as a barometer of what’s to come.
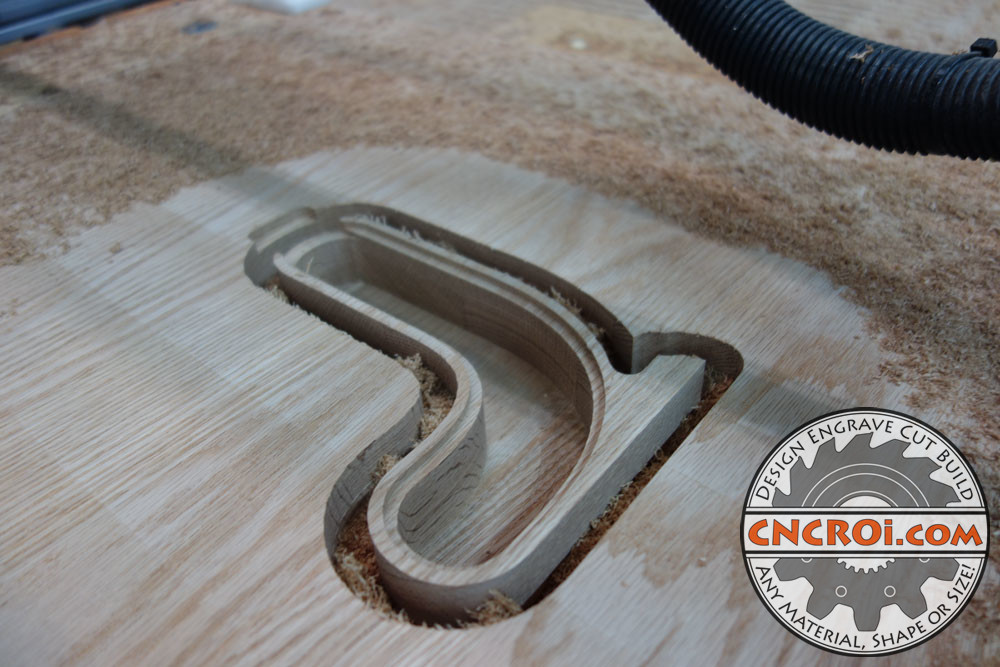
After getting most of my settings right, the next step was cutting out a bank, again, testing things along the way and making adjustments each step of the way at CNCROi.com so that I didn’t produced custom red oak scrap banks.
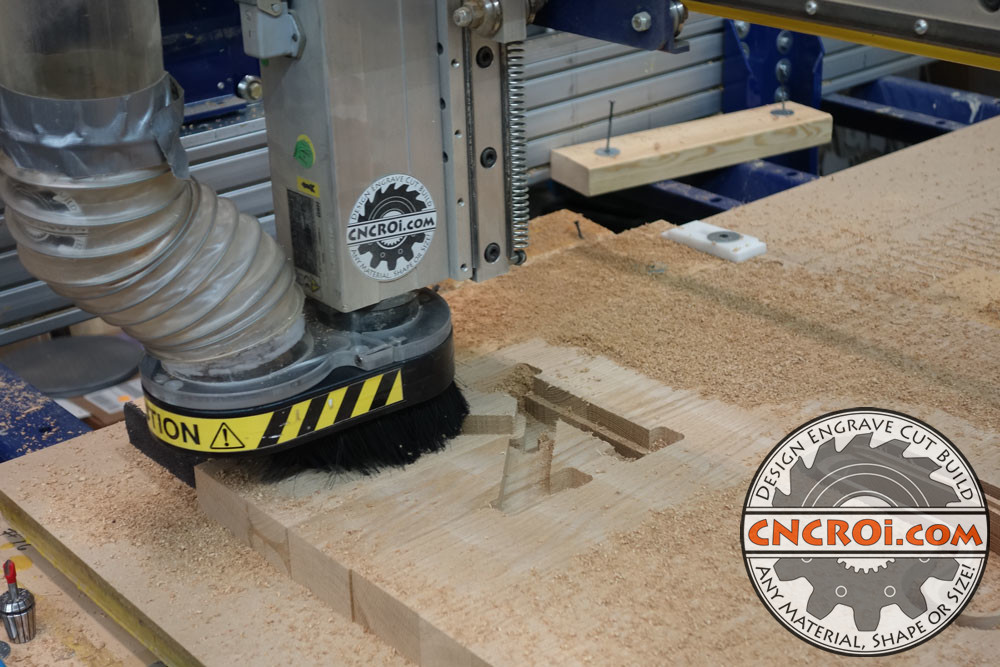
As there were numerous delays in the production of these custom red oak scrap banks, from acquiring the right bits to material glue-ups and so forth, it had been a week since I edited files to account for some new learnings during that time, one major one, which I forgot about, was wall thickness of these custom red oak scrap banks.
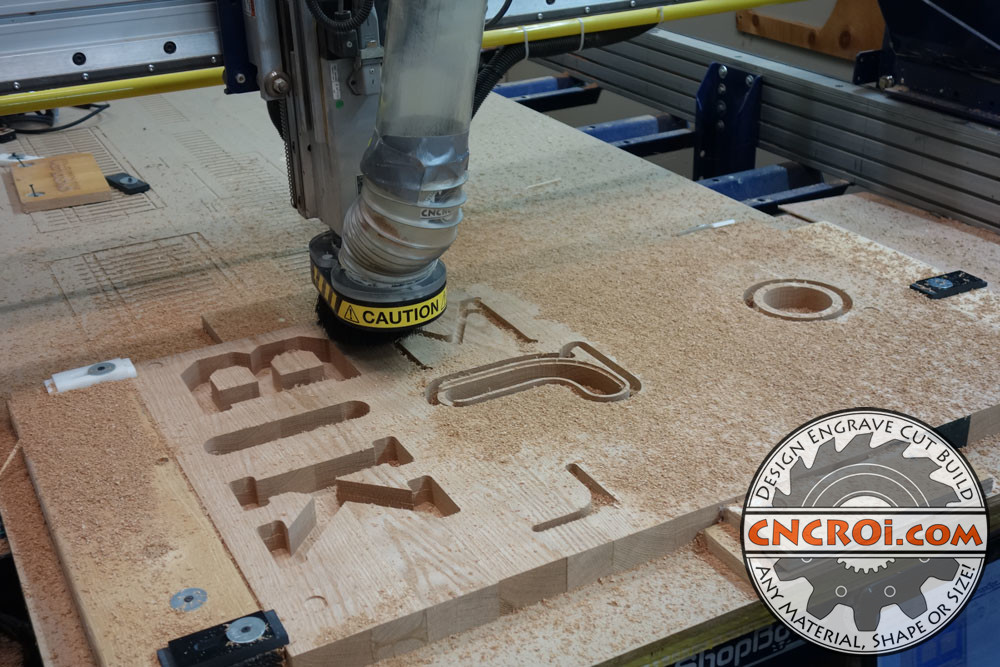
This is definitely not the first bank I’ve ever made or designed, but this is the first solid two-piece I make, and I plan on making a lot of them at CNCROi.com for my customers.
When excavating these banks, everything looks very good actually, but what I didn’t realize was that I was working off an old design file that I forgot to update with half inch wall thicknesses for all of these custom red oak scrap banks, of course, you don’t see wall thickness until you cut these all out.
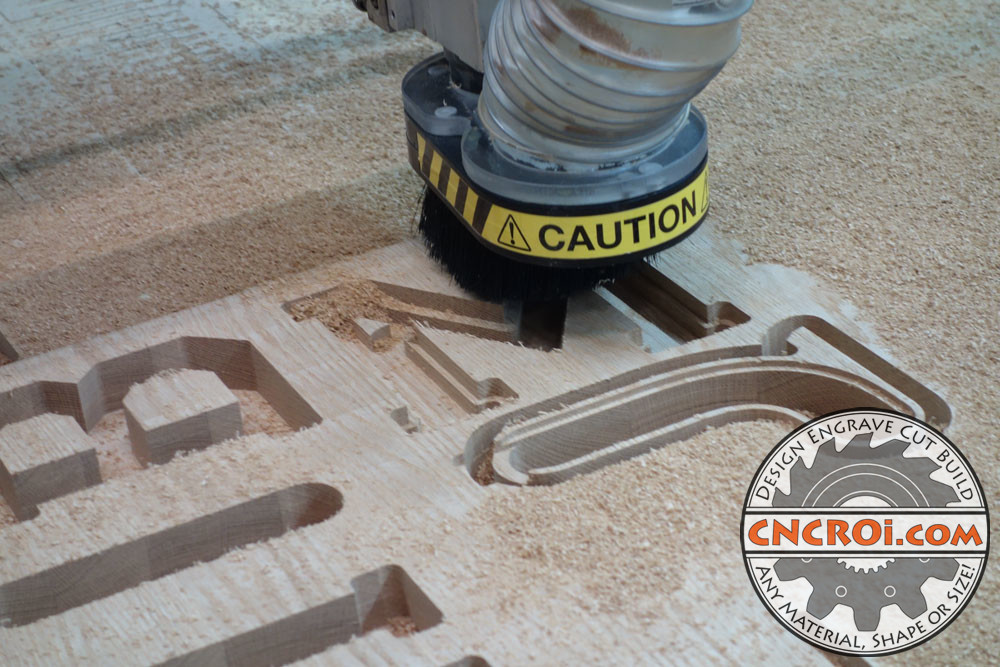
During this entire production run, of course, I keep editing my files for feeds and speeds, just to account for different geometries the bits are hitting during this process of removing material.
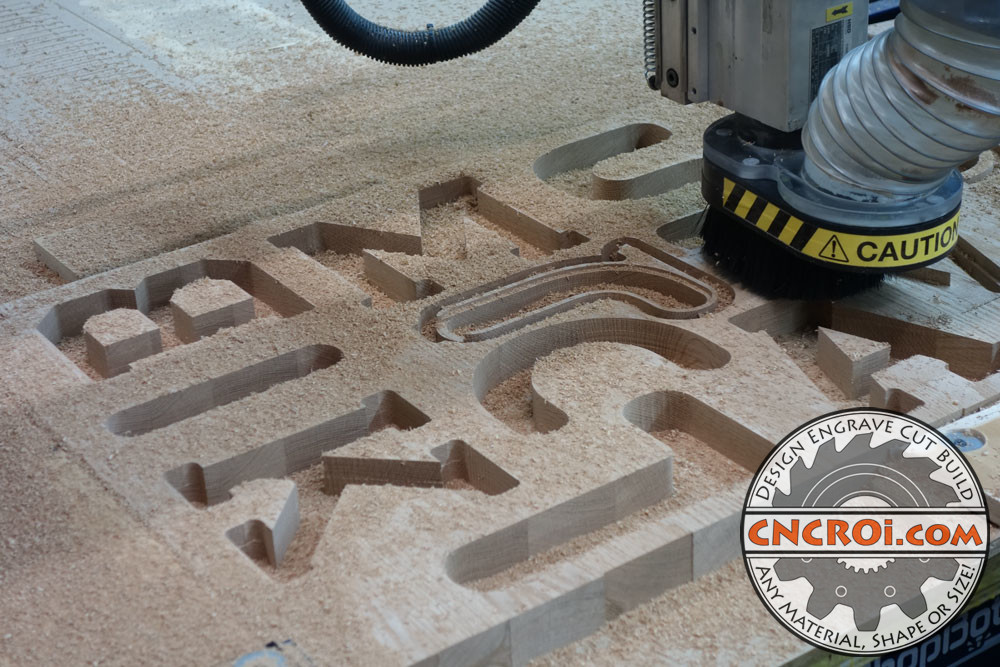
If anything, this screw-up was actually very useful, because it got all the endless settings I needed as far as production is involved, mostly sorted out for efficient production of these custom red oak scrap banks.
If you are looking for a bank that’s completely non-bank looking, I’ve been designing them for years, here’s a 3D model of one I designed to be laser cut.
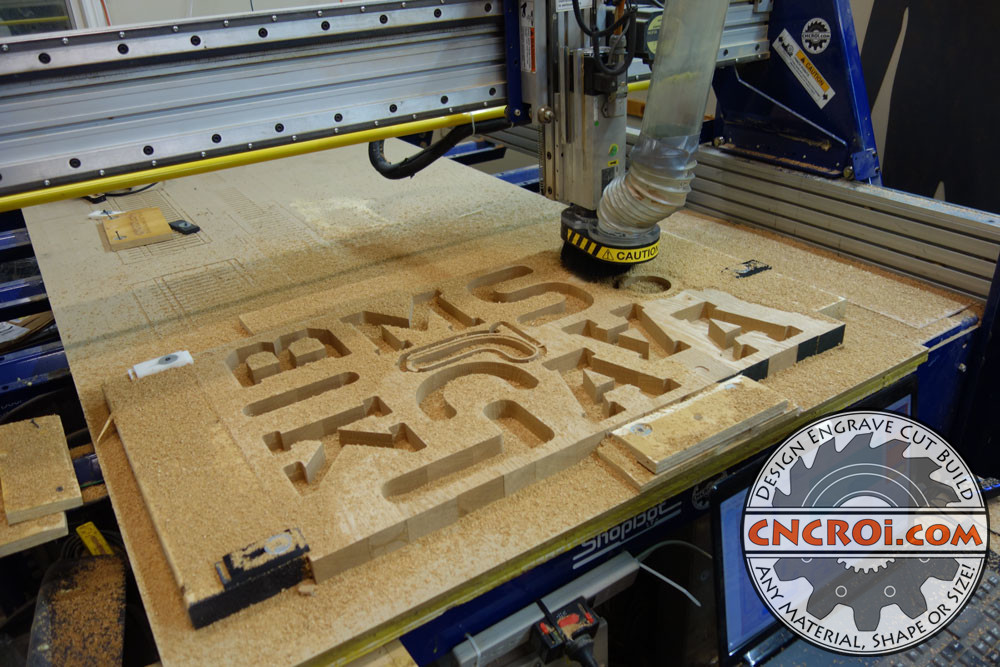
The final step involving these banks is cutting out the outline, of course, this is when I realized I was cutting from an old file that I forgot to update, as the wall thicknesses were all way too thin, there was no room for the polycarbonate or acrylic to settle upon with screws.
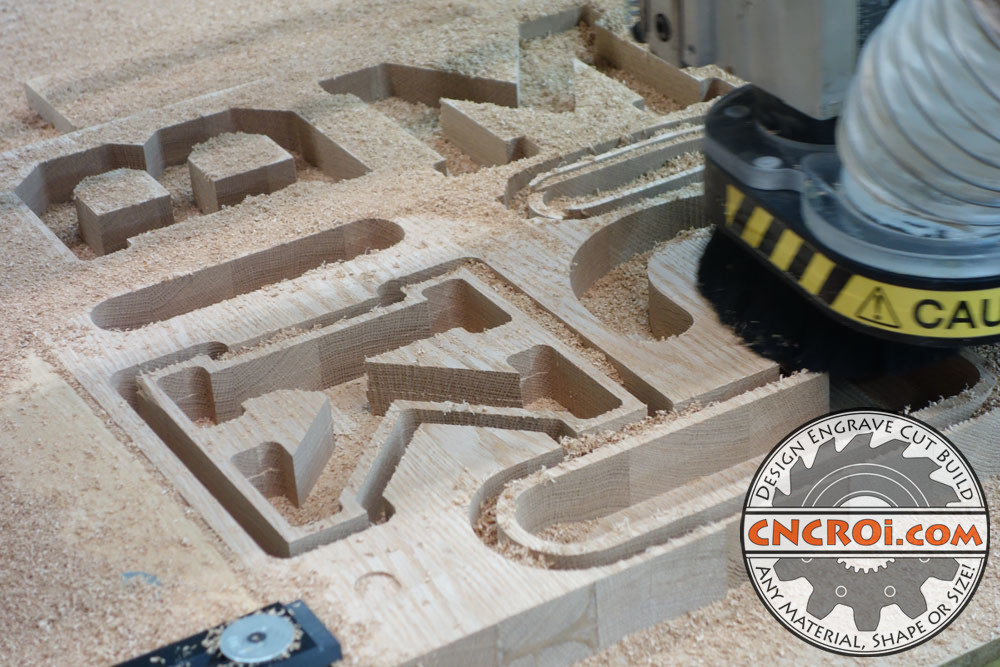
Basically, the walls of all of these custom red oak scrap banks should be half an inch with a quarter inch inner lip to give plenty of room for screws to hold-down the front window of the banks, this isn’t possible if it’s a fraction of that.
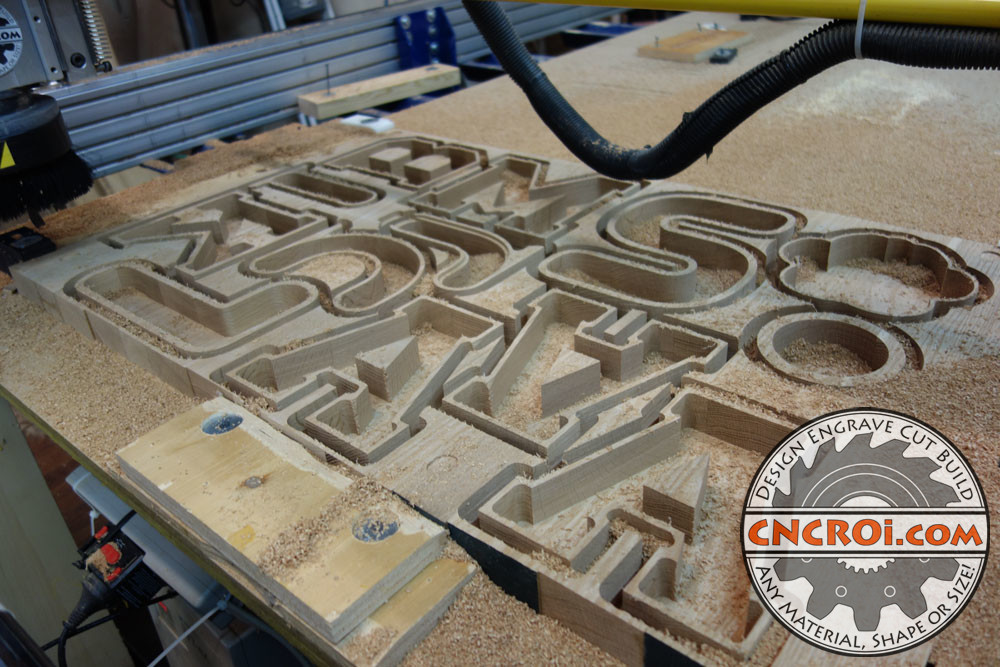
The banks, in this very thin state are also very easy to break, again, these are mostly meant for kids and they won’t last if they fall off a shelf, full of coins, in this state.
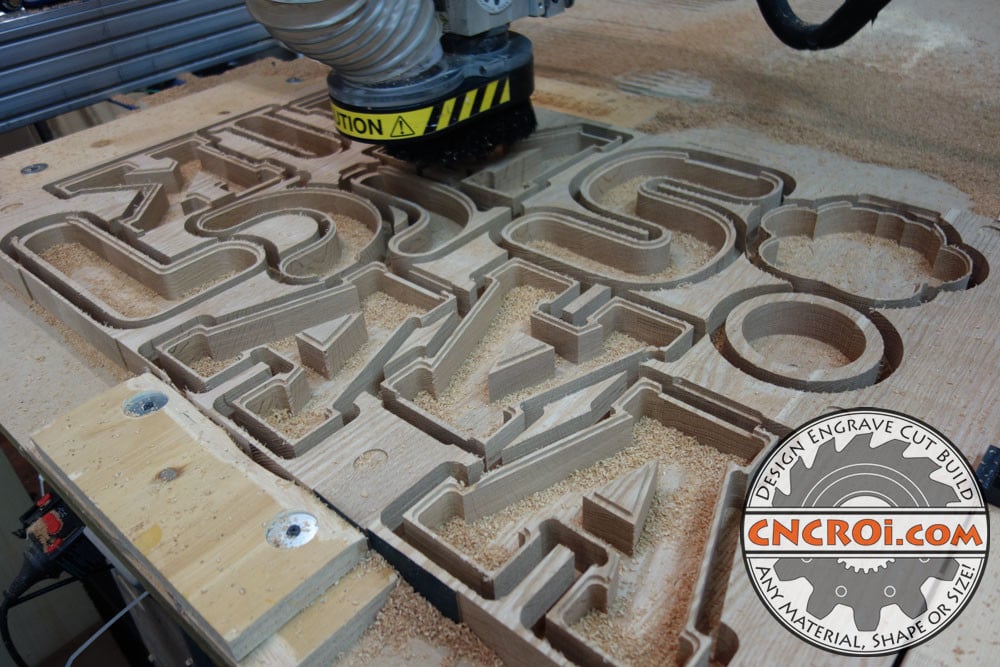
Oak is a very nice wood to work with, but again, most jobs involving this are either big slabs or small coins.
Other than wall thickness, there were a few more mistakes in the design file, which I’ve since sorted out at CNCROi.com and the next production run should go WAY smoother than this first stab in the dark.
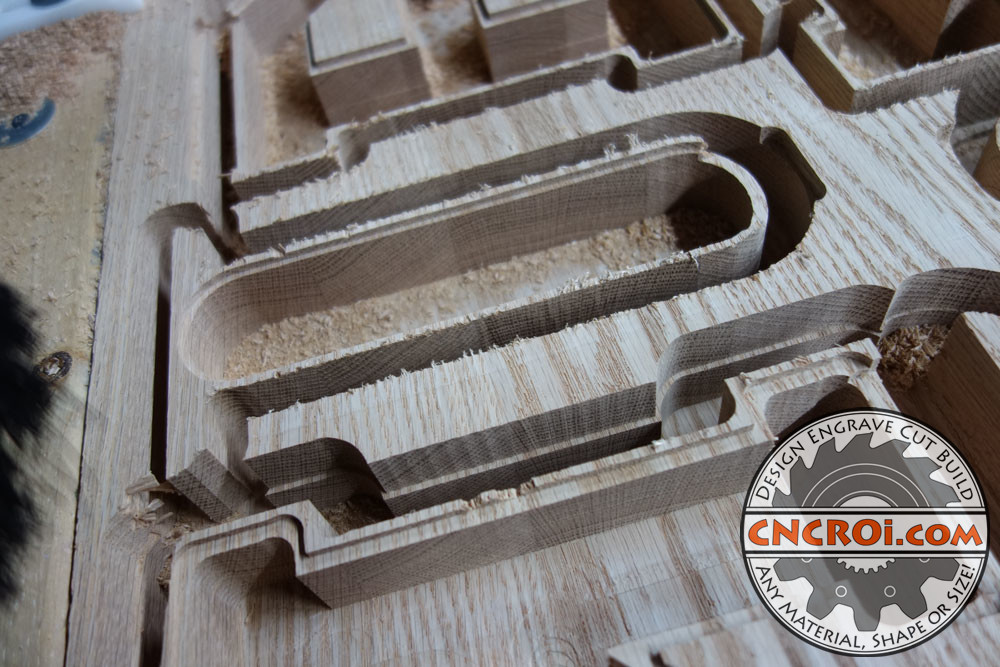
The finish on the edges is very good though, no sanding required there, the tear out was caused by the thin walls, the quality of the virtual to physical custom red oak scrap banks is overall good.
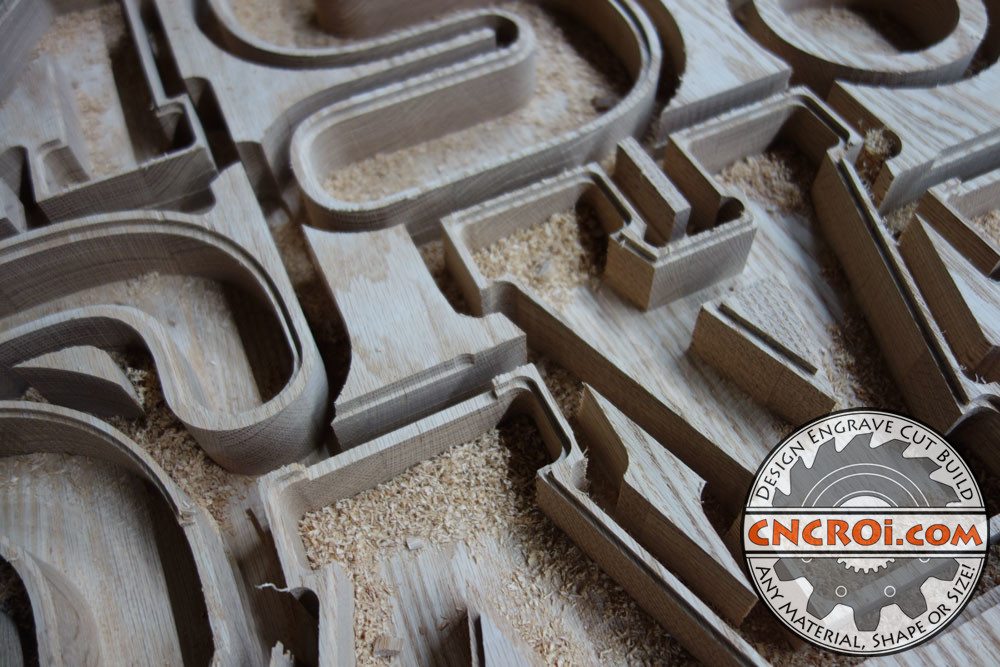
What happens next? I make more banks… MANY MORE BANKS! Contact CNCROi.com if you want one!
