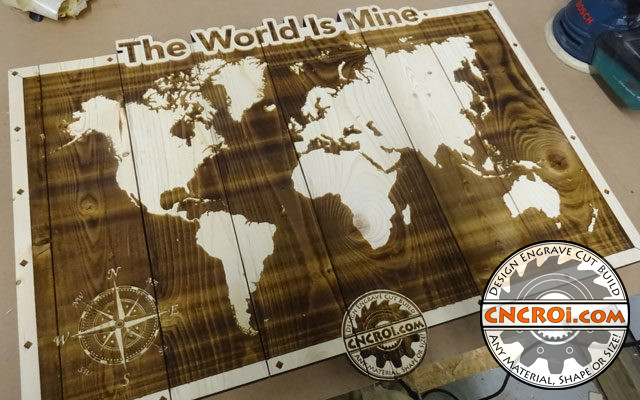
Pyrography: Wooden Pallet to Wall Art “The World Is Mine”
Pyrography is fun, we’ve done a lot of it at CNCROi.com and today we’ll do some more, transforming an old worn wooden pallet into “The World Is Mine” wall art!
If you are wondering where the “The World Is Mine” comes from, it’s actually a reference to Scarface, a movie I really like, as for the wood pallet, it comes from a pile down the street from our shop (any industrial area has no lack of free pallets) and the backing behind it supporting the pallet planks from Austria, part of our Trotec Laser shipping crate.
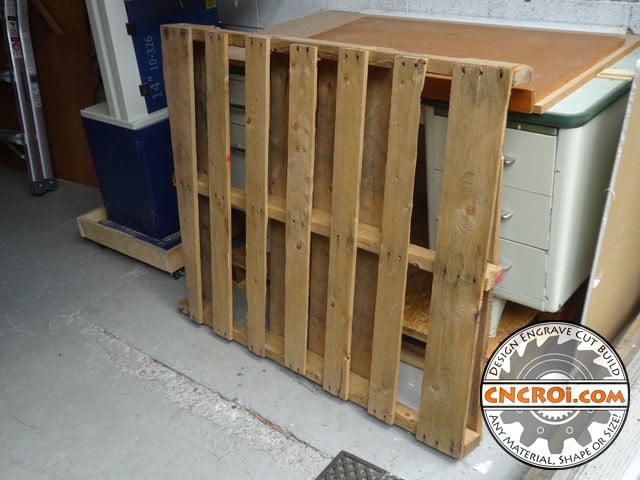
There is no easy way to take apart a wooden pallet, I’ve found just using a hammer and a crow bar to be more than adequate as I want to remove the planks from the wood pallet, not break them in the process.
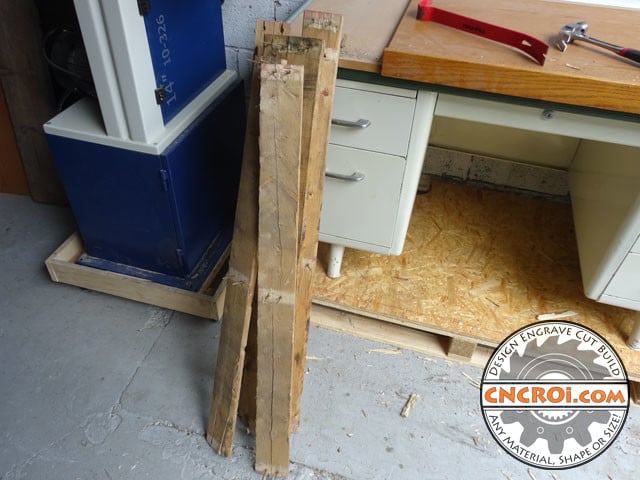
After the planks are removed (I keep the usable ones, the rest will go into the fire pit), you end-up with a nice collection of some pretty good nails that will find their way into future projects!
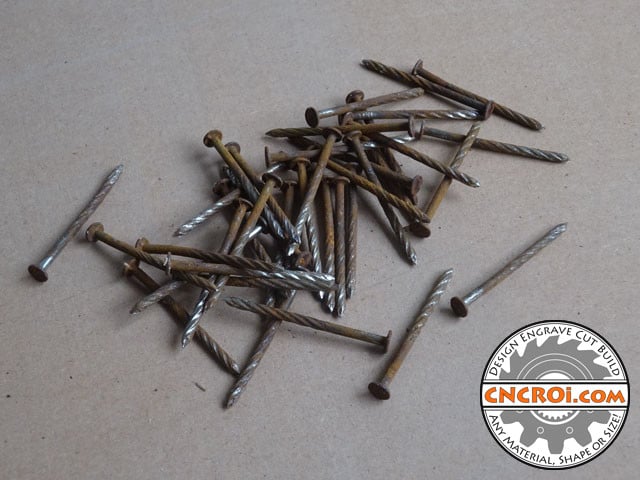
The gifts that a free wooden pallet give never end, from rusty nails to fire wood… and even a few splinters for good measure!
I then lined them up to make a quick inventory of my catch, the surface is worn and needs to be sanded off but for that, I use a planner to save myself a day of sanding work.
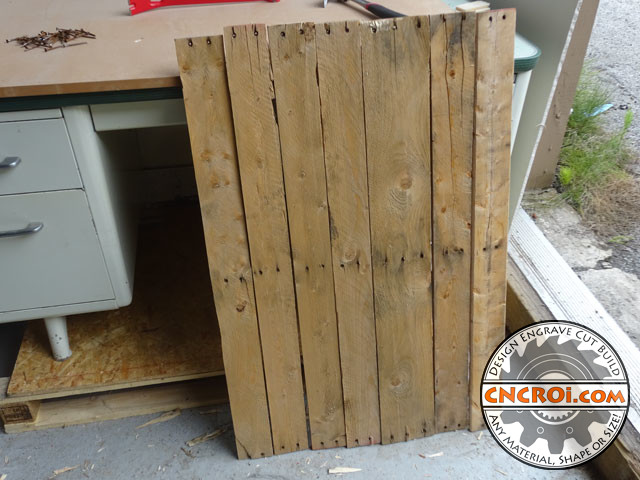
Our little planner does a great job removing and flattening these pallet boards, as pallets were abused their whole life, there isn’t anything flat about them.
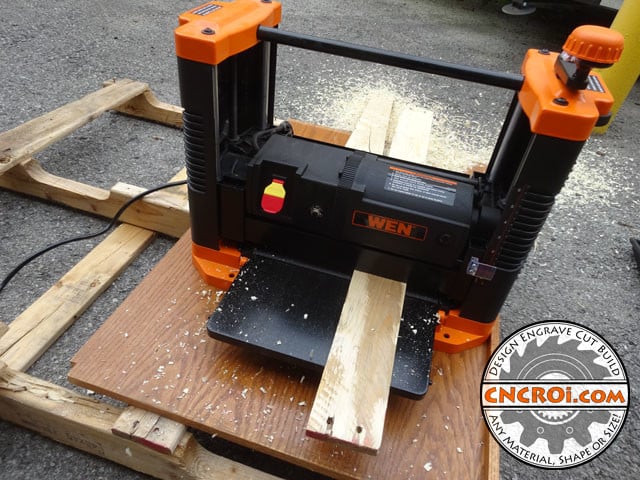
All these extra steps I’m taking now will save me a lot of time later when it comes to the laser engraved pyrography I’ll be doing later.
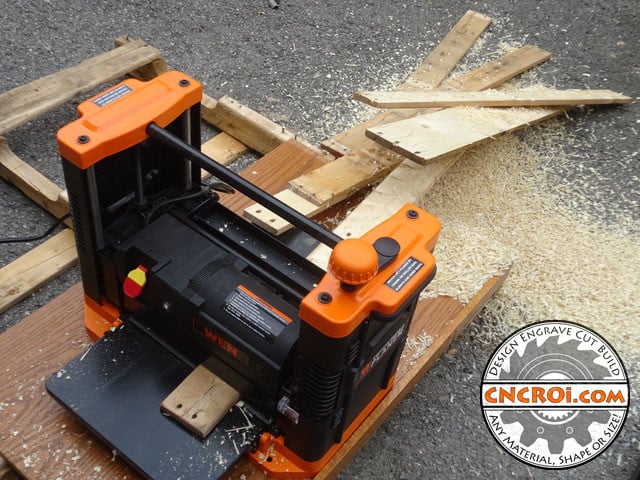
Throughout these processes, I’m triaging the wood for material defects that only become apparent after cutting, planning and other things to get this ready for pyrography wall art.
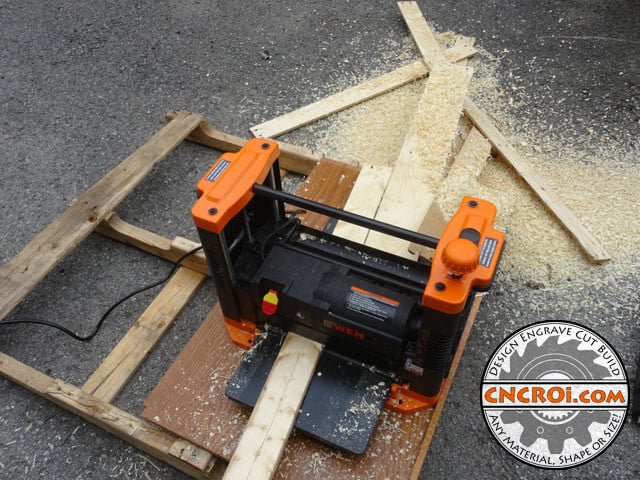
All these chips are picked-up and will be thrown into the fire pit, so the waste thus far has only been electrons and photons.
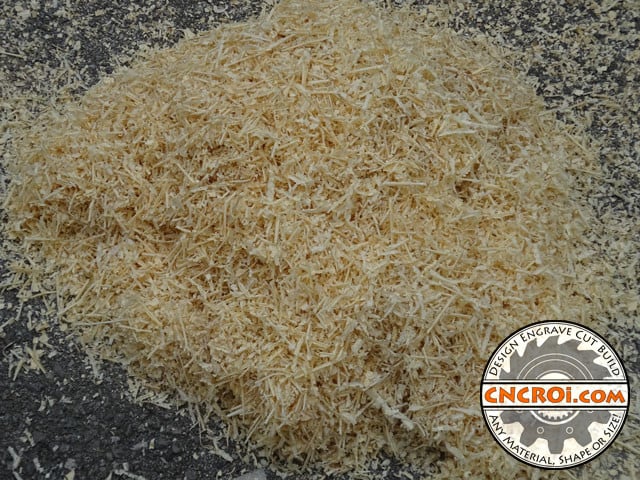
You can see the middle board in the above is a write-off and I’ve already lost an additional board during the planning process, that’s when you find out how strong the wood is and if it splits, you chuck it out.
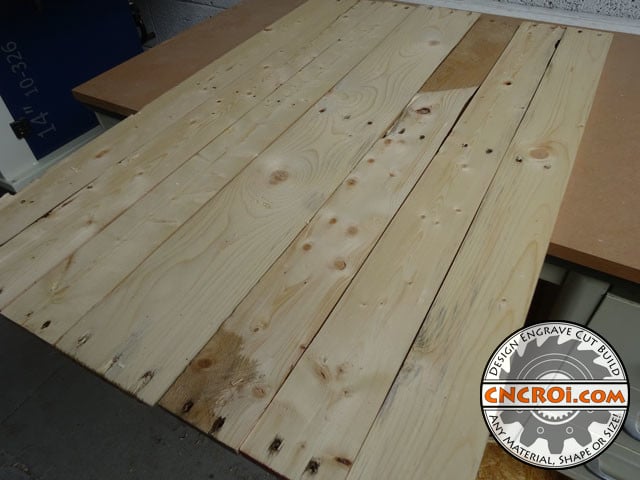
The board in the middle has either been severely compacted once in its life or has some very big twists in it, regardless, that won’t make it into the next stage for the pyrography wall art.
I then use our bandsaw, to cut out all the wood (and scrap due to splitting) so that the pyrography wall art doesn’t have any nail holes in them.
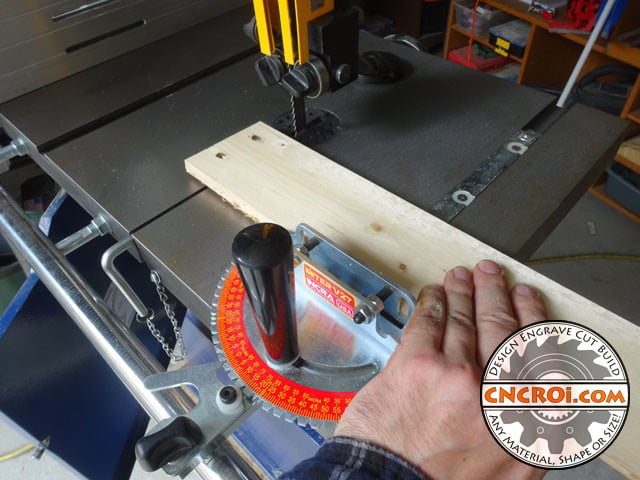
Regardless of where or how I place this, nail holes, if I kept them on, would appear in the worst place, that’s just the way this stuff works, the more you try to avoid something, the more apparent they become in production.
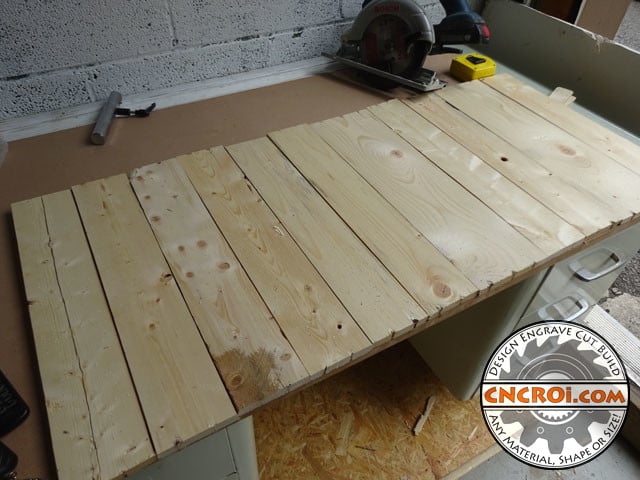
There’s our Austrian CNC laser crate cut to rough size below, this will provide a very solid and permanent backing for this pyrography wall art.
It’s quite a contrasting pyrography wall art to what I did in the above video on some basswood live edge!
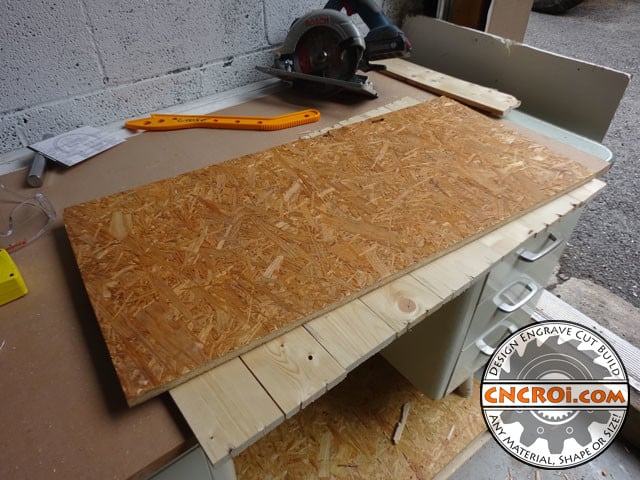
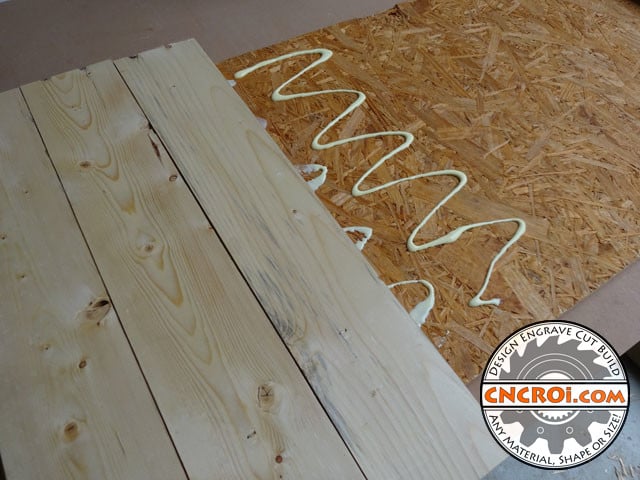
Standard issue at CNCROi.com when it comes to bonding, glue and nails.
I then sanded the surface to have it as smooth as possible (for maximum masking adhesion) and evenness so that I’d have a consistent result across the entire board laser engraving wise.
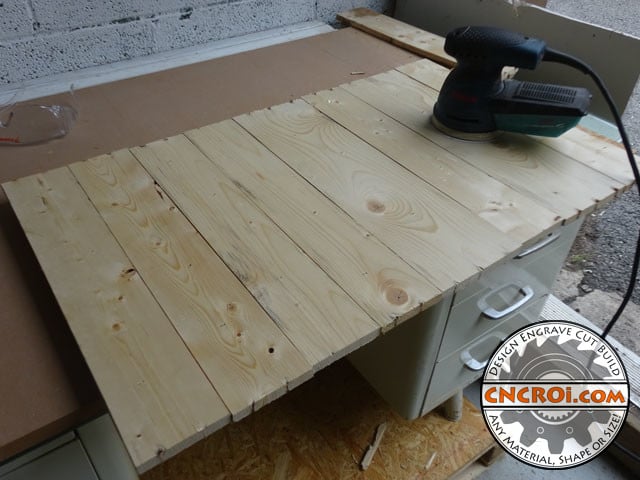
It’s hard to believe the very rough and discarded wood I started off with has become this beautiful after a little bit of elbow grease, just shows you how resilient wood really is as a material!
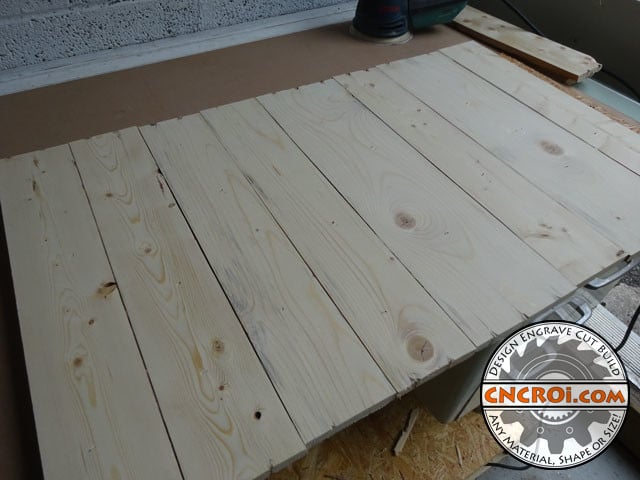
Now that the masking is applied, it’s time to move onto another step, CNC laser engraving using our industrial wide-format laser.
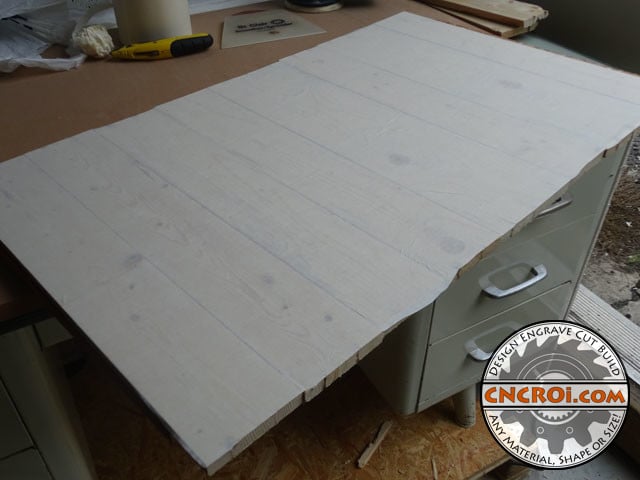
The goal of the masking is to greatly reduce the amount of sanding I’ll have to do after the pyrography wall art is engraved, if you scroll up to the top video on this blog post, you’ll see just how little fixing I had to do after production.
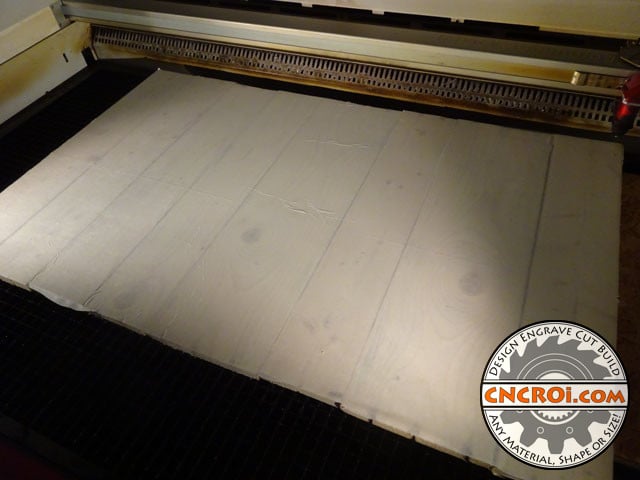
If you have a favorite cottage, we can also work from photographs to produce work onto any material, in the case of the video below, it’s on Pine.
We’ll start with my logo at the bottom, this pyrography wall art will travel to me at trade shows when I attend them as an exhibitor so I have to brand it properly like all my other stuff in the CNCROi.com shop!
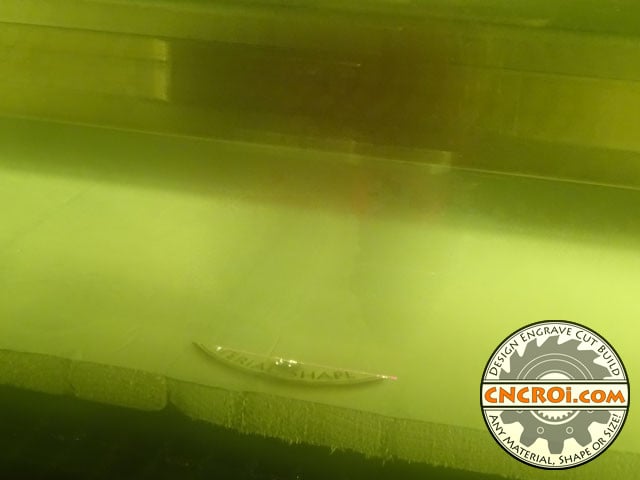
The engraving process to create the pyrography wall art is slow, I’m going for depth, not speed and at a resolution of 600 DPI to make sure I get all the little details in the world map showing.
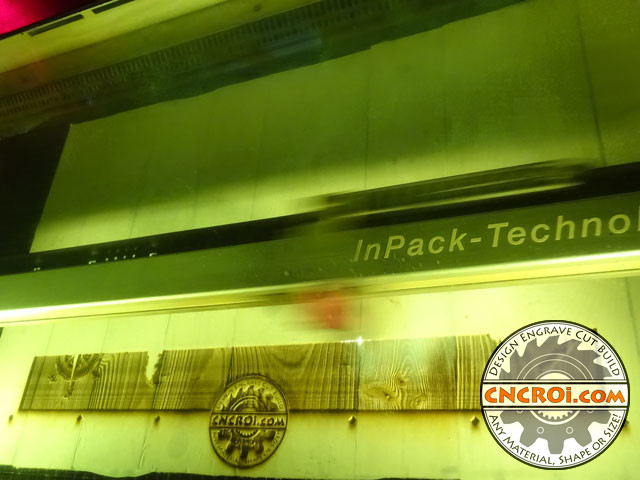
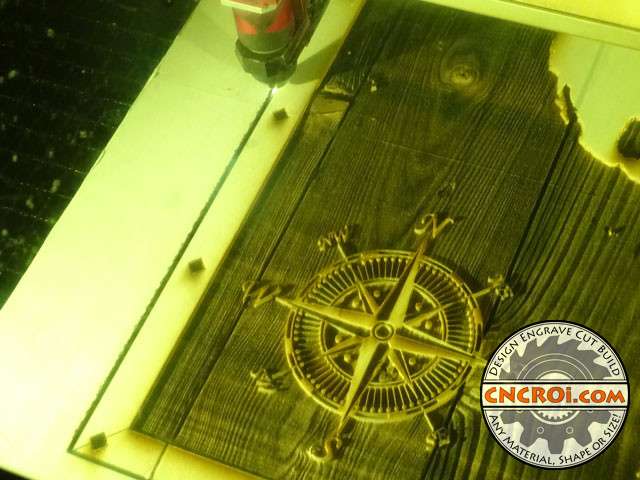
That includes a highly detailed compass, not that it’s needed as most people know where North is, just to show-off the amount of fine detail we can achieve with our amazing CNCROi.com CNC laser.
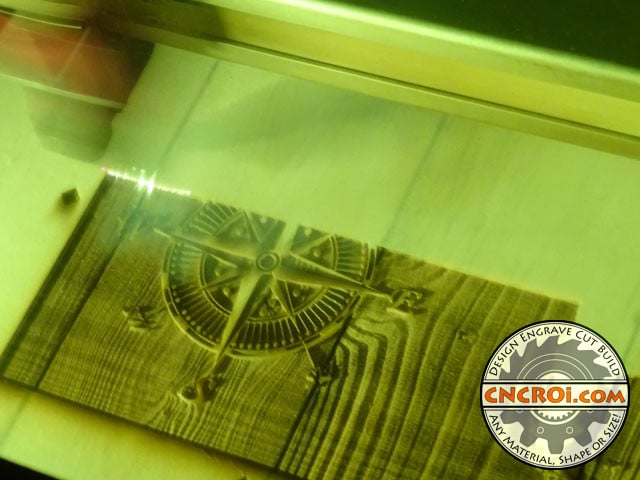
What I really like about how this design came out was that the wood grain did an amazing job of looking like an ocean, not just the contrast, but looking like waves and adding a lot of contrasting detail to the finished pyrography wall art.
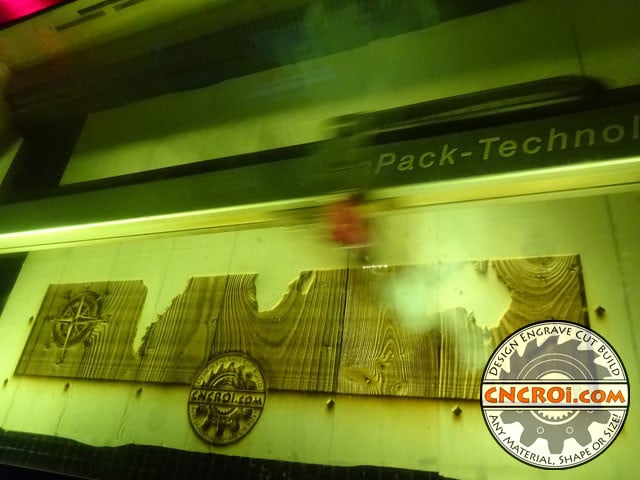
Pyrography wall art, done well, takes time as you can’t rush the material or the process.
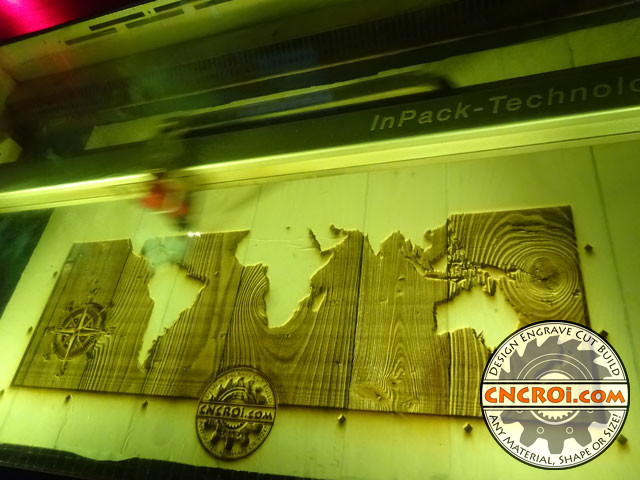
I could have saved myself a lot of time by going faster, producing less depth and certainly not going over the entire pyrography wall art again to darken it, but then you take away at the wow factor that CNCROi.com is known for.
And yes, we can also transform your pyrography wall art into a pyrography puzzle!
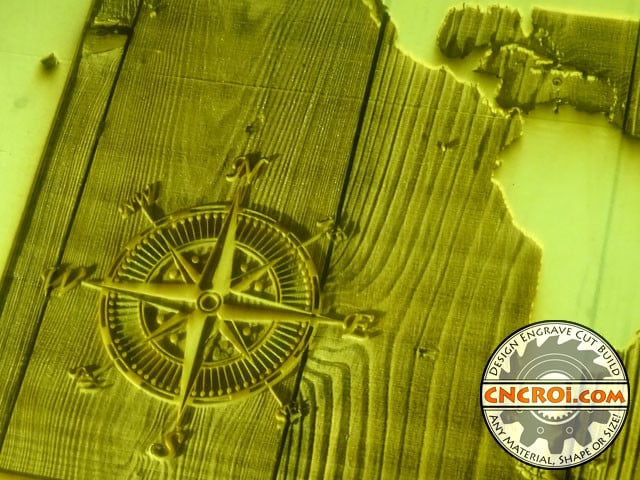
I prefer to take my time and make something awesome rather than speed things up and produce something that’s just “ok”.
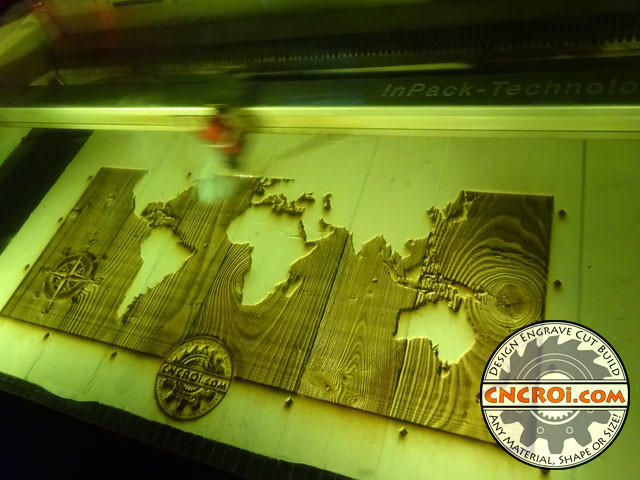
Pyrography wall art using any image, at any size, is very much a premium process and just like wine making, the effort you put into it production wise allows for a better high quality product in the end.
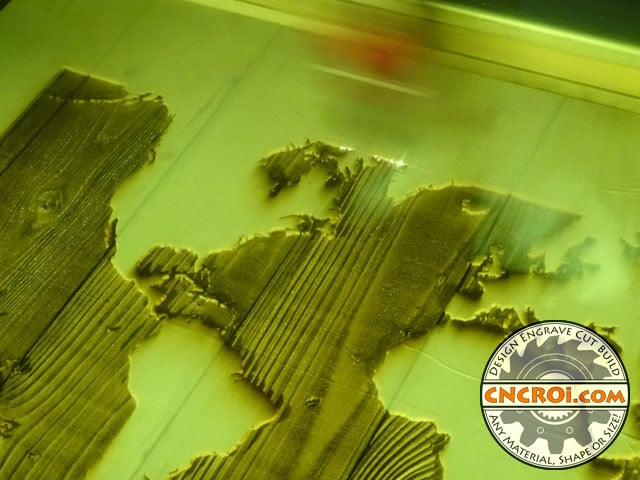
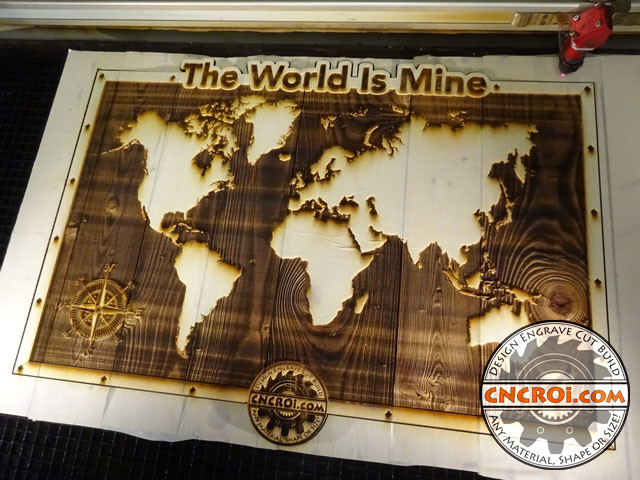
Looking at the edges, you can see all the soot I’d need to sand if I didn’t have the masking onto the entire surface of this pyrography wall art.
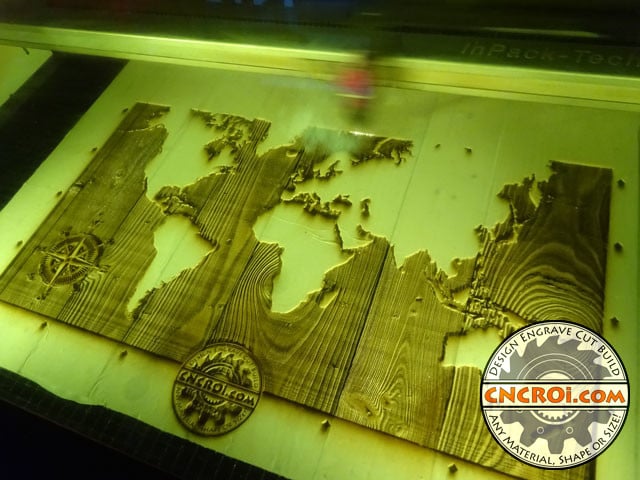
Keep in mind that I’ll have our machine go over the entire pyrography wall art again after this pass is complete just to darken the wood further, so all the soot you see building-up across the surface will be doubled.
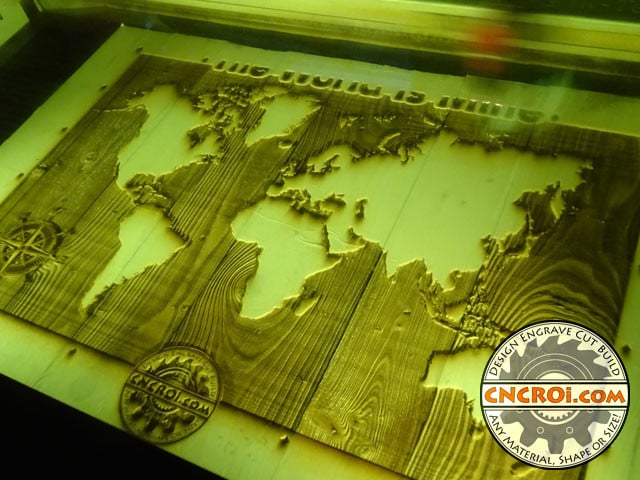
CNCROi.com has done lots of pyrography wall art, here’s another video so you can see examples of this on different materials.
There is no shape or size, although the above isn’t your traditional pyrography wall art, all the darkening you see on the above sign is pyrography in a sense, so if you want elements cut out, other elements engraved and so forth, no problem for CNCROi.com!
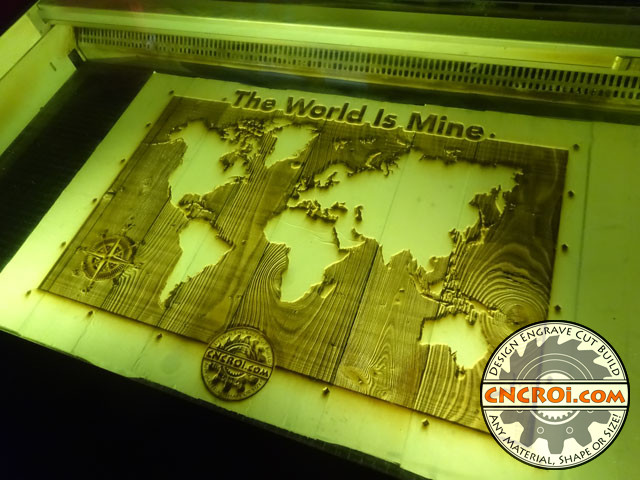
If you are wondering what this pyrography wall art on wood pallet would look like reversed engraved, here it is, I far prefer the oceans having the extra detail than the land.
At the end of the day though, the customer is always right, so you tell us what you want, CNCROi.com makes it!
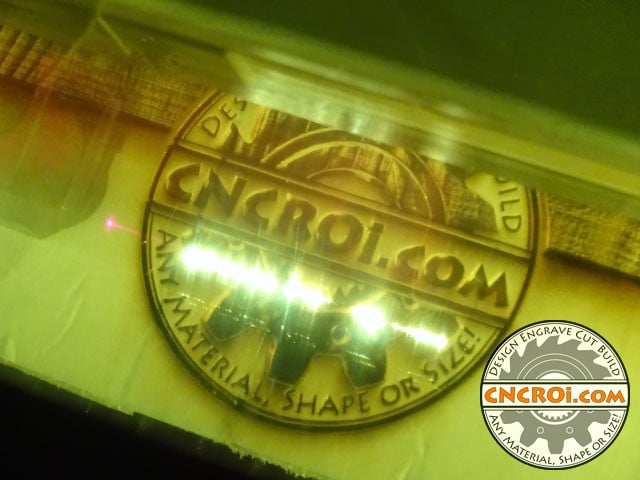
Now that the initial CNC laser engraving of the world map pyrography wall art, it’s time to go over the entire surface AGAIN to make it darker, as you can see, it adds quite a bit into the final contrast of the art piece.
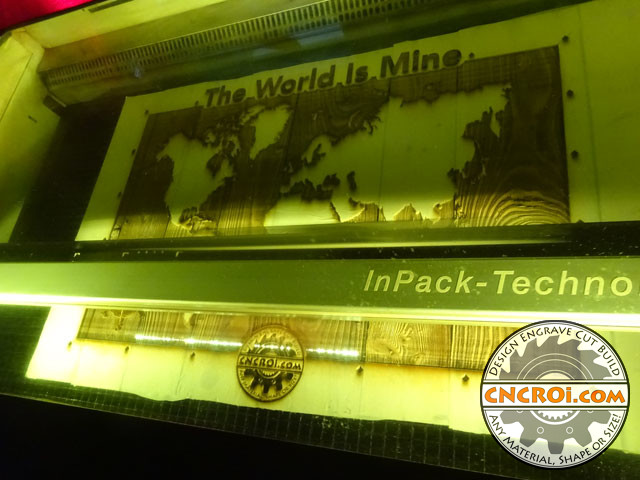
All these extra processes go into custom pyrography wall art, they do increase production costs but when it comes to making high quality work, it’s well worth it for something that will outlast the human or company this would have been sent to hang on their wall.
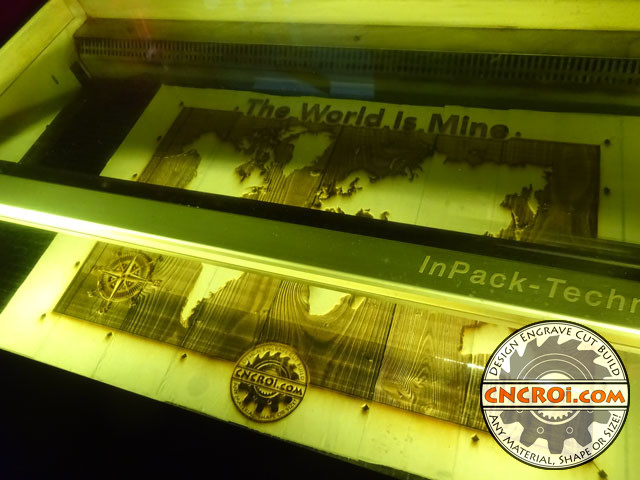
CNCROi.com is able to work with just about any material to achieve these results, even rough “wood” such as MDF that was used for years as a sacrificial board.
There are no limits when it comes to making custom pyrography wall art or installations by CNCROi.com.
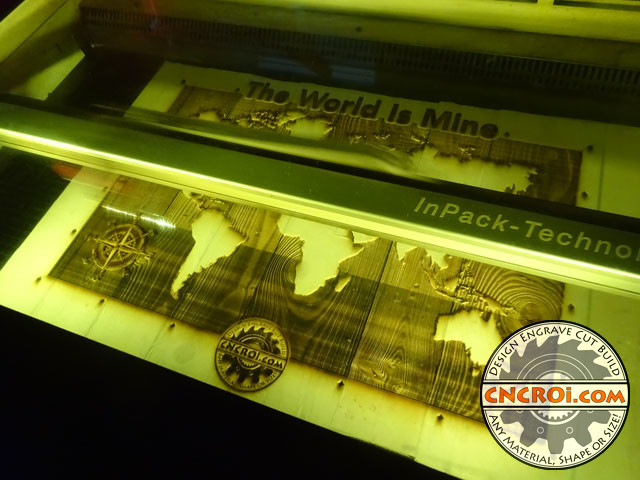
What we need from you though is a black and white EPS, we’ve found that grayscale images don’t come out the best, as solid contrast is lost.
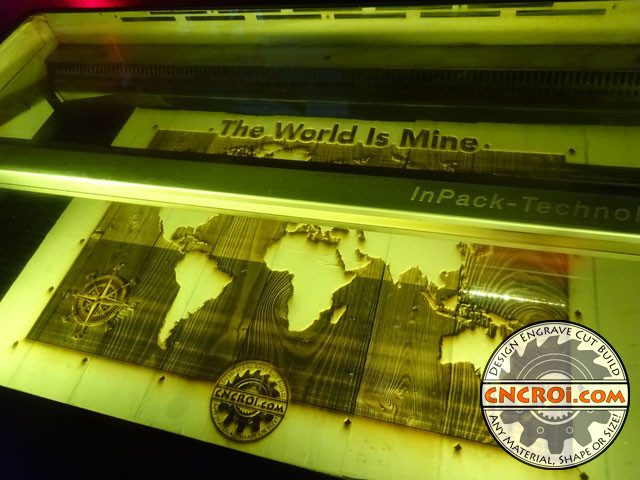
We need a vector because any pixelation in the image will be revealed by our industrial laser, especially if we scale it up by a significant degree.
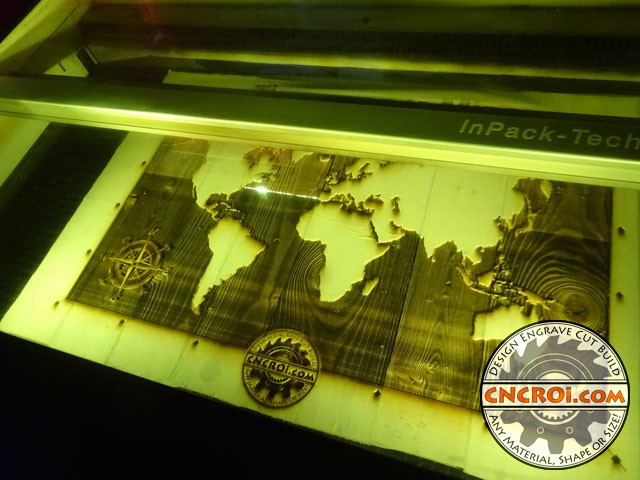
You can now see all the little island in the North, this map is more accurate than anything produced over a hundred years ago, it just shows you the relentless march of progress and equipment!
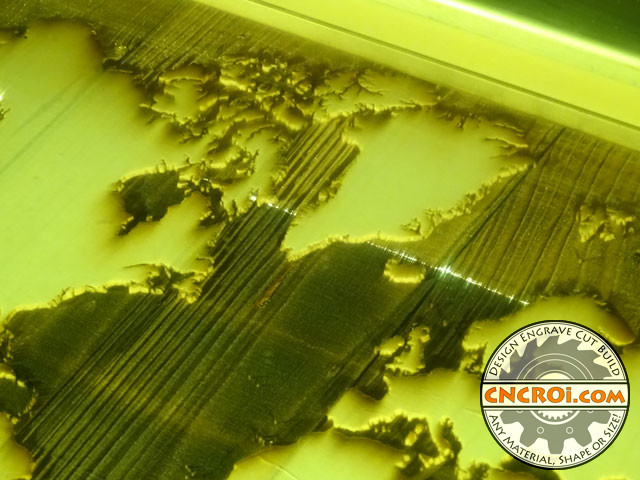
Here’s another extreme example of what CNCROi.com can produce when you mix engraving and cuts into a material.
Now that we are coming to the end of the secondary process to darken the pyrography wall art, this is well worth the extra time!
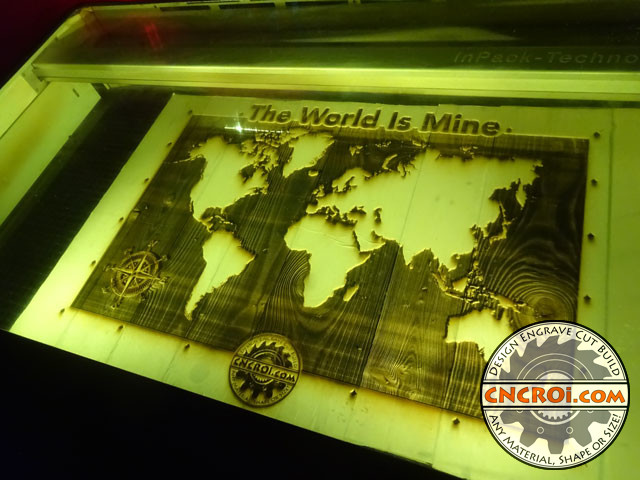
Now that the engraving is finished, it’s time to go ahead and start cutting it out!
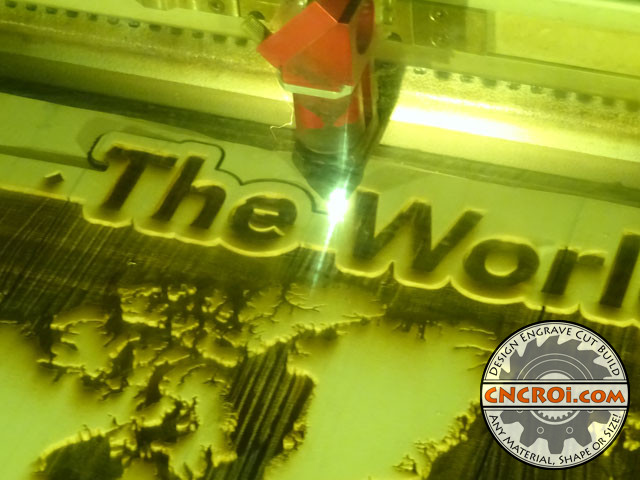
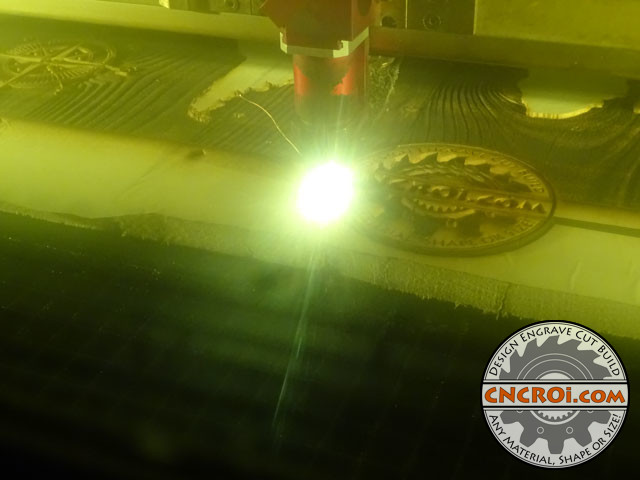
CNCROi.com‘s industrial laser doesn’t just engrave at incredible precision, but can also cut through more than an inch of material no problem!
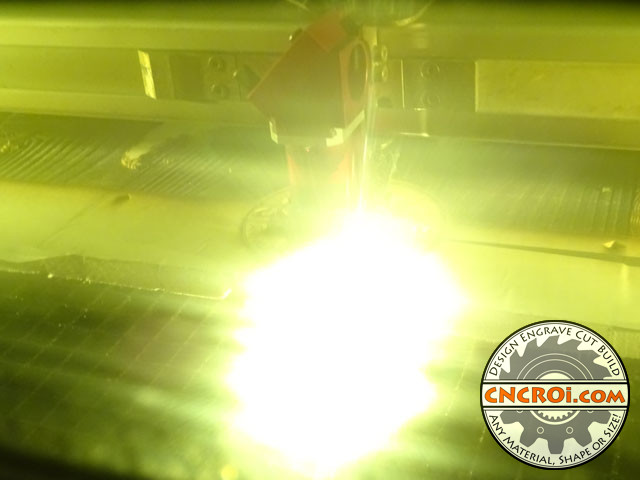
There are flashes of light though, sometimes our laser hits a stream of resin and boom, we got some fire going, but it’s quickly put out thanks to our extraction system and compressed air shooting down on the material.
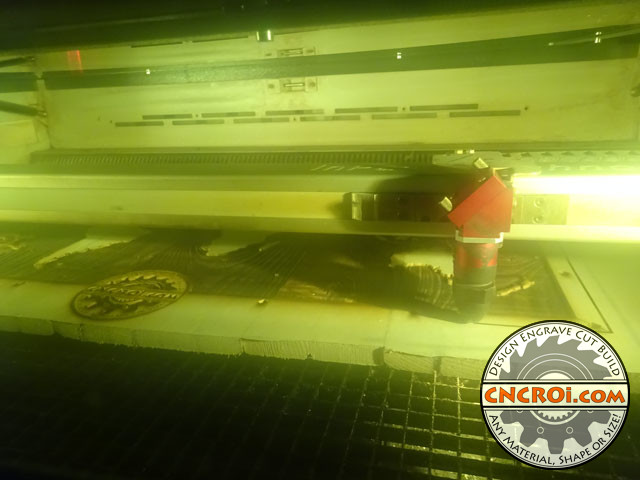
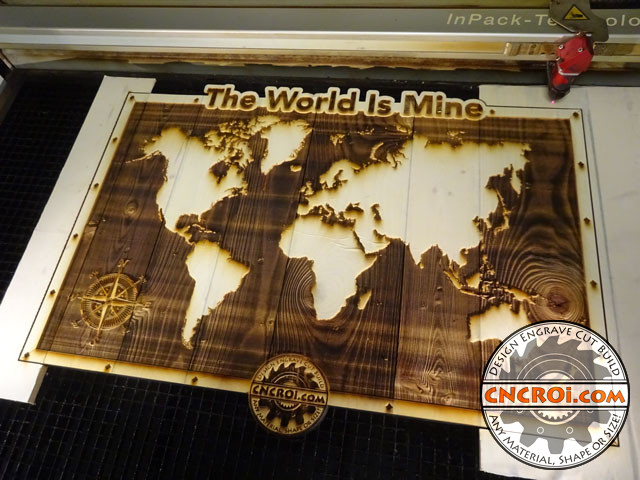
As there are nails and glue put into this pyrography wall art, the edges are cut off because they are no longer needed, they have neither of these adhesions thus just fall off as intended.
As you can see, the compass came out fantastic, it’s looking rough but nothing a little peeling and sanding can’t remove.
“The World Is Mine” pyrography wall art is now finished, you can see all the scorching on the paper which will be removed and the cut is done all around, now all that’s left is removing the wood that isn’t supported then sanding.
Unsupported wood falls right off, the only thing holding it there was the masking tape!
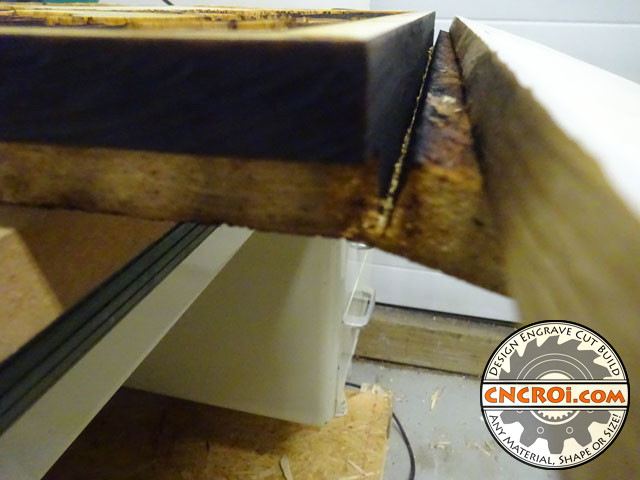
Our laser almost cut through the entire inch of pallet wood and the backing chipboard, as I couldn’t see “under” the work, I had no way of gauging this but this was quickly removed regardless.
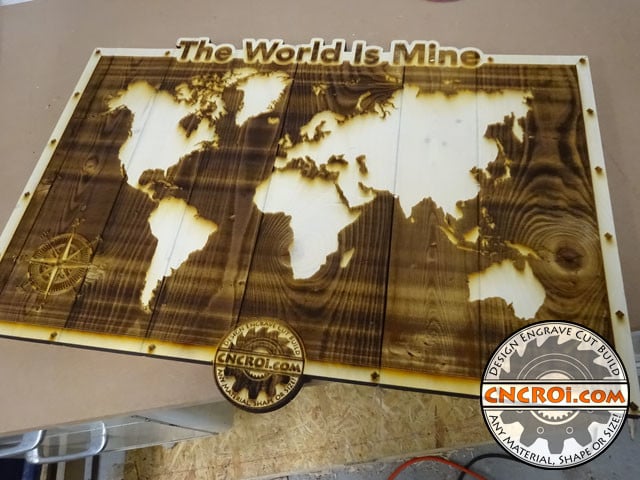
Here’s the before shot below, you can see there is extensive soot and the amount of sanding would be extensive to bring this back to life by CNCROi.com but…
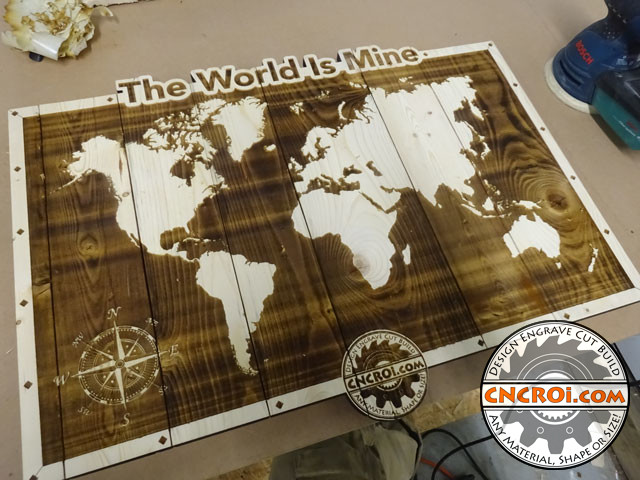
Just removing the masking tape and a little spot sanding, and it’s done!
That’s the CNCROi.com power of experience!
And yes, we can also work off real wood straight from the kiln dried forest.
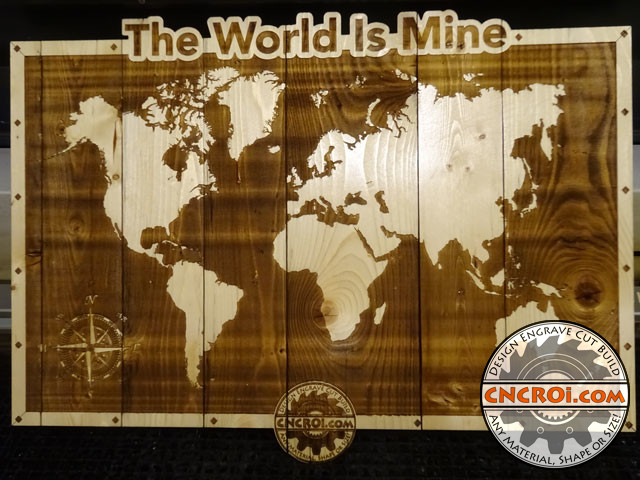
Need some pyrography wall art?
Contact CNCROi.com right now!
