Transforming Wood Models from Boring to Awesome!
At CNCROi.com, we do a lot of laser cutting, marking, etching and annealing… most of our materials are straight forward and can’t really be modified all that much relative to wood which is endless.
Let’s take a look at one of my recent projects which I designed a while back, the Miyajima Gate found in Japan – plans are available at our sister site, CNCKing.com and the design process itself is found in my latest book, also available on that site.
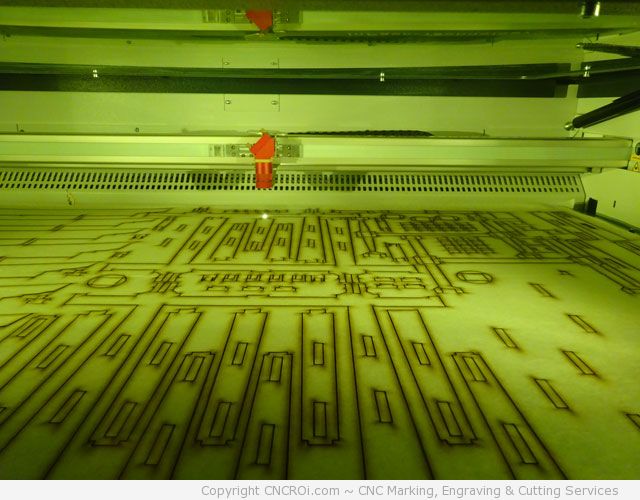
After the hardboard is cut with our Trotec Speedy 400 flexx’s CO2 laser, I took care to remove it to the bed and carefully peel off the masking to greatly reduce surface smoke damage. Thanks to our vacuum table, smoke is sucked both above and under the material on the bed which also leads to a far cleaner result.
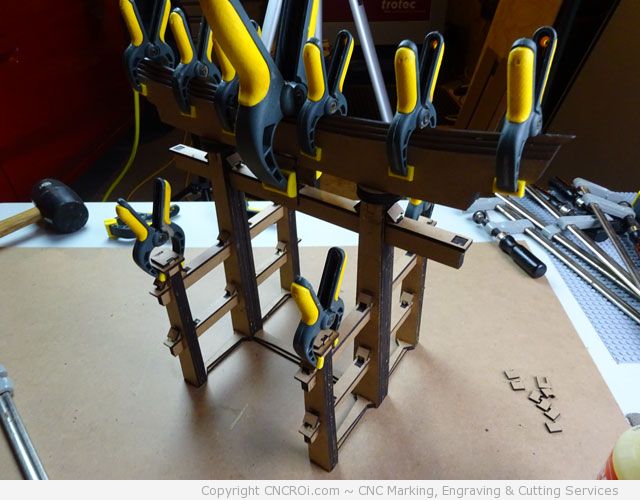
Once all the parts are put together with glue and clamped overnight, the model is ready to enter the second phase of production after a slight sanding to make the surface a bit rough, this greatly enhances the final surface as it gives the primer and final paint something to adhere to more easily.
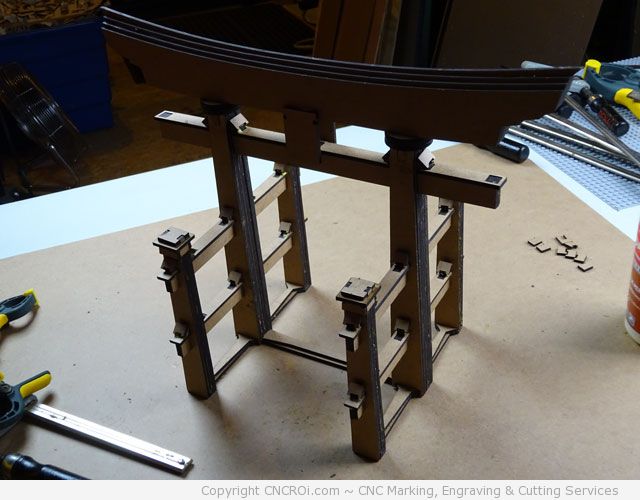
I’m still very much partial to wood, I like the way it was but it just doesn’t stand-out as I wanted to use this at my Maker Faire booth in New York, which I just returned from.
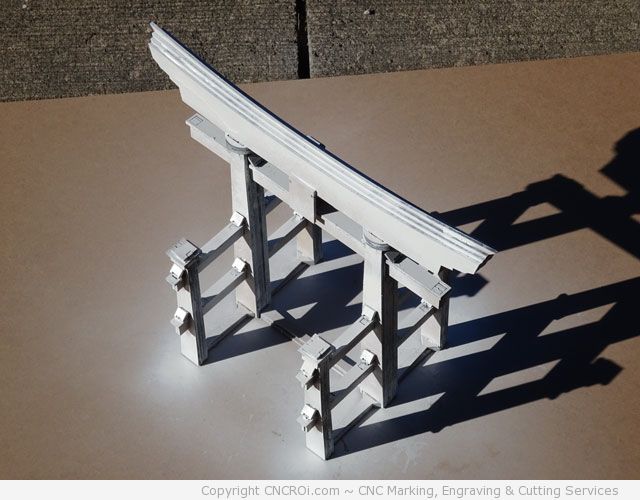
I figure if I’m going to do something right, I might as well do it doubly so, applying two coats of primer. I really wanted a nice, clean and even surface for the final paint. The “toughest part” that I concentrated my spray on was the sides which were cut with the laser.
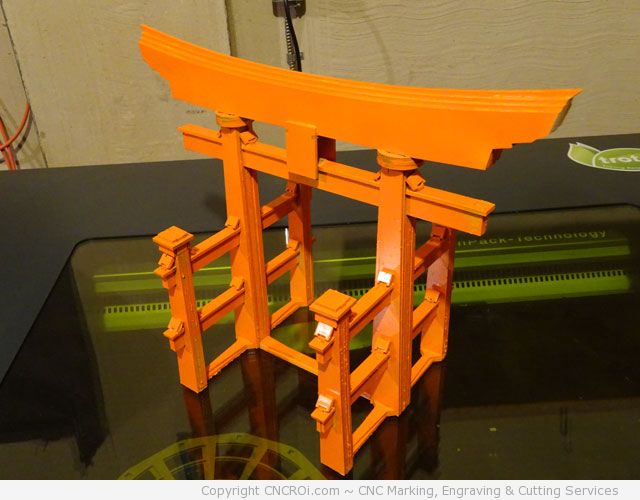
The final results look fantastic, I turned a “boring” wooden model into something that really stands out. The white spots you see on the model aren’t primer by the way, its “shine” from the camera’s light. There were a few touch-ups I performed afterwards to clean it up a bit more but this had just the right reflective qualities I was after.
Want to see the entire process in action? Watch the video!
