Wood Pyrography: Photography to Pine Engraving
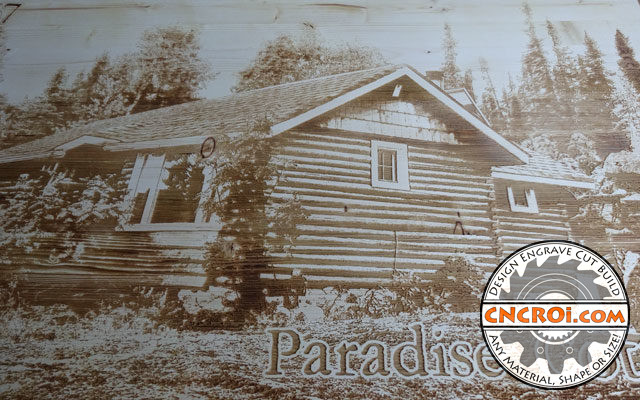
Wood pyrography is great fun, I took a photos when I went on vacation to our familiar cottage that my uncle built by hand in 1967 so it was time to transform my photography into permanent pine engraving.
If this project looks familiar, it’s because it has been a work in progress since I got my industrial wide-format CNC laser for CNCROi.com.
The above image was again, a photograph I took while I was there but using “harder” contrast relative to the far lighter take I take on this version of the same cottage.
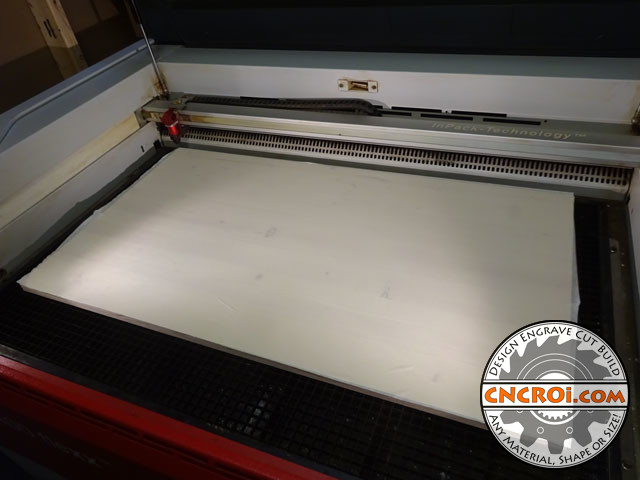
This time, an entire board of pine was used, it measured 20 inches by 36 inches, or 50 cm by 91 cm so it’s a pretty decent size, not the biggest I’ve ever performed wood pyrography on but a good size this time around.
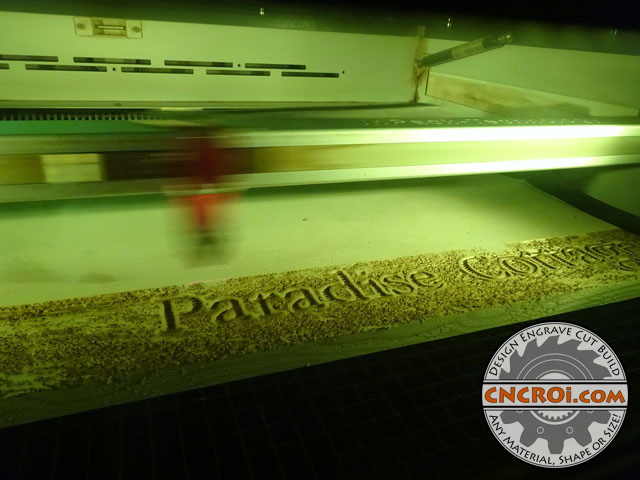
With wood pyrography, the larger the image, the more detail can be added to an image so that’s why you see a lot more highly detailed details than the previous version of this.
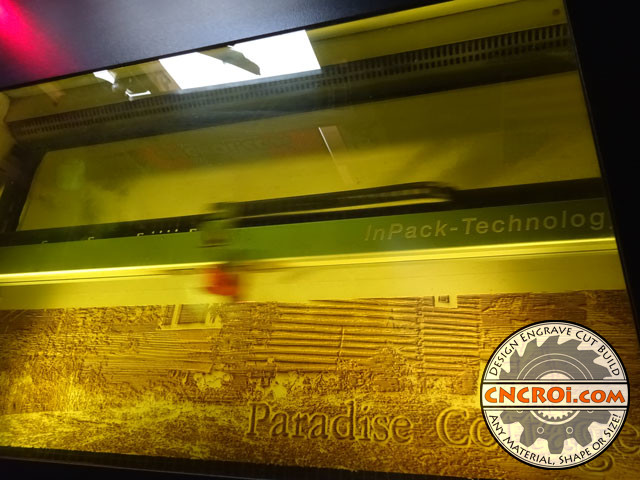
There is a protective mask over this cottage wood pyrography, if you are wondering what this would look like with people in the photograph, check out what I did a few weeks back for comparison.
Again, the bigger the photo, the better it comes out, regardless, wood pyrography is really an art form, whether it’s done with a hand-held wood burner or highly sophisticated CNC equipment, it’s all in the technique, the source material and the equipment that go hand in hand to produce an amazing result.
In this case, the photograph was originally color, but I knew I was going to engrave it onto wood eventually, so I made sure to take it during the part of the day where the most contrast was “there” so that the engraving detail would be the best for this wood pyrography.
When working off just black and white vectors though, like the above world map, these are considerations that just aren’t required, the laser is either on or off over a far larger surface area.
Oh yeah, if you are wondering what the original photograph that this wood pyrography came from, here you go!

So the image was cropped and person removed from the photo with a lot more contrast created using various image manipulations to improve the result created by CNCROi.com‘s Austrian wide format industrial laser.
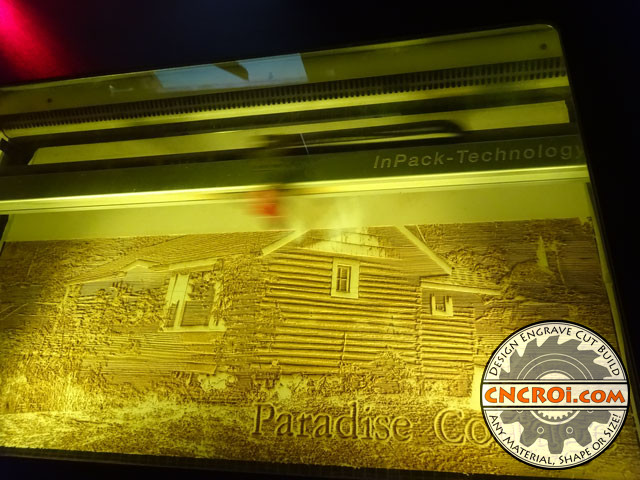
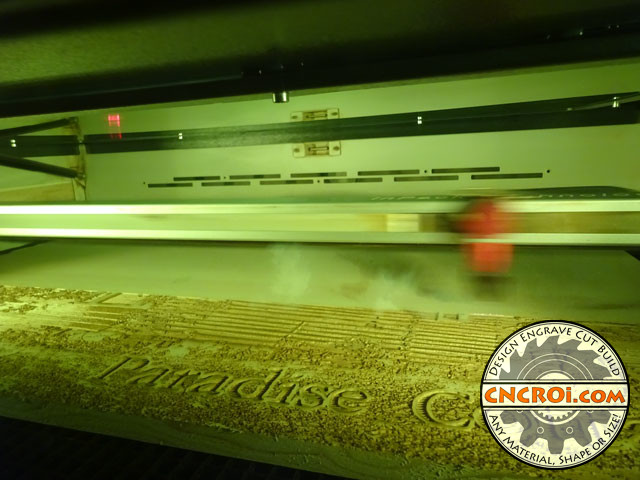
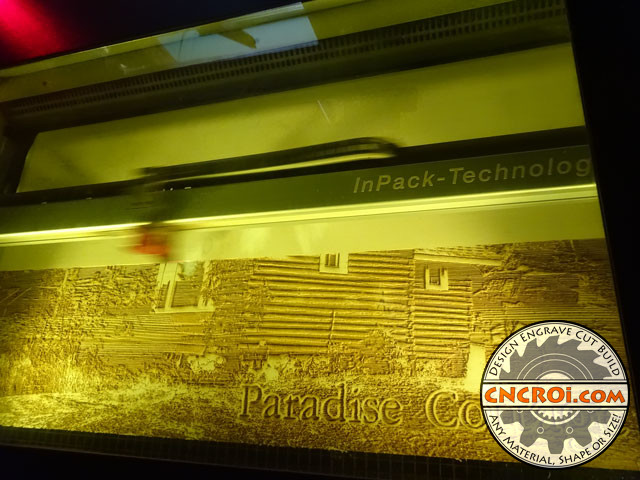
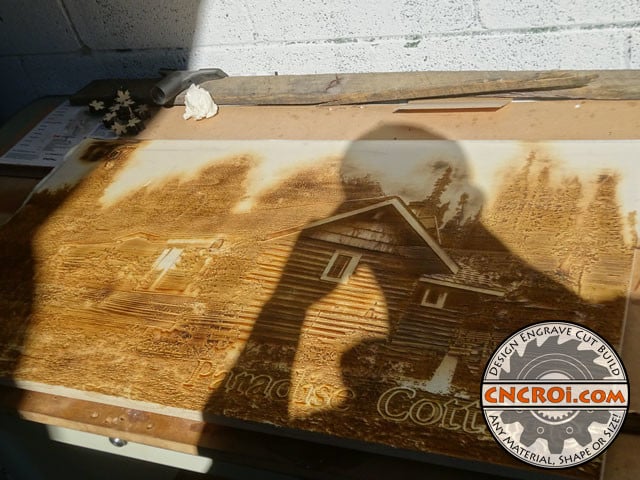
Keep in mind that during the wood pyrography laser engraving process, the MASK is getting dirty with a layer of soot, sticky resin and smoke, not necessarily the surface of the pine underneath, as a result, the work always looks worse right until the entire mask is removed and sanded off by CNCROi.com.
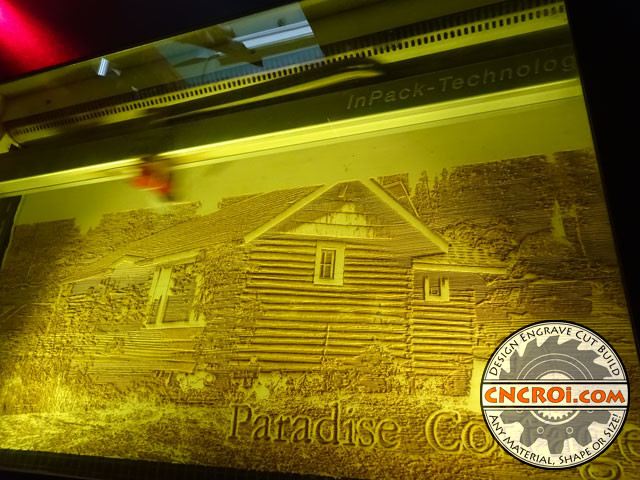
Even though things are messy during wood pyrography production, you can still get a sense of how the finished work will come out, you can see the areas that are engraved vs raised and then extrapolate if this will be successful or not.
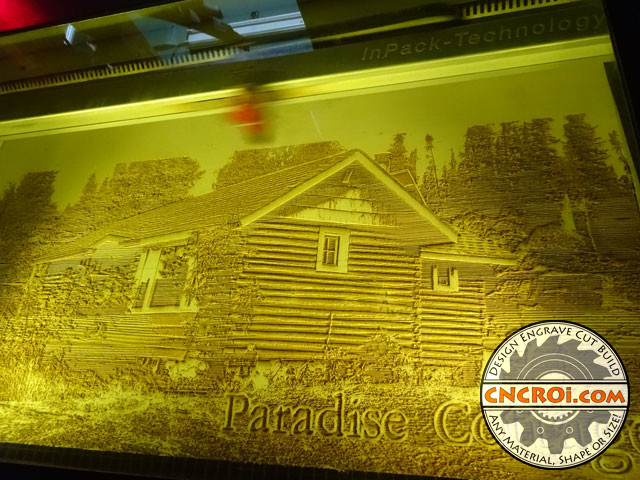
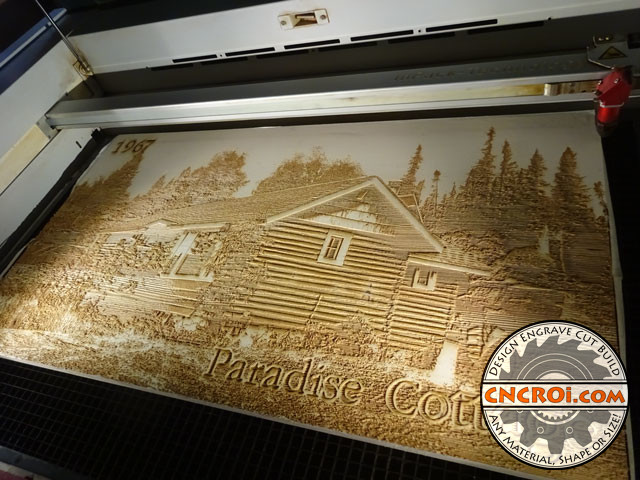
Above you can see what the pine looks like masked and during production under the custom acrylic used to protect my eyes from laser beams and the one below after the lid of our Trotec laser is lifted, already looks way better!
Taking a closer look at this custom wood pyrography, you can see the burned area, the soot and the blurry cloudy look that it has when everything is mixed together, CNCROi.com has done a lot of woodwork, they always look like this, so it’s nothing out of the ordinary.
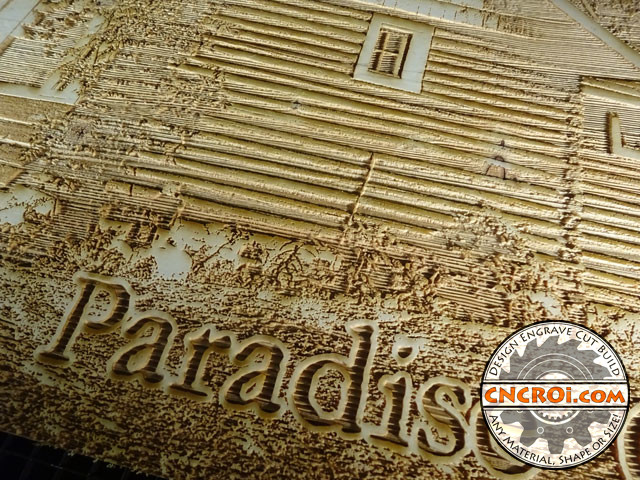
Unlike the “World Is Mine” wood pyrography in the video way above this blog post, this time, I decided to use my propane torch to burn the surface, it’s fun to mix things up and try new techniques to see what the results look like vs always doing the same thing at CNCROi.com.
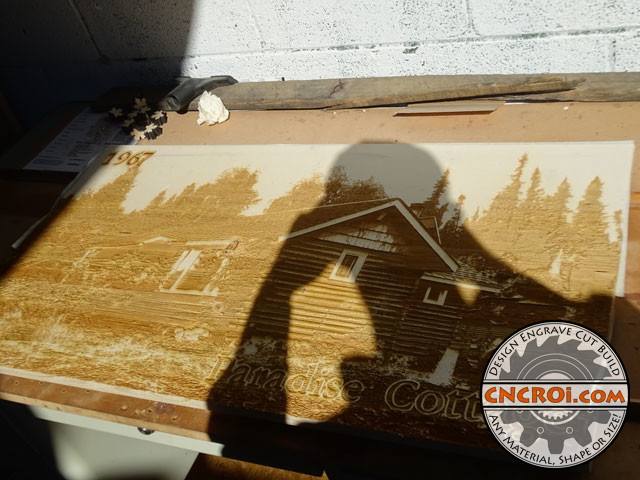
Yes, now it looks a lot “worse” but remember, the masking is still ON the surface of the pine, it hasn’t been removed yet, CNCROi.com‘s next task is to remove all this protective masking which will take a while as it’s in small pieces, burned, scotched and sticky all over this wood pyrography.
The process of this photographic wood pyrography is really the same for projects like custom plaques, watch this and you’ll see yet another example of what can be made by CNCROi.com custom to spec!
Yeah, there’s our awesome orbital sander that’s proven a very valuable workhorse in the shop, it has sanded so much wood and metal, I’m surprised it still works!
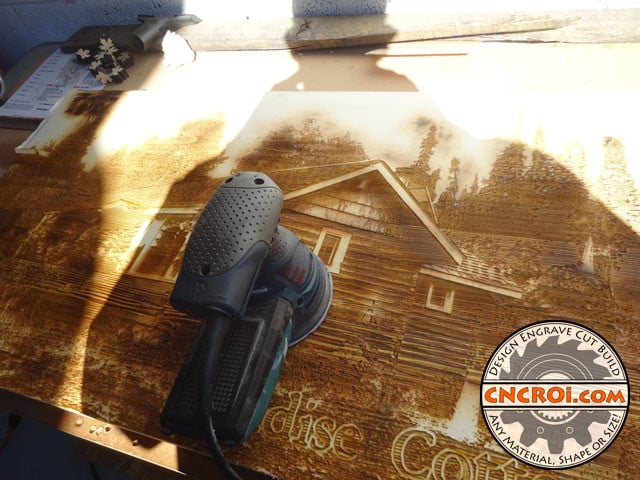
Of course, sanding sticky resin filled mask will go through a few pads, that’s just the way it is, there is no way to remove this, it just makes things more dirty, spreads the dirt around and essentially stops working efficiently.
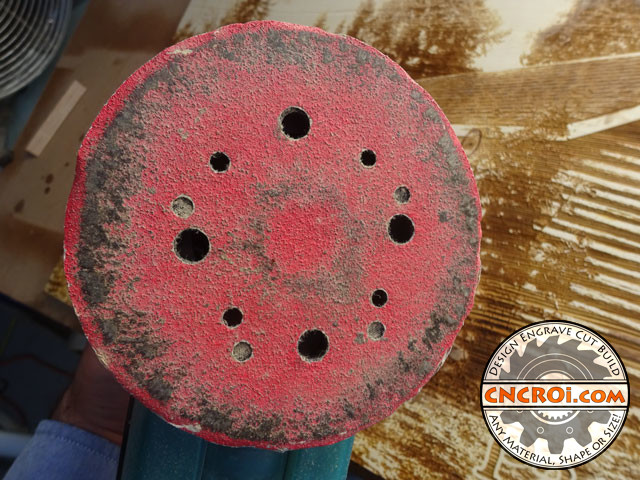
Here are the finished results after the first run, you can see the 1967 in this wood pyrography is smudged from the pad above, there is still lots of areas with burned and peeling mask but no worries, new pad, new results from CNCROi.com!
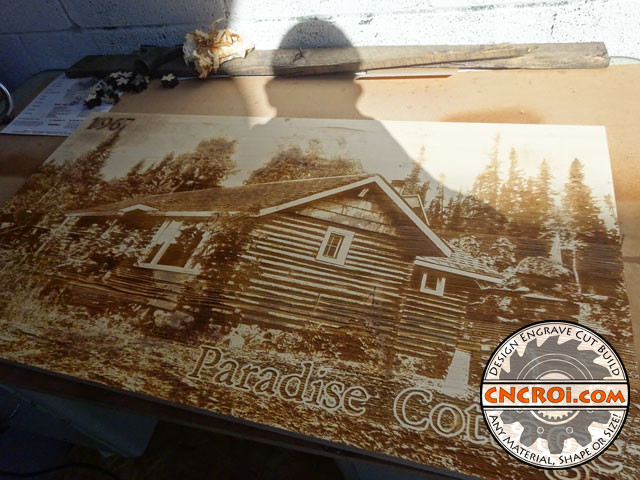
The next pad really cleaned up the wood pyrography, still some areas where additional sanding is required, along with compressed air to remove dust that the orbital sander produces during production as well.
Although the above was a wooden keychain, the image used was strictly black and white, so you can compare the results of photography with vector images to get a feel for what comes out using what graphical technique.
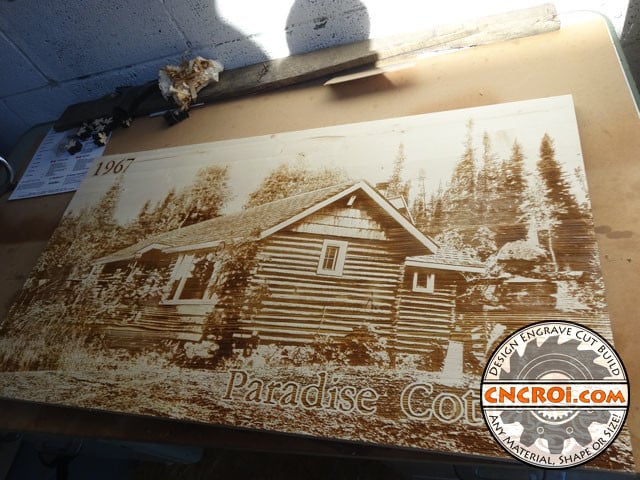
And here we go, the finished results, OF COURSE that knot is right in the middle of the board, that’s the nature of natural wood products, this little buggers are there always in the worse place, normally, I can remove their appearance quite significantly but in this case, I’ll just leave it there as a reminder.
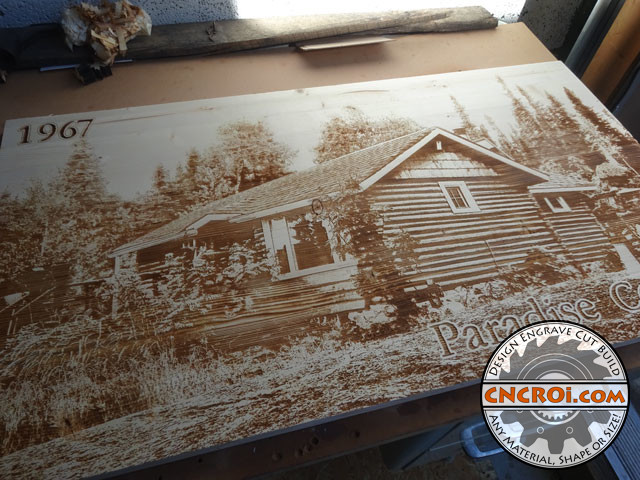
After all the wood pyrography sanding is performed, you can see how amazing the family cottage has come out, really like depth, detail and even shading can be seen.
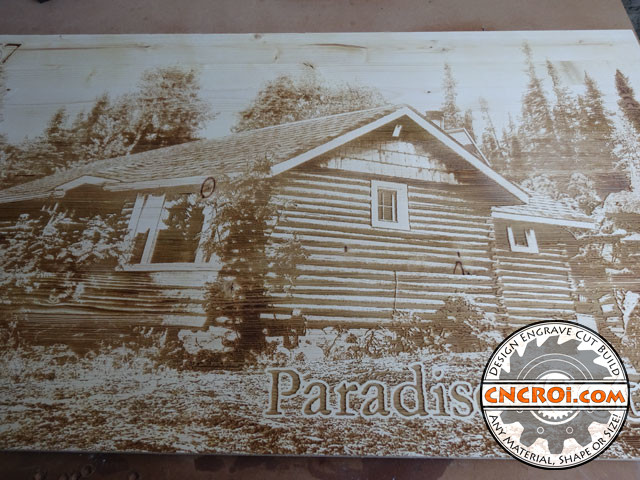
What’s the name of this place? Paradise Cottage, it’s a place I’ve spent a lot of time at and each time I go, have a wonderful time, it’s a fantastic place away from the hustle of normal modern life.
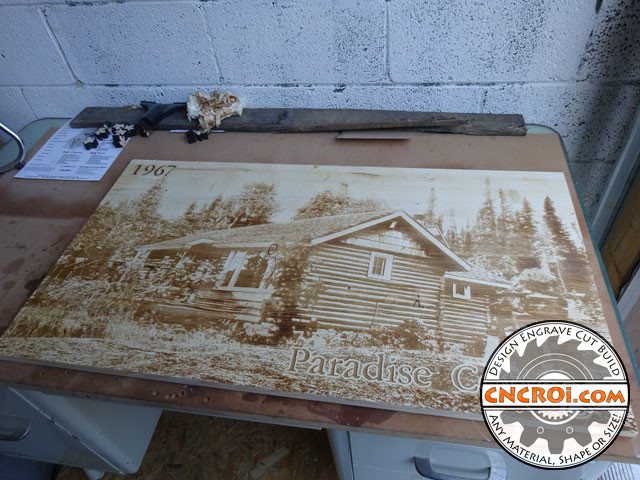
Are you looking for custom wood pyrography? CNCROi.com can do this type of work at any size, shape or wood species, and of course, on other materials as well.
Contact us right now!
