Wood Samples – Cut to Engrave to Jig
CNCROi.com makes sample packs for potential and existing customer using materials and processes that are as efficient as possible as we do not do any form of advertising. We go after the best clients and in turn, the best clients call us.
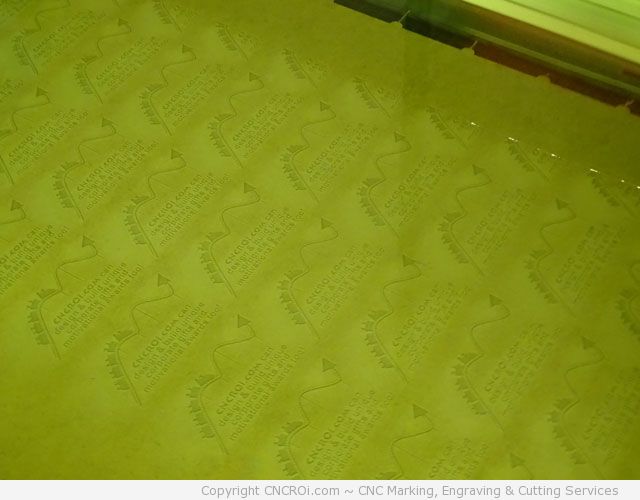
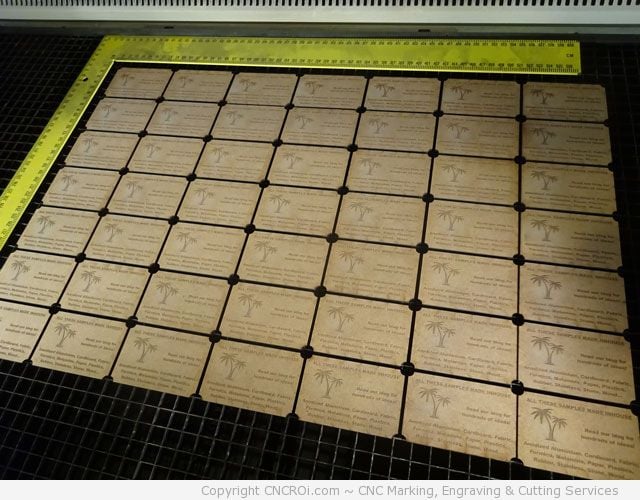
After selecting a few offcuts from another hardboard project we finished-up, it was time to cut out as many blanks as possible from it before putting it in a wood pile headed for the fire pit.
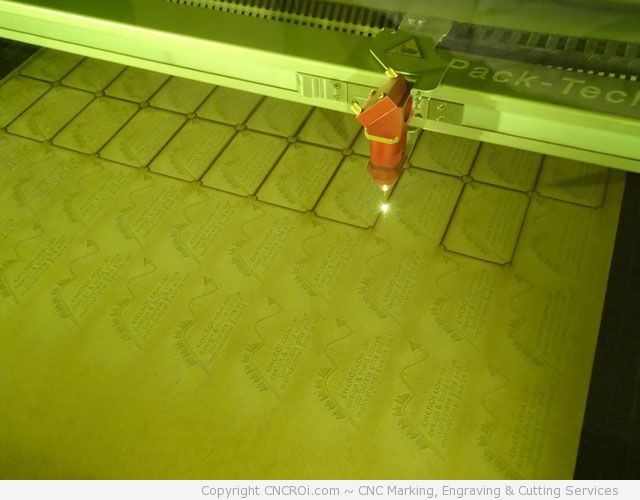
You may notice that we are cutting about twice as much as we “should” in the above and below picture by not using shared lines. The reason for this is simple, each offcut is different and the time needed to edit the splines of each of these in every configuration just doesn’t warrant the time savings we’d achieve.
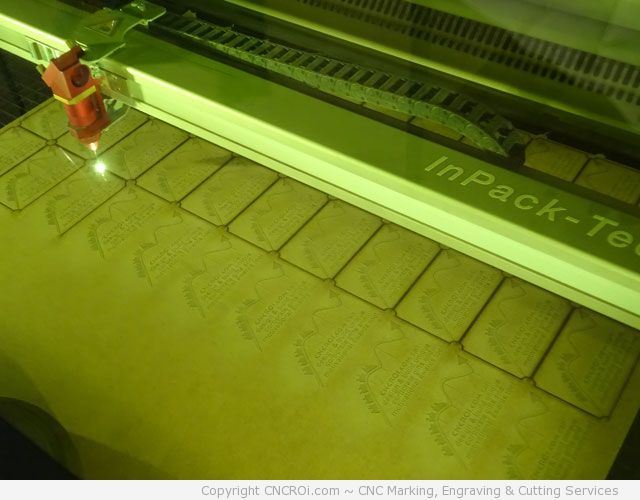
Our Austrian CNC Trotec Laser is just so fast that sometimes it’s more efficient to be less efficient.
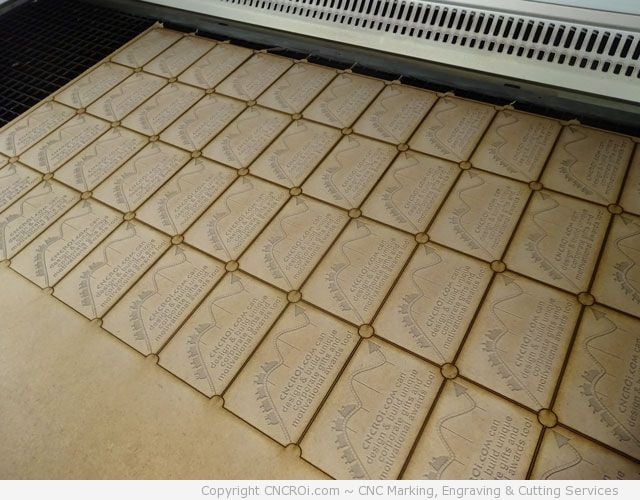
As these “blanks” are engraved on both sides, the first production run involves engraving the front and cutting them out but there is no way to get precise positioning by flipping them around in the “what’s left” jig that we made doing this so that’s where making a more formal 3 mm acrylic grid comes in.
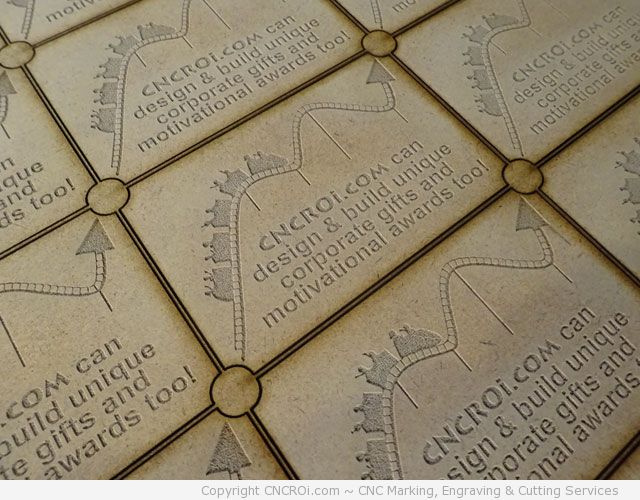
We get awesome resolution from hardboard and just about any wood with our CNC laser. There are burn marks on the edges which could be solved by simply masking these pieces but again, the amount of time needed to do this and more directly, REMOVE IT from these samples is actually far less efficient and would be a huge time sink. Besides, the burned edges give it a bit more depth so a problem becomes a feature.
Here’s a video showing the entire engraving and cutting process you just read about at CNCROi.com.
Thanks to our large engraving and cutting table, we can handle projects even larger than what you’ve seen thus far but this extra space also comes in handy when doing smaller projects as we have room to move and orientate things as we desire.
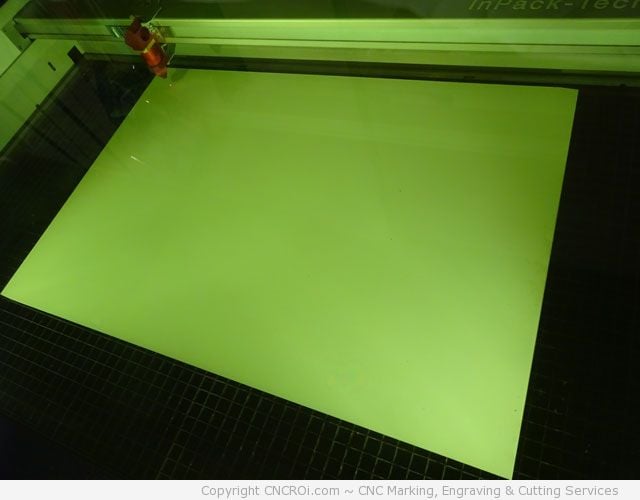
The jig was made from a scrap piece of acrylic we had in the shop again, from another project we recently completed… it was a series of jigs and a little bit was left over.
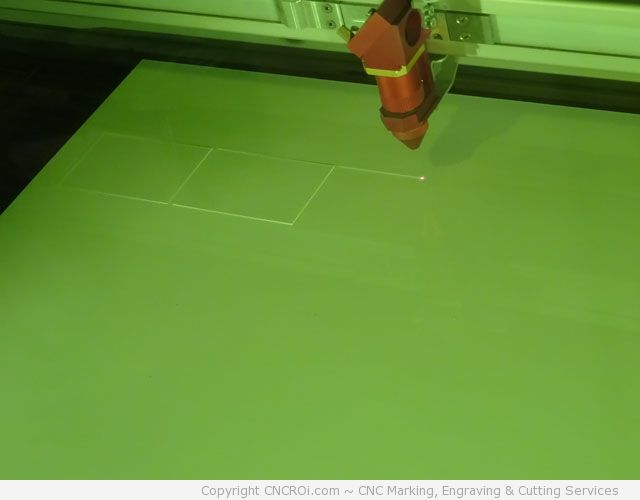
It’s surprising how much can actually be done with scraps between projects, we use it for sample production but it can be used for prototyping, material testing and a host of other uses. We’ve tried engraving and fiber marking this white acrylic, results weren’t any good so it’s strictly jigs, coasters and inlays for this stuff!
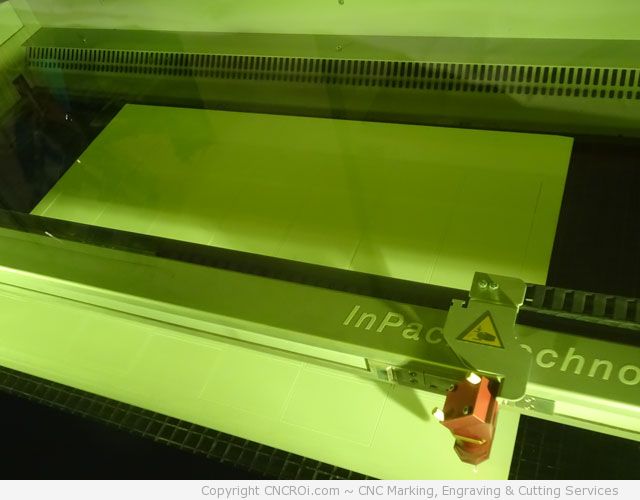
After the cutting of each individual “unit” is done, it’s time to cut out the entire jig. We do this last as we want to make sure the placement of everything is square and perfect. We don’t use the outline of the scrap itself as it will never be as perfect as cutting it out ourselves.
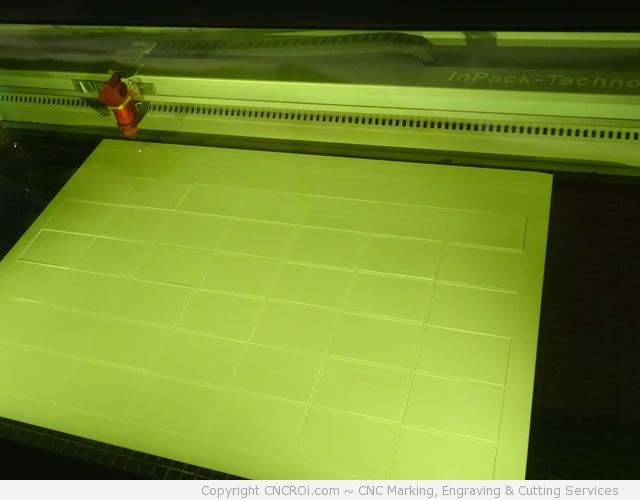
Cutting acrylic is like a hot knife through butter, it’s incredibly quick, nicely flame polished and precise.
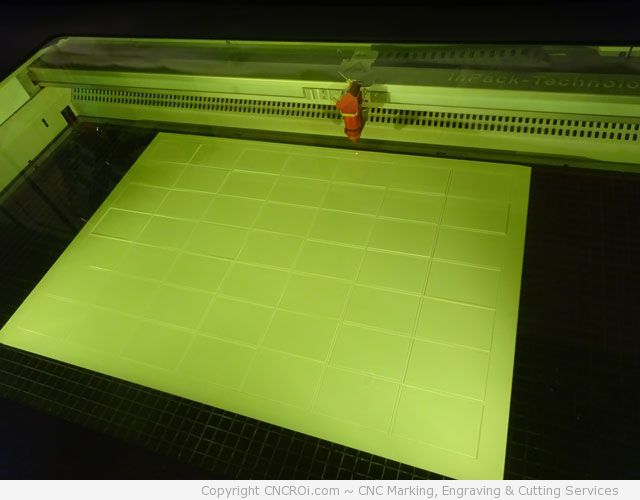
The finished jig is now ready for production, simply lifting the jig from the newly scrap squares will reveal if the cutting was done properly and all the way though the acrylic.
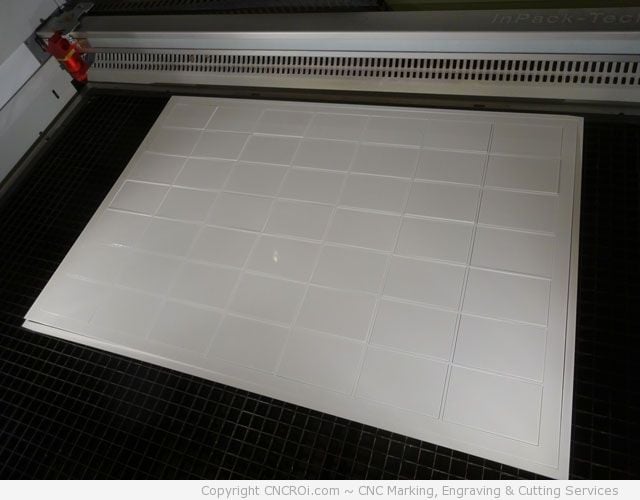
Yep, all the way through. What do we do with the newly formed scrap? We use that as material testing in our hot stamp press! Some of the better samples from that end-up on customers desks so yet again, we upcycle as much as possible here at CNCROi.com.
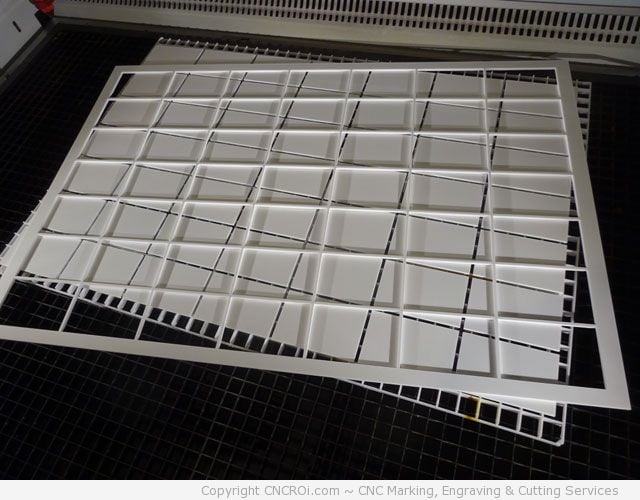
As this is for internal use, we aren’t too concerned about flashback which causes marks on the underside of the acrylic but old habits die hard and I stuck our acrylic cutting grid under it anyways.
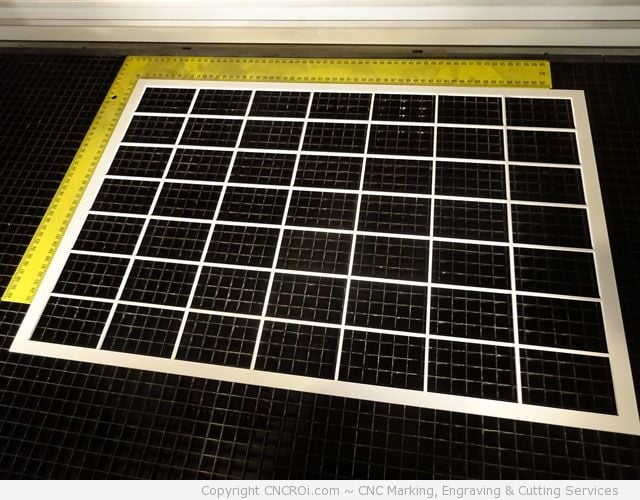
The jig was a fun process, watch the video of it being cut out of 3 mm acrylic!
The next step is putting the blanks we cut earlier into our newly formed jig and start engraving the other side of them with our information.
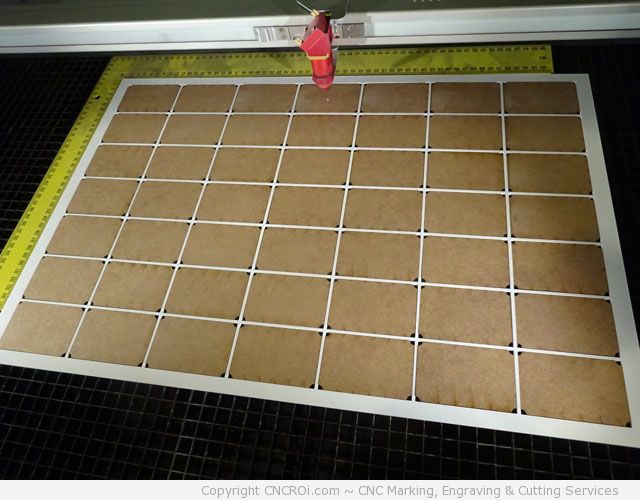
We didn’t make an underside to these (two pieces of acrylic glued together) as this is wood and the tolerances are massive compared to anodized aluminium or stainless steel. We can engrave on these even if they aren’t perfectly level though due to their size, they are as our grids are pretty small.
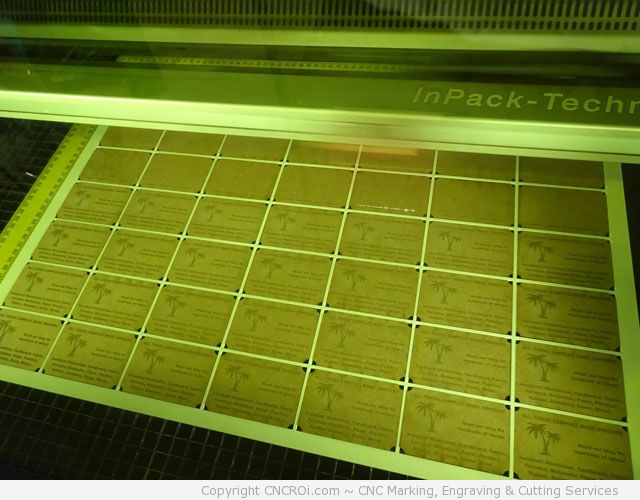
After the engraving is done, it means both sides are ready to be packed and shipped to prospective customers.
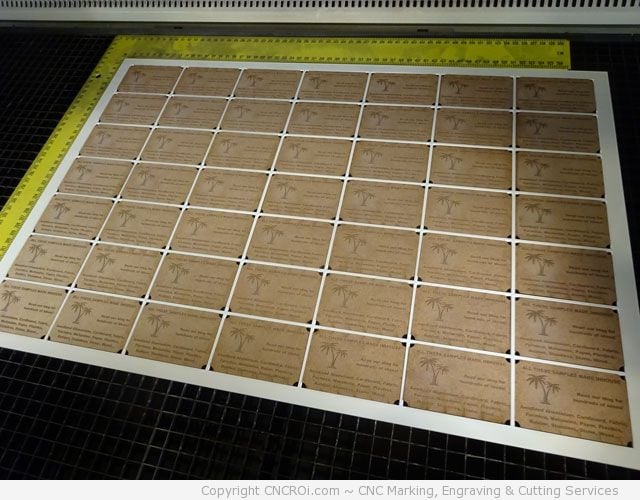
The added advantage of not using a backing in our jig other than taking-up less room in the CNCROi.com shop is that taking them out is even easier, just lift the jig and stack away.
Let’s watch a video of that being done!
The same process is followed with name badges, valve tags and the like. Cut the blanks out, put them in a jig (if volume warrants it) and take them out after the CNC laser has done its job. For all your custom engraving and cutting applications, as well as design, contact CNCROi.com!