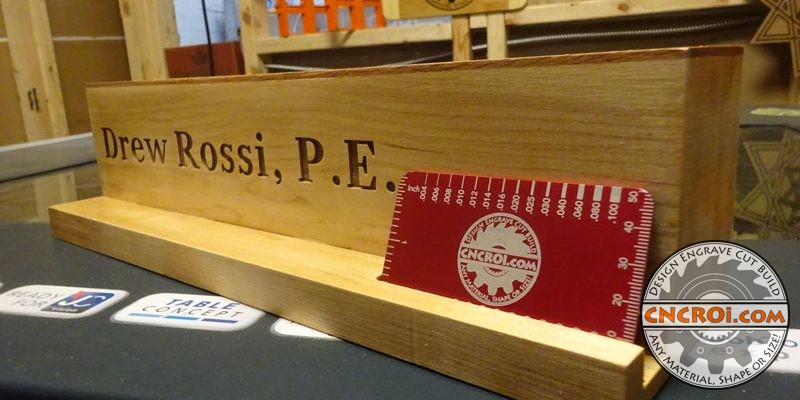
Custom Wooden Business Card Holder
Making a custom wooden business card holder out of solid Mahogany and Maple was designed by CNCROi.com based on the customer’s sketches outlining what they wanted us to fabricate for them.
As you saw from the above video, making a custom wooden business card holder takes quite a few more steps and machinery than you may think but that’s the nature of custom fabrication using solid wood without requiring any nails or screws to hold everything together.
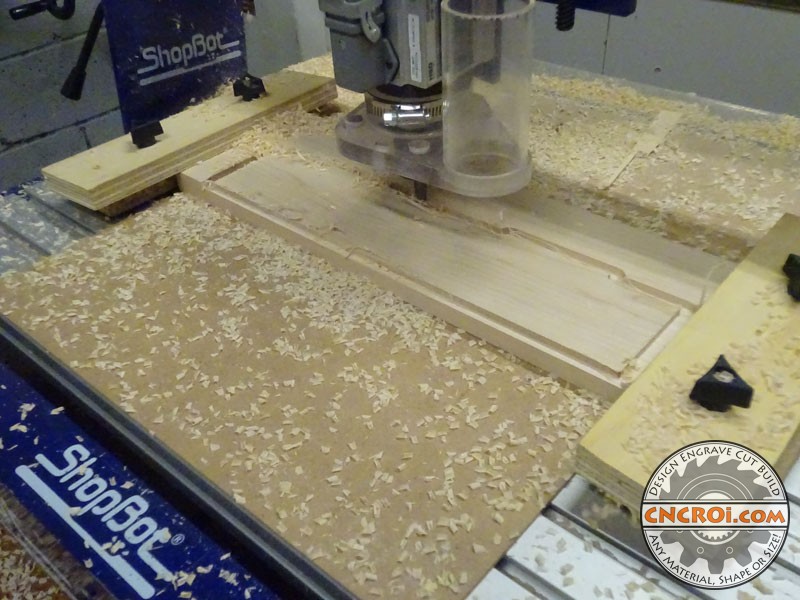
The first step along the journey of making a custom wooden business card holder is to get the wood, in this case, it was a solid board of real Maple that would form the foundation of this project.
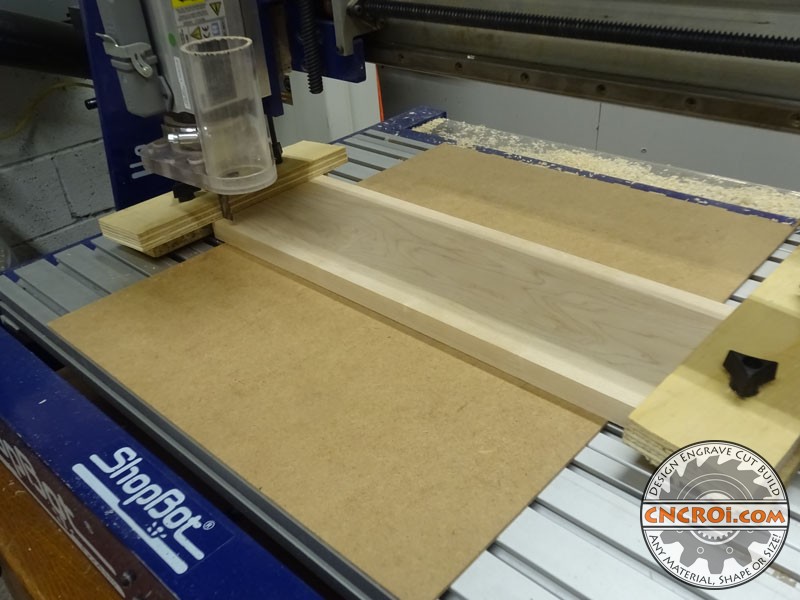
We wanted a strong, heavy and impressive piece of lumber for this project because it would give it the presence it deserves on a desk to hold important business cards.
It’s like when CNCROi.com makes custom awards, there is nothing worse than giving somebody something “important” and have it feel less than the gravitas it’s afforded, for instance, giving an award out of “wood” that weighs nothing just doesn’t jive well in my opinion.
Visuals are important when it comes to making something very important, and part of that is having it function and look the way it feels, this custom wooden business card holder is no different.
This custom wooden business card holder could have been made out of Pine quite easily, it would weigh a lot less and be dramatically easier to work with than Maple but there is something about using a dense wood that you just don’t get it from something lighter when it comes to handing somebody a gift.
Unless of course, it’s big and it’s meant to be on a wall, then I’d easily argue that going lighter with Pine is better than Maple as you won’t really notice the difference once it’s hung on a wall.
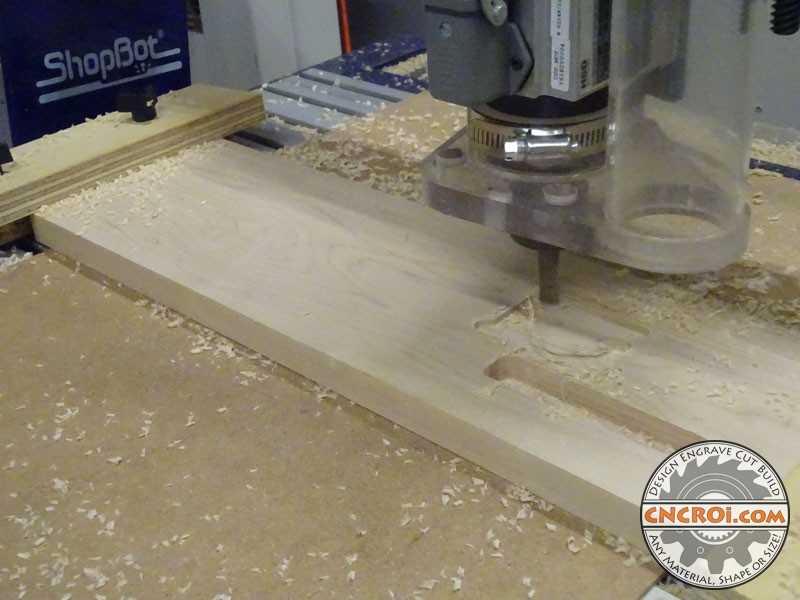
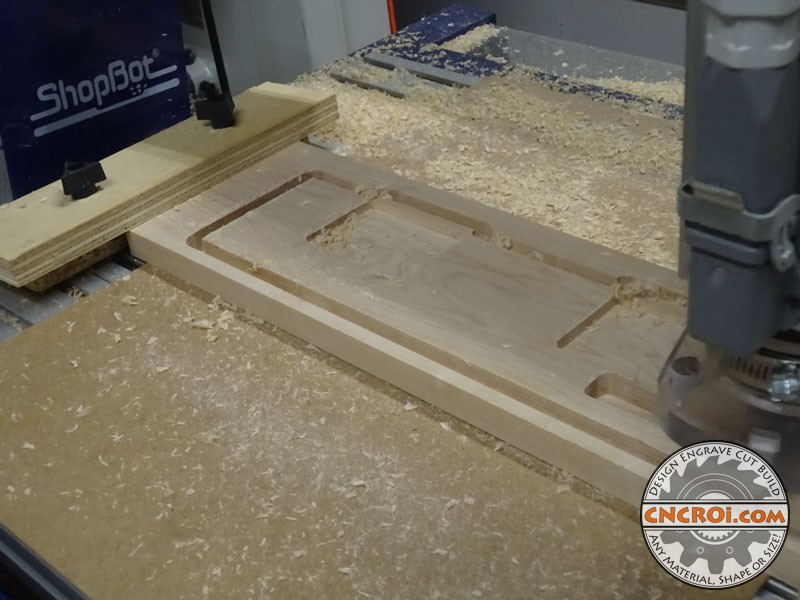
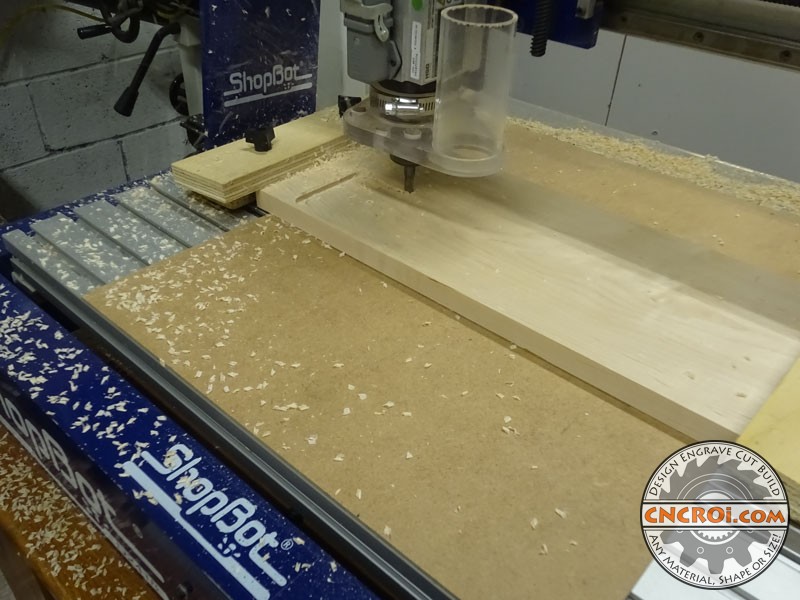
Using our ShopBot CNC router is one way to create this custom wooden business card holder, it saves a lot of time over doing the same using totally manual and power tools.
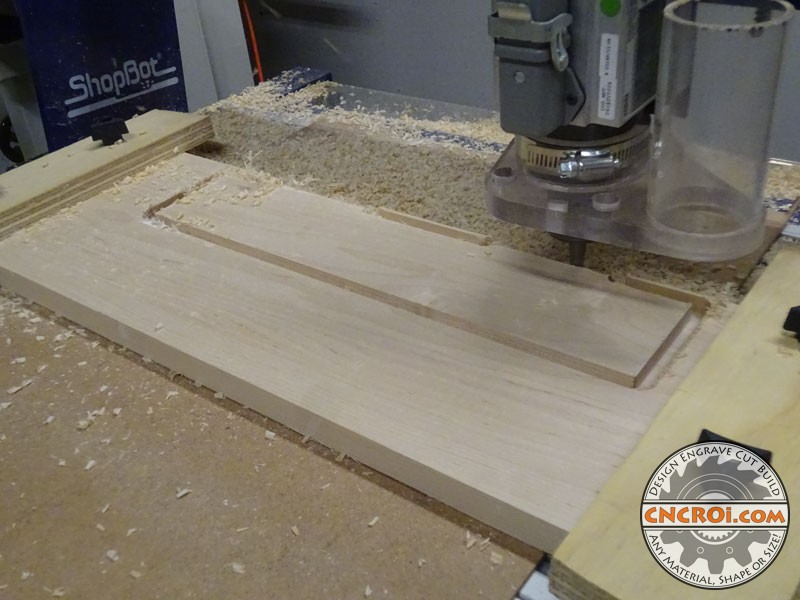
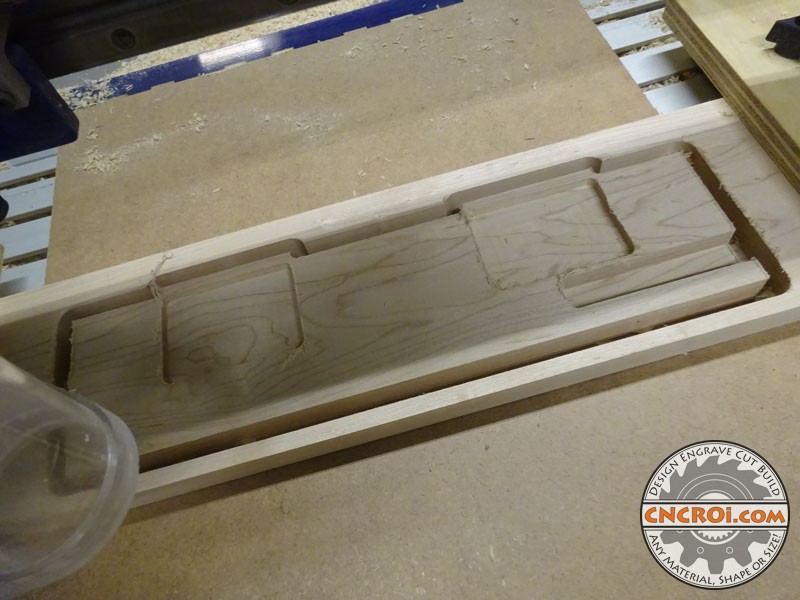
The nice thing about using our CNC router is that all the individual pieces of this custom wooden business card holder can be made right away, totally accurately and with absolute precision based on digital drawings.
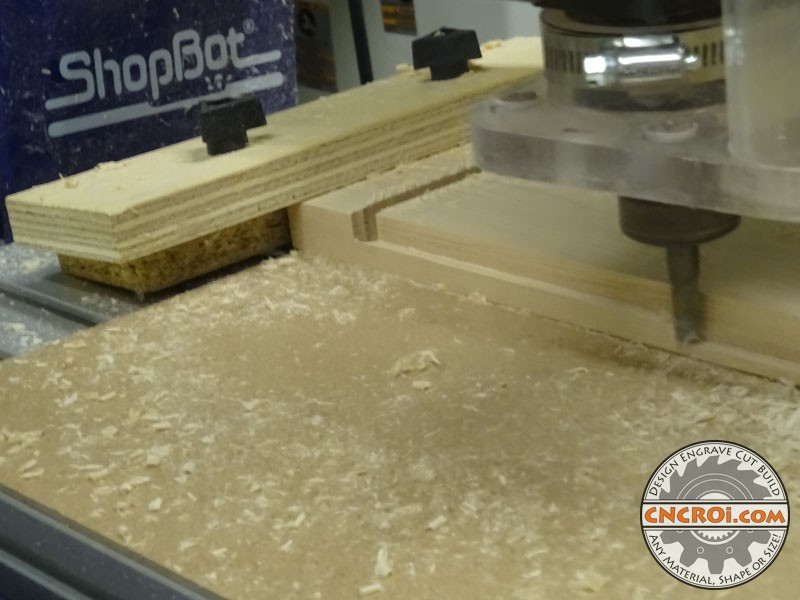
Maple is a very hard wood, even harder than Oak, as such, it takes a bit more time and awareness to achieve a good result using CNC equipment without breaking bits or burning the wood.
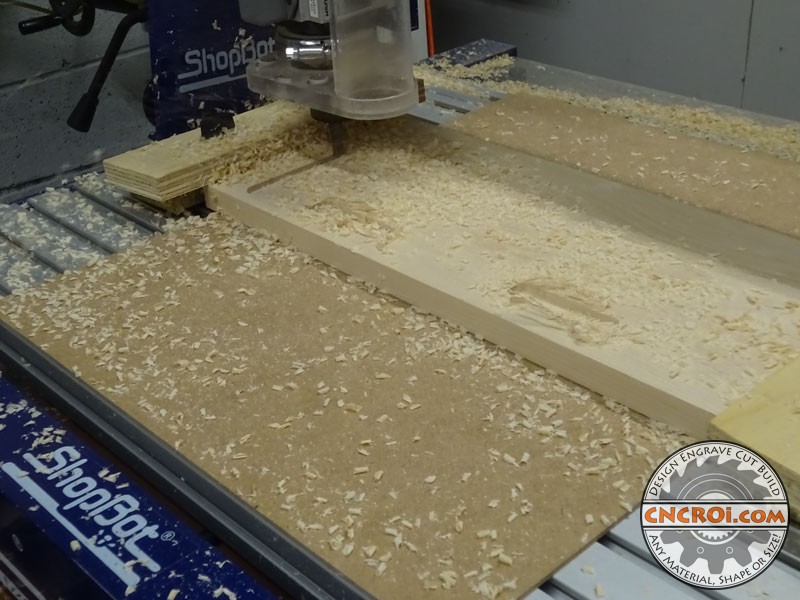
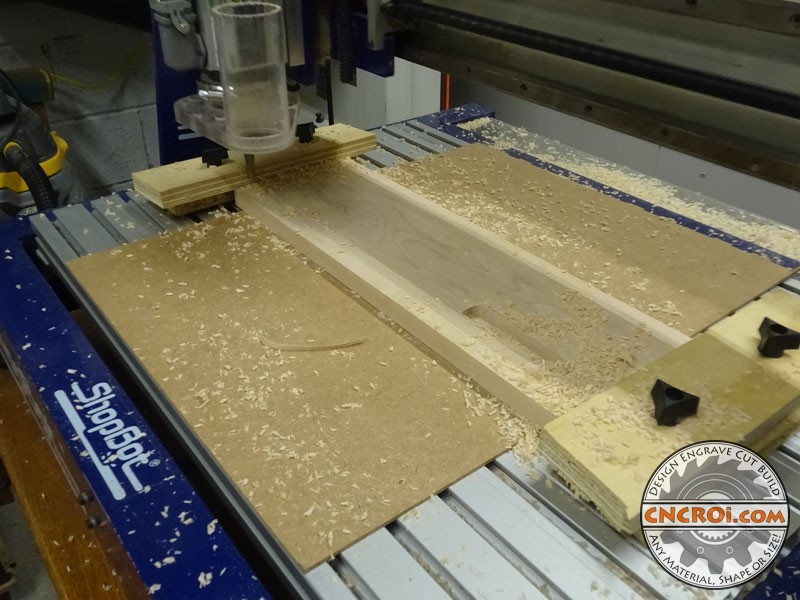
The results from our CNC router may look a little rough, but this is only the beginning of the custom wooden business card holder fabrication process, there are many more steps involved to turn lumber into a masterpiece.
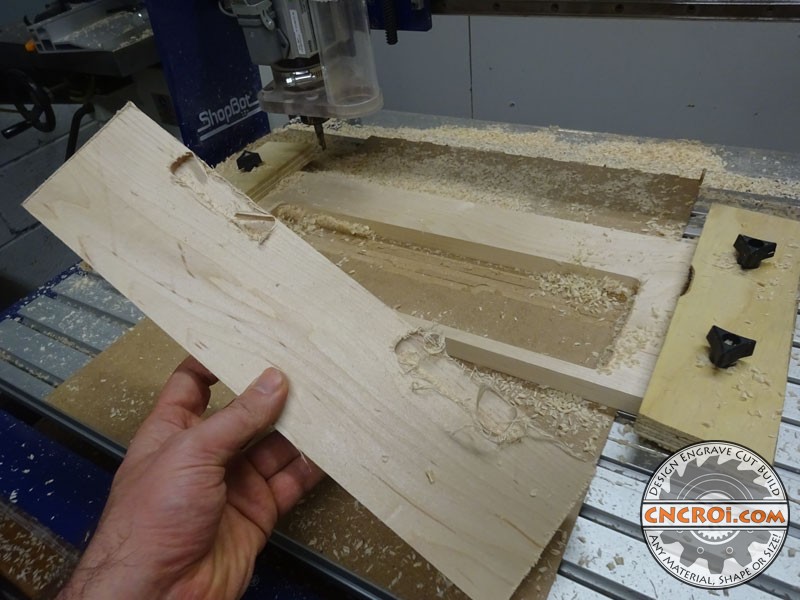
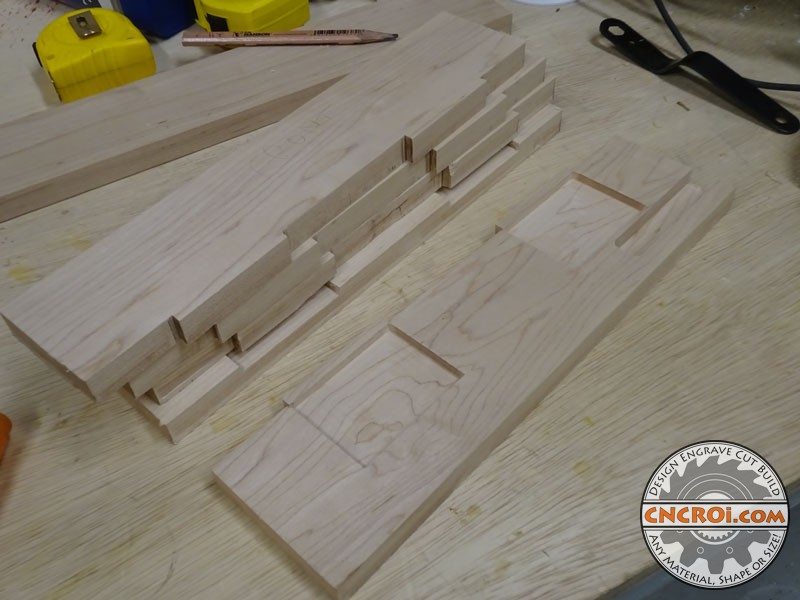
We use our ShopBot for quite a few projects, it allows us to accurately convert drawings, concepts and ideas into physical items with the added benefit of repeatability as three parts of this custom wooden business card holder are identical.
To give you an idea of the diversity of the projects we’ve made here at CNCROi.com using our ShopBot CNC router, here’s what we made recently out of quarter-inch (6 mm) thick polycarbonate.
And something a long time ago using this exact same tool on the other side of the world.
Now that these parts are finished, it’s time to clean them up in order to be able to glue together this custom wooden business card holder.
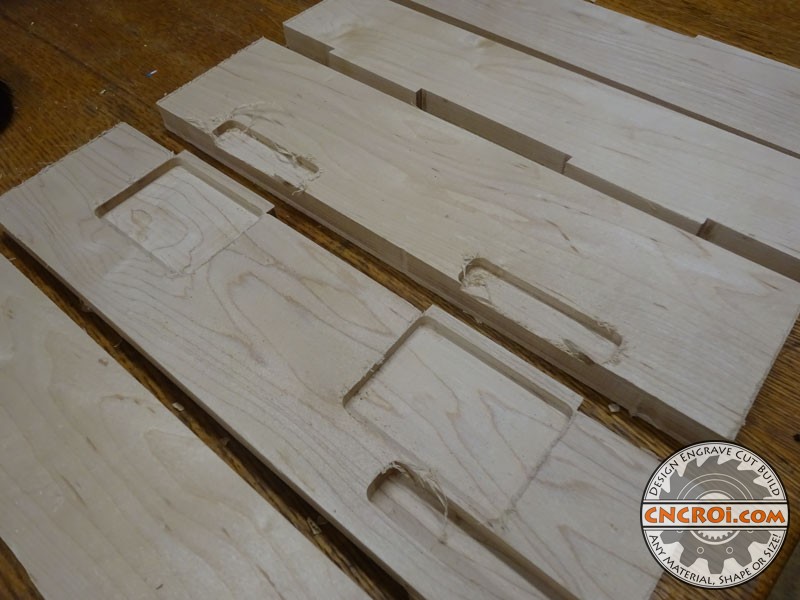
That means resorting to chisels because you can’t get a square inner corner using a round bit such as found on our ShopBot CNC router.
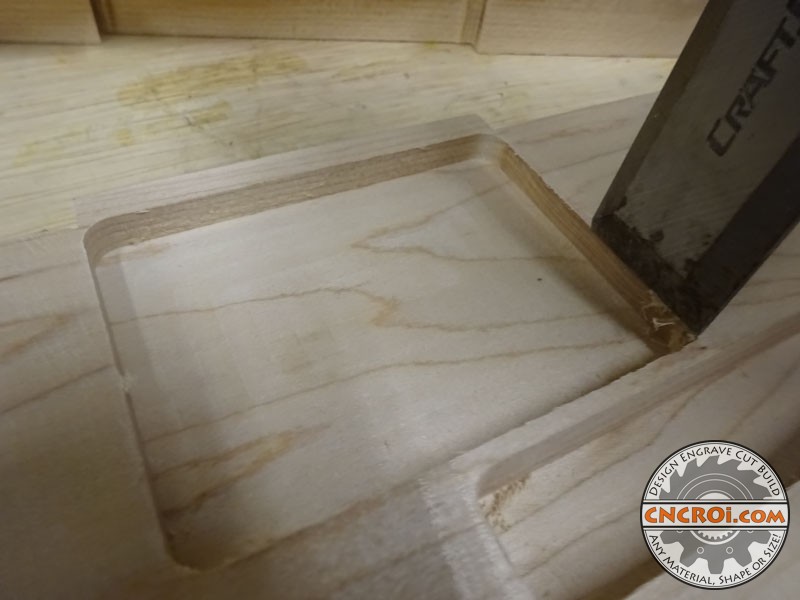
Having a square inner corner means CNCROi.com can put things flush edge to edge in an interlocking pattern which will add a lot of strength to the overall piece.
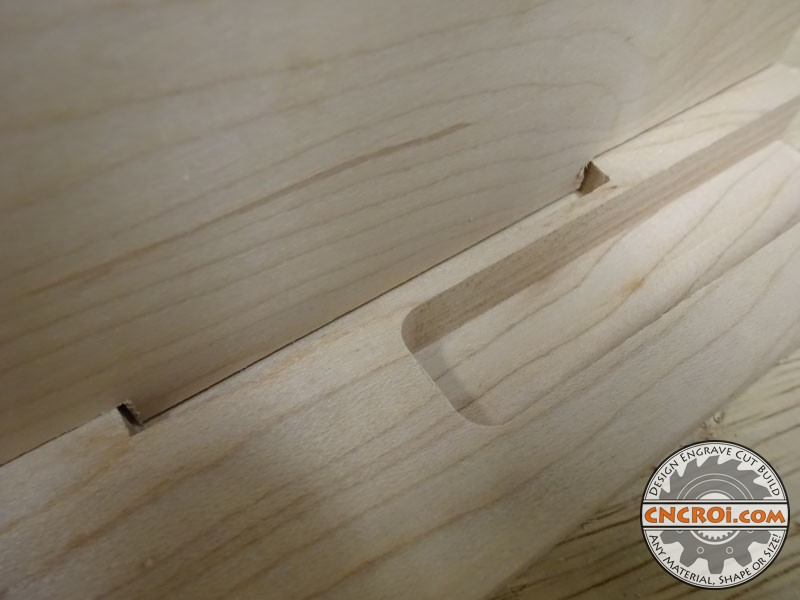
For example, here’s a “before” of a rounded inner corner slot, in this case, this would be on the back angular piece.
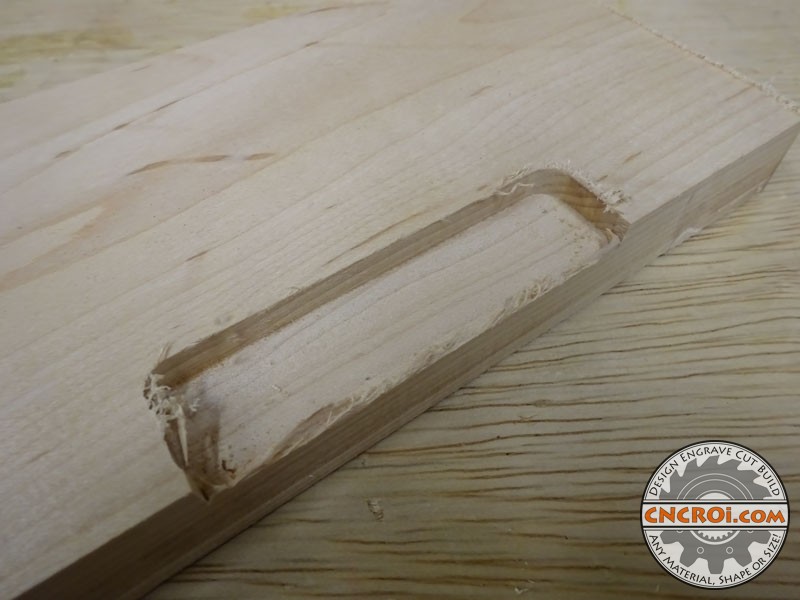
And after, you can see the square corners, now this can be slotted against other pieces for the finished custom wooden business card holder to fit properly.
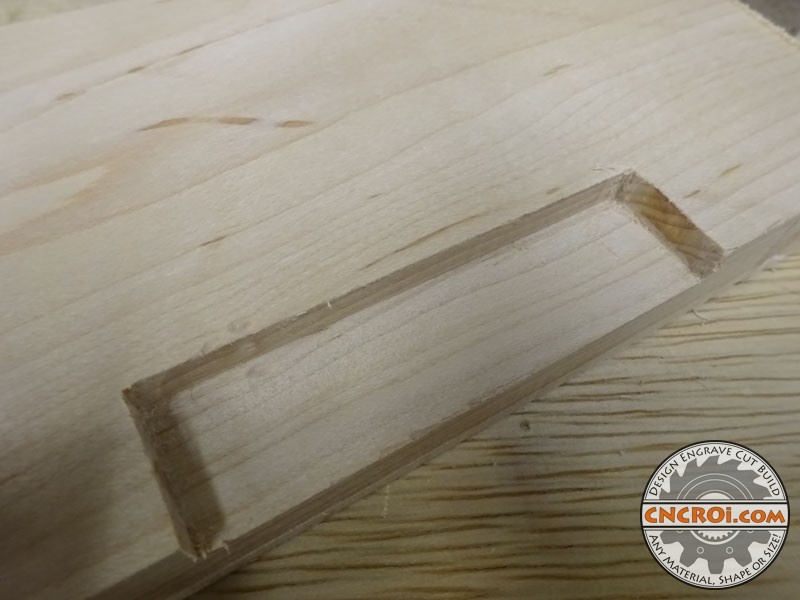
You can see where that back piece fits, it requires lots of testing, chisel a bit, do test fit, chisel a bit more, do another test fit for this custom wooden business card holder.
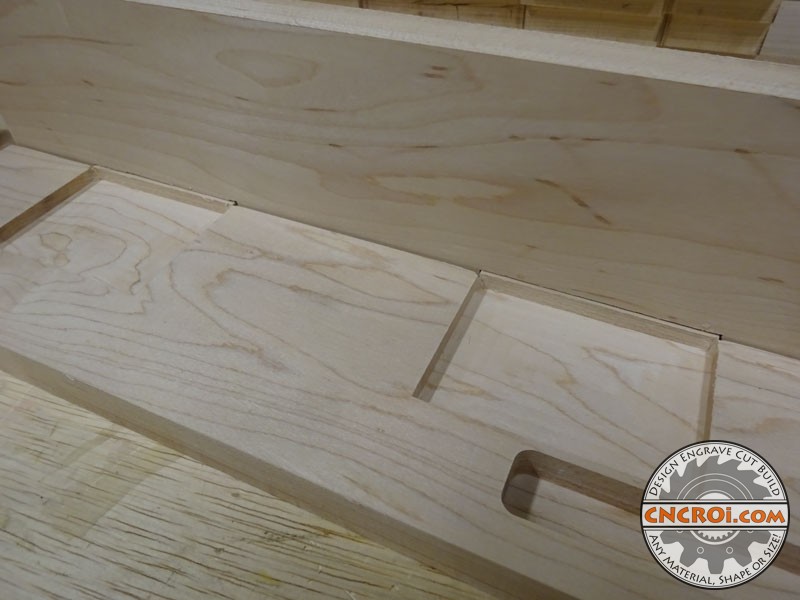
Once all the pieces are cleaned-up, it’s time to do another test fit to make sure everything will work properly with all of them together, of course, clamping them together will add make things fit even tighter.
Now’s a good chance to CNC laser engrave the front panel with Drew Rossi, P.E. because if anything “not according to plan” happens, it’s not a big deal to cut-up another piece with our CNC router and do it again.
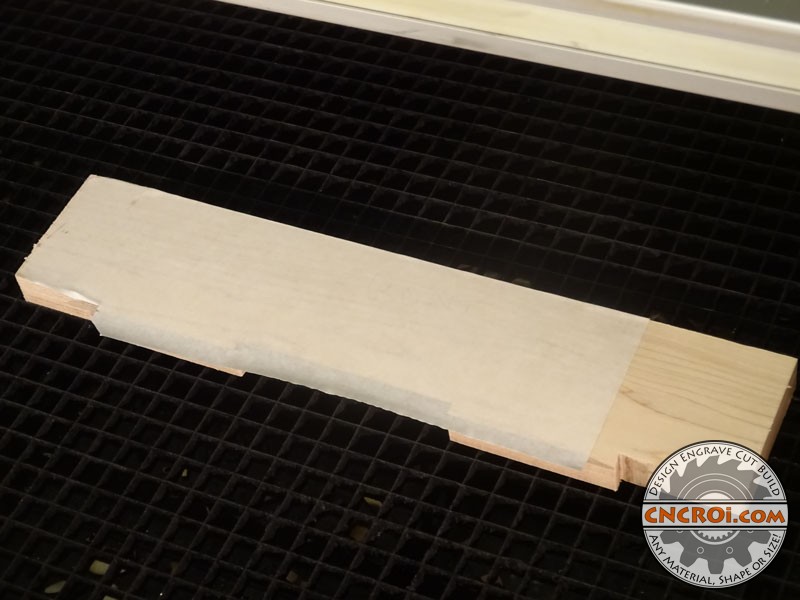
When it comes to laser engraving Maple, there are a few options but 9 times out of 10, we are engraving it DARK rather than light.
The advantage of using our laser over our router to engrave the Maple is the sharp inner corners of the text, we can go dramatically smaller and sharper than any bit could ever do plus there is built-in contrast that’s achieved with the CNC laser that isn’t possible with the CNC router.
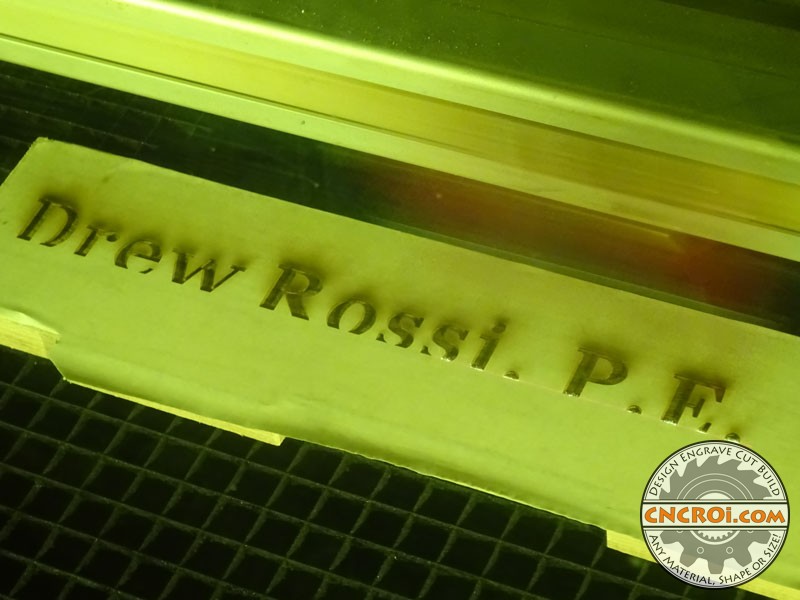
Doing two passes with our industrial wide-format Austrian laser achieves both depth and a darker engraving.
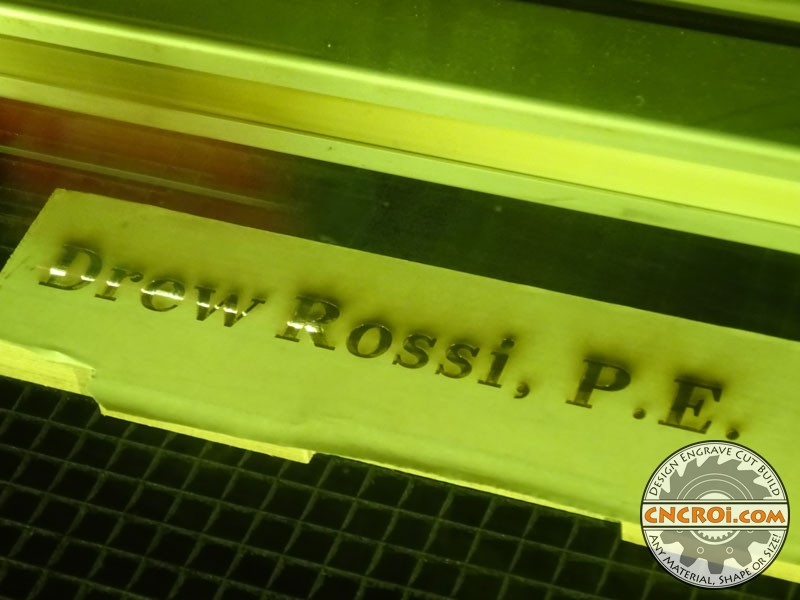
CNCROi.com applied a masking over the surface of the Maple, it will save a ton of time sanding.
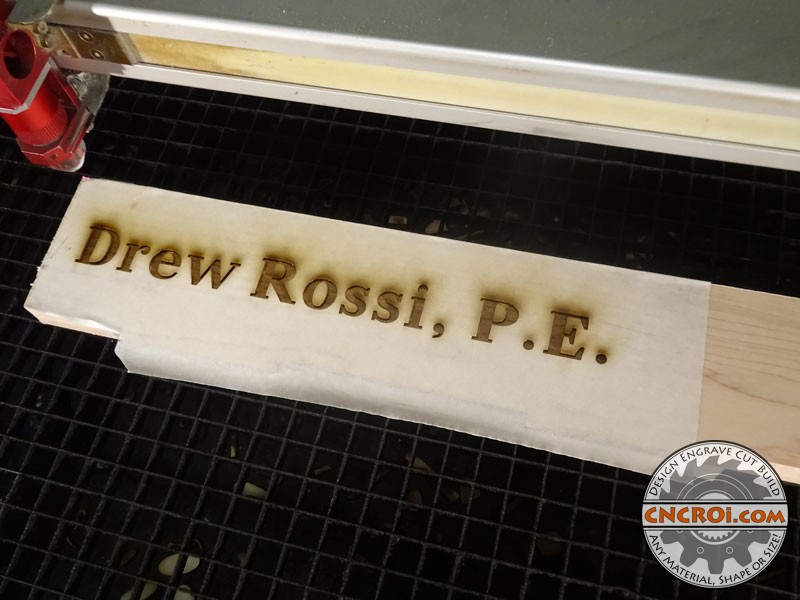
After the mask is removed, you can see how amazing the results come out with our CNC laser.
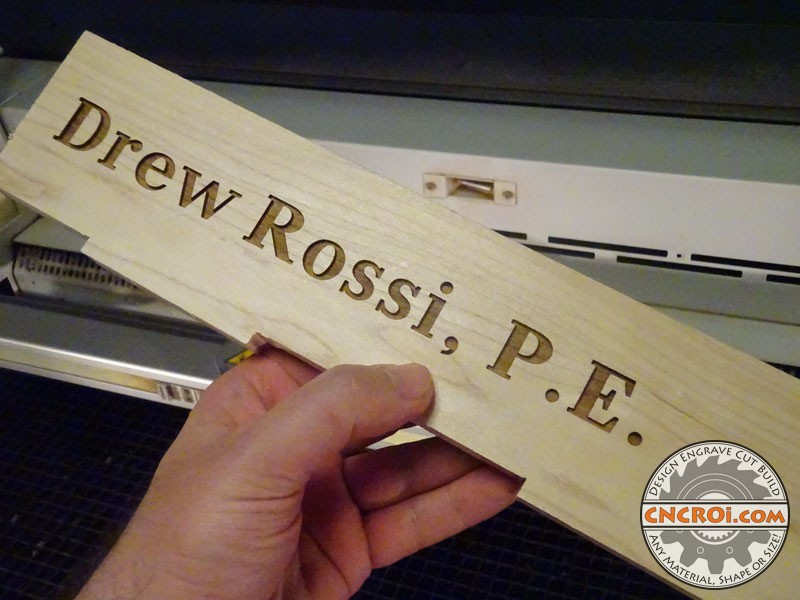
Technically, our Austrian Trotec Speedy 400 flexx could have easily cut through this Maple but then there would be charing on the edges that would need to be sanded and sanding Maple is a slow process due to its density.
That’s one of the reasons why the above sign was made out of Pine instead of Maple but if the application calls for strength, Maple is the way forward over Pine.
Next-up is cutting the angled back, again, Maple takes forever to sand so cutting it first with our amazing bandsaw will save a tremendous amount of fabrication time in the CNCROi.com shop.
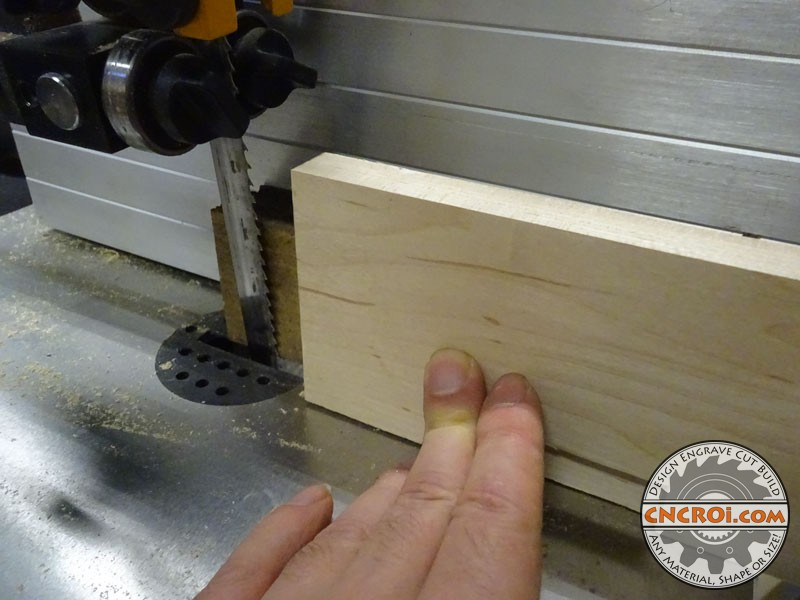
It isn’t our blade that’s crocked, the whole table was angled in order to make the feed process far easier, the other boards are there to make sliding this chunk of Maple a lot easier and allow the upper guides to be as close to the top of the wood as possible.
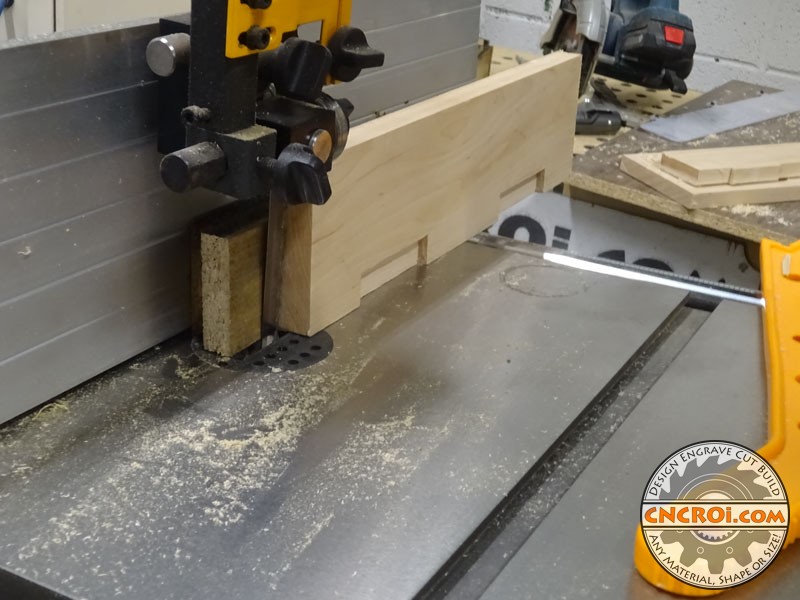
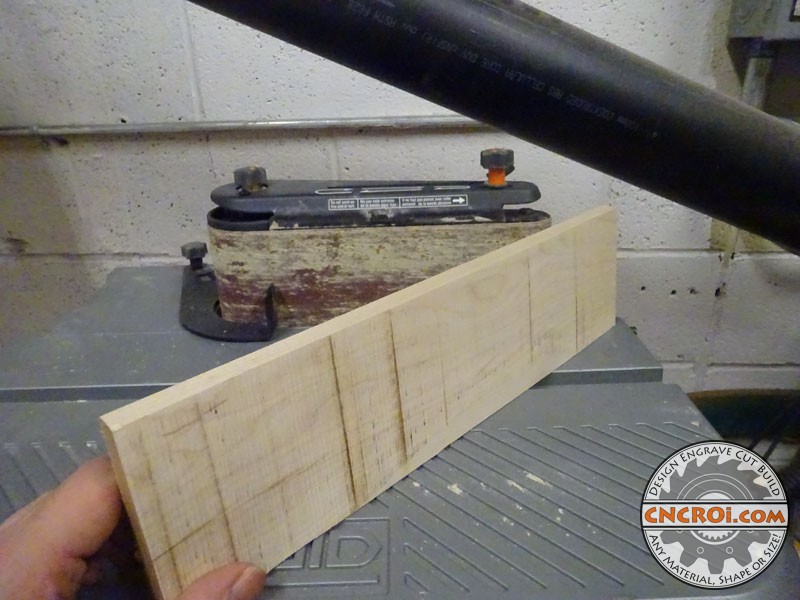
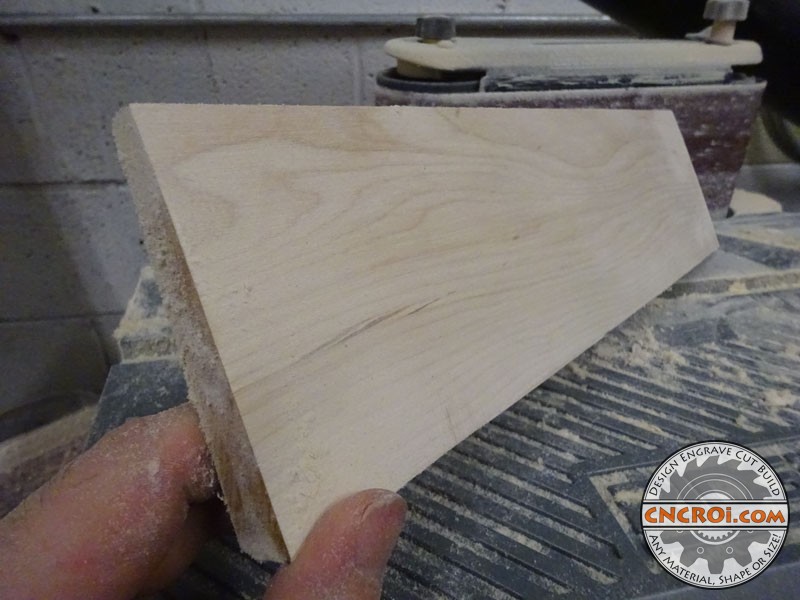
The results came out great, it’s now time to sand the marks off in a fraction of the time it would have taken to try to sand the Maple board down to the same angle.
And the results are fantastic, we now have all the pieces as they should be and ready to be assembled into the final custom wooden business card holder.
This was the first time I was able to do a test-fit using all the pieces as they will be in the final product, from the angled back to the laser engraved front of the custom wooden business card holder.
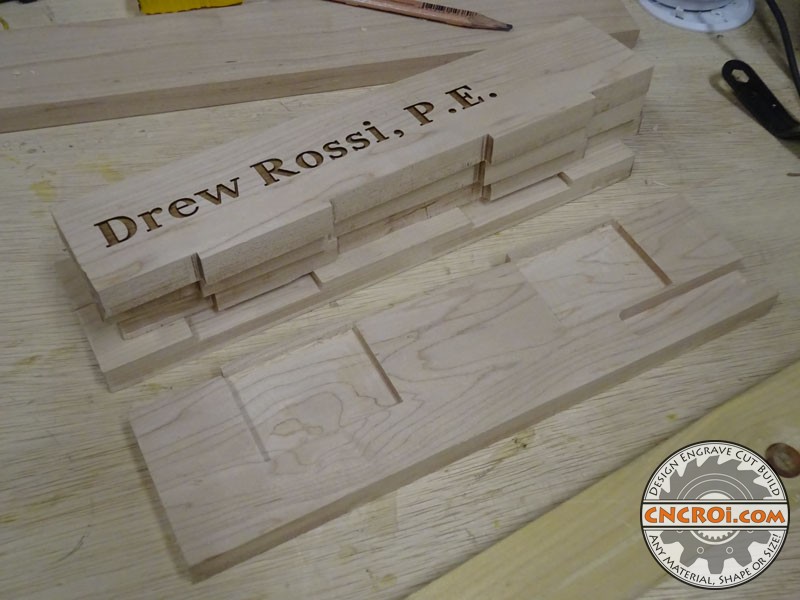
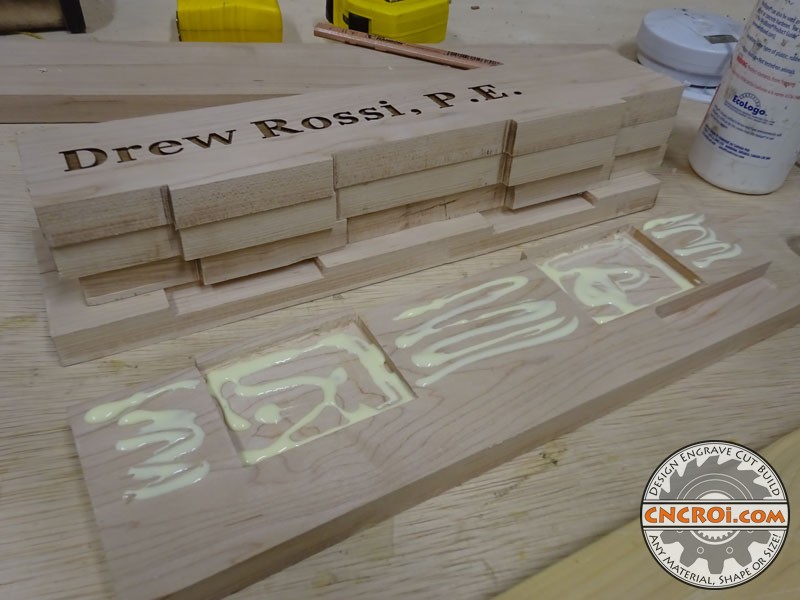
Having slots makes for a dramatically stronger piece and that all starts with lots of glue, it can be easily wiped off and sanded after the fact so I prefer to use too much rather than not enough.
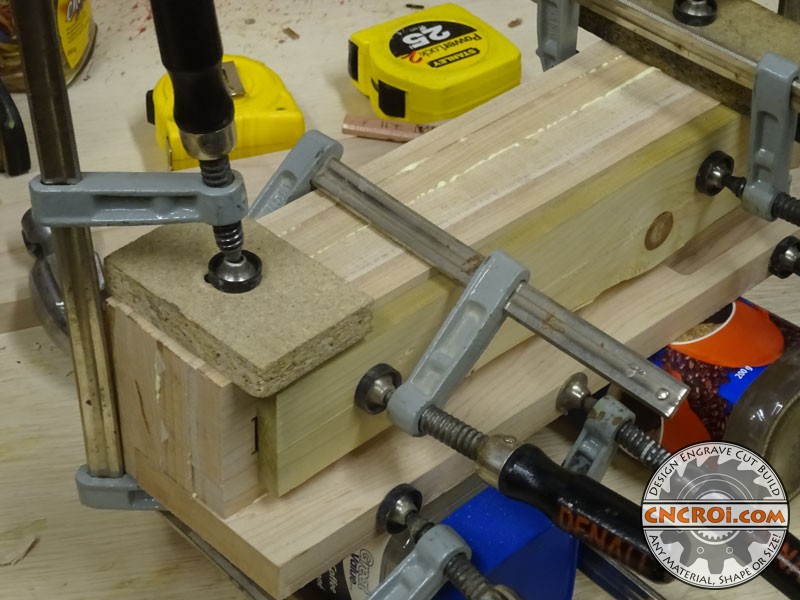
CNCROi.com has lots of clamps and we used quite a few of them to make sure this entire assembly that will form the customer’s custom wooden business card holder came together perfectly.
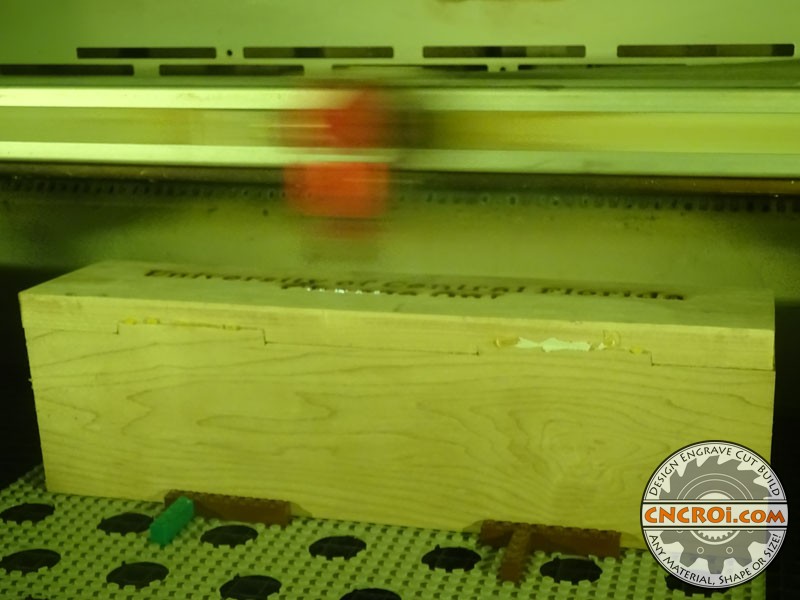
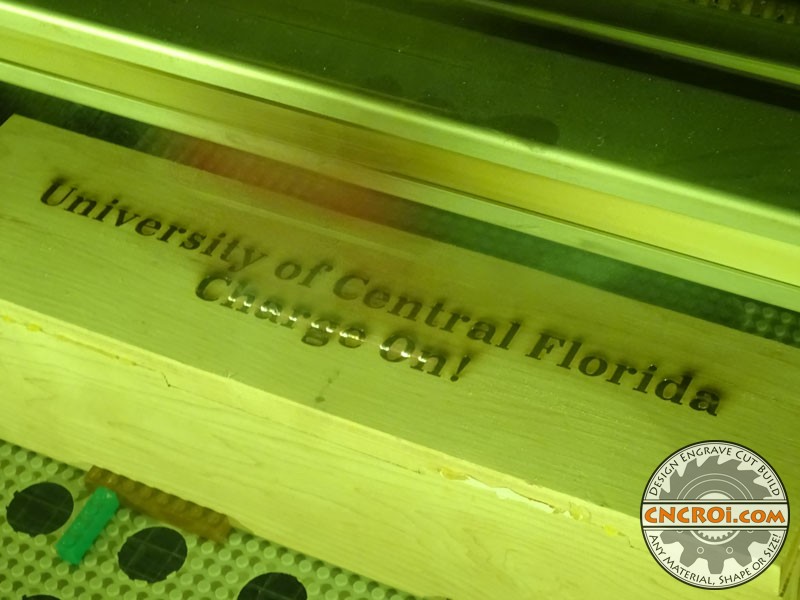
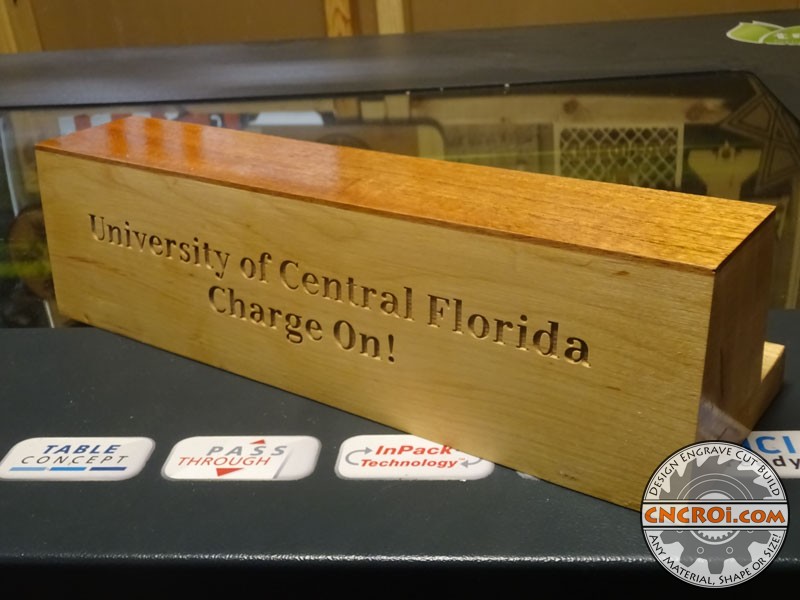
After 24 hours, it was time to laser engrave the back with the University of Central Florida Charge On! information on the back curve.
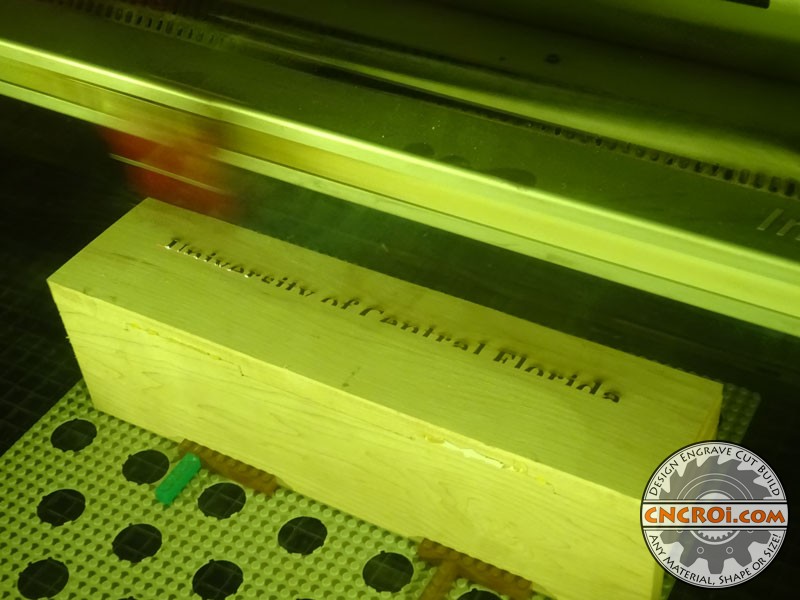
I could have done this before the glue-up but I wanted it to be totally dead-on perfect after extensive sanding all around so I did this laser engraving once the final custom wooden business card holder was dried.
CNCROi.com has laser engraved lots of different wood species, from Acadia…
To live edge of many types…
And veneers of all sorts such as White Oak, Hard Maple (used for this project), Basswood, Cherry, Walnut, Bloodwood…
Poplar, Wenge, Ash, Zebrawood, Padauk…
And finally Yellow Heart, Alder, Butternut, Mahogany (used for the cap) and Red Cedar which smells amazing!
We generally use the veneers to make business cards, hence the huge selection of offerings at CNCROi.com for our customers but this also came in very handy in this project as well.
Once this University of Central Florida Charge On! was complete, it was time to cap this custom wooden business card holder.
One customer’s business card is another’s custom wooden business card holder cap!
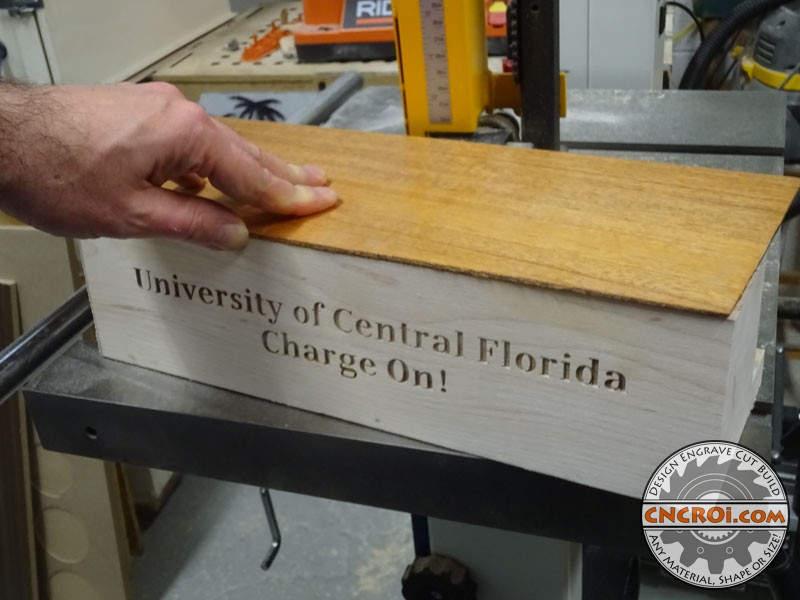
The cap was cut using the bandsaw to be slightly longer and wider than spec, but to have a flush mount, it required sanding on the top to make everything nice and smooth for perfect glue adhesion.
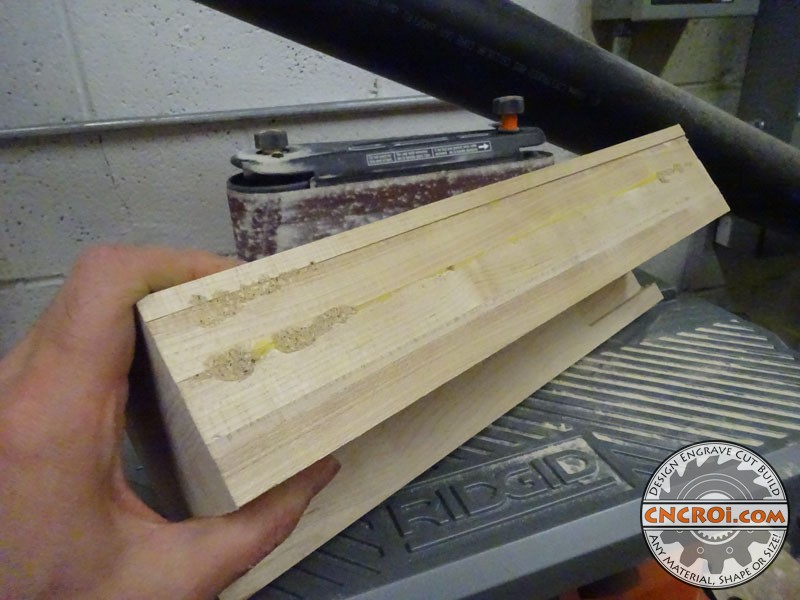
You can see the dramatic difference in the top from the above photo to the bottom one, lots of surface area means amazing adhesion of glue.
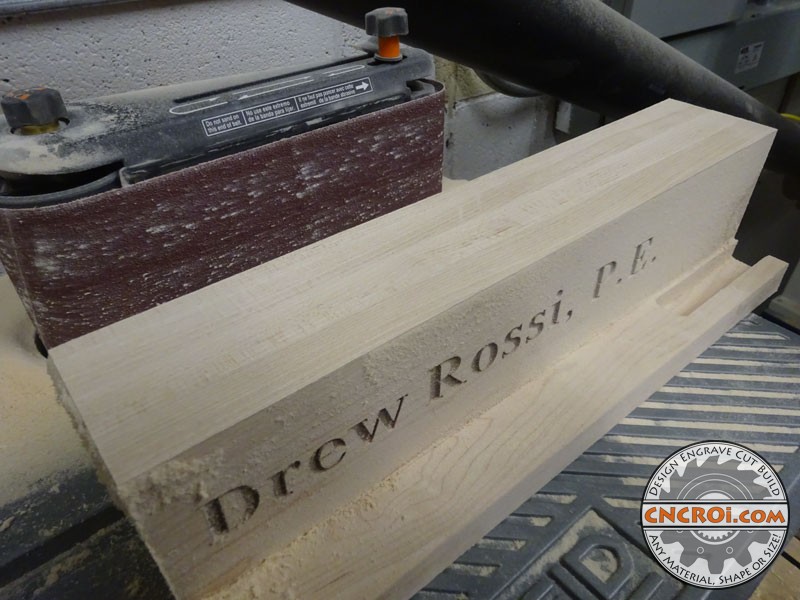
It’s time to take out some more CNCROi.com clamps and put this all together using lots of glue.
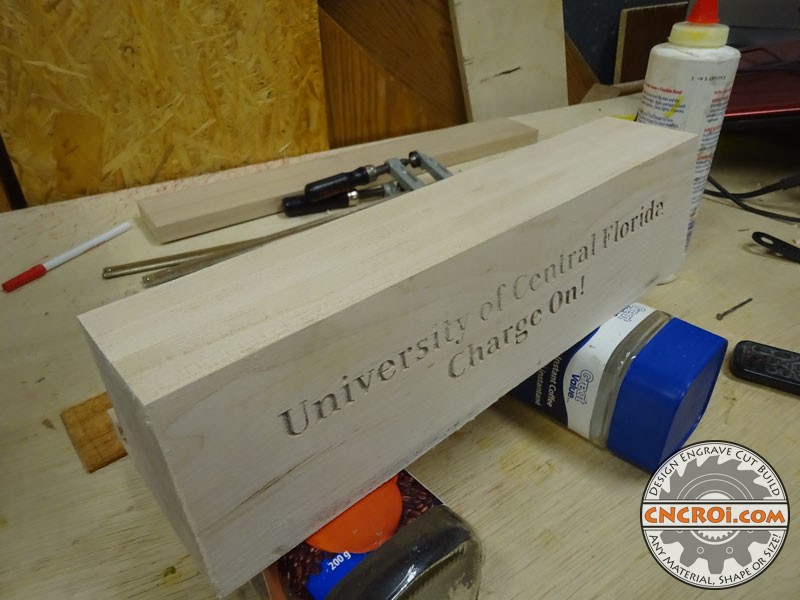
For the clamps to reach underneath of the custom wooden business card holder, it needed to be raised, hence using the coffee bottles.
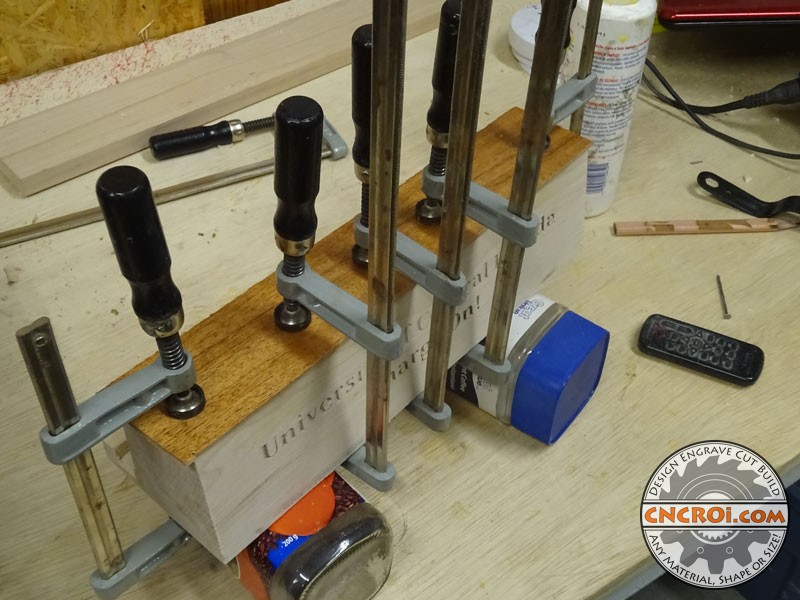
The goal at this point is adhesion and glue, not flush mounted, what’s why CNCROi.com has a sander, it will do a better job than any manual positioning of this master piece could ever do.
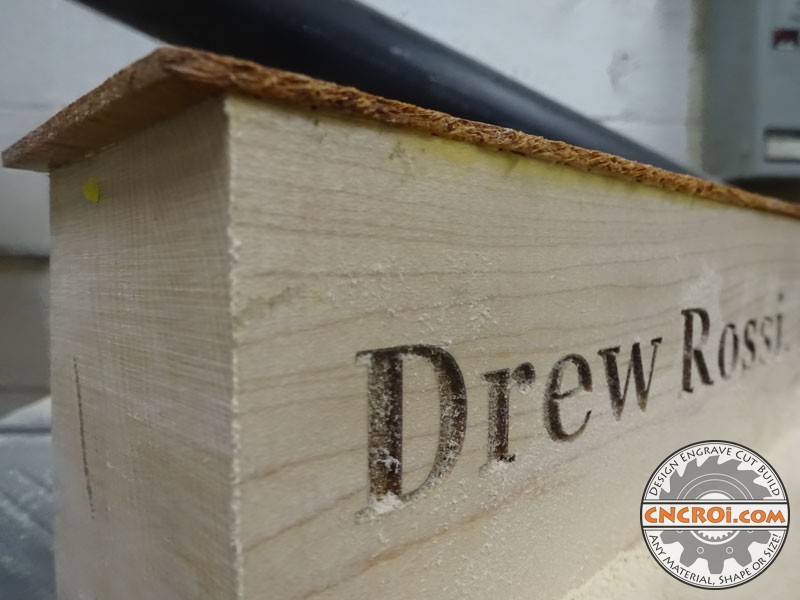
After a thorough sanding EVERYWHERE the finished custom wooden business card holder is ready to be Varathaned, there are a lot of different finishing options CNCROi.com offers but as we used REAL Maple and REAL Mahogany for this project, I didn’t want to use a stain to hide that fact, but to use something to both protect and make the grain pop on these amazing woods.
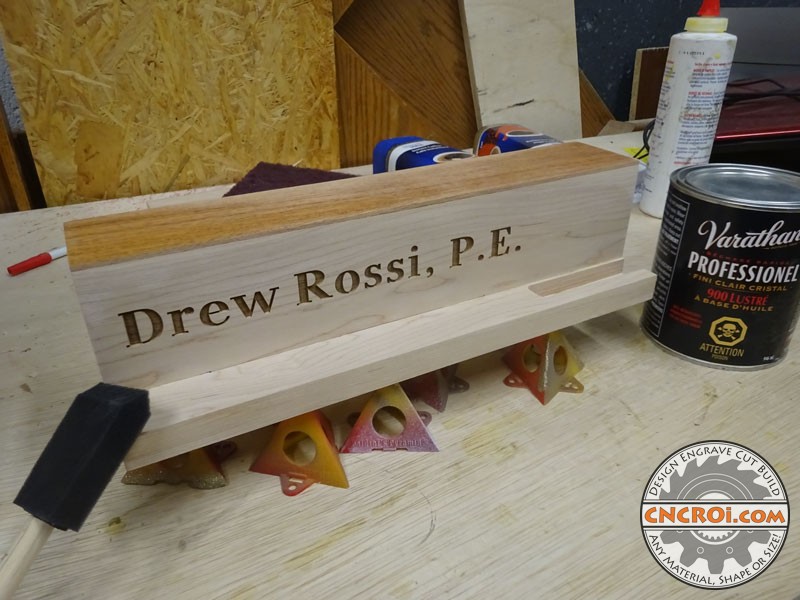
Quite a dramatic difference a little Varathane makes!
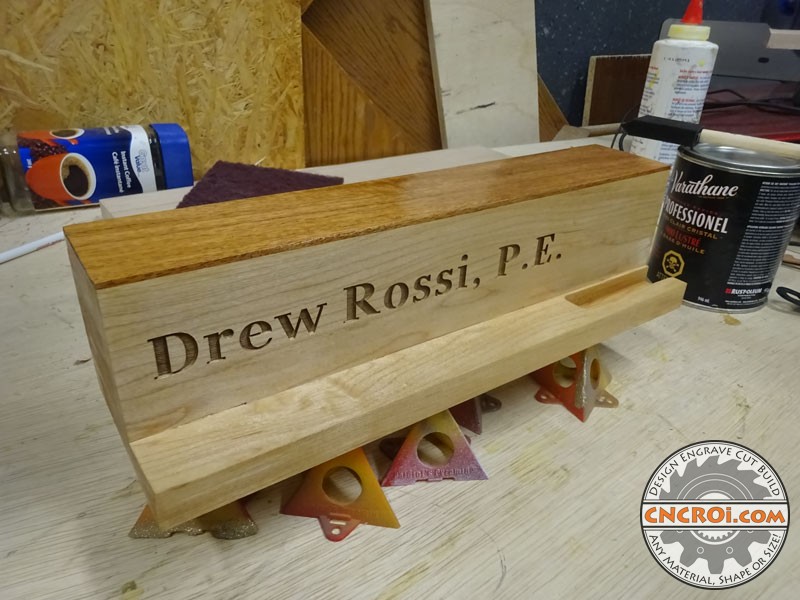
The next step was adding foam feet to the bottom to both protect the custom wooden business card holder from what it will be put onto and the desk it will go onto.
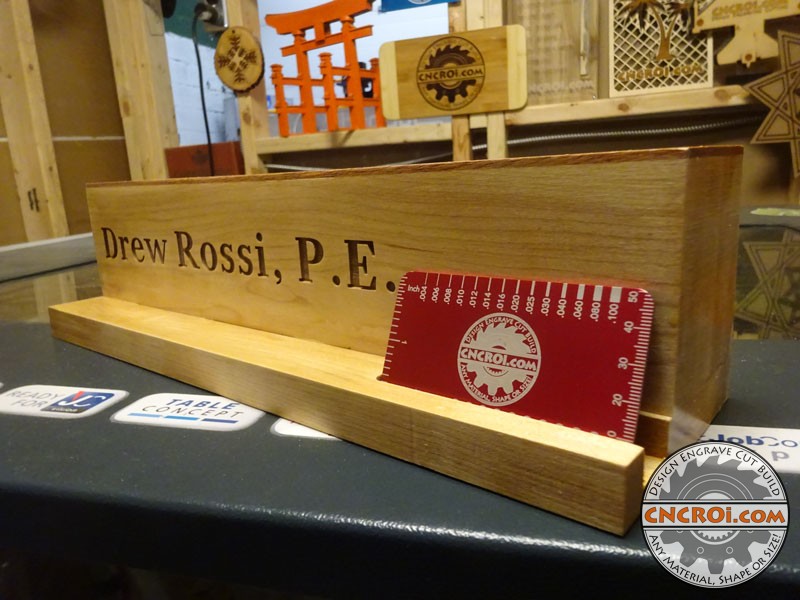
I don’t have any CNCROi.com business cards, so using this anodized aluminium CNCROi.com focus card will do perfectly for this product shot.
Looking for custom woodworking to make that amazing and one-of-a-kind gift for that special someone? Contact me at CNCROi.com!
