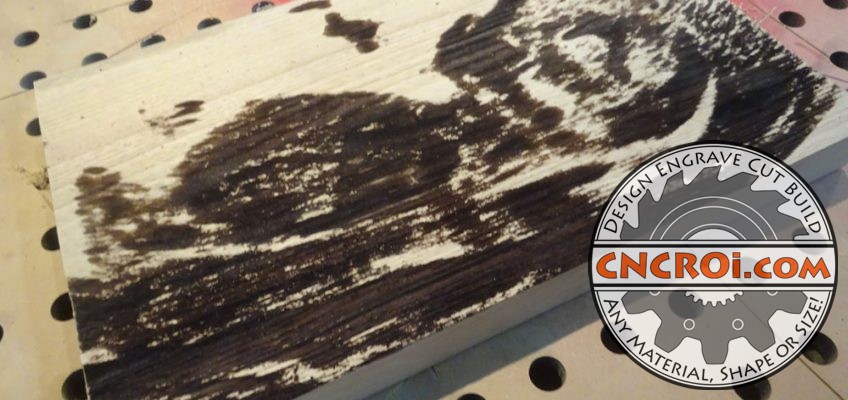
Baby Ultrasound Pyrography: Butternut Laser Engraving
Here’s how I made my baby ultrasound pyrography of my upcoming Son on Butternut using my CNC laser engraver at CNCROi.com.
https://www.youtube.com/watch?v=B1fCqFYVkTk/
This image does look a little rough, but ultrasound isn’t the highest resolution to begin with and blowing-up a small picture to this size doesn’t help either but I’m very happy with the results of my kid’s first selfie.
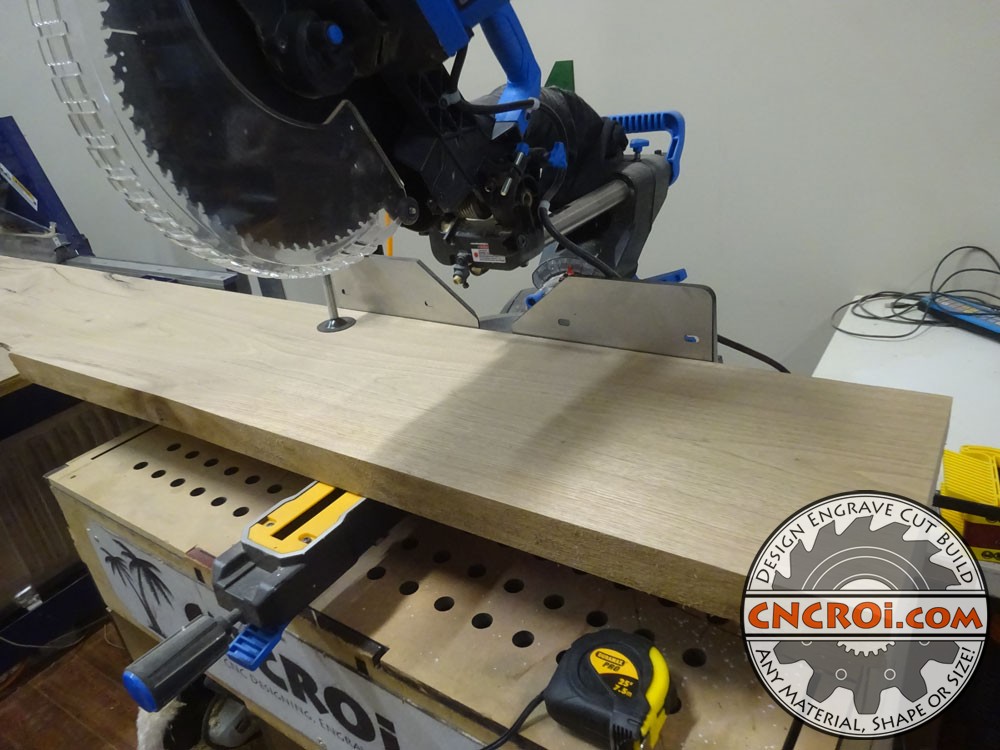
The wood used for this baby ultrasound pyrography is kiln dried Butternut, wonderful wood to work with, incredibly durable and looks amazing with a tight grain.
Generally, I tell CNCROi.com wanting wood pyrography that I need a black and white vector file but in this case, it was a washed-out grayscale image so I had to make due with what I got and try to make the best out of it.
https://www.youtube.com/watch?v=XGJGFMFwDmU/
Proper photography produces a dramatically different result as you can see from the cottage sign I made above onto Pine.
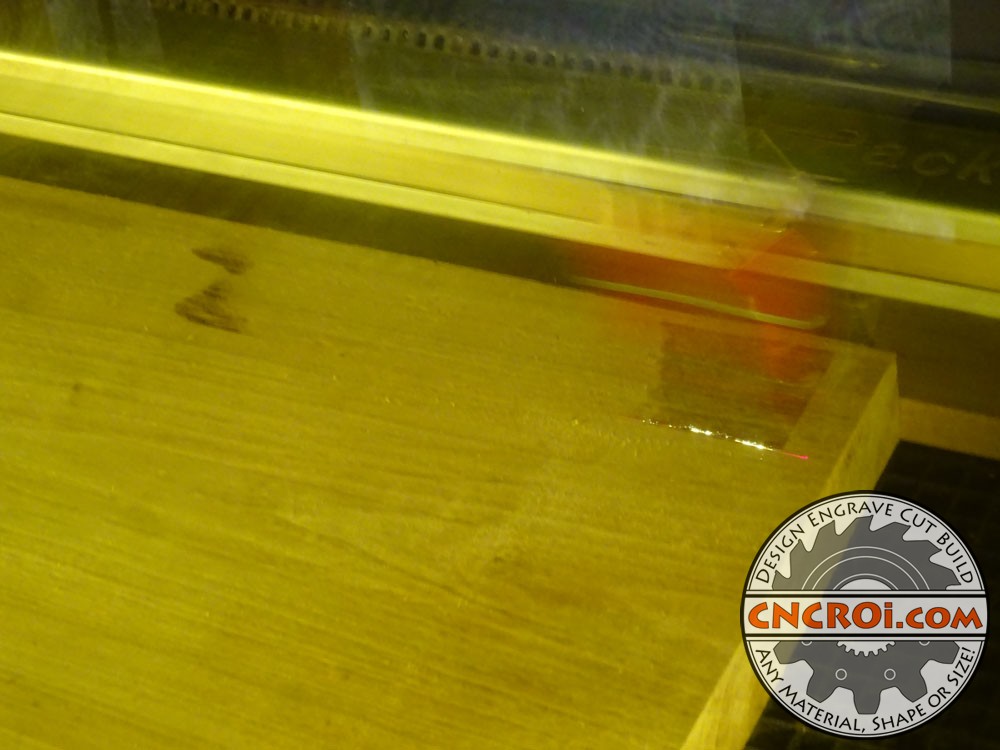
Like just about all the woods that CNCROi.com works with, the smell is amazing during the CNC laser engraving process, it smells like a camp fire without the fire hazard and as this is Butternut, it produces a nice dark brown color once charcoal is produced.
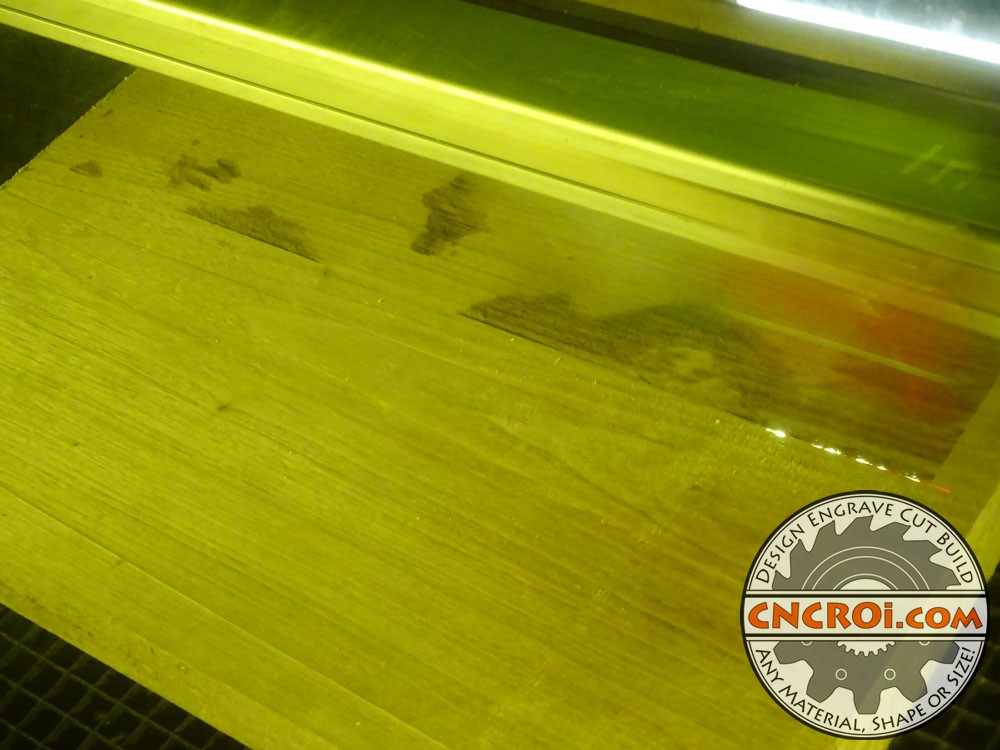
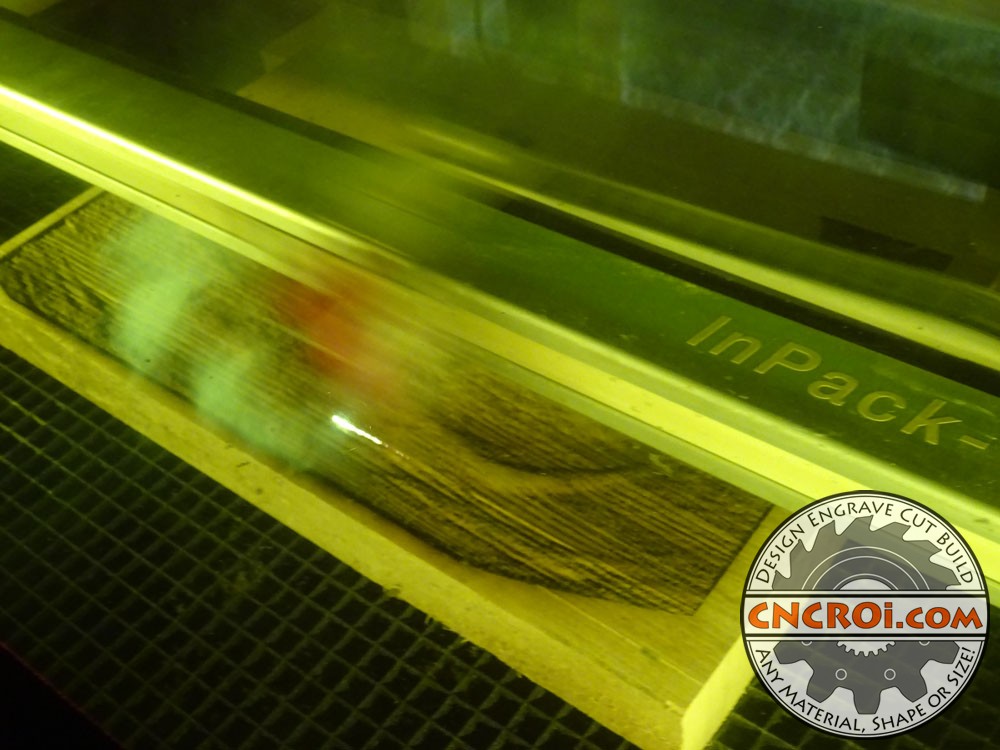
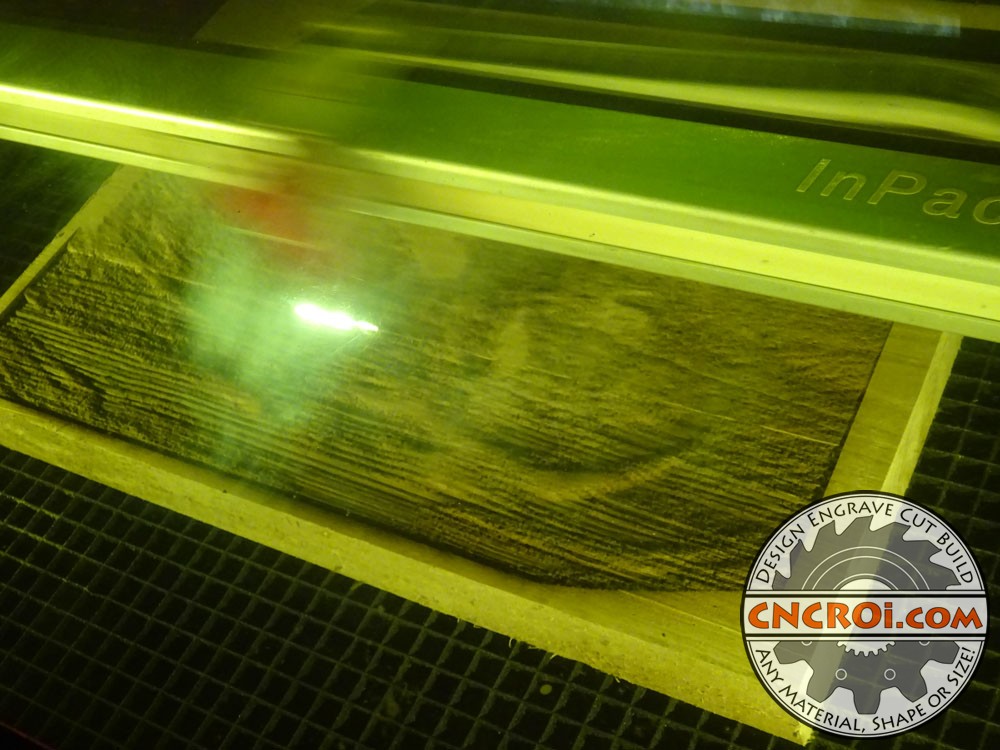
You will notice in the videos and photos that I went over this baby ultrasound pyrography several times, the first few passes were simply to create some 3D depth, about 1/8″ or 3 mm deep into the surface of the Butternut.
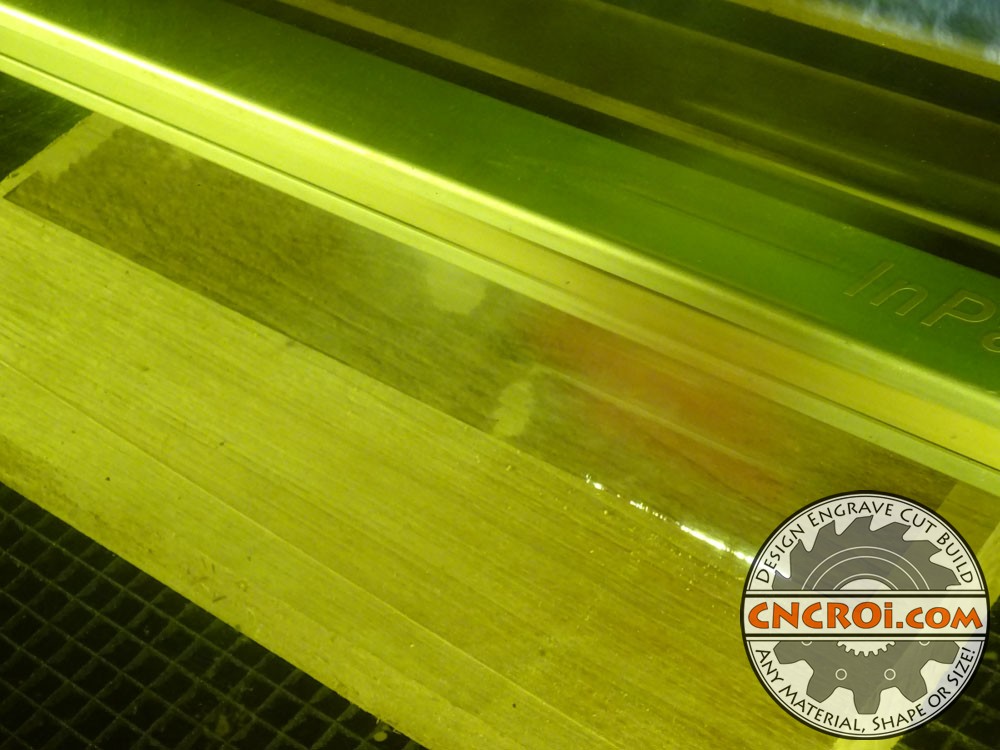
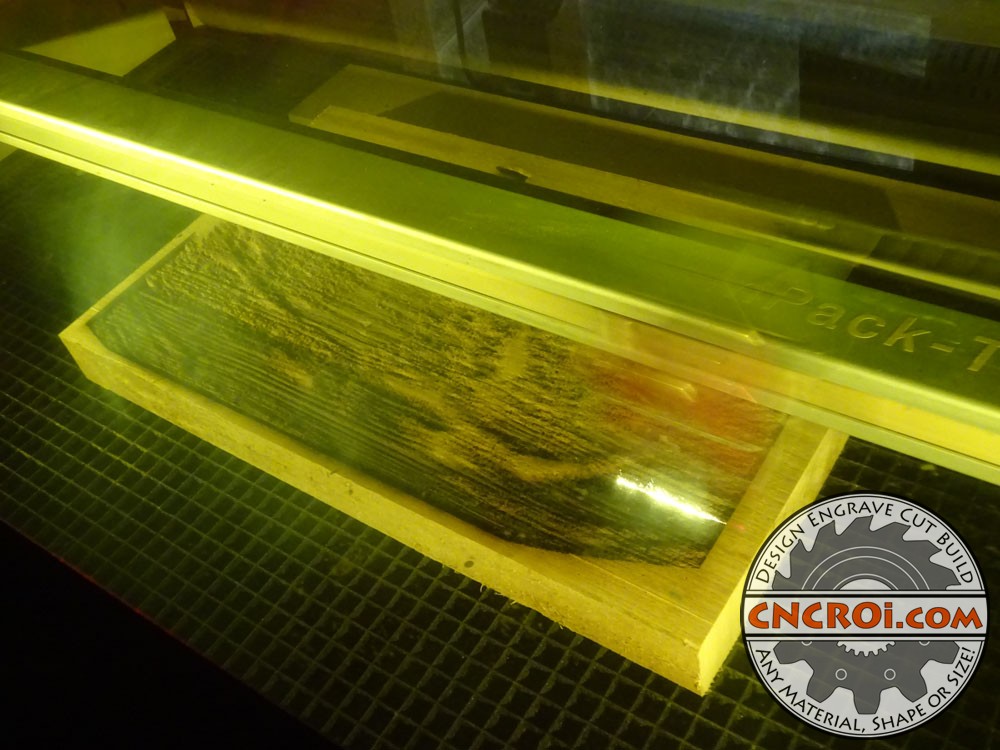
The last pass is straight fire making charcoal, as this was going to be sanded, it really didn’t matter, but my goal was to create as much contrast as possible in the baby ultrasound pyrography.
https://www.youtube.com/watch?v=poleEGELcPY/
It’s a similar technique that I used for most of my wood pyrography, depth then contrast, as I’ve found that it’s the most efficient way, it’s like trying to gain weight and lose weight at the same time, it’s possible, but very challenging, got to do one step before the other.
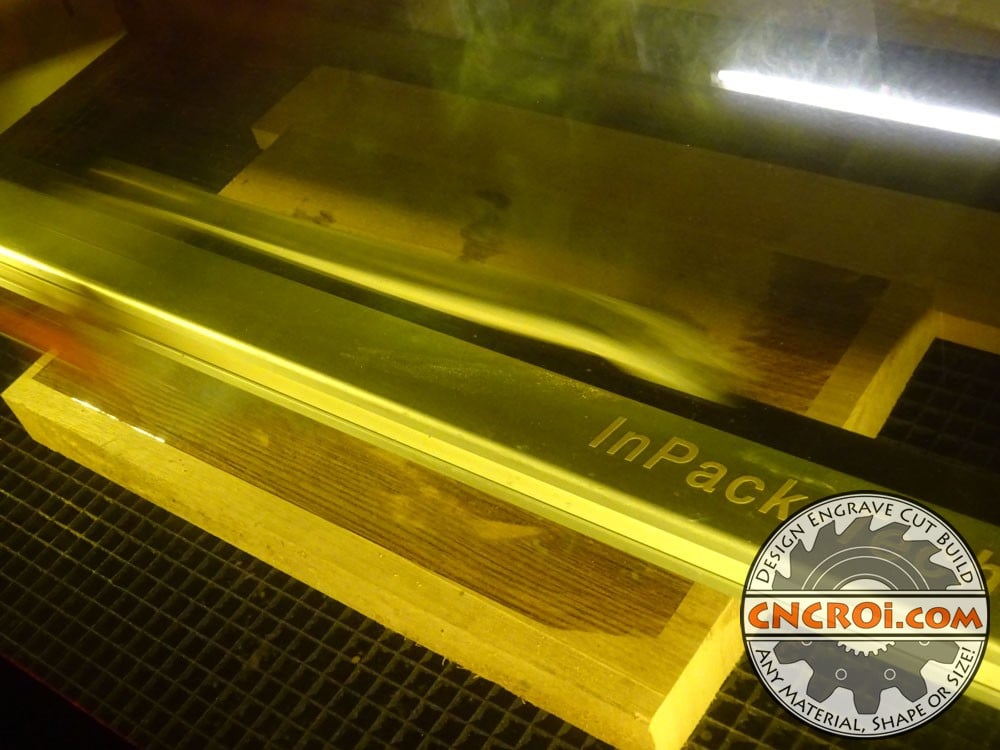
The bright light you see in the baby ultrasound pyrography images is the instant vaporization of the Butternut as the image is being engraved into the wood, there is smoke and fire produced, and that’s why it looks so rough after all the laser work.
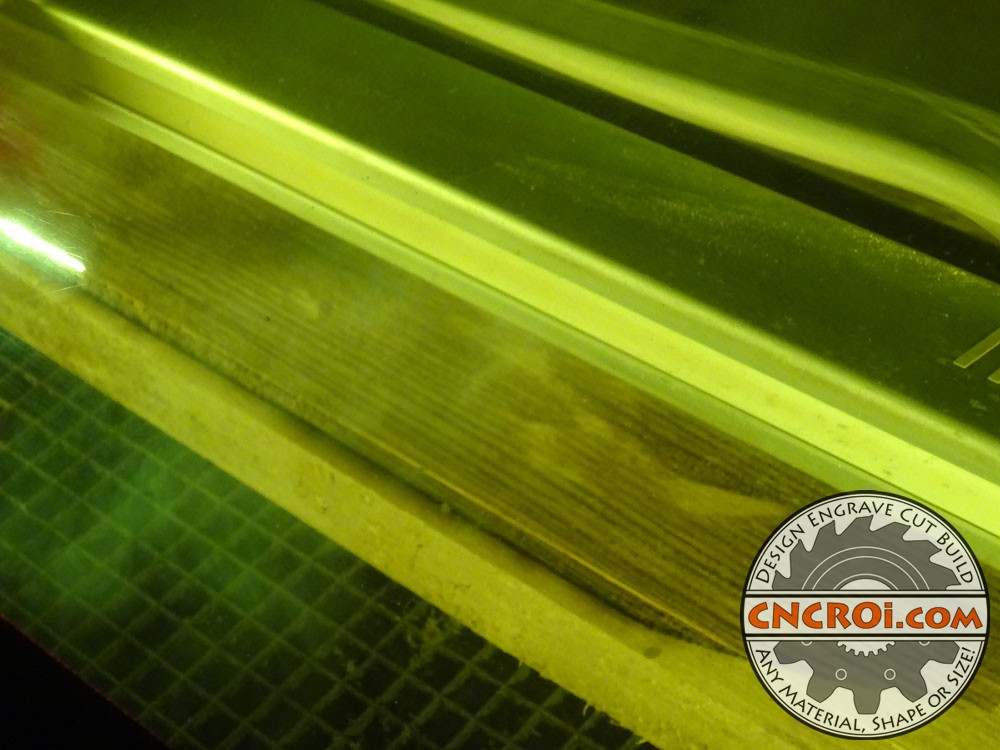
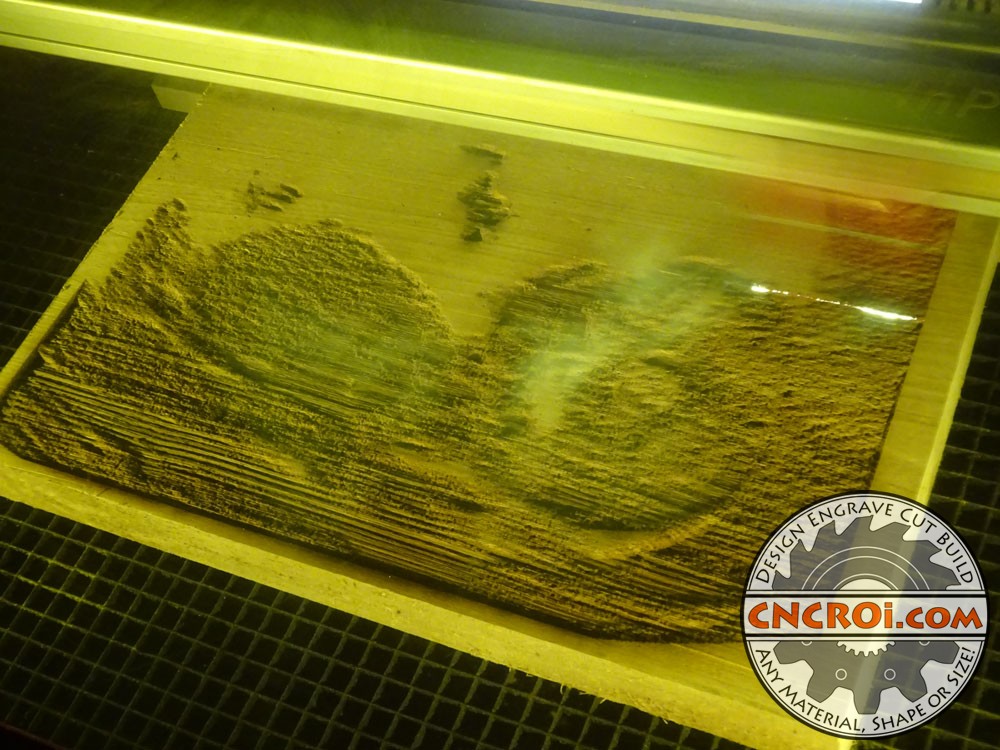
As I’ve done a lot of this type of work at CNCROi.com, I knew that all the smoke and resin build-up wasn’t a big deal as it would sand right off, for hardwoods like Butternut, it really doesn’t get very deep so it’s relatively easy to remove surface debris.
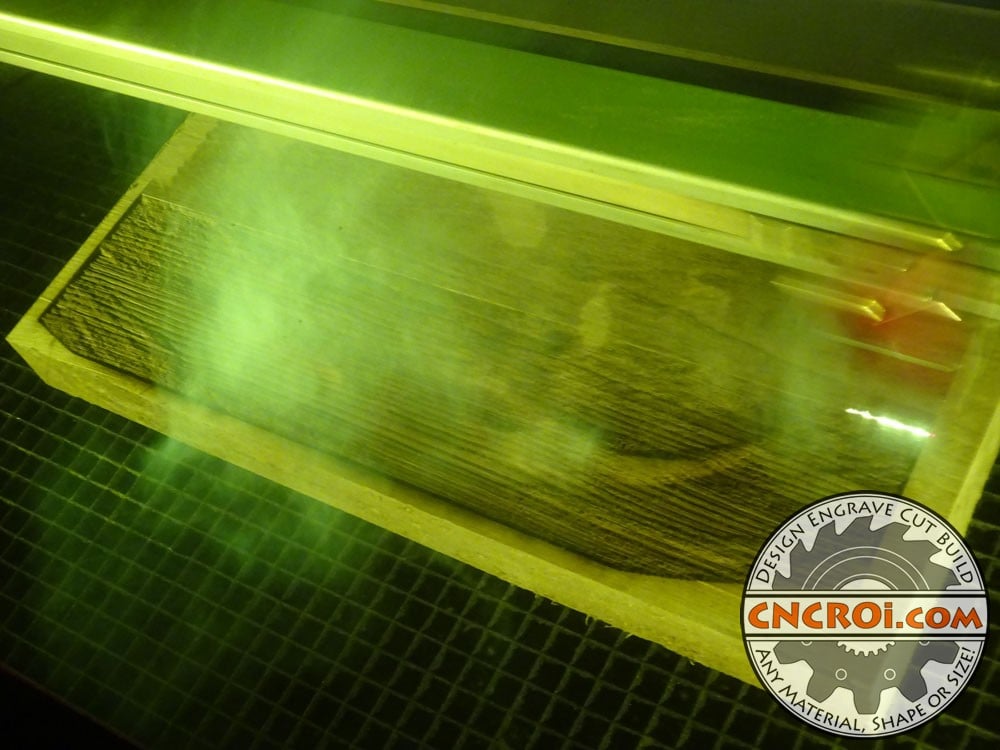
You’ll also notice a strong grain and laser etching pattern in this baby ultrasound pyrography, that’s another reason for the last fire pass, to lessen this in the final result.
https://www.youtube.com/watch?v=qzgVW9zpZOw/
Custom CNC pyrography isn’t limited to baby pictures, I’ve done them at CNCROi.com for weddings, memorials and even businesses who want something unique to hang on their wall or their shop.
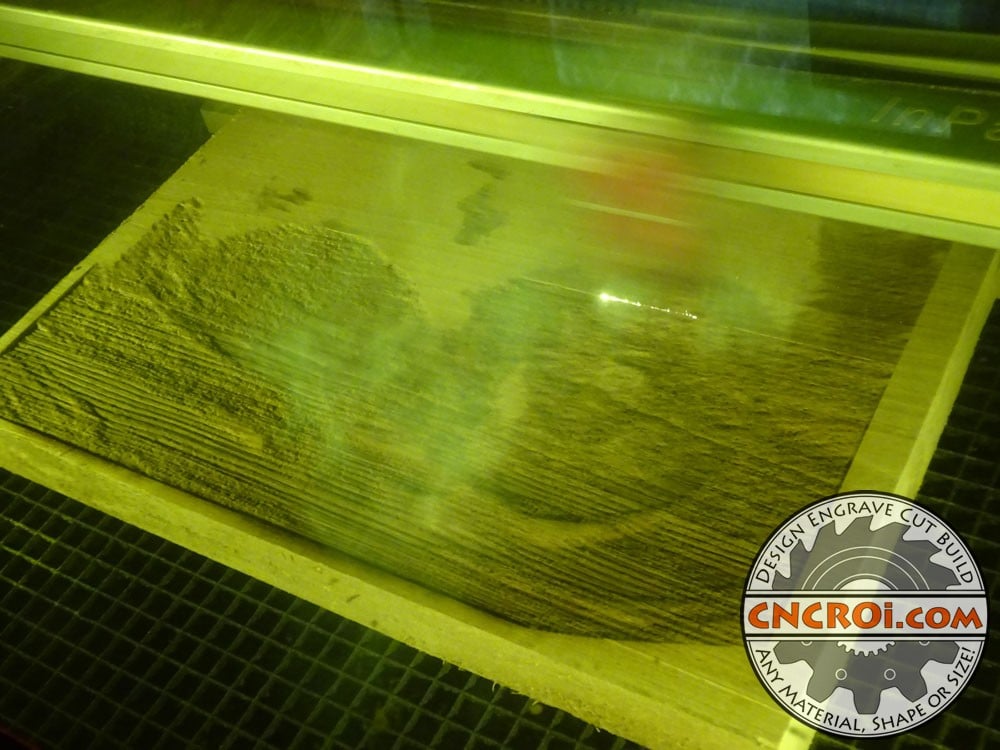
As with anything I do at CNCROi.com, I take my time, for this custom baby ultrasound pyrography of my upcoming Son, I figured this will be something he’ll cherish the rest of his life so I might as well make it out of something durable and the details not removeable.
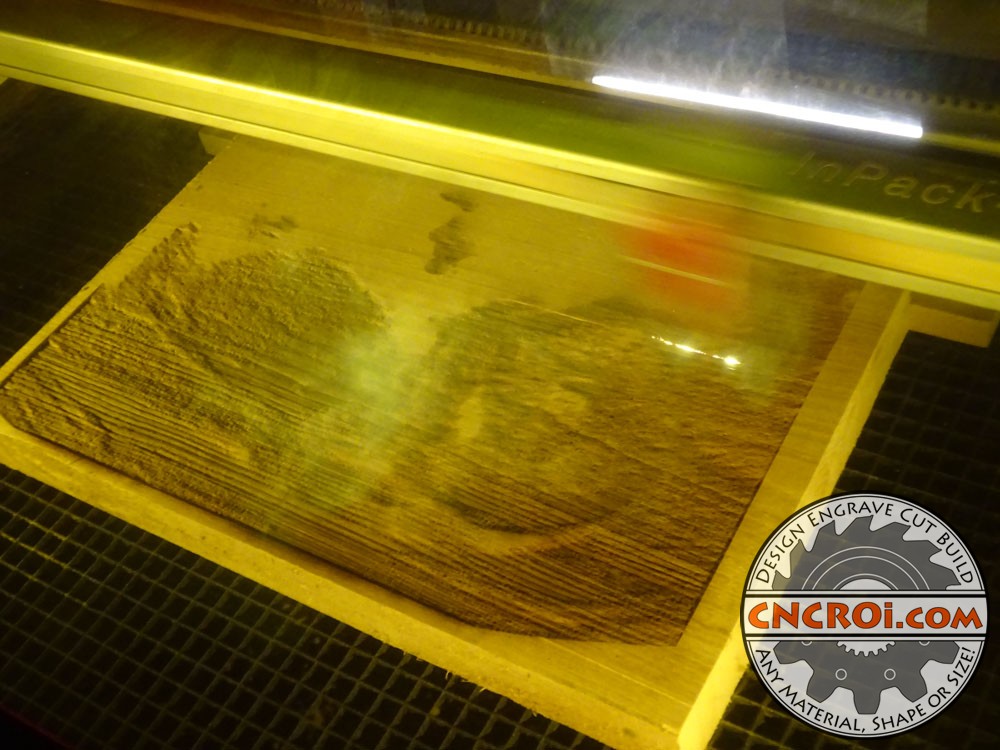
The power of not using paint means nothing will peel, crack or fade-off over time, that’s the power of charcoal and wood.
https://www.youtube.com/watch?v=G2mDXxANaDM/
As there is nothing on this other than a little varnish at the end, it also means that it’s baby safe to play with, just like my shop signs!
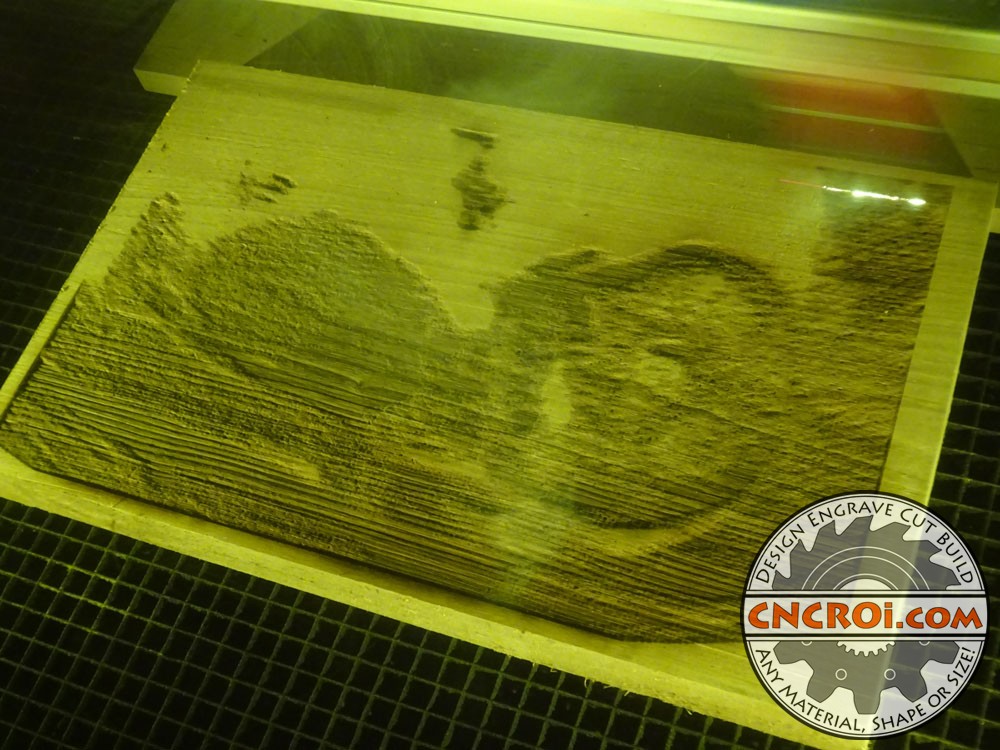
This is a tedious and slow process, but well worth the extra effort.
When it comes to laser engraving, any mix of imagery (high resolution black and white), font or font styles are possible, as I don’t know this guy’s name yet, I didn’t want to etch anything on it but once I do, I may bring this baby ultrasound pyrography into the shop for a refresh.
When it comes to making custom signs like this, I’ve showcased quite a few of them on CNCROi.com, using Maple, Walnut, Ash and Basswood.
https://www.youtube.com/watch?v=iyDXD6pTj3s/
The nice thing about wood is that it’s incredibly difficult to screw-up, the only issues that can happen are knots in the wrong place but luckily for me, this Butternut scrap is knot free.
The reason why the results CNCROi.com produces on wood is so fantastic is that we work off flat stock, lasers are very sensitive to height differences.
https://www.youtube.com/watch?v=1ODtKCwwDmk/
So being able to flatten stock in our shop before doing work really saves us a lot of grief and time, especially if laser engraving is required.
Last year I greatly revamped my woodworking skills and equipment, and it has paid huge dividends for my customers around the world, after spending so much time working with purely live edge, it’s really hard doing any type of signage without the flexibility of using kiln dried stock.
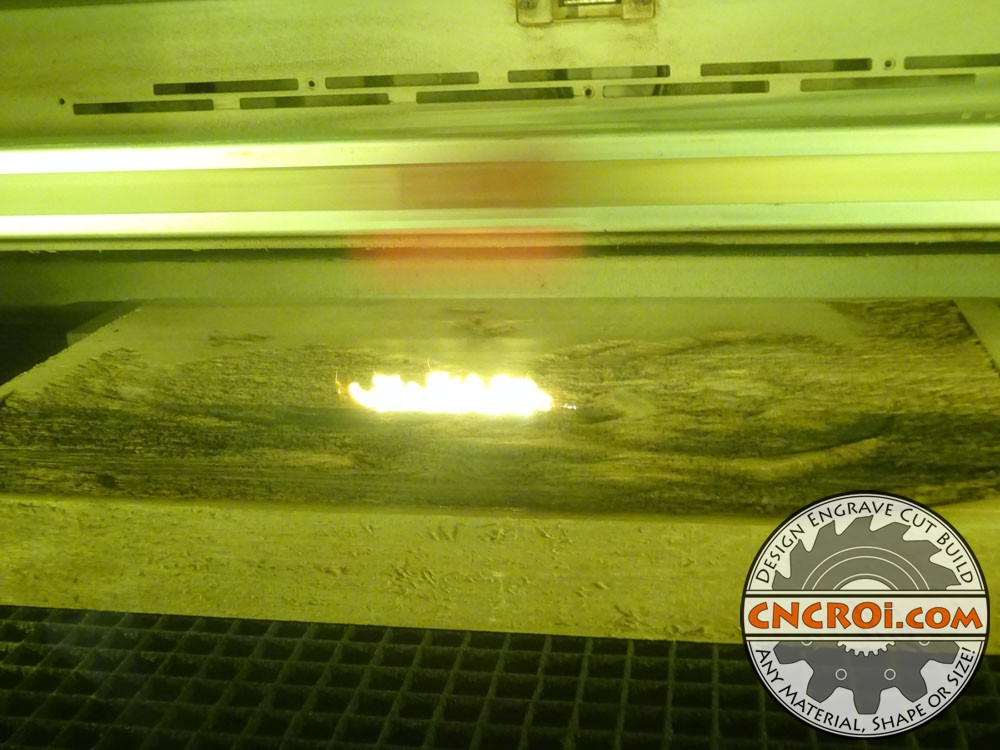
Just for fun, here’s a sign I made when we acquired out first house around this time last year, you can see how the process is almost identical, but instead of imagery, it was lots of text.
https://www.youtube.com/watch?v=xr_QpXOyCHc/
The image below does look very rough, that’s all the smoke and resin that settled back onto the surface, that’s where the power of sanding comes into place.
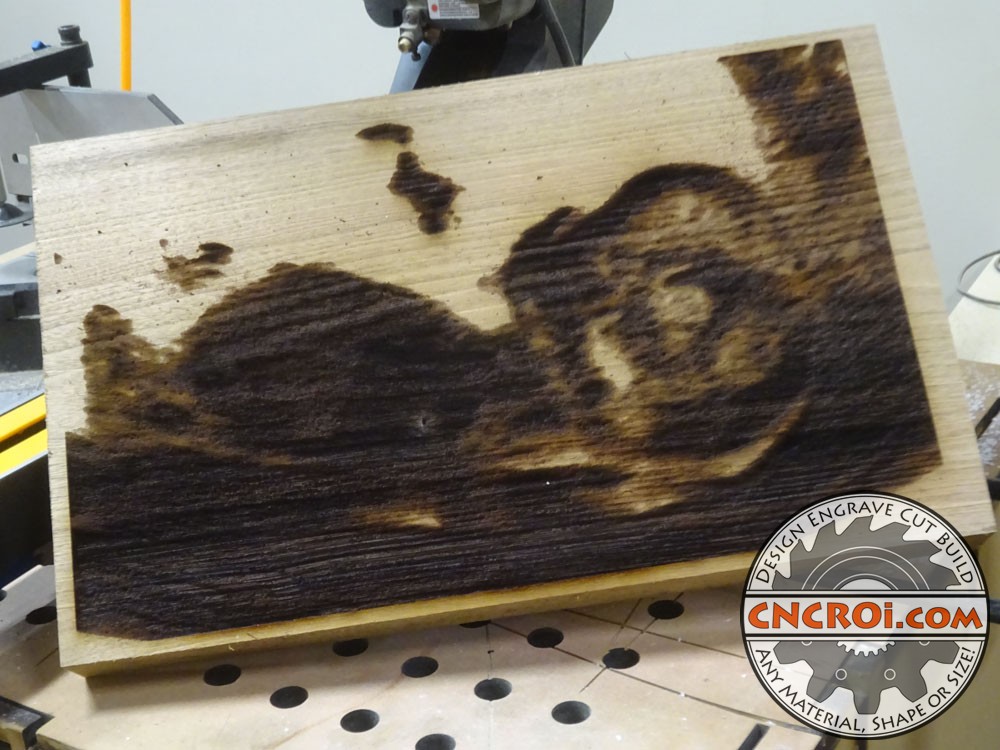
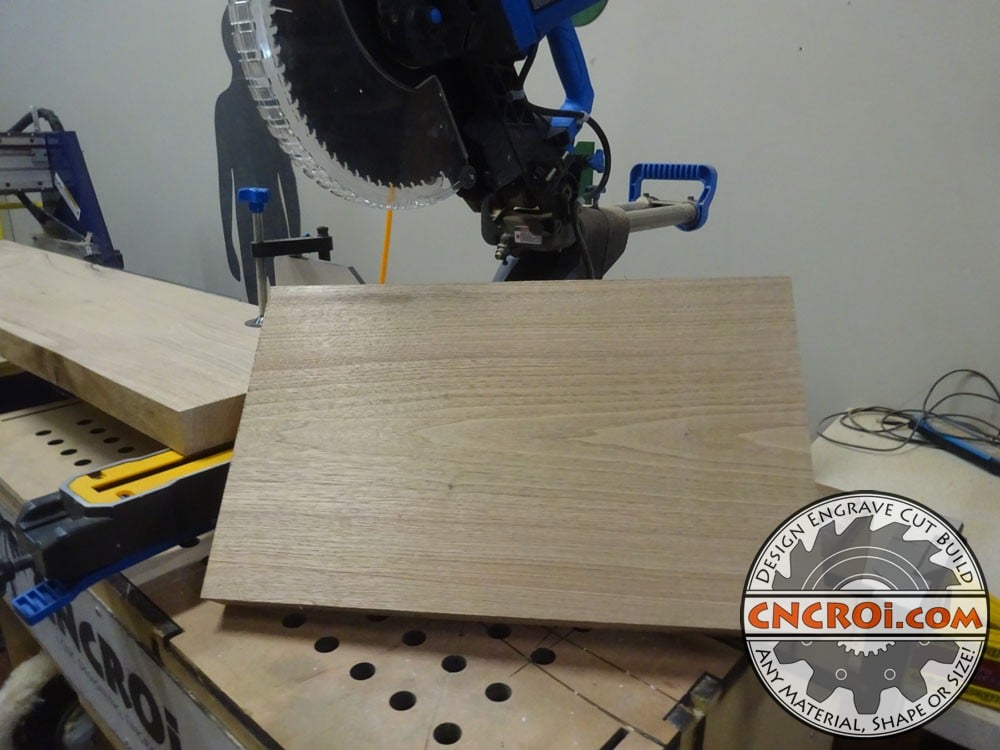
Before sanding though, I really wanted to cut this baby ultrasound pyrography down to size, originally I was going to do a pass using my table router to give it a little more edge dimensions but after seeing the sign, a straight cut at CNCROi.com is more than fine.
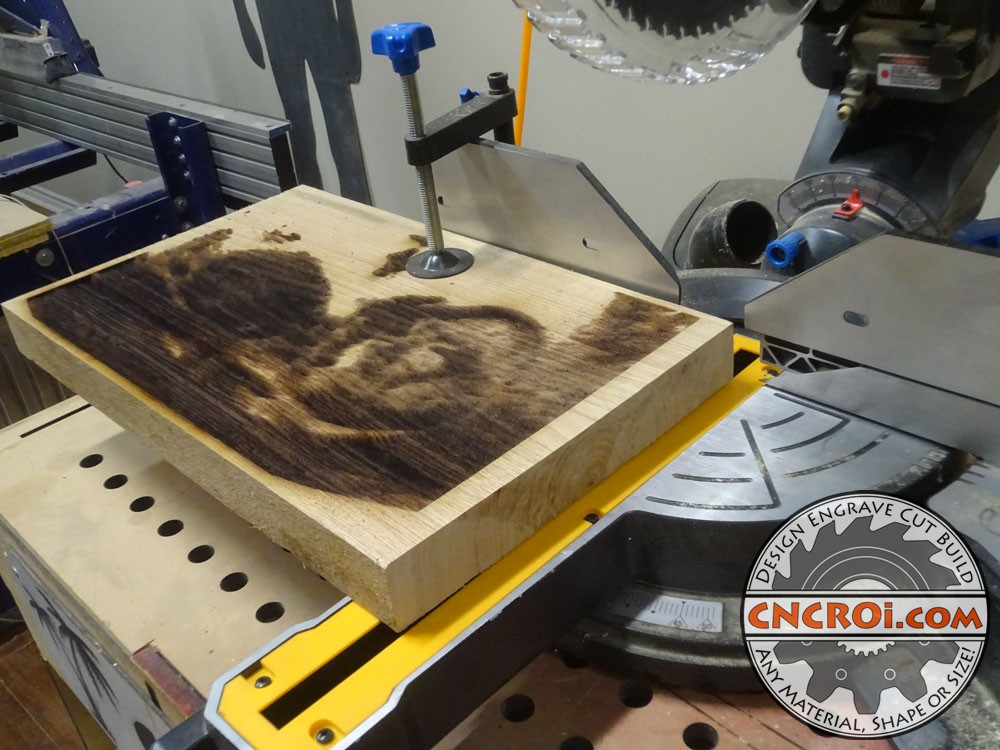
After this baby ultrasound pyrography was cut down to size, you can see how cool this mage is, even at very low resolution but it’s time for some magic sanding!
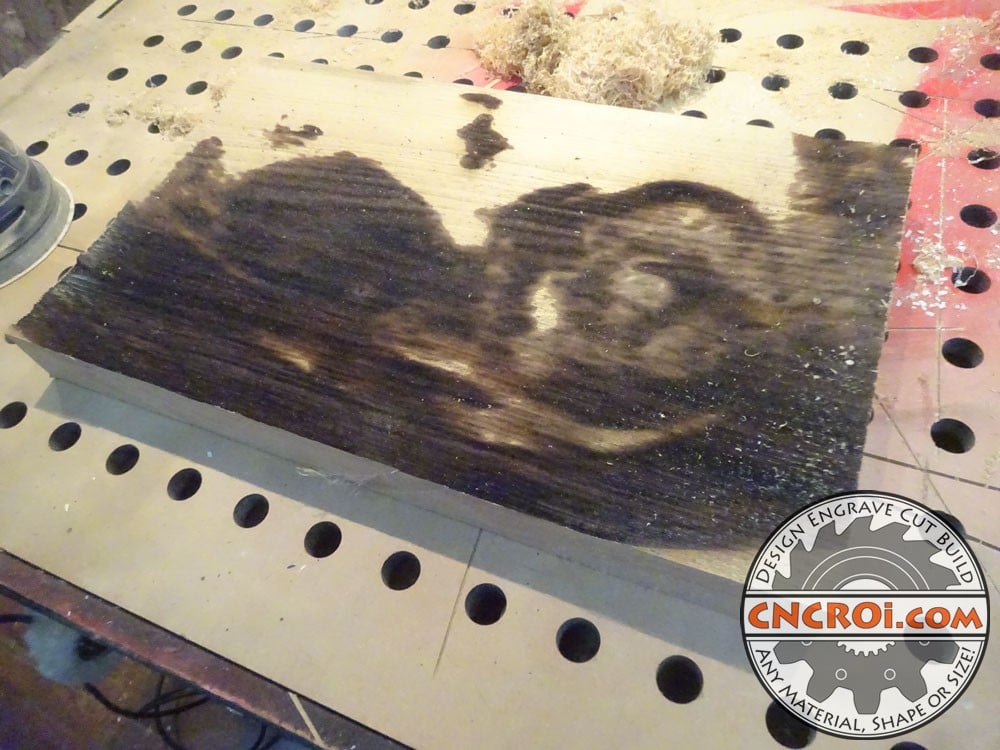
The results look far better now with sanding, it’s about the same amount of detail as the baby ultrasound photo I had to work from, it looks like he’s blowing bubbles, which is why I choose this picture.
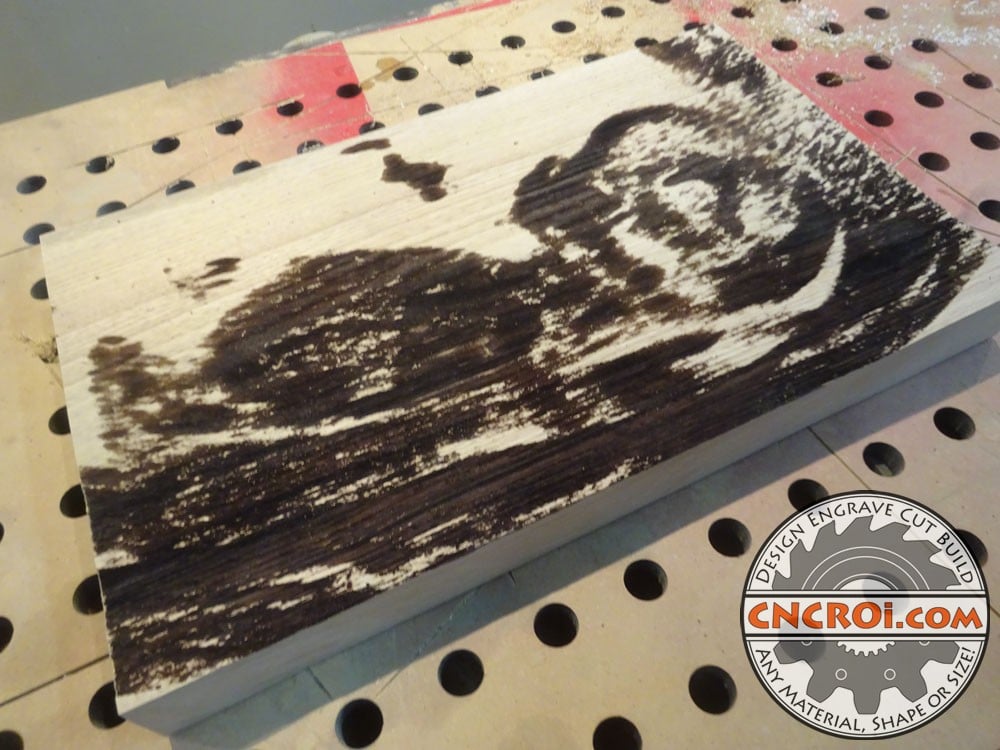
Not the best photo but here’s what it looks like after some varnish is applied to the baby ultrasound pyrography.
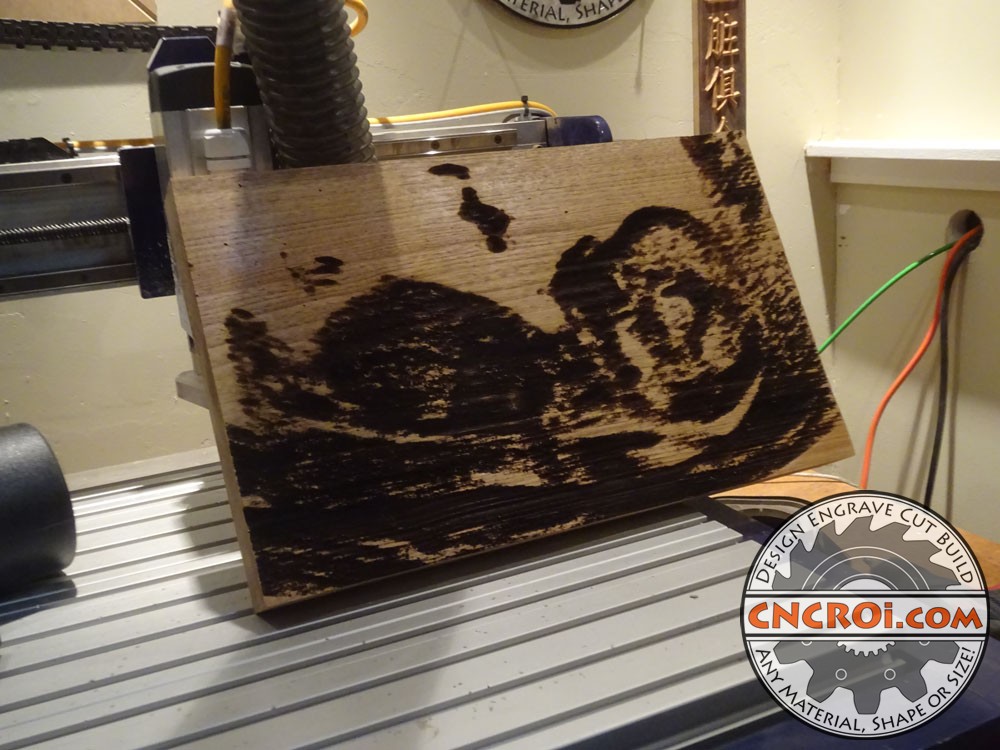
Want some custom pyrogrpahy from a fellow pyromaniac? Contact CNCROi.com right now!
https://www.youtube.com/watch?v=dlHqdyxTabI/
