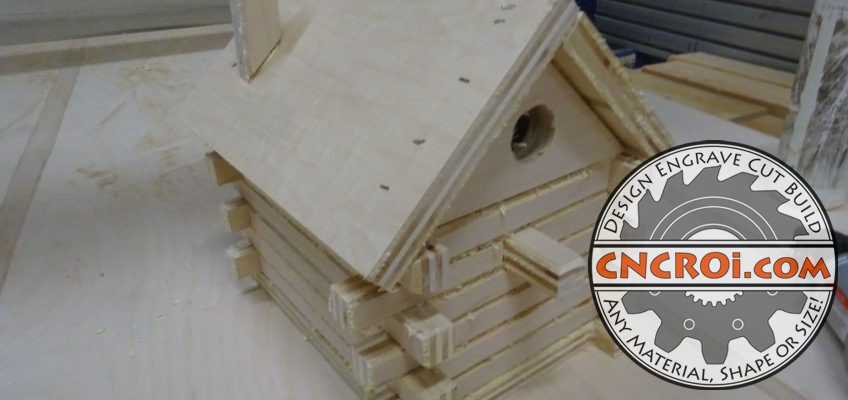
Bird House Prototype V2: CNC Routering 3/4″ Maple Plywood
Creating a custom bird house prototype takes several stages, generally though, they are in 3s, the first, is just make it and see how it goes together, the second is refinement of the design, tool pathing through construction methods and third is one final round of optimization across the board.
If you wish to watch the first prototype video, here it is below.
If you compare the two videos, you’ll notice subtle changes, mostly isolated to the cutting process, a lot more “passes” with our CNC router in V2 vs V1 but also way better material optimization.
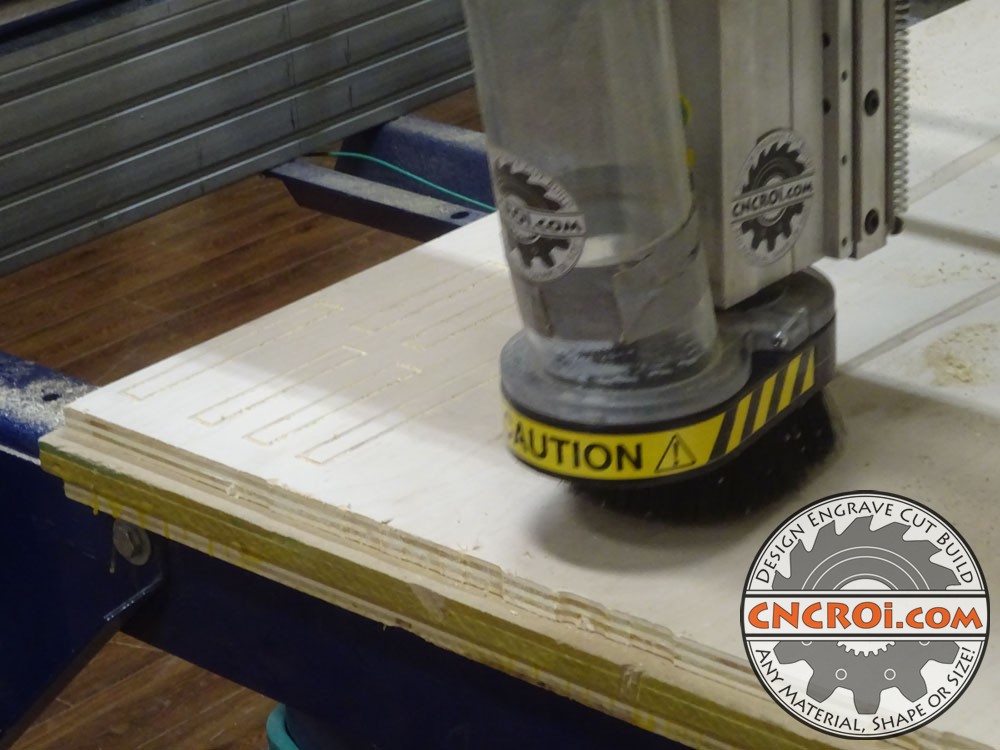
The most striking difference between V1 and V2 of this log cabin bird house is the esthetic of the wood itself, although the wood is the same, I added a chamfer to the edges to give it a more logged look.
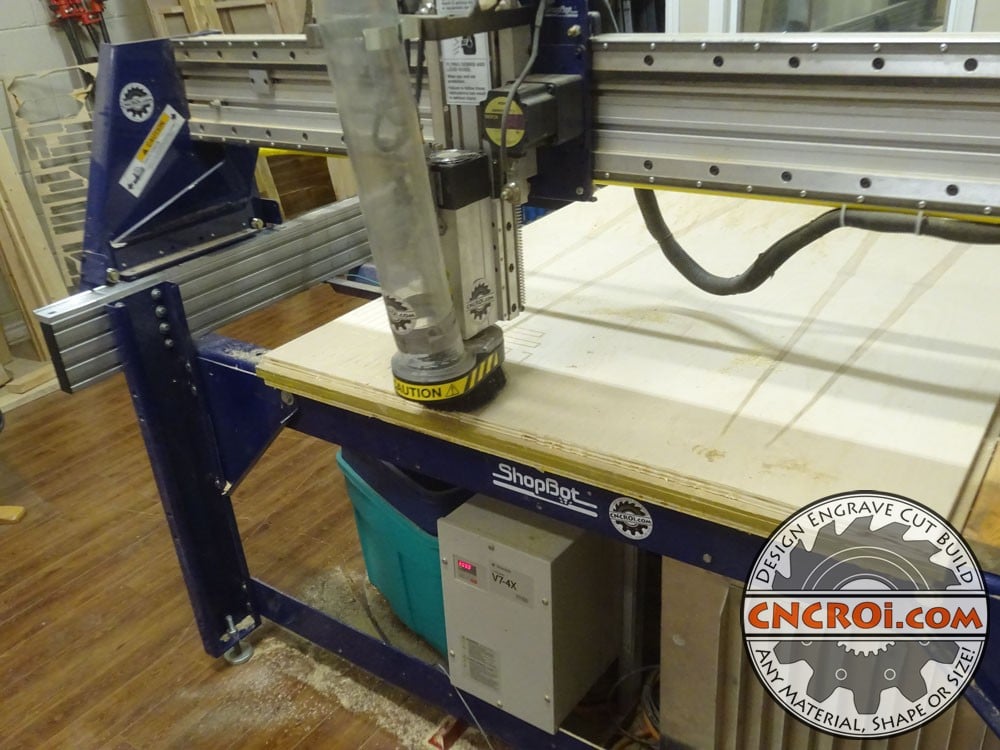
For this custom bird house design, the updated one also has more parts, but most importantly, I got rid of the need for a wooden dowel, so every aspect of this home is cut from the same piece of plywood, making the build process far more efficient.
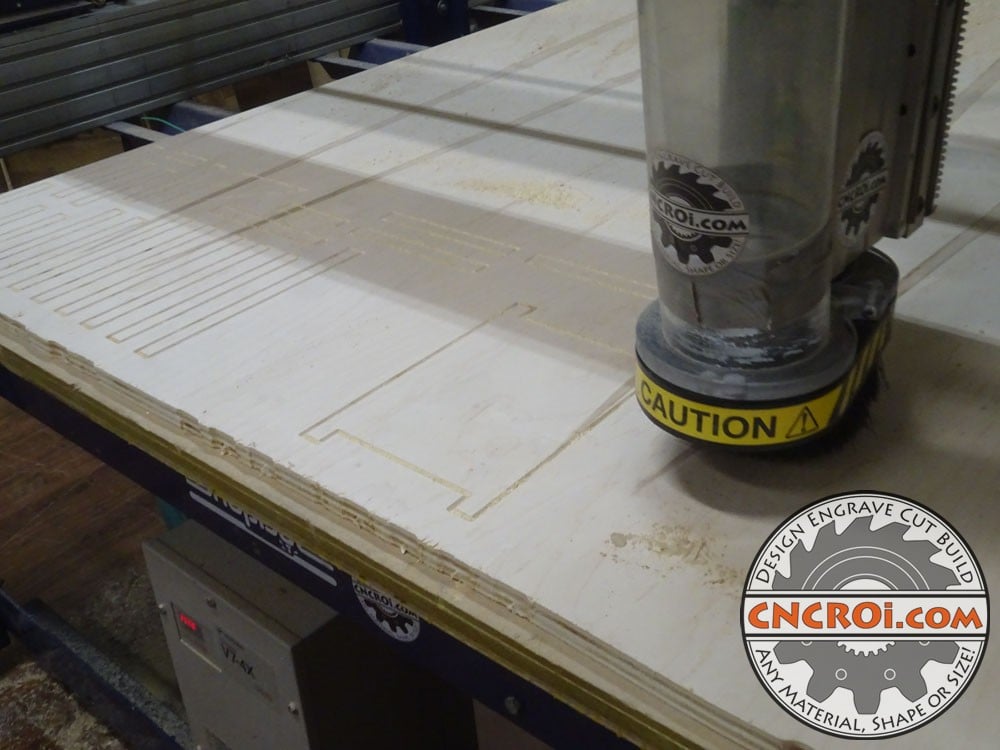
I really enjoy woodworking, having a mix of CNC and power tools helps CNCROi.com produce just about anything our customers come-up with.
In this group of pictures, you can see the chamfer being made, I used a 90 degree bit cutting on the line to produce this, it’s faster than manually processing these parts through a table router after the fact and way safer.
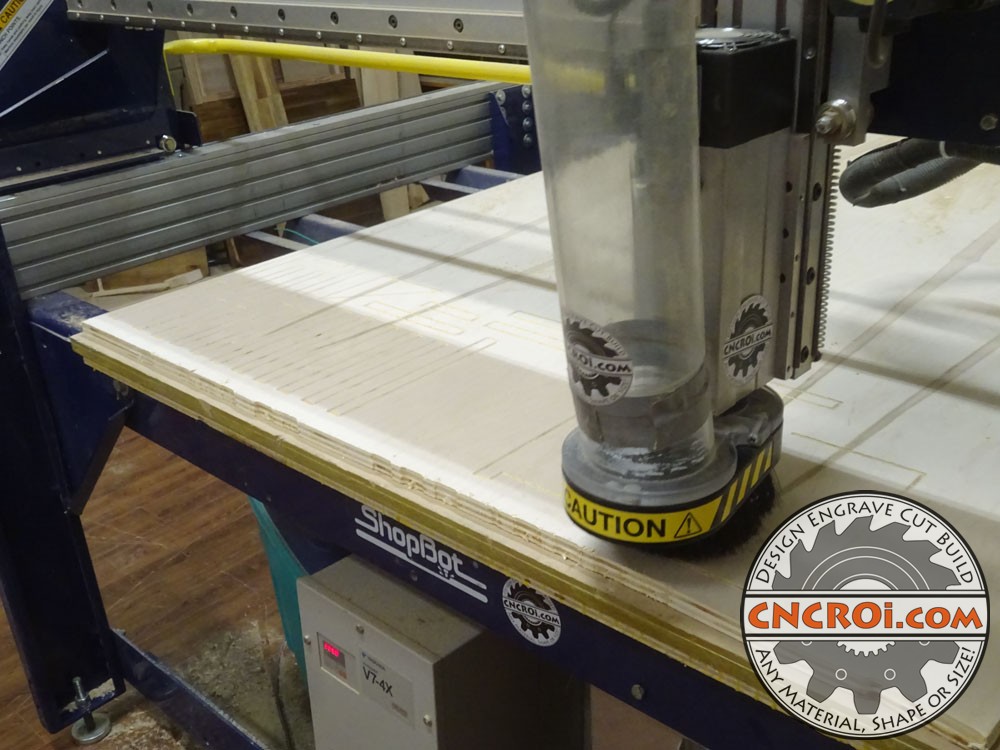
This custom bird house has lots of small parts, the smaller the part, the more dangerous it is to use power tools to produce something as fingers can get close to the cutting zone, with CNCROi.com‘s CNC router, fingers are far away from any cutting action.
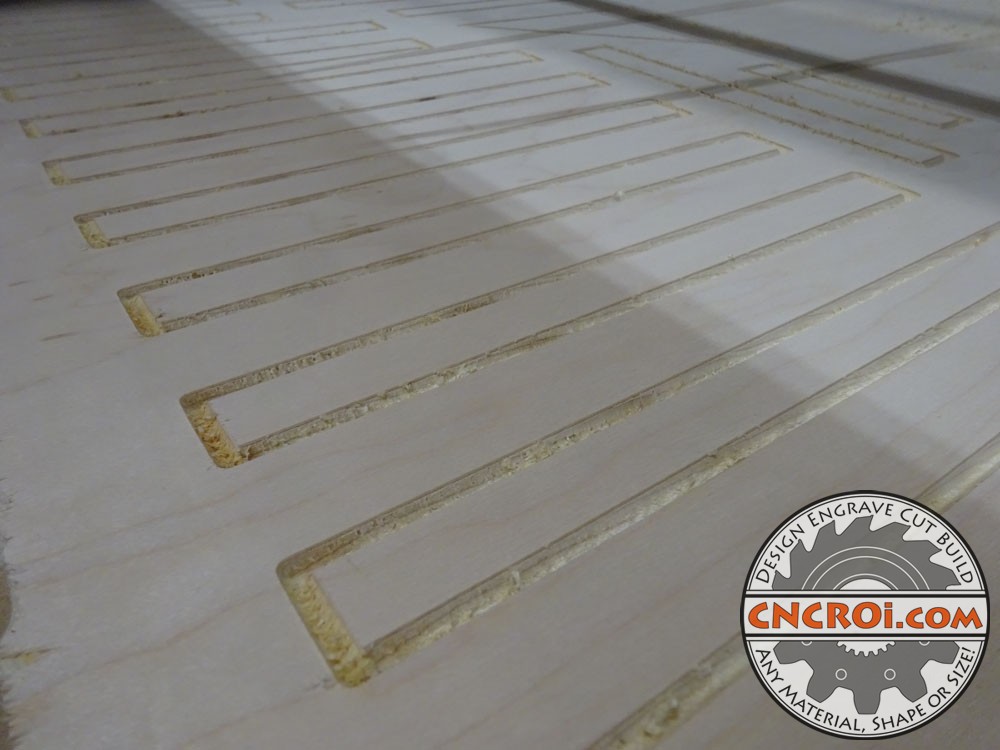
The result is subtle but light years ahead, what I did notice after doing the chamfer is that although I achieved the textured look I was after, the contrast wasn’t all that amazing, so the third and final round of making this custom bird house will be to stain the wood surface a different color, so that a true log cabin esthetic can be achieved.
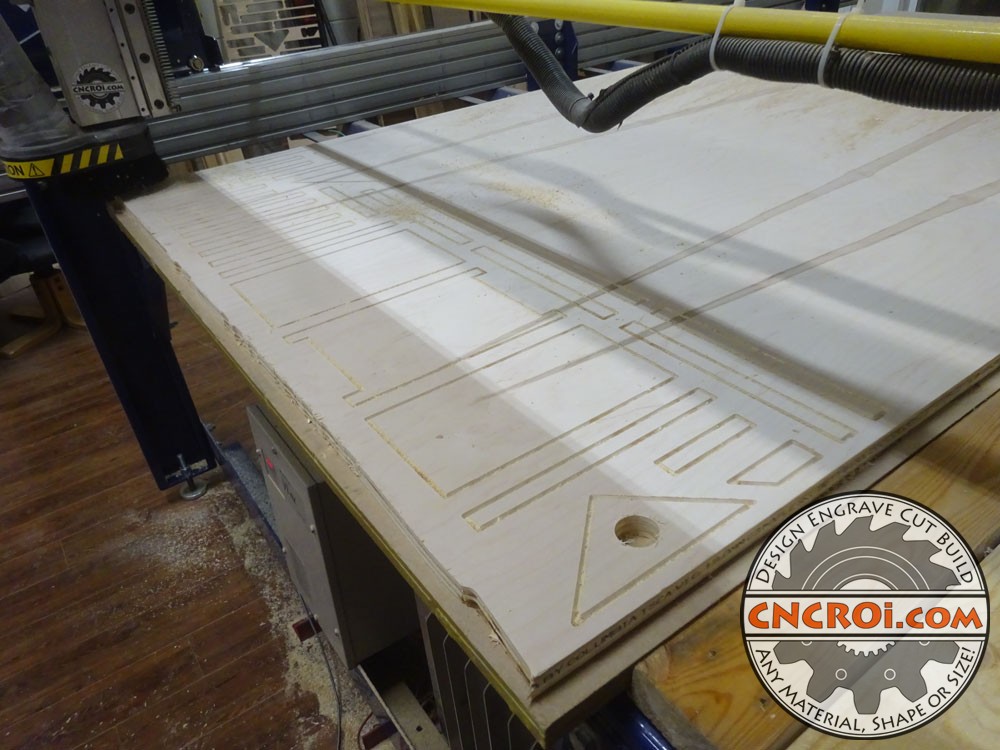
We don’t just have a CNC router, we have a lot of other tooling, the reason for not using our CNC laser for this job was speed, the accuracy is the same.
At CNCROi.com, I’ve had the pleasure of designing lots of custom items for our clients through the years, this is a fun process, sometimes headache inducing but there really isn’t anything that’s a project killer with these types of jobs, just design optimization of individual parts and overall project.
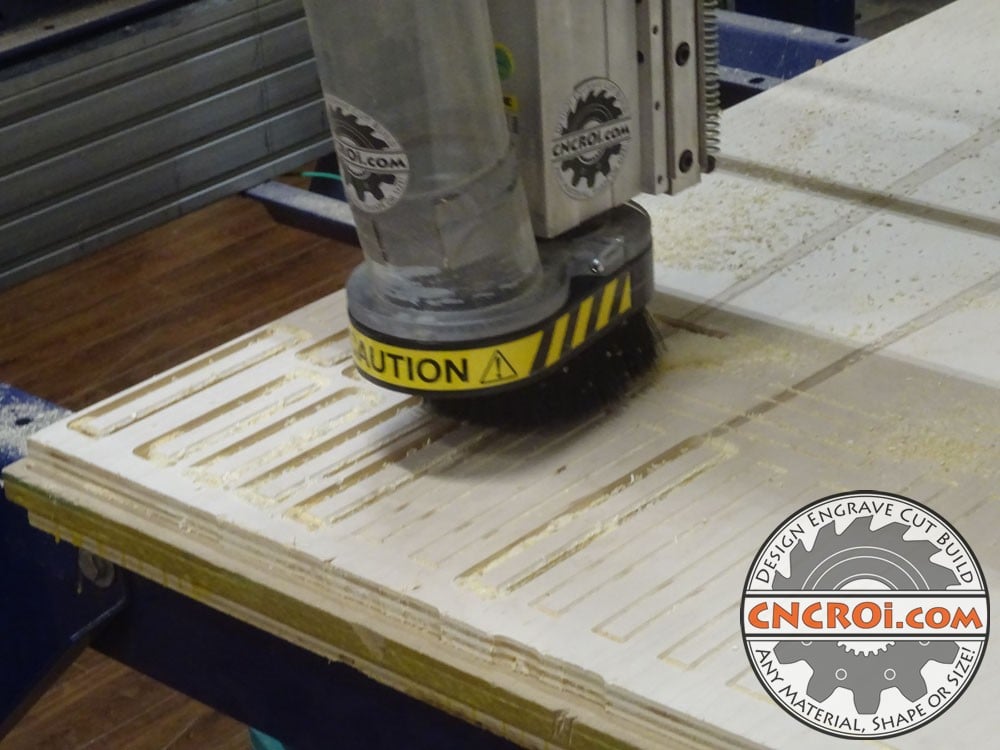
After the chamfer was added to all the edges of this custom bird house, the next step was to cut out all those parts, again, a bit of a difference from V1 in this regard as well.
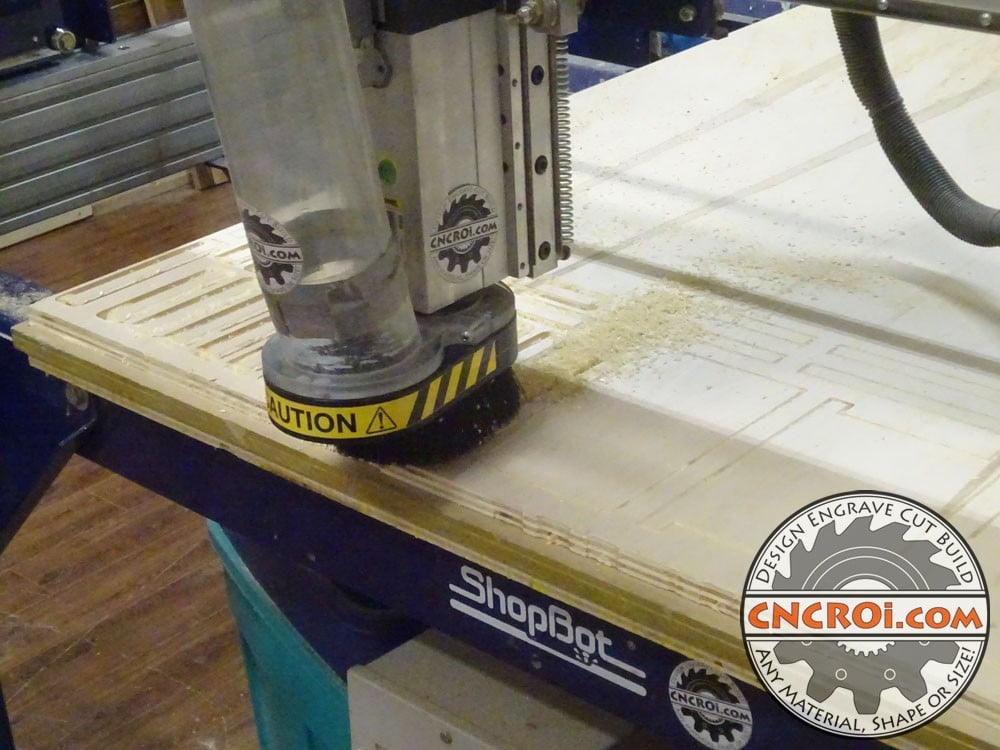
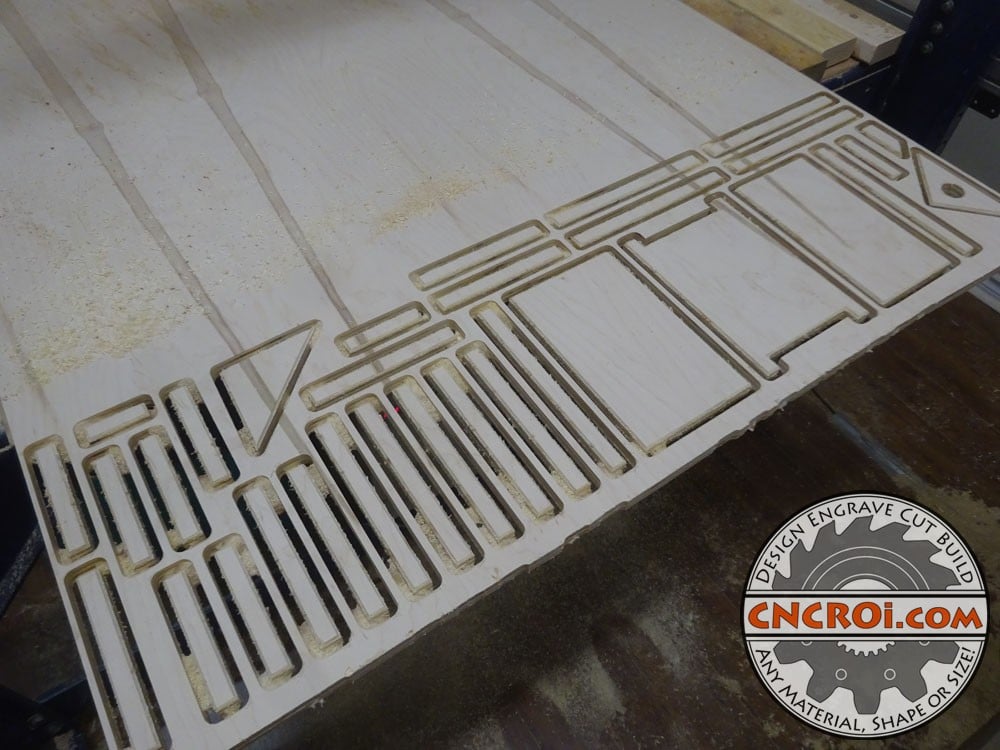
In V1 of cutting this custom bird house at CNCROi.com, I did the cut in two passes and the tabs that hold the parts in place was a little thin, in this round, I skin-cut them out and then did another pass to liberate them so there is a lot less material removed in the final pass.
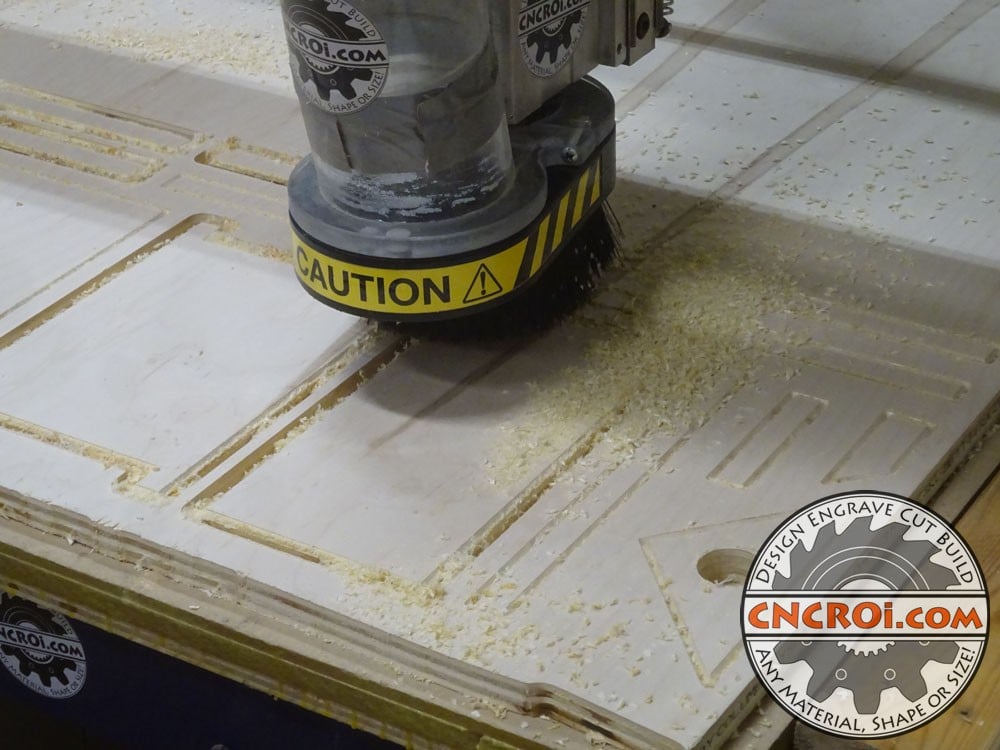
Regardless of the material, the same steps and knowledge gained is applied to the next project, staggering production, efficient hole production etc… same ideas we use with CNCROi.com‘s smaller desktop CNC router.
The amount of pressure applied to a part, with or without tabs, is directly related to how much material is being removed, so by staggering it so that the initial pass, when everything is SOLID is the deepest cut and then following-through with a very light cut with tabs, I achieved no exploding parts like I did previously.
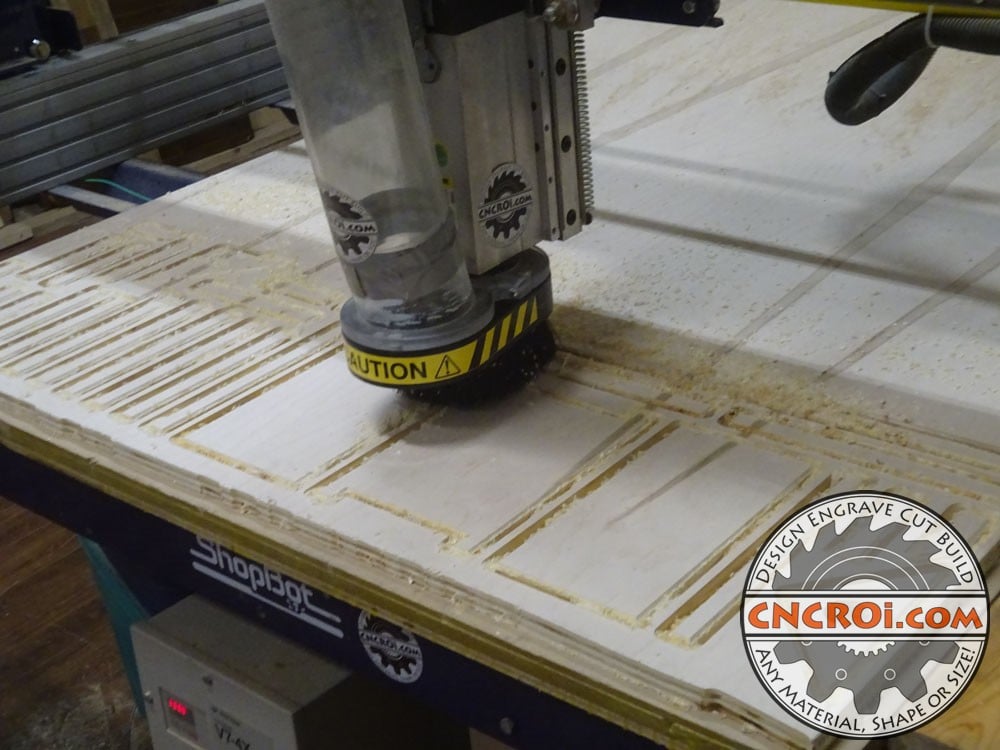
If parts move, they can get damaged, especially for little parts like these, one deviation, one little vibration, and I’m quickly producing scrap at CNCROi.com rather than a custom bird house part.
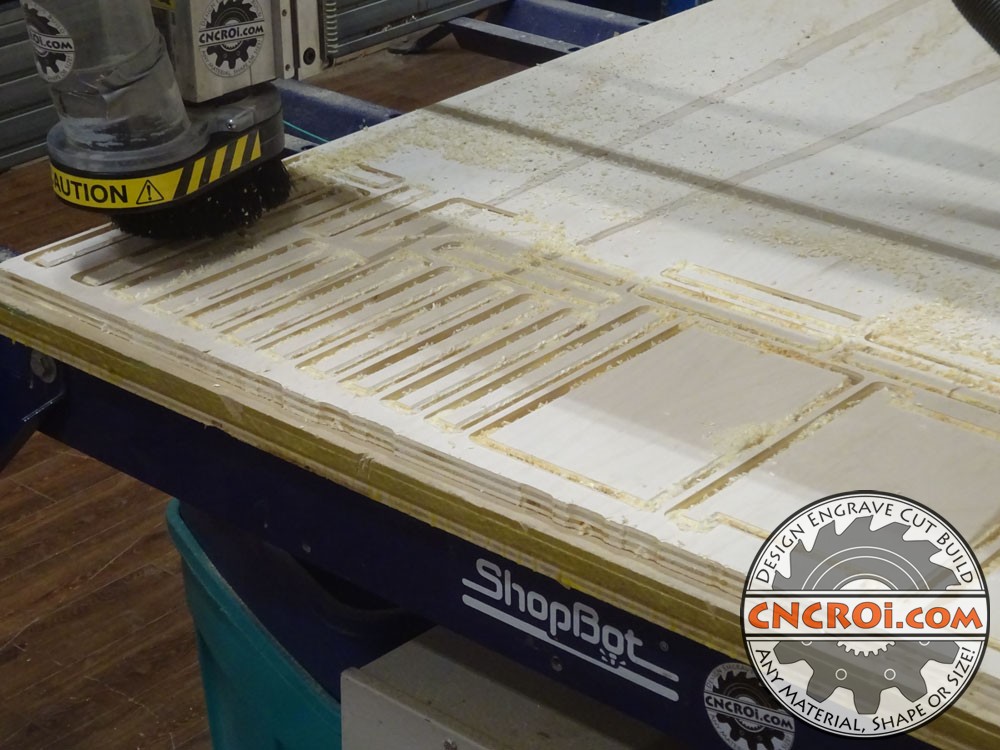
Because I employed a staggered cutting approach, this also meant I was able to do more parts in a smaller work area, better utilizing the plywood I had.
CNCROi.com makes signage using many of the same steps you see here with this bird home.
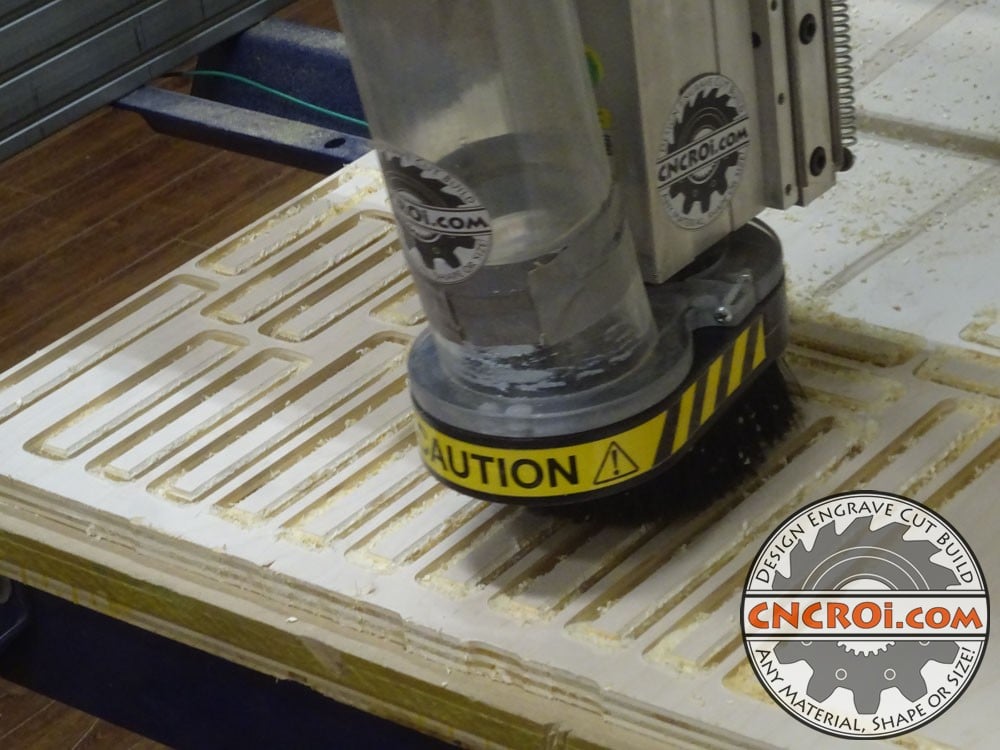
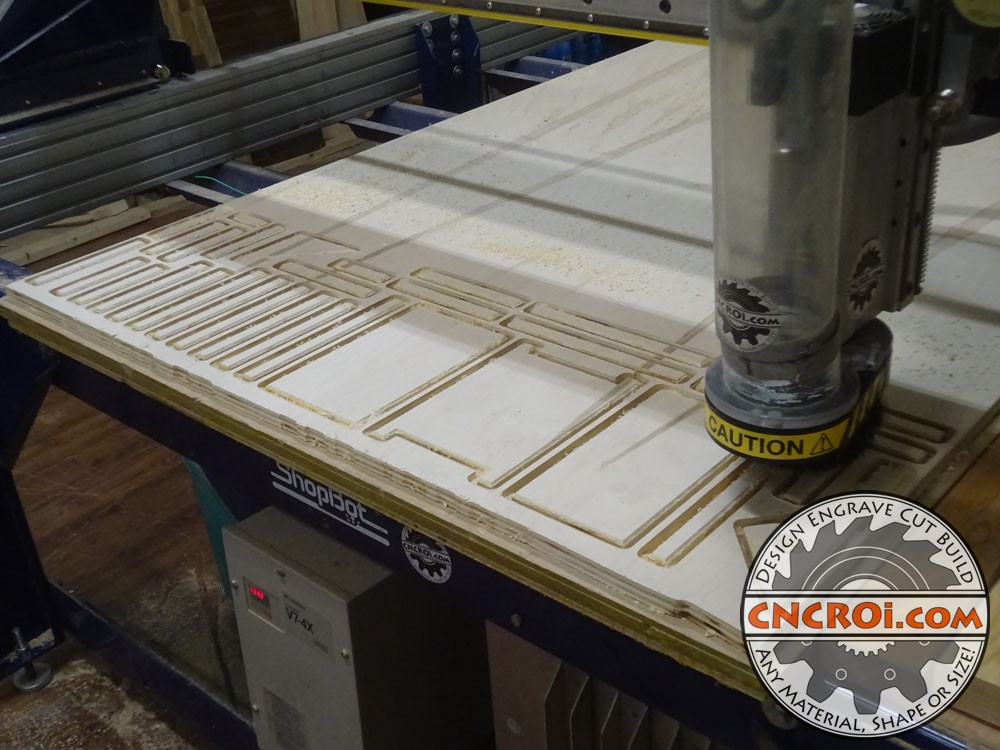
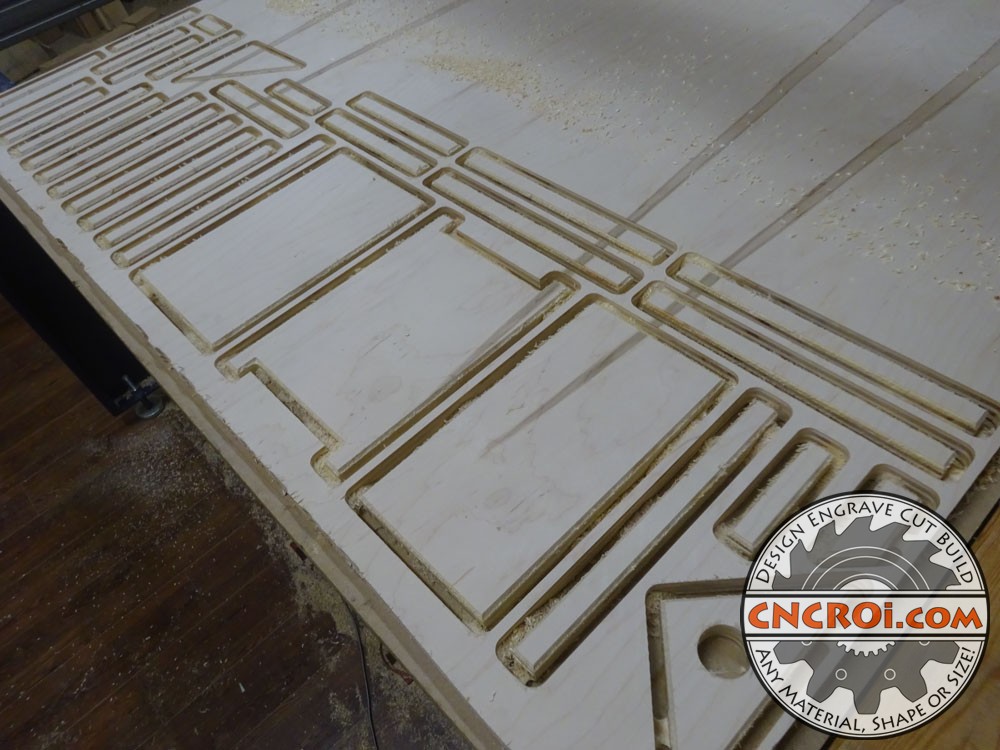
This might look a little rough but it’s just saw dust and the most important part in all this is NOTHING MOVED, CNCROi.com also has a vacuum table under this piece of 3/4″ plywood, so that’s also a tremendous help to keep everything place.
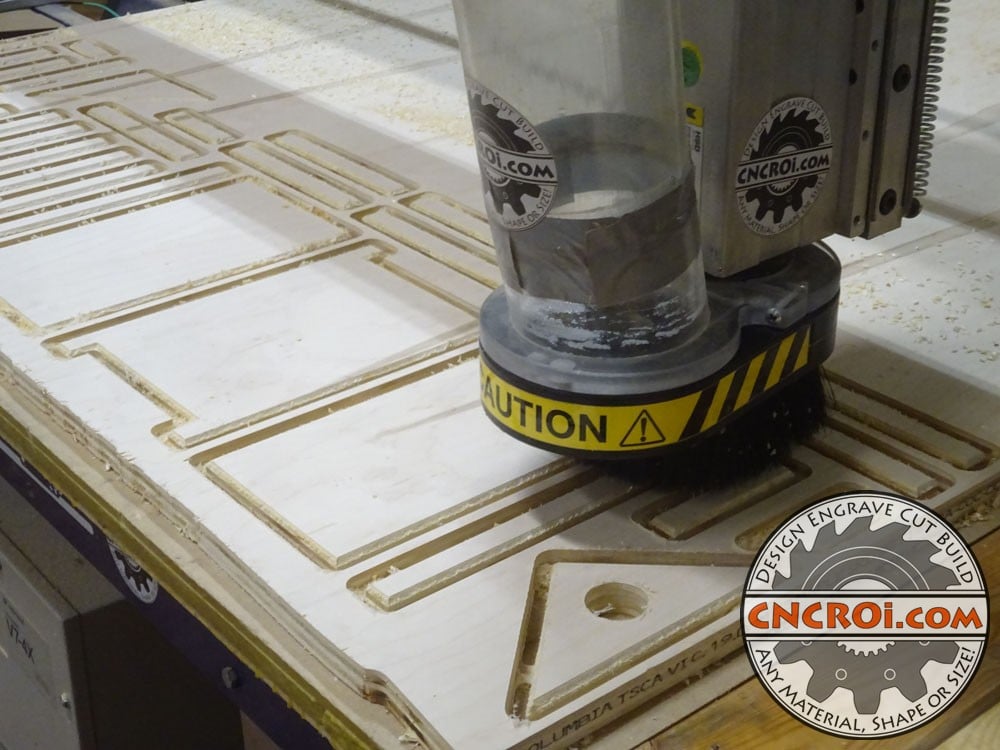
One final major design change I made was the bird hole you see in the bottom, rather than cutting it out, I just engraved it out slowly using the CNC router so there wouldn’t be a flying puck produced flying across the CNCROi.com shop.
These parts are now finished, all cut out using our ShopBot PRSAlpha – an awesome machine I don’t know how CNCROi.com survived so long without it’s fantastic capabilities.
It’s hard to believe but CNCROi.com also does lots of live edge work for customers who require their wood to be flat before going on to make wonderful things out of them.
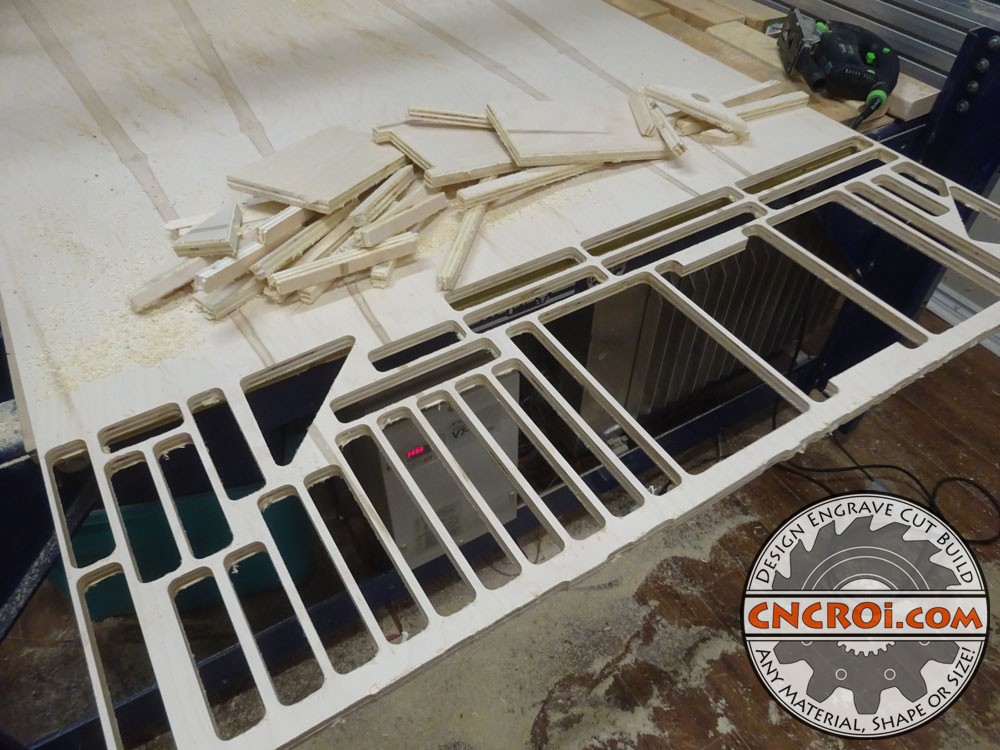
The good thing about tabs is they hold things in place, the bad thing about tabs is they hold things in place, so a jigsaw must be employed to remove them.
A jigsaw blade that’s sharp quickly plows through the tabs though, so the benefit of these thicker mighty tabs is well worth the extra effort of having to cut more parts out because some broke during production of this custom bird house.
CNCROi.com uses it’s CNC router for a bunch of different jobs, from simple models like this bird house to trays and signage.
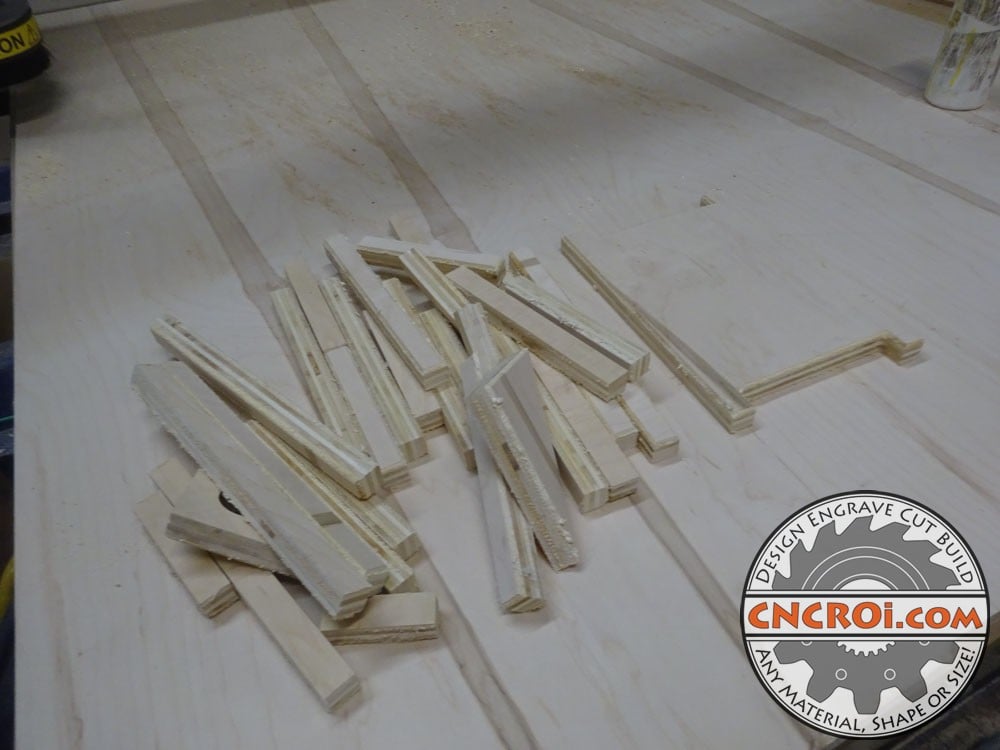
Cutting out these tabs does produce a tab where there was one before, but luckily, CNCROi.com has a sander to quickly remove them and make these parts flush as they were always designed to be.
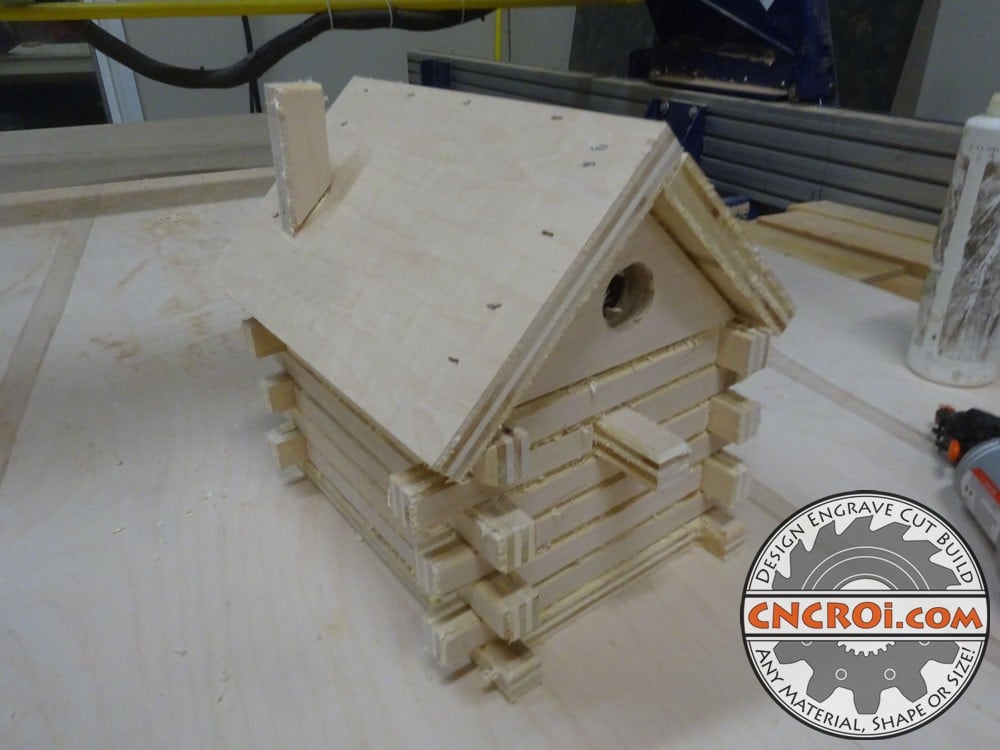
Performing a dry fit, you can see the esthetic is night and day compared to V1 of this custom bird house design, the log cabin look really begins to display itself prominently.
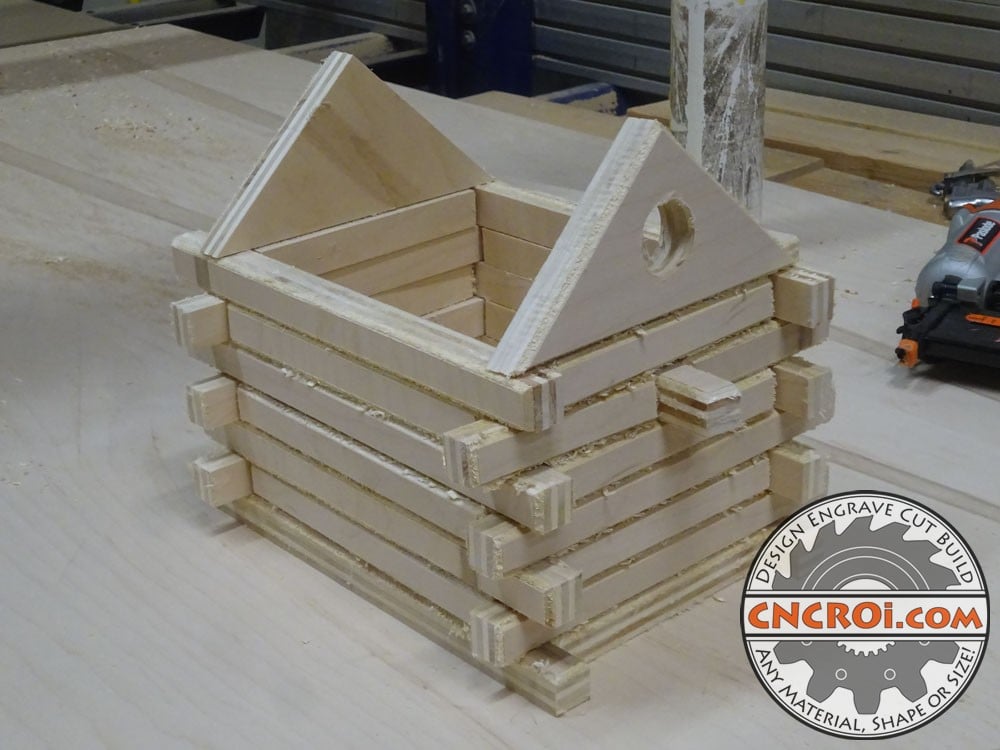
A little glue and nail gun and the assembly process is complete, the bird house log cabin is done, next step is V3 which will further push this into wow category.
Need something designed and made? Contact CNCROi.com right now!
