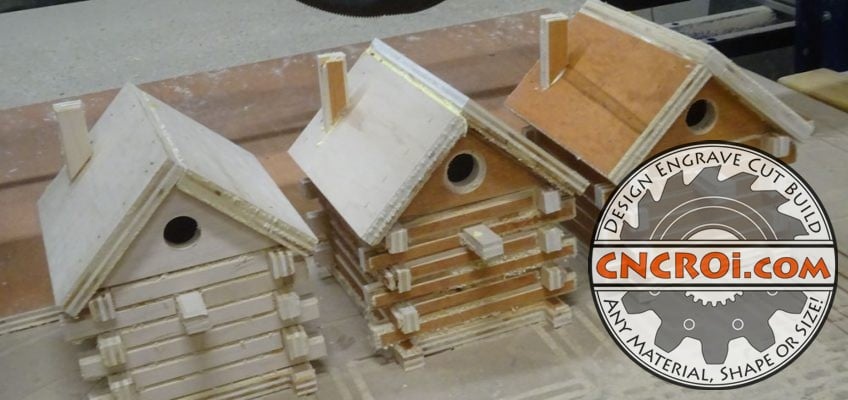
Plywood Log Cabin Bird House V3
My plywood log cabin bird house design is now complete, it took 3 phases of prototyping and design modifications to produce but the final results look amazing and I can now CNC an infinite amount of them at CNCROi.com.
https://www.youtube.com/watch?v=6V0rceVJLzc/
Here are the two videos showing the process it took, the first was a doweled version which is the first thing I designed out of this design because I wanted everything for this plywood log cabin bird house cut from the same sheet material.
Following that, the next optimization was removing parts and consolidating material wastage so as little was going to head into the fire pit as possible.
And there you have it, plywood log cabin bird house design was done.
I’ve been designing CNC projects for over a decade now, so building this bird house was incredibly simple by comparison.
https://www.youtube.com/watch?v=6GqDFWNhR2c/
By far the biggest change to V3 was the use of stain to create a lot more contrast in the wood log design, a real log cabin has the logs, generally a dark brown, followed by moss between each layer, it was an esthetic I was trying to replicate for this plywood log cabin bird house design.
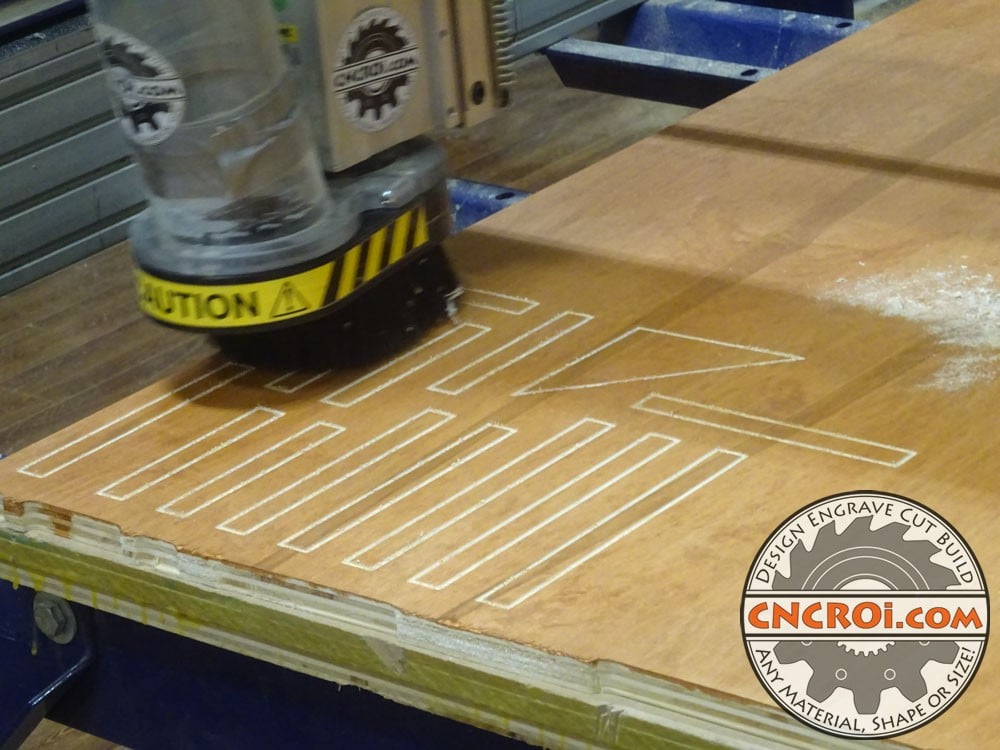
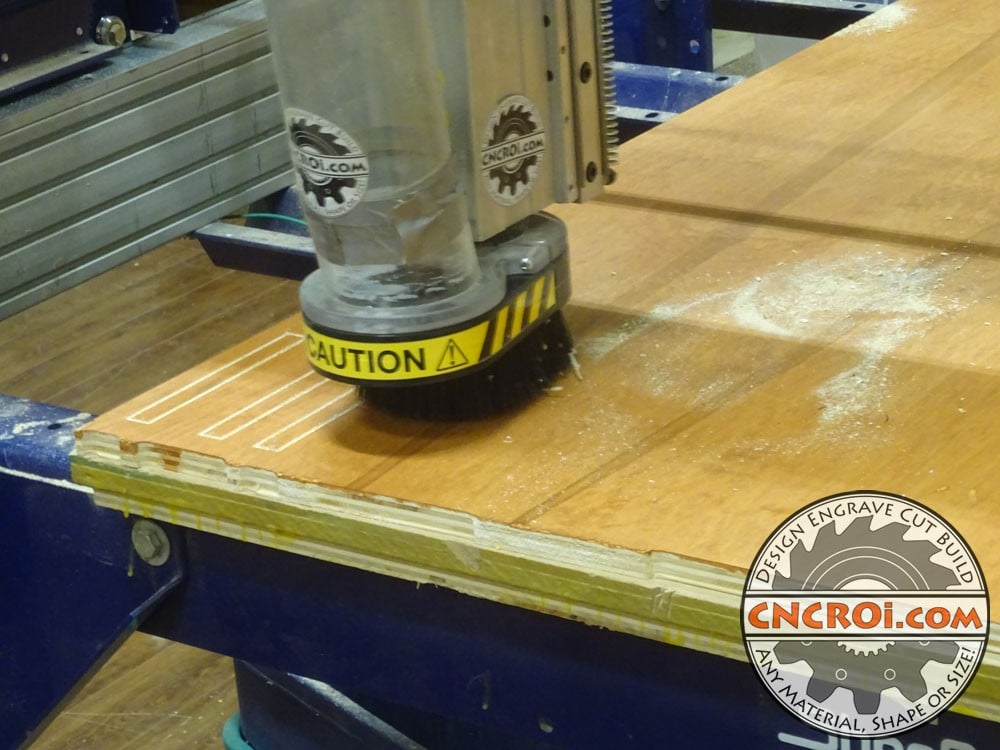
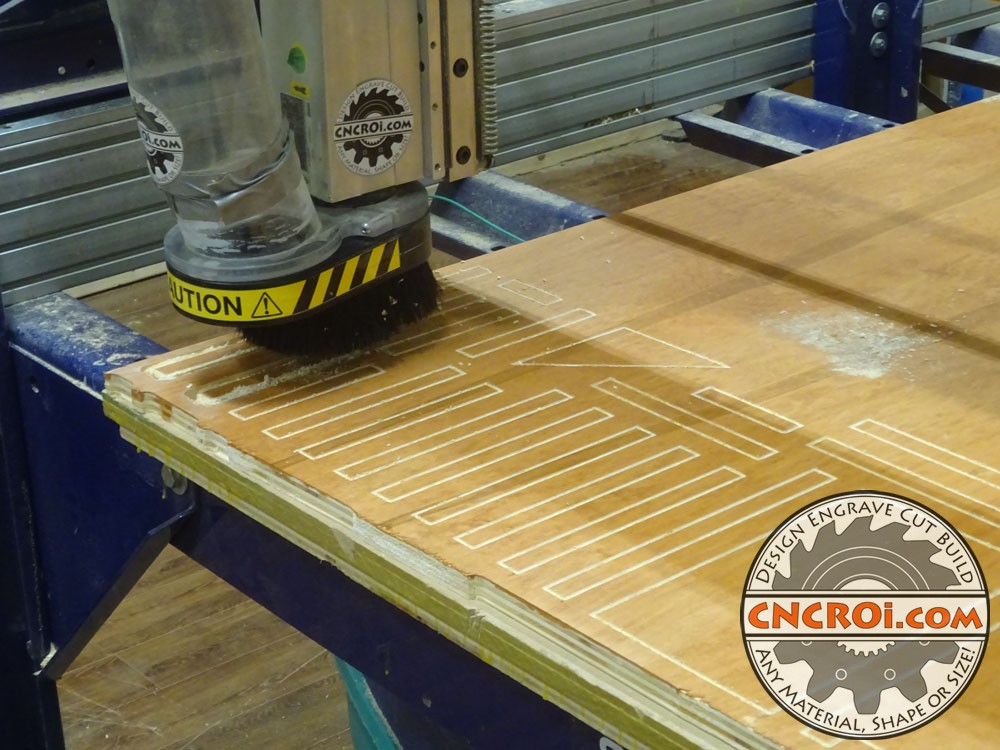
I also made two versions of V3, the first that’s being cut NOW at CNCROi.com is first scored with an offset 90 degree bit.
What this bit does is give all the edges a chamfer, it’s more visually appealing and a lot safer method of producing this result than doing it by power tool after the initial CNC cut, small parts are dangerous to work with for a variety of reasons.
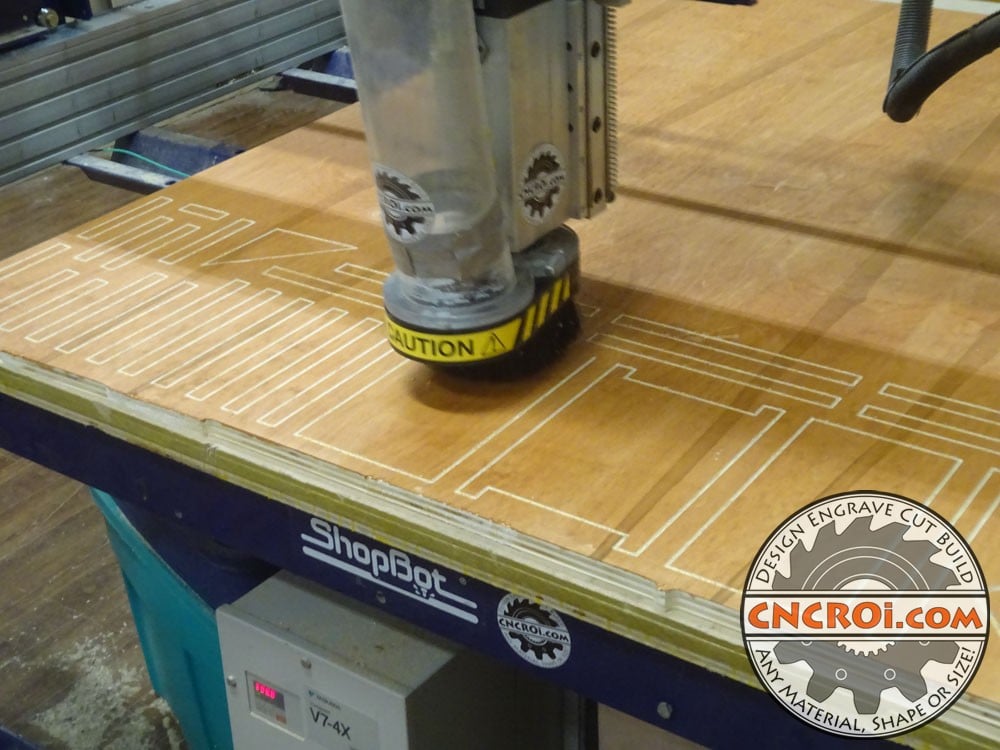
The other version of this plywood log cabin bird house fabrication was to just use a straight 3/8″ bit to produce both the chamfer and all the parts, saving me a lot of time switching and recalibrating to another bit mid way through production.
I also have a smaller CNC router at CNCROi.com that allows me to make items that wouldn’t be cost effective this this far larger full sheet machine.
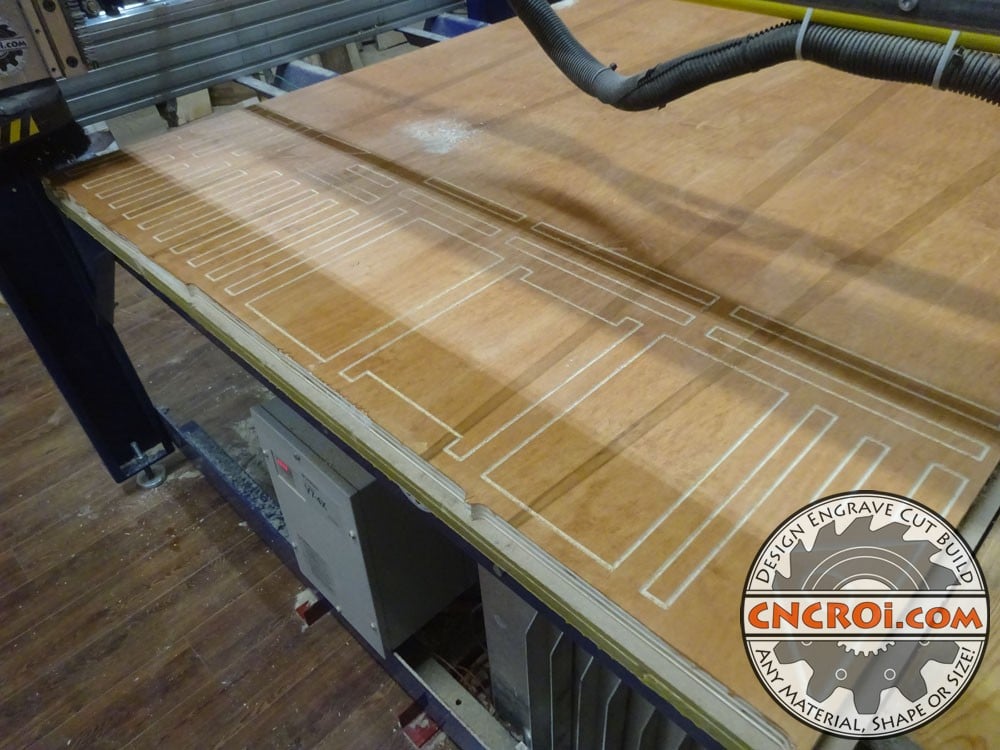
Although I save time using one bit for all the design, I do lose on the esthetics of the chamfer, so it’s a give and take approach when it comes to plywood log cabin bird house production at CNCROi.com.
I really liked the idea of the staining though, I realized this after working on V2 of my plywood log cabin bird house design as just not enough contrast was being produced and it’s a quick and easy way to see how different designs will work in the end more clearly.
When it comes to custom production, the process is always the same, though with this log cabin bird house, I completely skipped the 3D modeling aspect because the design was just so simple.
https://www.youtube.com/watch?v=5ub-mIc9MH8/
Another important feature I optimized on this plywood log cabin bird house V3 was the production of the hole, yet again, just working out production kinks to make sure that the hole in the log cabin where the birds come into their home doesn’t fly apart like it did in V1.
Each design iteration has a few modifications, most of them so minor that unless you looked at the production files I used to make this plywood log cabin bird house, it would go unnoticed but all these incremental changes do make for a big difference when it comes to the final results.
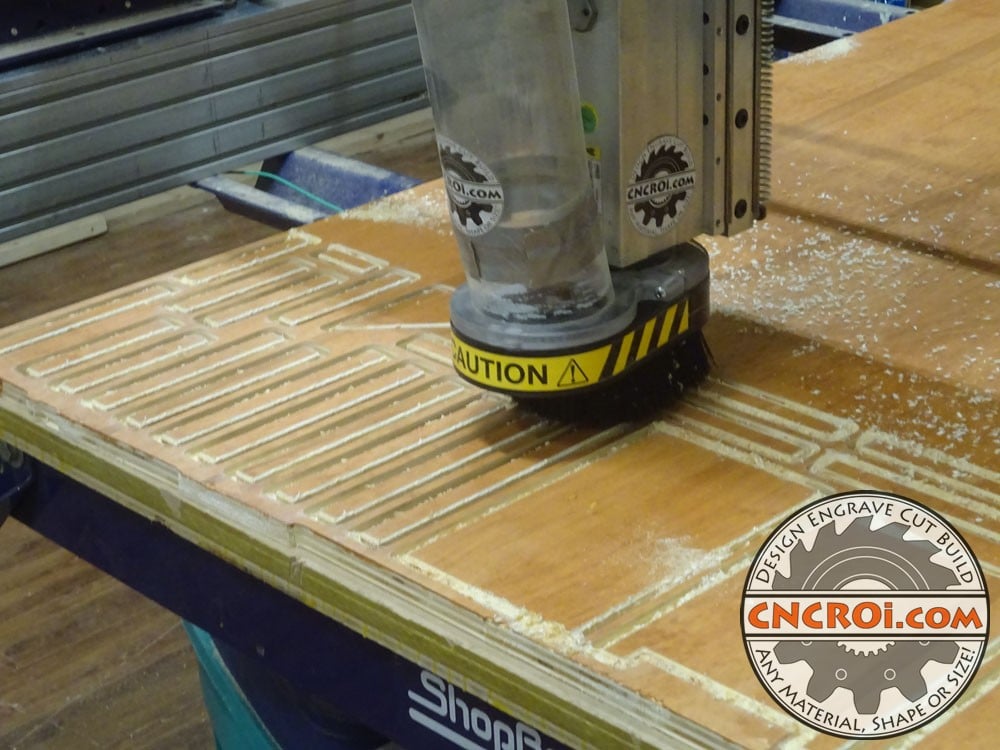
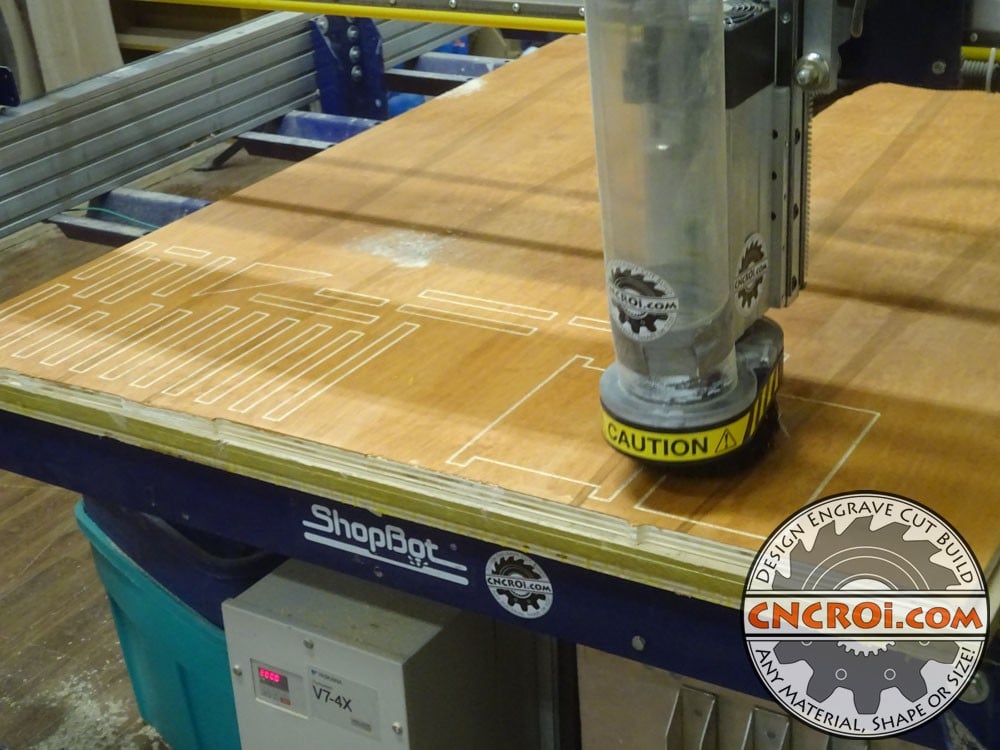
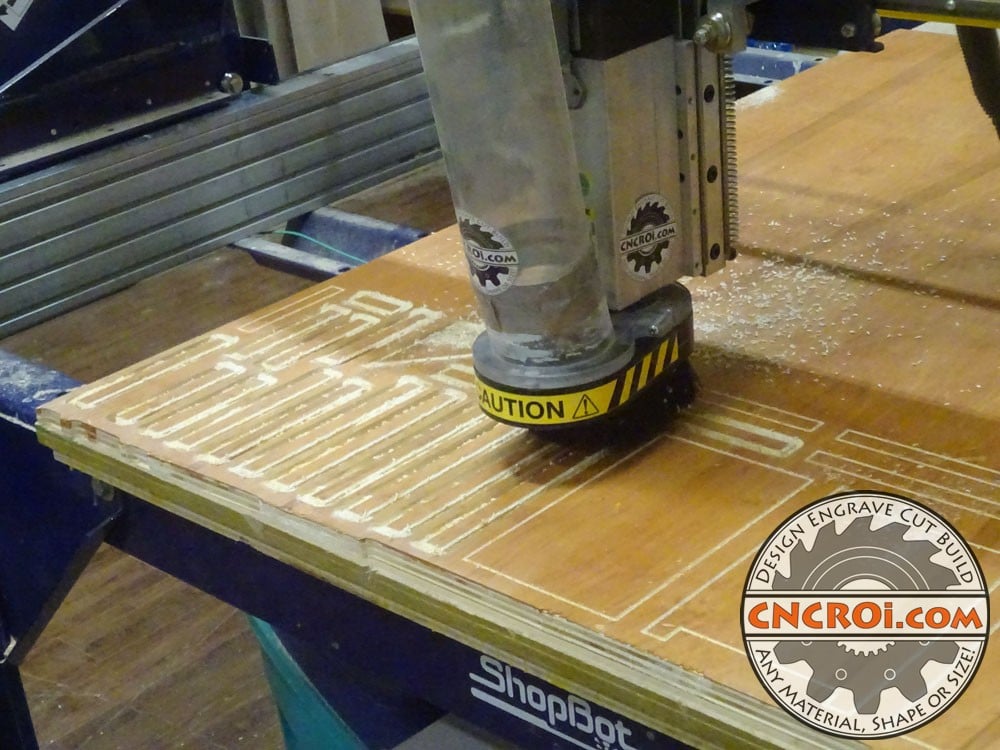
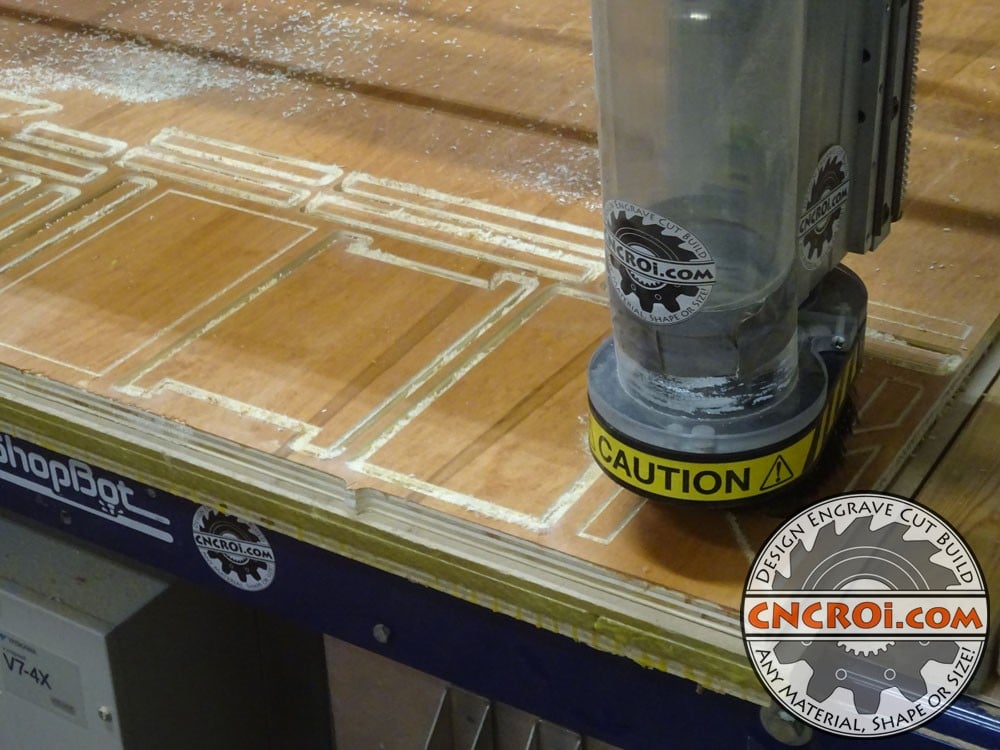
On a completely unrelated note, while cutting the first of two version of the plywood log cabin bird house V3 design, I realized I was putting lots of pressure on the boot of my CNC router spindle with the current duct tape holding system, so mid-way though, I replaced it with a flexible hose, compare the top picture and the bottom one, and the pressure I was putting is completely gone.
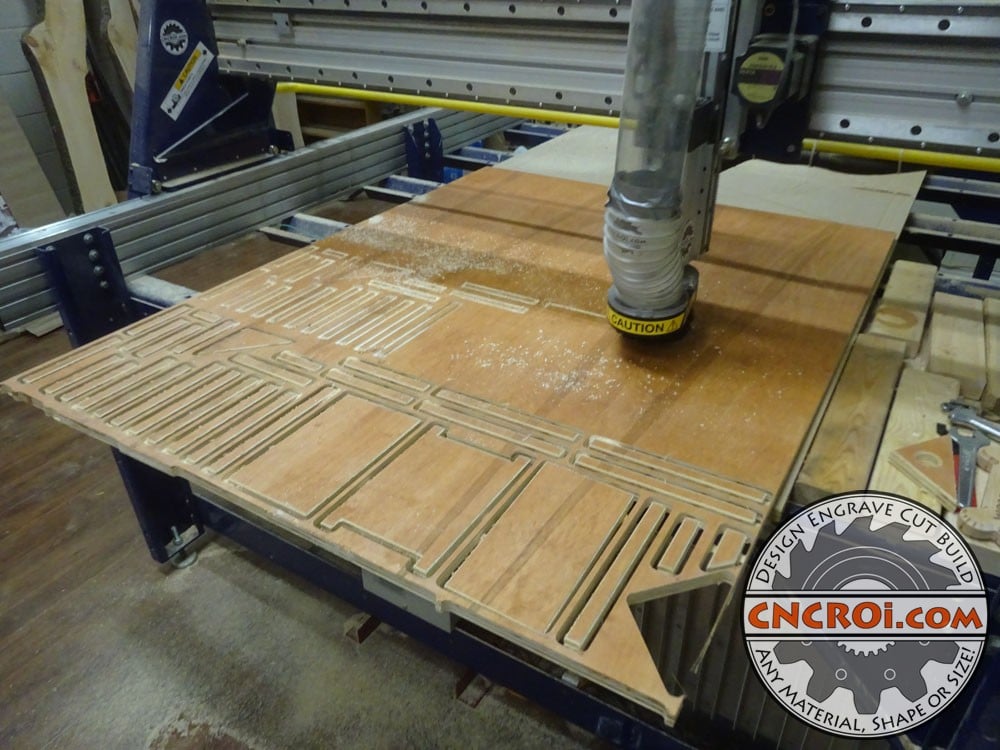
This is why it’s important for me to watch what’s going on during production, especially when it comes to prototyping at CNCROi.com for clients, whether it’s our plasma, laser, router or waterjet.
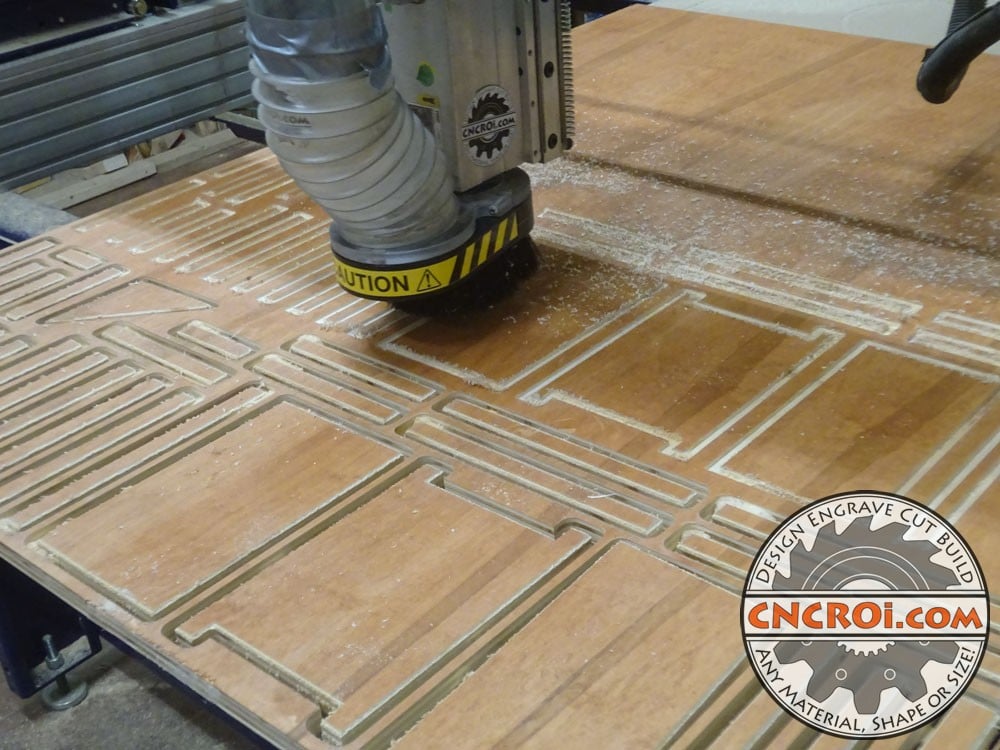
When it comes to plywood, the design options are endless because it’s such a strong material and available in a variety of thicknesses… and it stains or paints wonderfully!
https://www.youtube.com/watch?v=AmSz8YP3q0Q/
Each time you cut something, a lesson is to be learned, usually it gets forgotten but like this extremely simple flexible hose instead of a static one on my CNC router, you never know where the inspiration will come from for the next optimization at CNCROi.com.
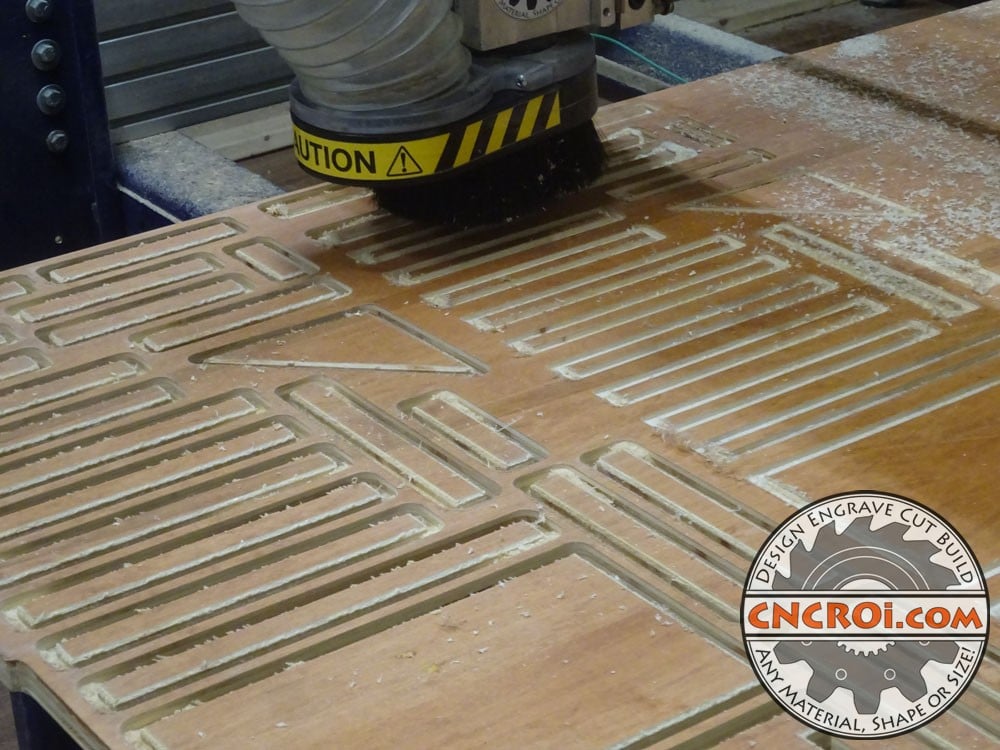
You can see the striking difference in the 90 degree bit on the left of the top picture and the wider bit used on the right of the same picture, I can do a minimal offset to lessen the amount of material removed but there is just something about broken edges that’s hard to explain but instantly more pleasing to the eyes.
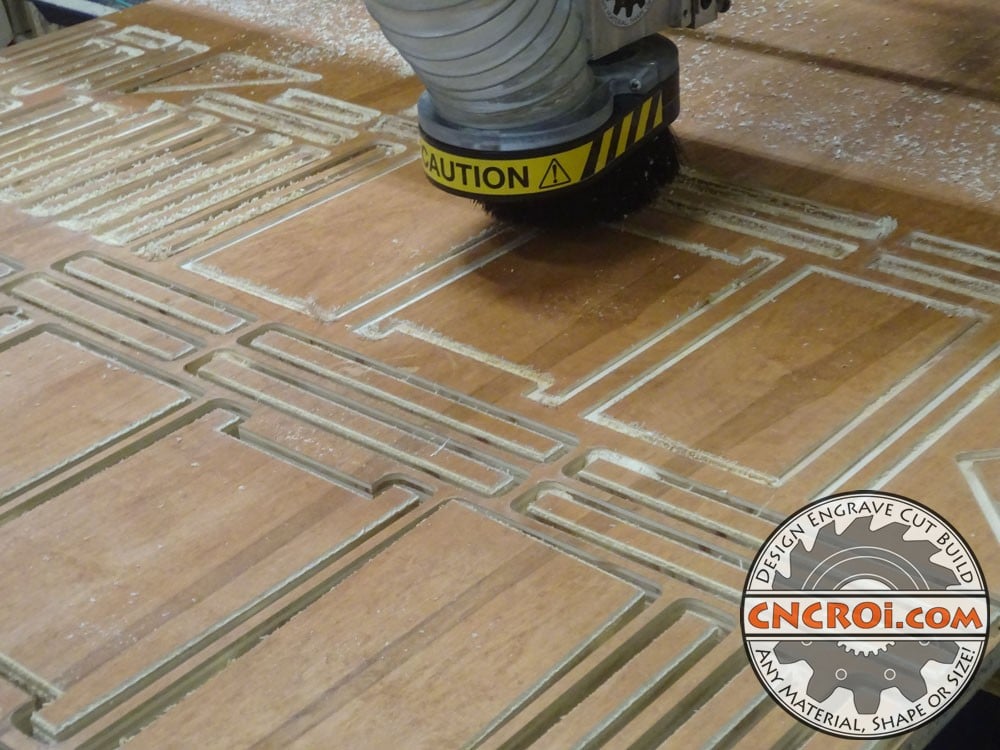
I will be making a V4 of this plywood log cabin bird house design, the only change will be not chamfer’ing EVERYTHING, some parts are best left without this, notably the roof, the peg that the birds can sit on and the hole leading into their home.
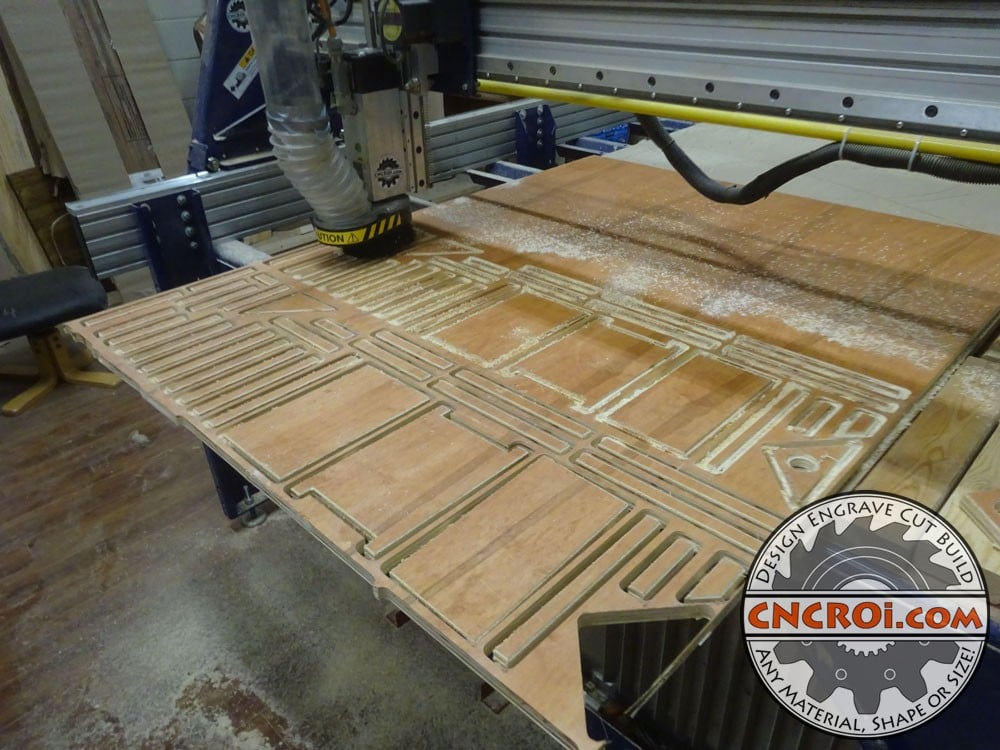
Interlocking designs have their benefits, it would mean I didn’t need to use nails and glue to make this design, but at the end of the day, it’s sometimes easier to just glue sticks together than trying to interlock them to create a finished form.
https://www.youtube.com/watch?v=943SSQyBHa4/
Overall, I’m very pleased with the design, it has evolved quite a bit from their origins and it can easily scale in production from here on out at CNCROi.com.
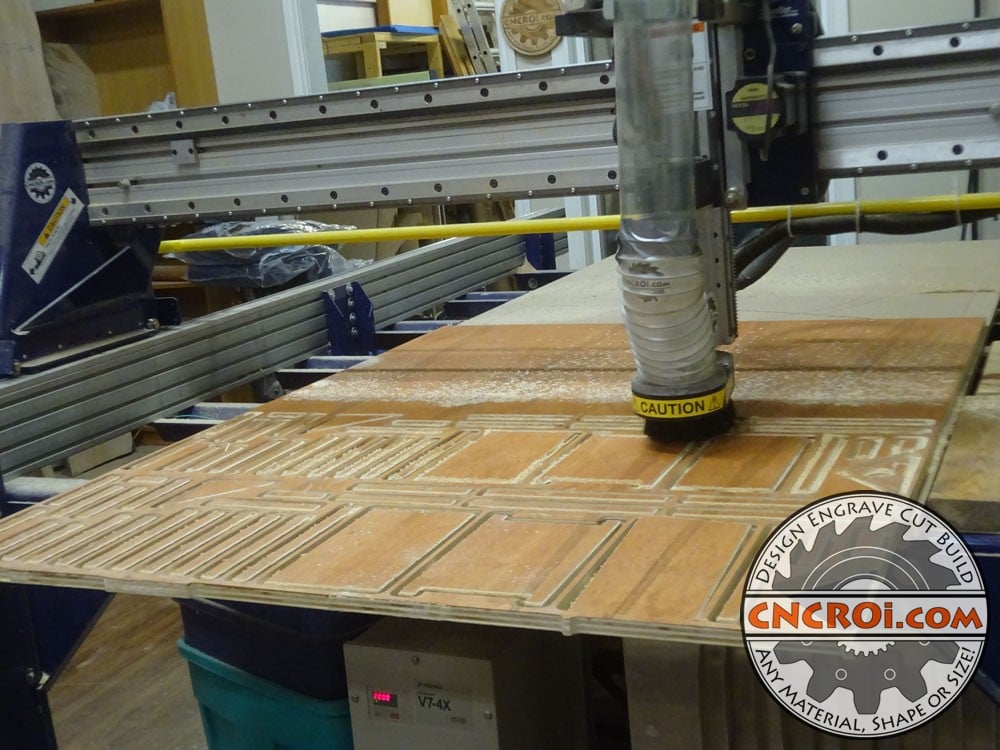
These custom plywood log cabin bird houses make for awesome gifts, they are unique from much of what I’ve seen at stores and their build is incredibly easy.
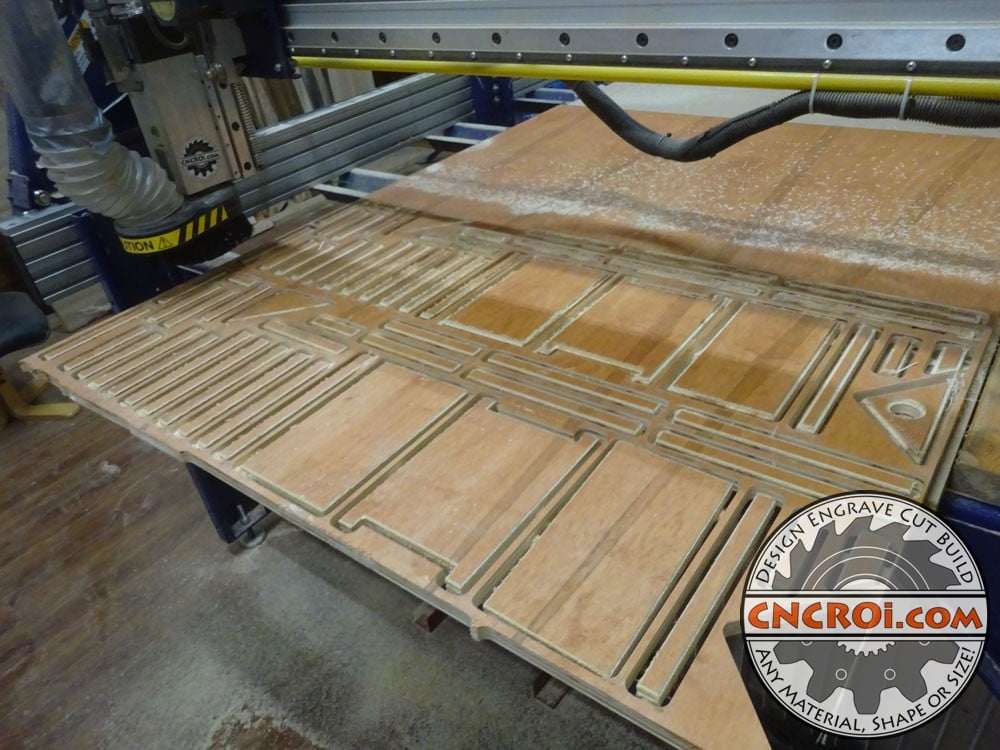
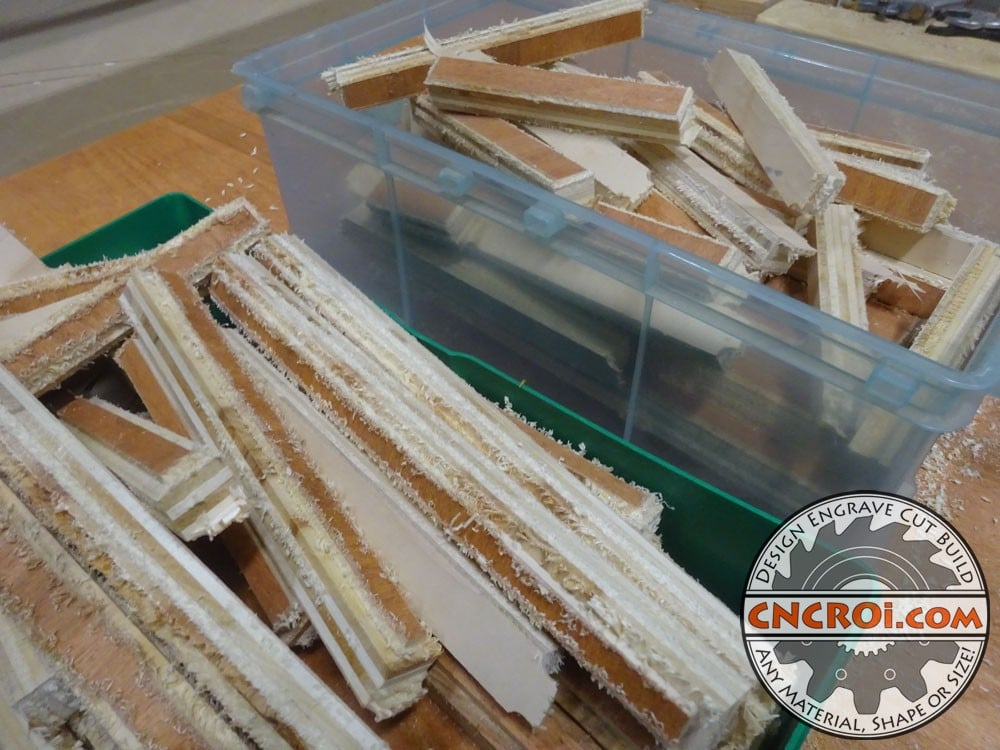
Once both versions of my plywood log cabin bird house were complete, the next step was to sand off all the tabs, this will allow all the parts to go together perfectly without any material offsets.
Other jobs I’ve done at CNCROi.com involving plywood include lamp covers, this was quarter inch vs the 3/4″ I used for the bird houses – and laser cut instead.
https://www.youtube.com/watch?v=InCAkdixm7E/
The build process of the plywood log cabin bird house hasn’t really changed from the beginning of this design process, and using the nail gun with glue makes the entire project go incredibly fast over using screws or other fasteners.
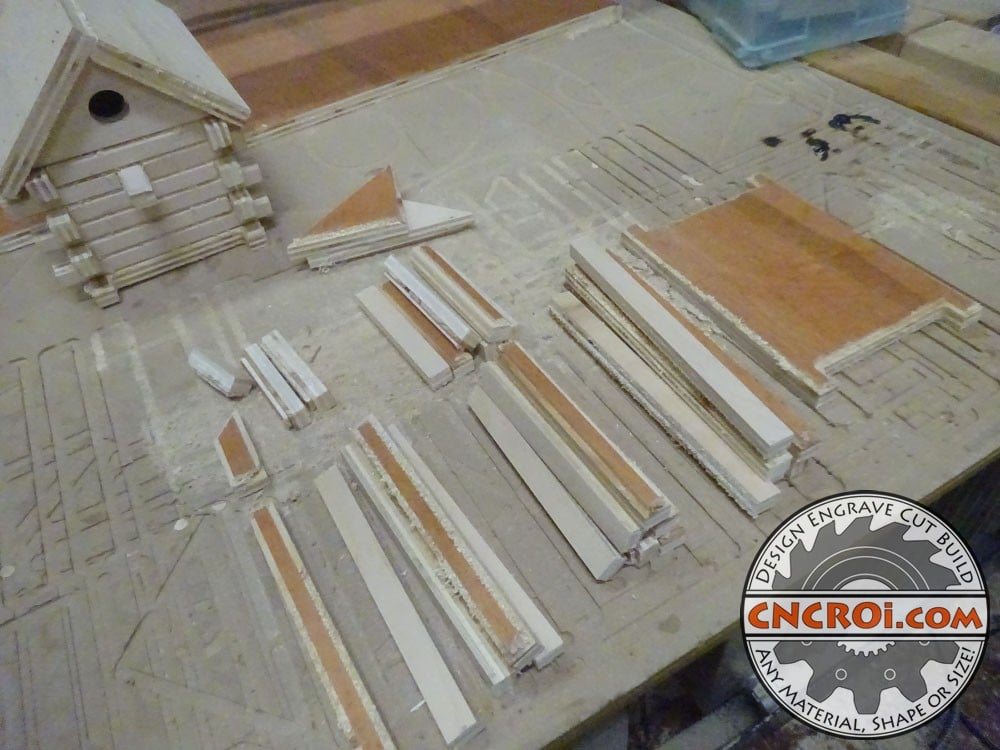
You can see on my CNC router table that I’ve cut quite a few of these plywood log cabin bird houses, the spoil board is starting to get thin so I’m due to refresh it shortly with a brand new thicker piece.
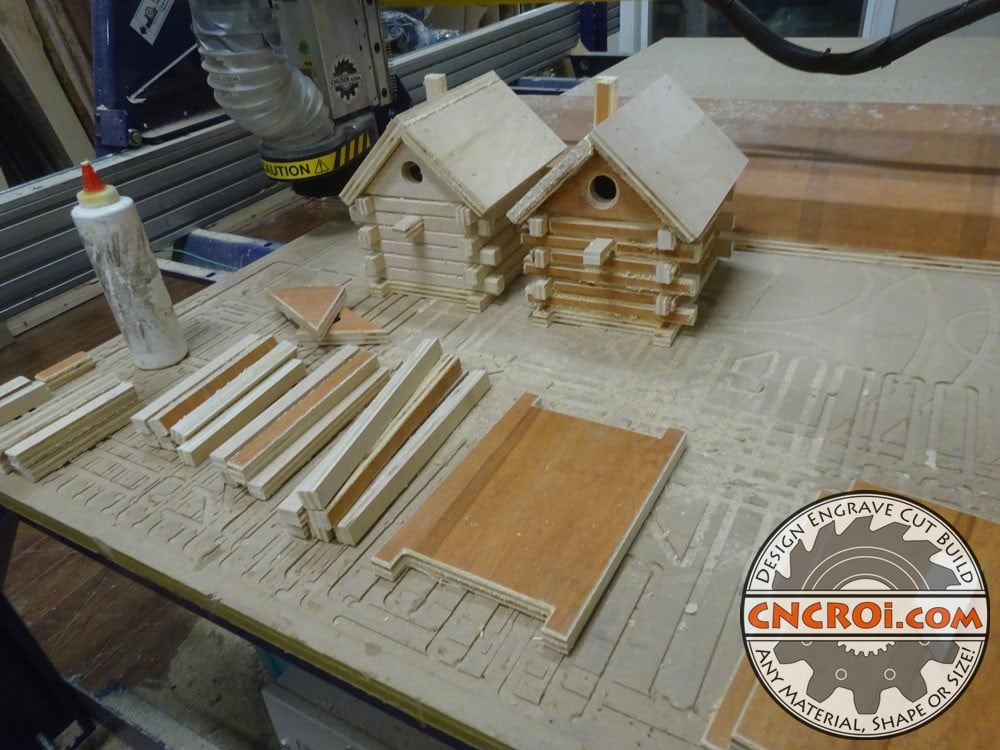
After both plywood log cabin bird houses were built, you can now see a side by side comparison of a few of the design features I was looking at when making these designs production ready.
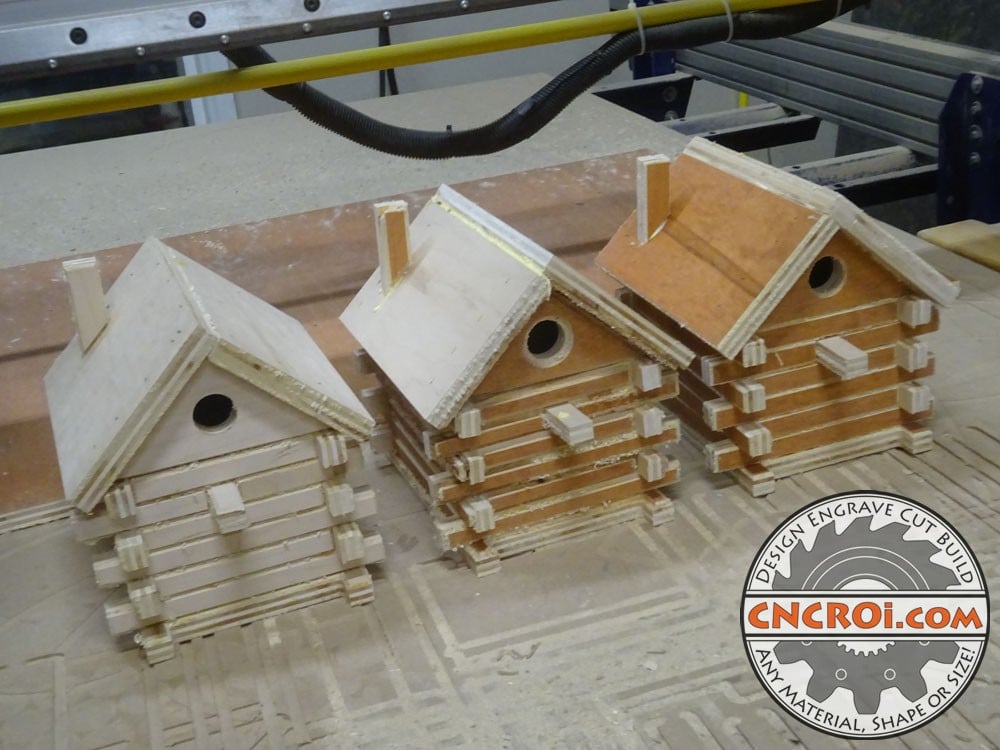
The one on the left is produced without stain, it’s V2 and the one on the right are both with stain, the middle one is the same bit offset while the one to the far right is with the 90 degree bit.
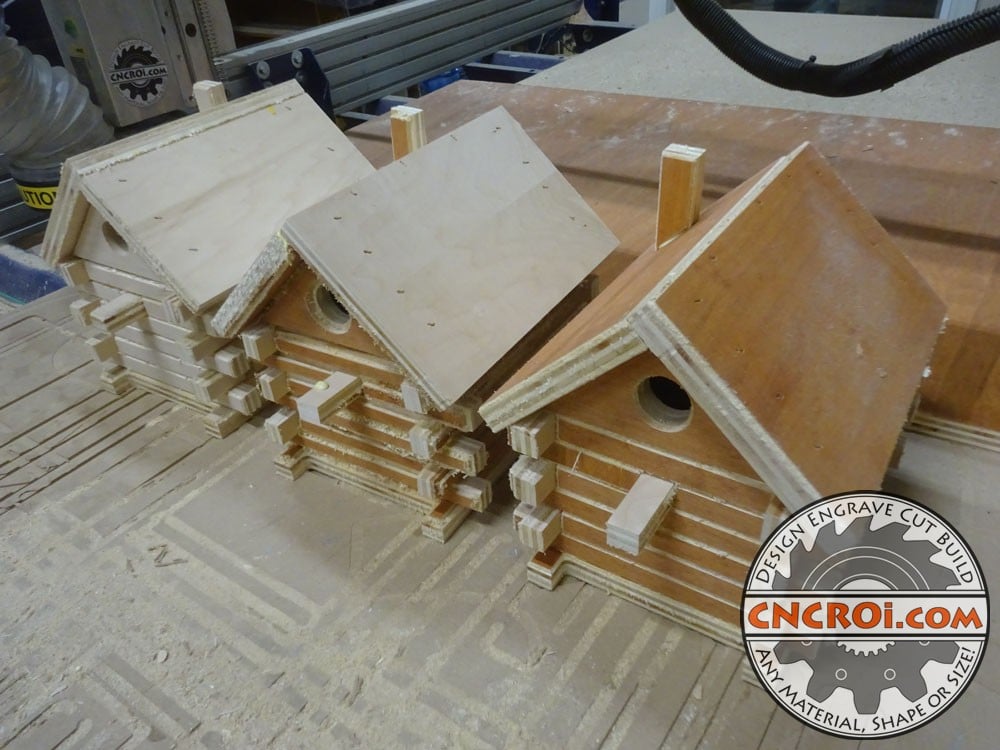
Personally, the 90 degree bit version looks the best, I also tried inverting the roof to see if the stain looked better one way or another and again, stain facing up looks best.
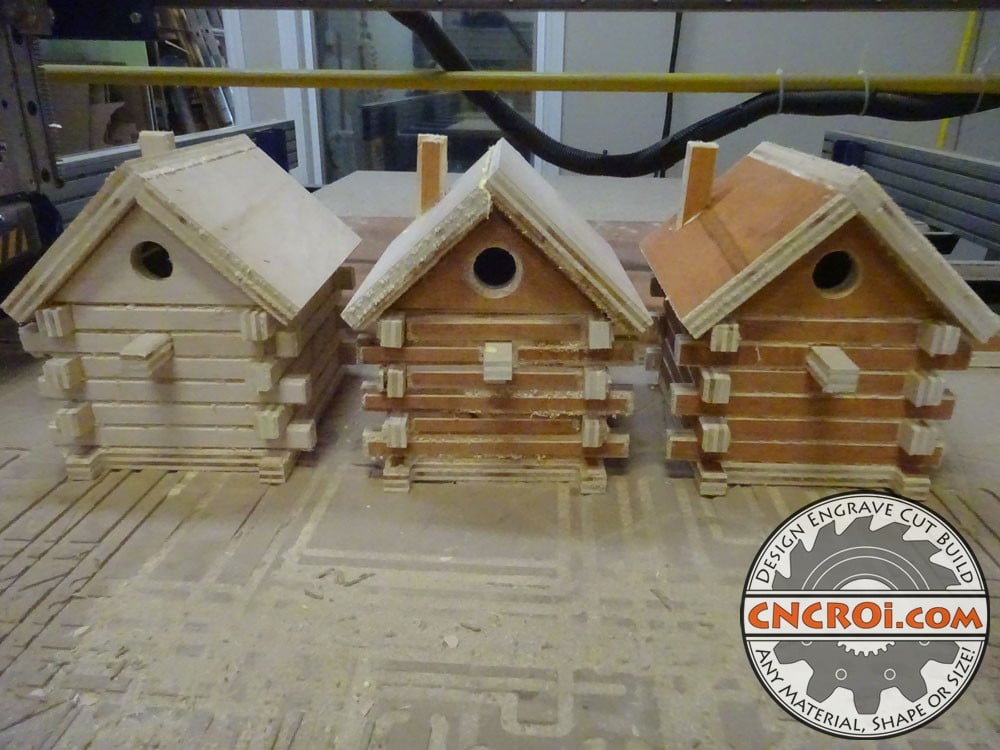
Straight-on, I realized that making a chamfer for the bird entry hole was redundant, so I won’t be needing to do that again on V4 of this plywood log cabin bird house design.
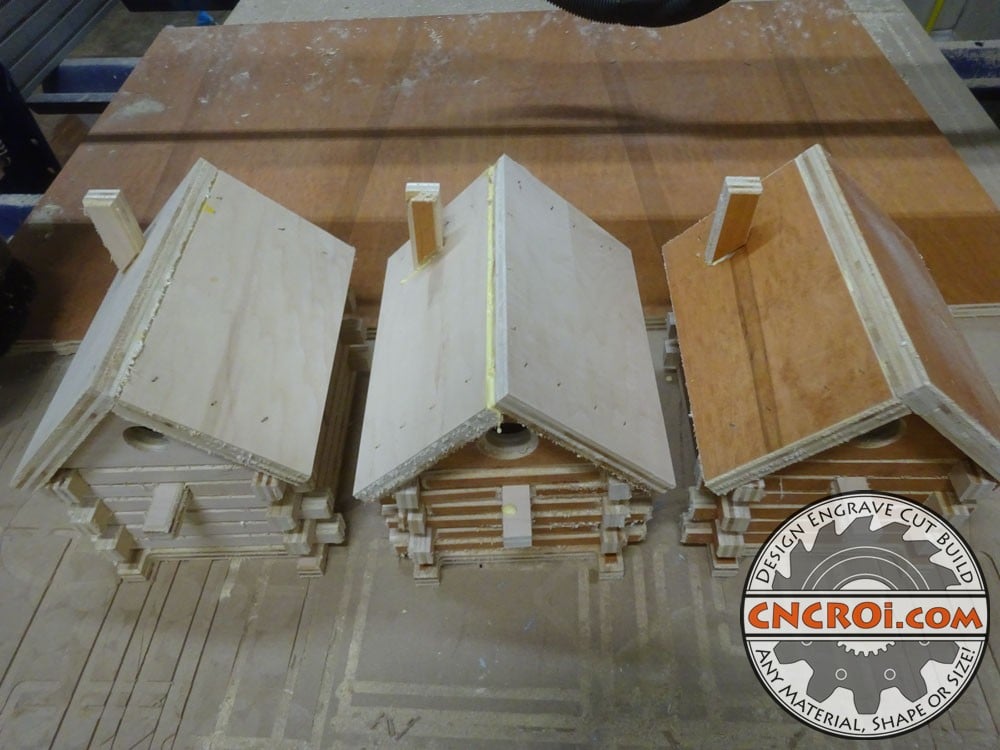
If you are looking for custom wood production, contact CNCROi.com right now!
https://www.youtube.com/watch?v=GOvjrlgx74c/
