Laser Engraving a Cedar Shingle
A few days back it was Crayola being laser engraved and today it’s a cedar shingle! Along with renovations comes new material to play around with using our Austrian CNC laser and I really liked the results I achieved with this one here at CNCROi.com!
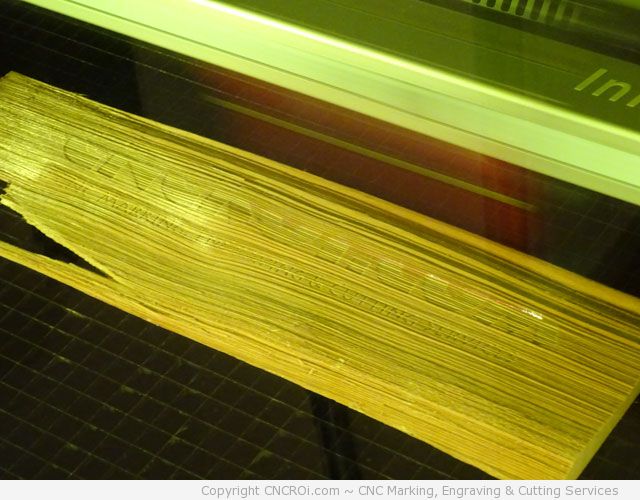
Although this wood is uneven, it posed no issue, I didn’t want to flatten the hills and fill in the valleys, I wanted to just remove material from both levels that follows the grain. Makes proper photography tough but the results look great. I had the air compressor on maximum as there was no way I could mask this cedar shingle properly so the smoke had to be thrown away from the piece as fast as it was being produced and quickly extracted out before it even had a chance of settling onto the shingle.
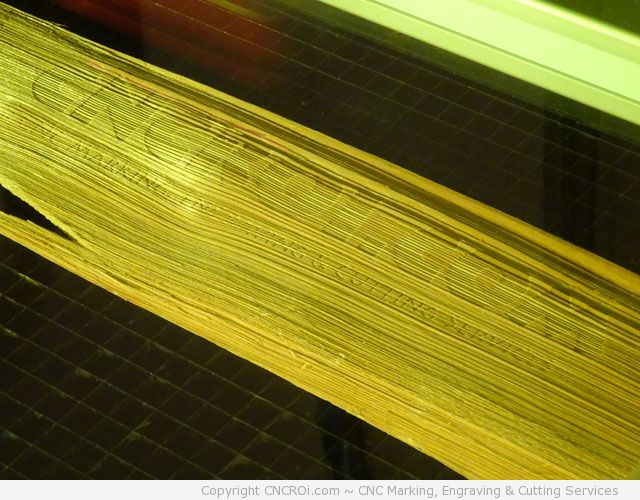
The shingle had ridges but it was also uneven, this was meant for a roof, not a CNC laser! As such, I had to prop-up one of the sides to get something going somewhat flat then averaged things out by eye before starting the laser engraving process.
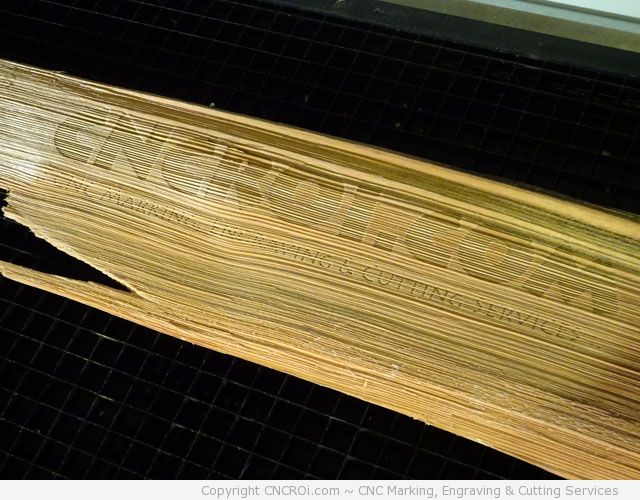
The end result using straight light is hard to see but using some different lighting, you can see the results below. This not only smelled great while being engraved but the results will last a long time hung-up on a wall or on a door.
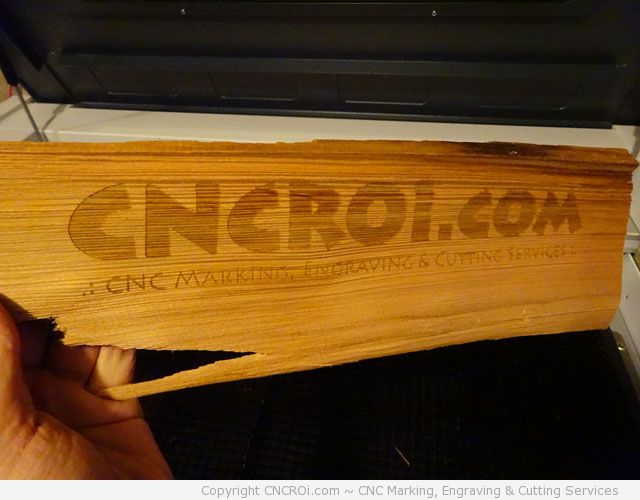
Generally, you want things to be flat when laser marking, engraving, etching, annealing or cutting but as this example demonstrates, there are ways around these issues it can sometimes produce better results on materials you never thought this would be possible with. What do you need? You need a high precision CNC laser, the right lens and knowledge.
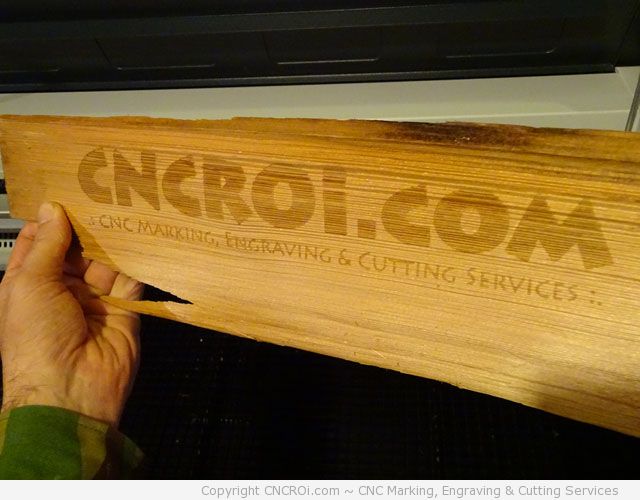
Looking at it from another angle, there is no smoke damage anywhere! This works great for cedar shingles or wood in general because it’s a relatively soft material, if this was titanium, I’d have a very tough go achieving these results – it would be slow and probably require a number of passes at different depths even using our fiber lens. Something to try another day!
CNCROi.com: Laser Engraving a Cedar Shingle
