Red Oak Bank Prototype Production Run
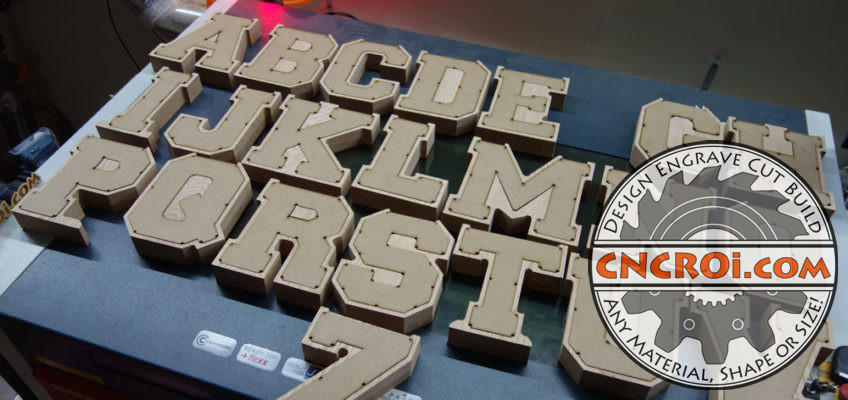
This was the final red oak bank prototype production run before being able to go into full production of all of these 28 letter banks at CNCROi.com.
https://www.youtube.com/watch?v=nQybRyVXS1Q/
If you want to see how my very first try went, here’s a good video of how to make expensive red oak fire pit firewood.
https://www.youtube.com/watch?v=WYlrz6dMwKk/
What you see here is a few weeks of work between my regular projects at CNCROi.com condensed into a blink of an eye, each bank had to be tested and LOTS of modifications were made, not just the design itself of each but also the processes that worked best to actually make them.
There are so many ways to go about doing the same thing in different ways, but it isn’t until you actually do it that you find which approach works best.
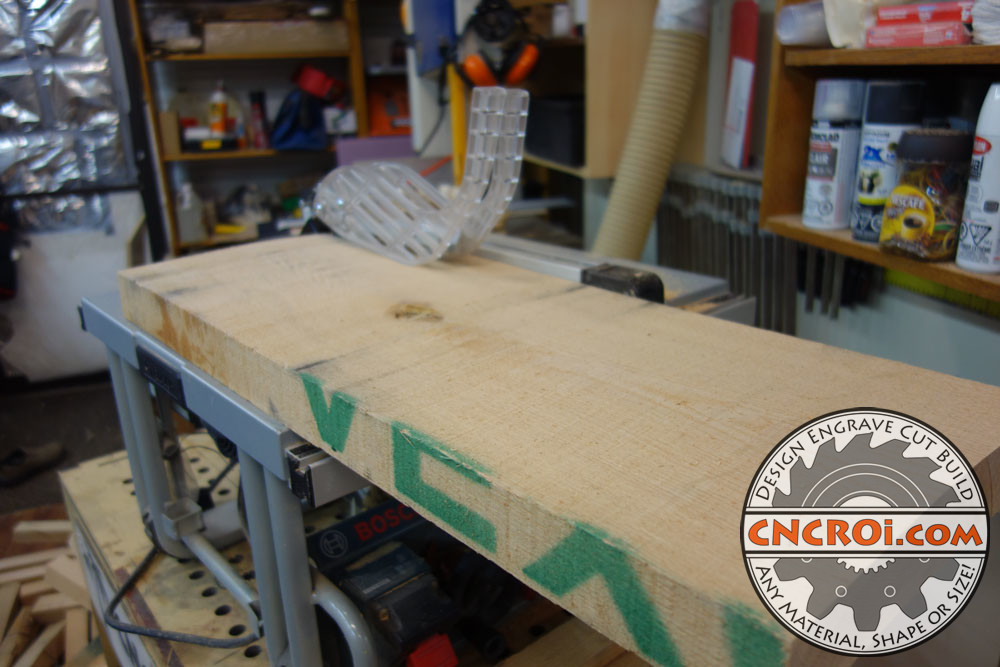
Cutting what were originally 10 ft long solid red oak boards measuring about 2 inches thick become little 36″ x 2″ square pegs that are a lot less warped than the original lumber but still very much needing some tender loving care before they are ready to become red oak banks.
Banking is something I’ve been in one way or another even before CNCROi.com came into existence years ago.
During this production run, I tried two approaches, using the CNCROi.com router to flatten and clean-up three sides vs just two sides, at different speeds and feeds to make the flat laminated boards that will become red oak banks.
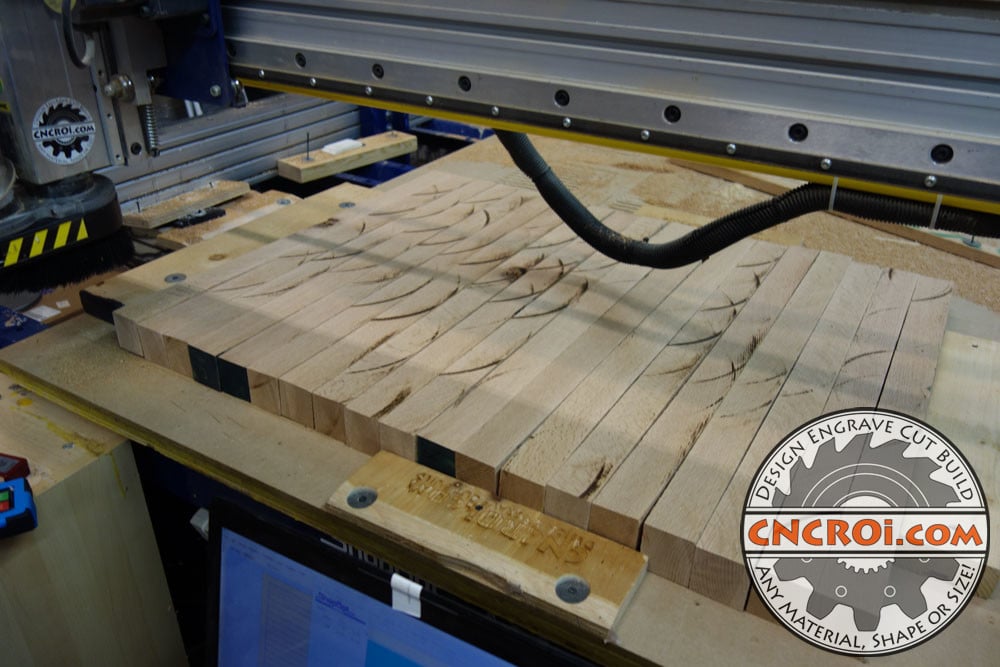
What I discovered is that the time savings of flattening only two sides just left to more scrap down the line during the re-flattening of the finished glued boards, so from now on, I’m flattening three sides of the red oak bank laminated boards.
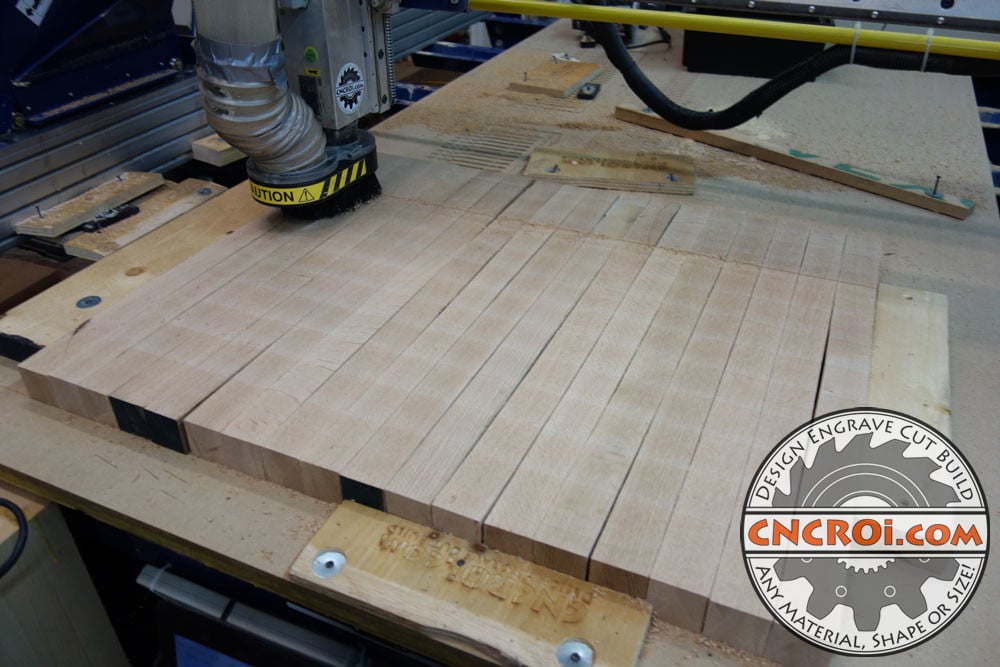
Why don’t I flatten four sides? It’s redundant, you want one flat side to rest on the pipe clamps and the other two to be where you glue the sides together, the top can be rough, it doesn’t matter, because it needs to be flattened and cleaned-up again anyways at CNCROi.com before I can make a red oak bank.
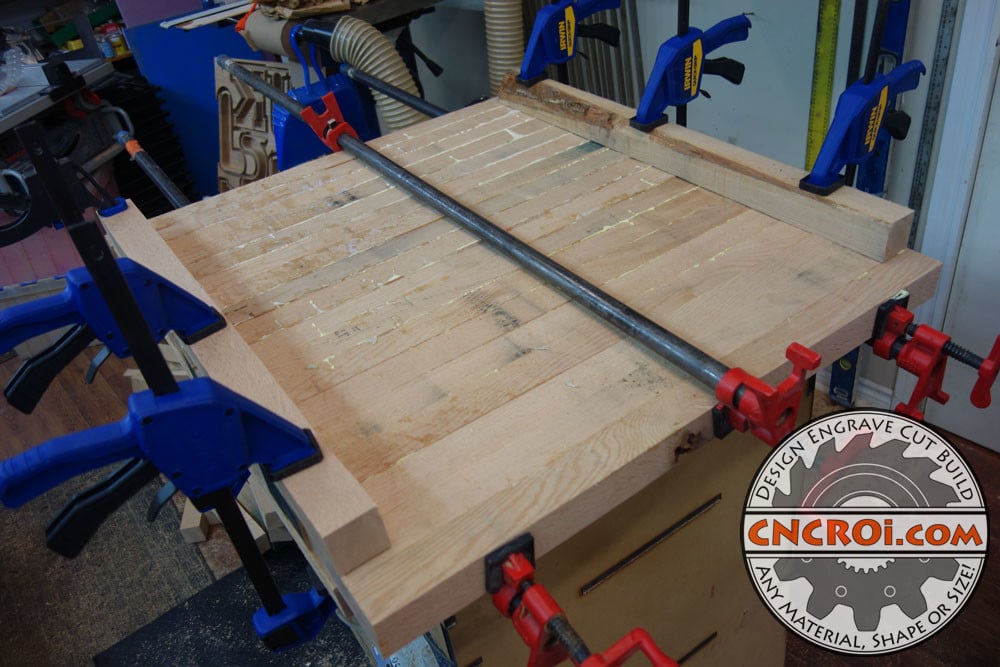
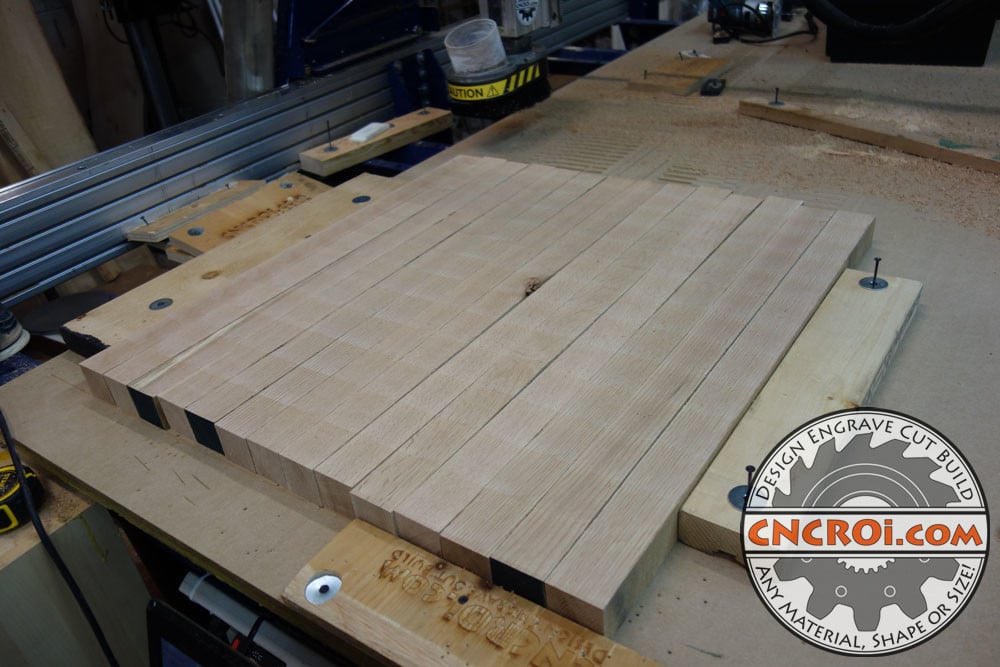
It’s quite impressive just how seamless this laminated board ends up looking after making all sides flat and parallel, there is minimal glue coming-up through the seams, the edge quality is just so fantastic that there is plenty of surface area for maximum adhesion.
At CNCROi.com, up to this point, most of the oak used at the shop was actually used to make custom wooden coins… ironic considering now I’m making a vessel to hold them using the same material.
Of course, I bought enough red oak to make three laminated boards, so it’s essentially the same process over and over again, cut it to size, flatten (now I know) three sides, glue and then clean-up those boards to transform them into a custom red oak bank.
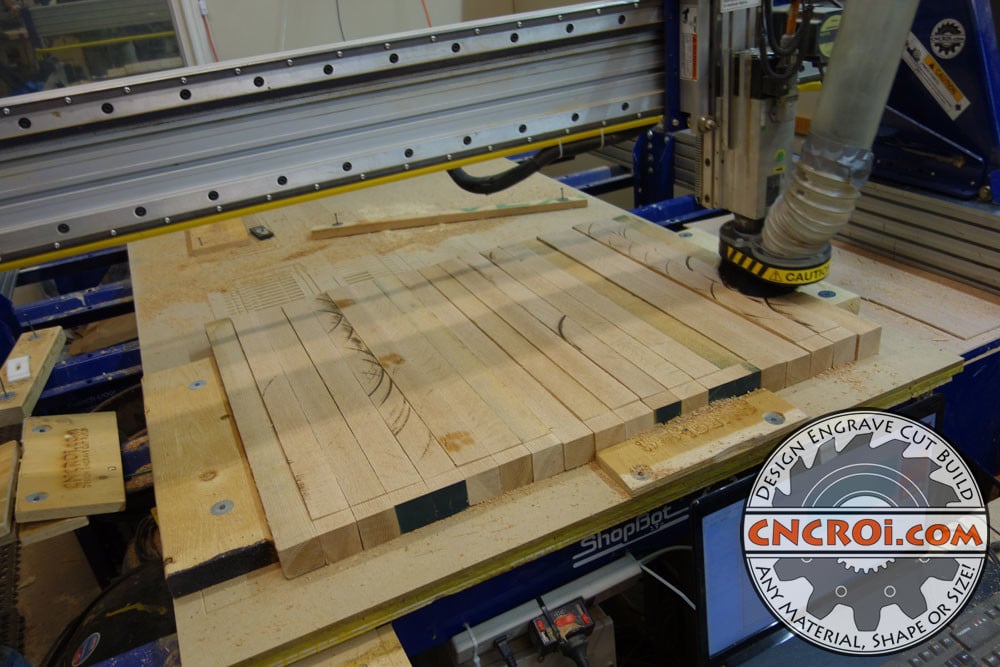
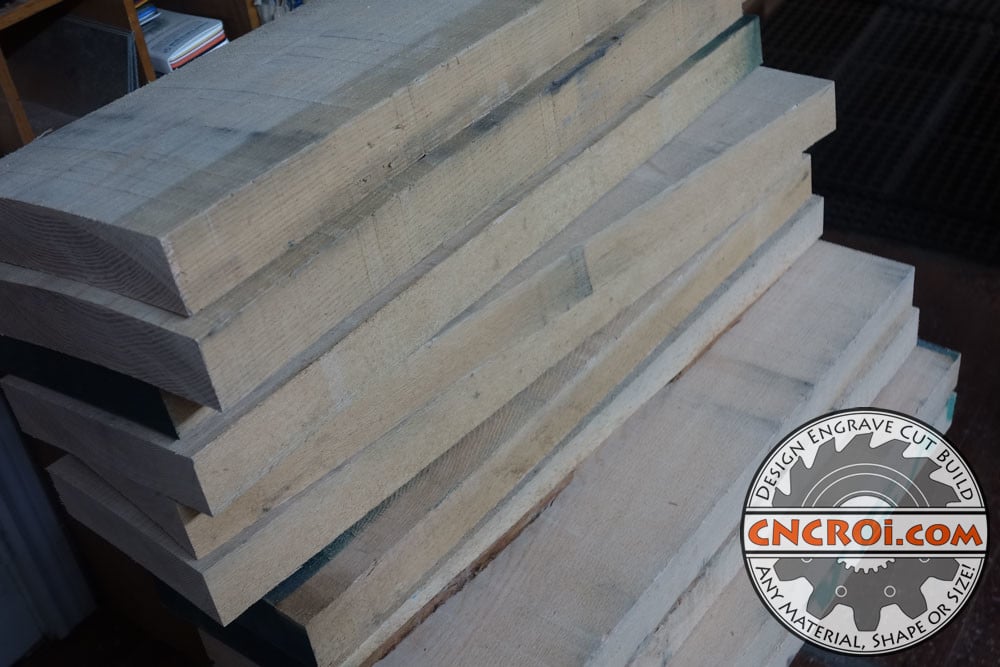
Just to show you how much variance there is in the boards even after cutting them, you can see in the picture above, what the router at CNCROi.com is doing is not only cleaning-up the surface, but also making all the surfaces FLAT where all these little variances that would make glue-ups practically impossible, gone!
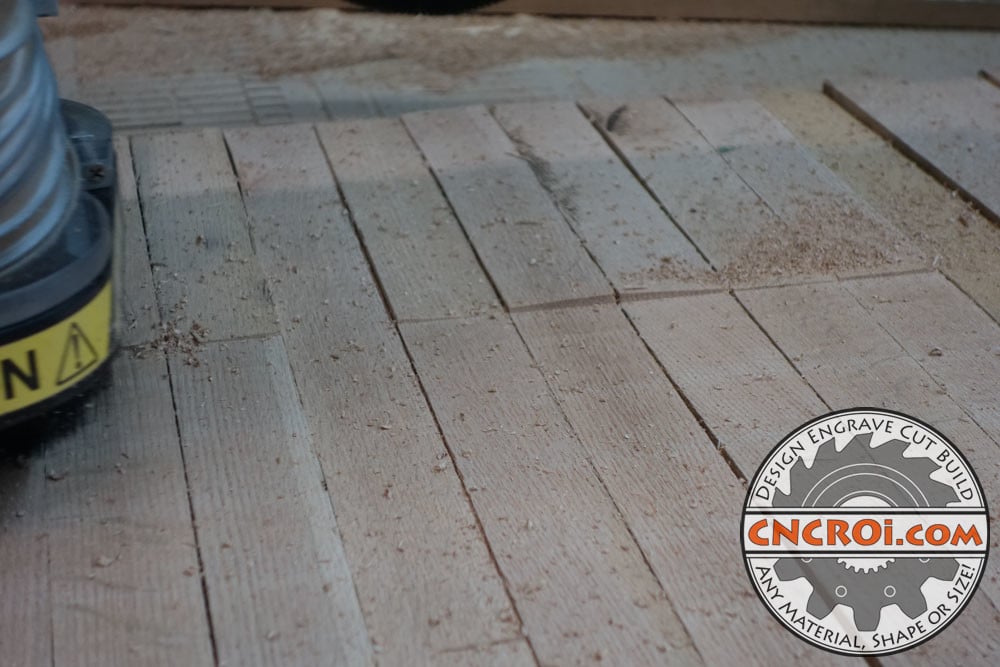
I’ve done so much flattening of red oak pieces through the past month that I now have the process down, producing very good results right off the machine.
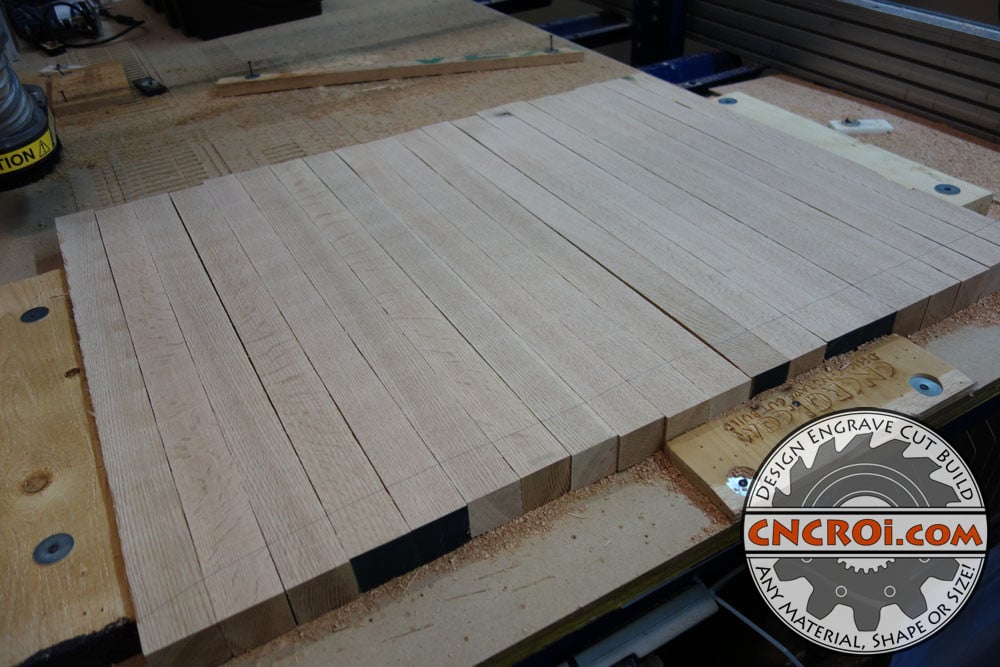
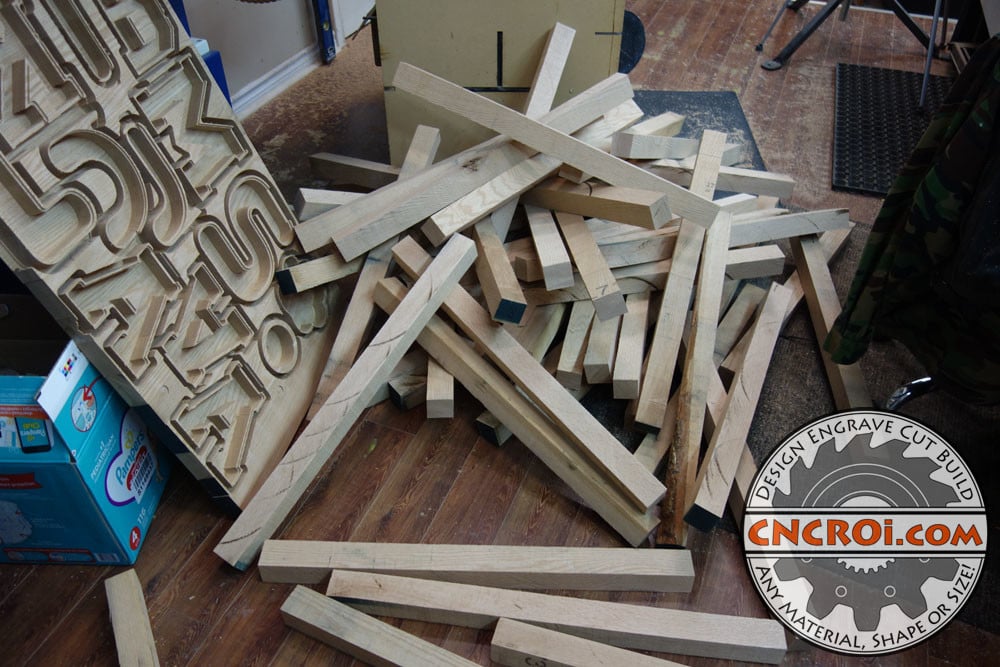
You can see the piece of scrap I made earlier to the left of the photo below, it’s slowly working its way out the shop – I learned so much making that scrap, much of which was applied to this production run test of red oak banks, but even this process taught me a lot at CNCROi.com.
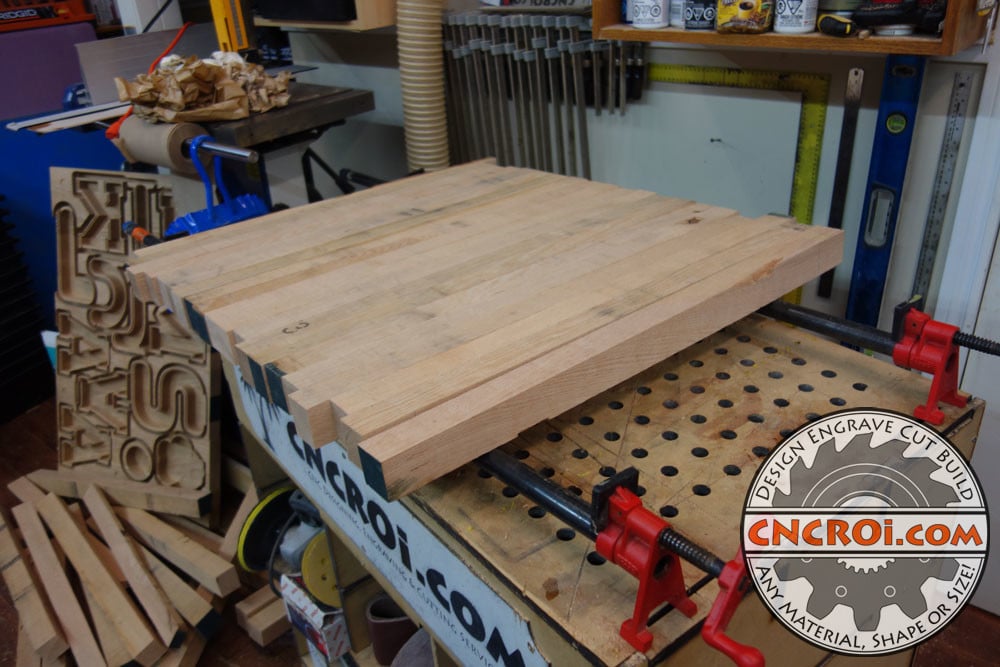
The glue-up of another red oak laminated board went smoothly, but for sure, flattening only the sides produces a lot more warping than three sides, something you only figure-out after doing this for a while the wrong way.
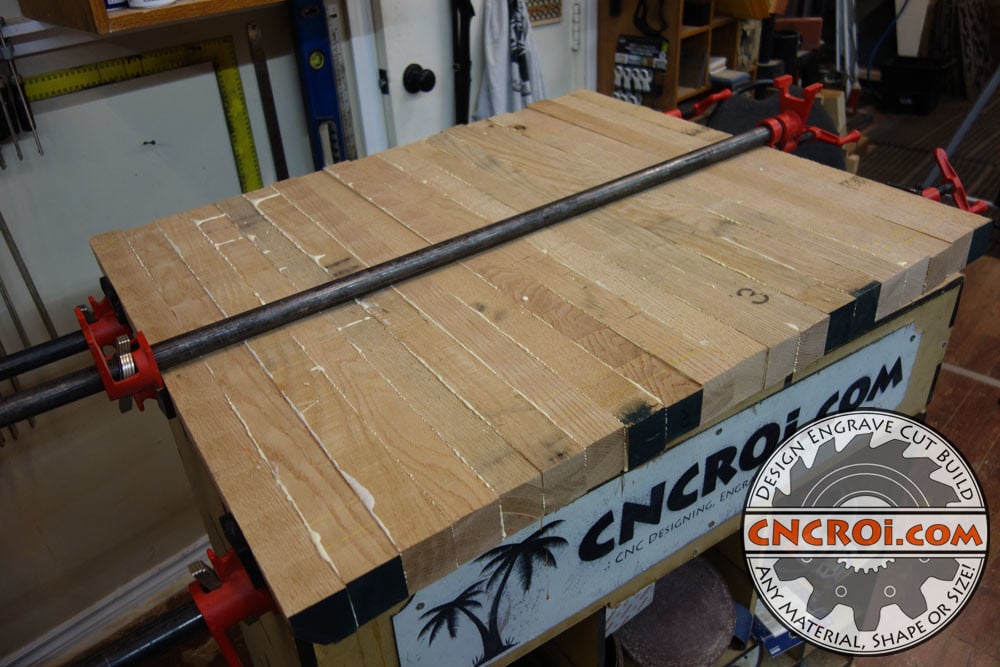
There are so many ways to make these custom banks but the focus is to have everything in one piece, there is already lots of glue being used to make the final product, cutting out one side and then screwing-in the window is the most efficient method to make these cost-effectively in volume at CNCROi.com.
I have enough material to make three laminated red oak boards with my last lumber haul, trying to make these as big as possible, and yes, they do get rather heavy.
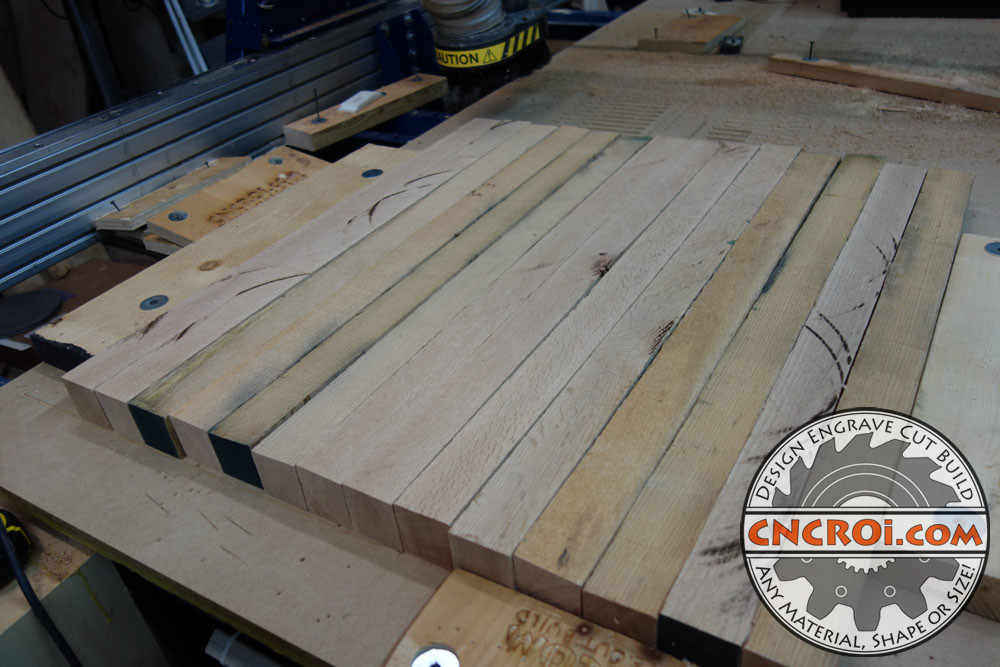
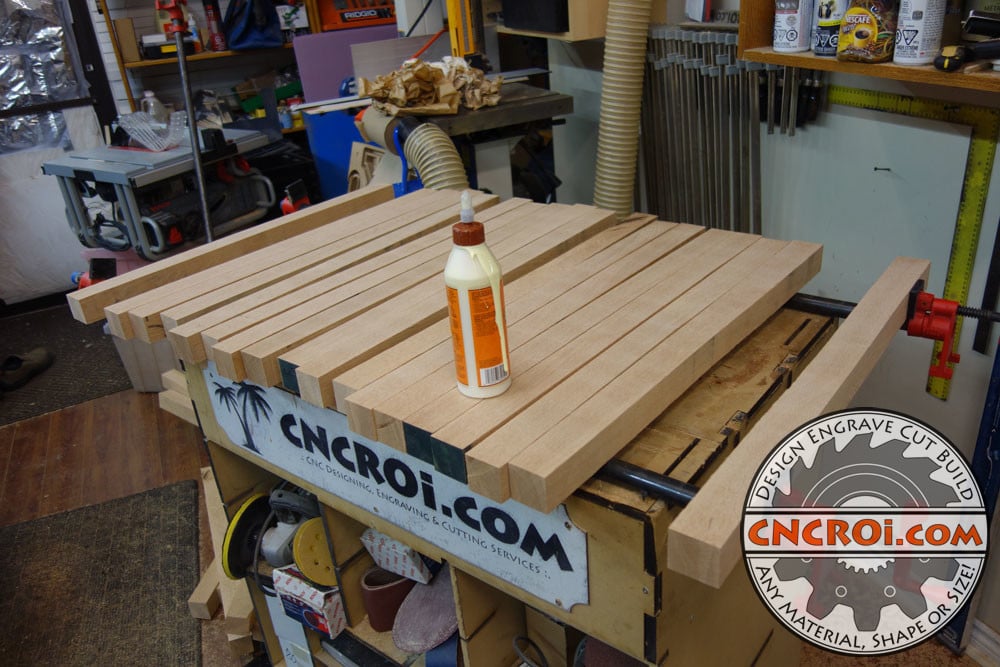
Throughout this entire process, I’m moving boards with knots or imperfections to the outer edges so that I have my banks in the best place possible with as few of those issues as possible in the middle of the board.
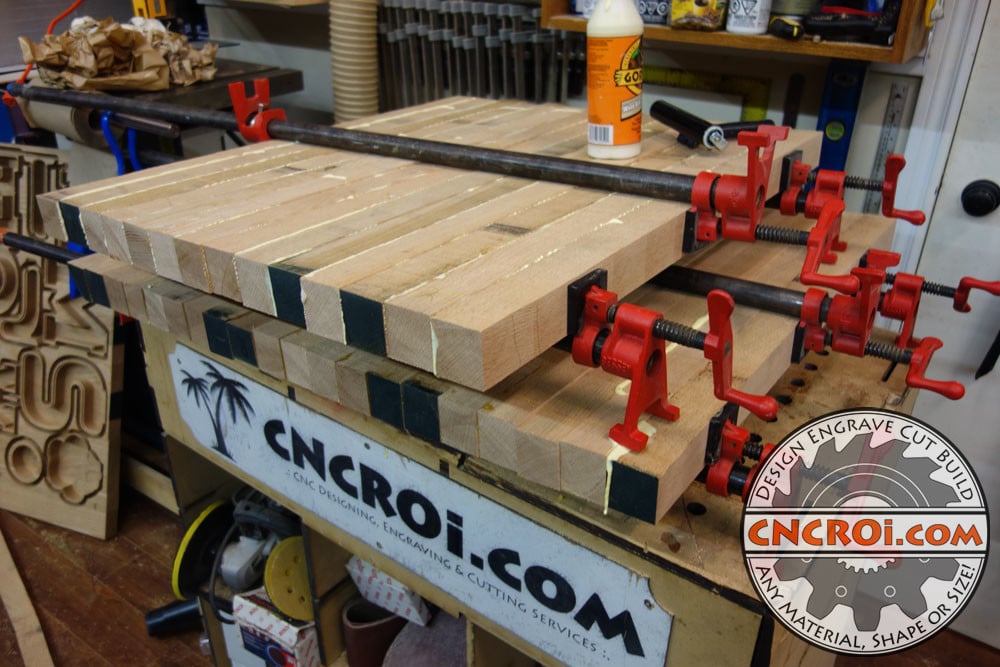
As for the glue, I don’t care if it drops onto another board, it really makes no difference at all, so I can just keep stacking my glued-up boards that will become custom red oak bank as high as I want, as long as everything has time to dry over the course of a day or two.
And now for the third board, the goal is to have all the boards as flat as possible so that both sides show close to no daylight between them, this is why this works so well for finished laminated boards but it does come at a cost, lots of saw dust.
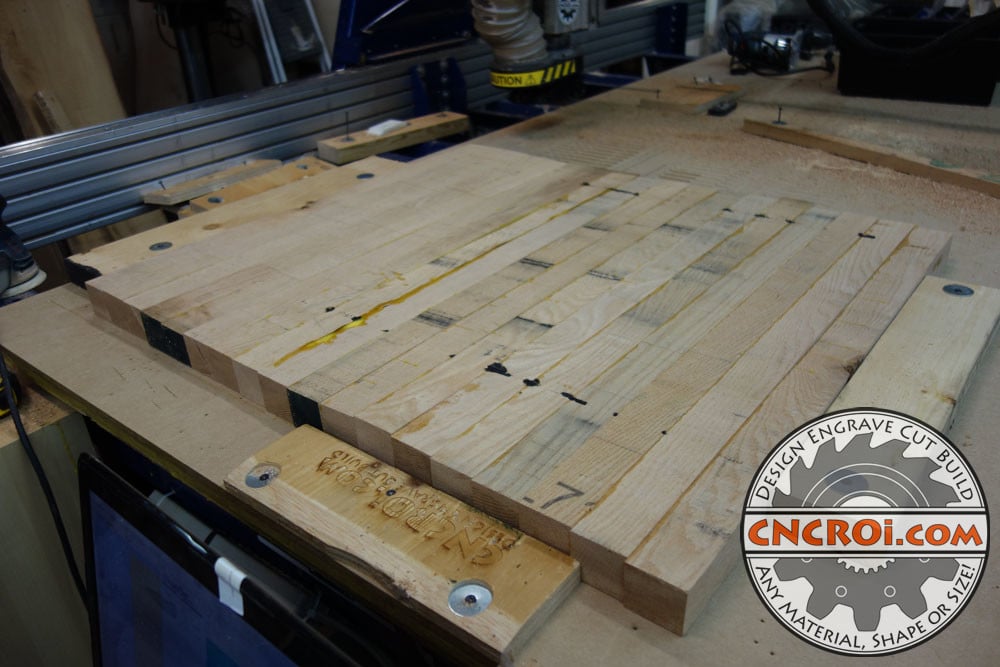
I can only go as “high” as the lowest board, so if one is particularly warped or “small”, then all the other boards need to be made the same height, in this case, the lowest common denominator wins the race at CNCROi.com.
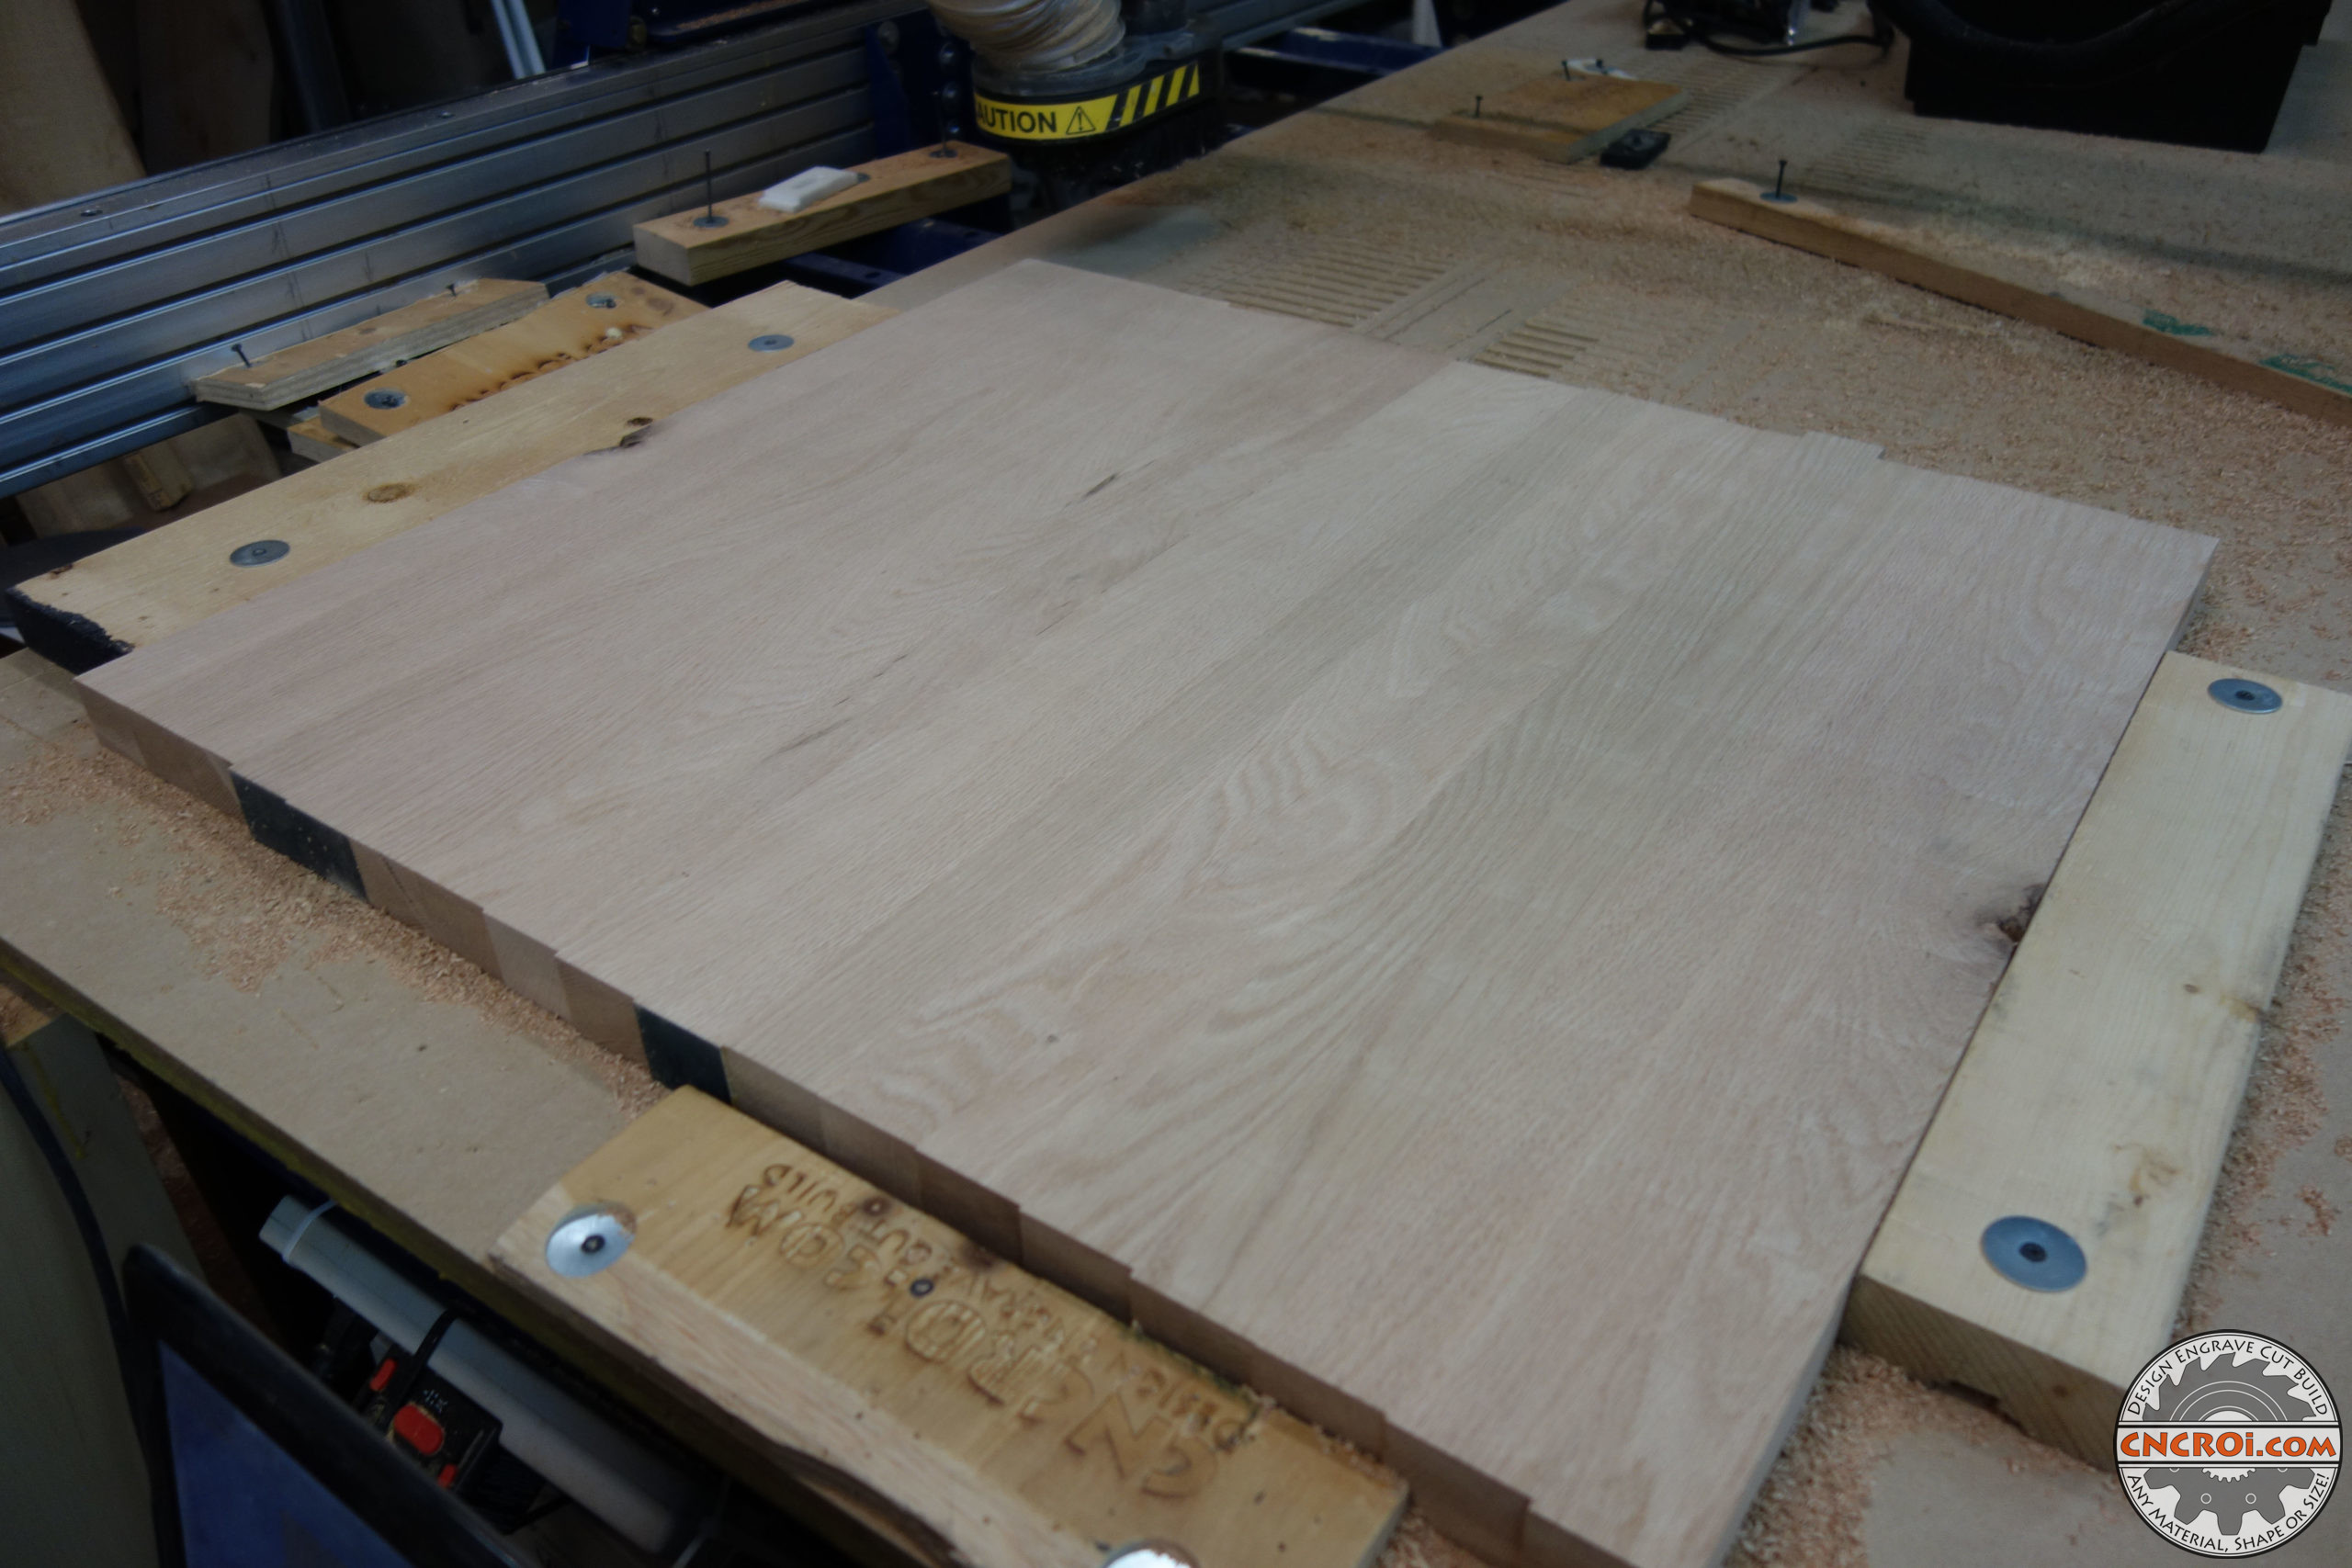
The process of making these custom red oak bank prototypes and eventually, the final finished product ready for sale is the same used to make custom trays and other items at CNCROi.com, just the process is slightly different.
After everything is flattened and parallel, on both sides, then it’s time to cut out banks, from my fun in the last run making the scrap banks, I decided to test out the first letter in the bottom right of this design file to see how much of the lessons learned were applied.
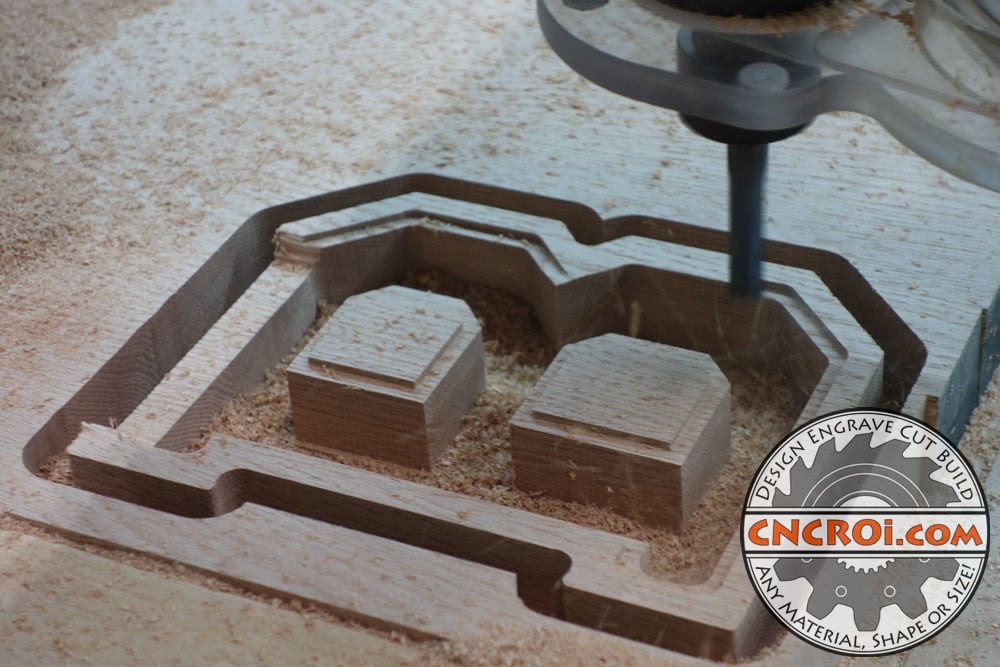
Once that checked-out, then I cut the rest of the banks out from red oak laminated board that I made earlier at CNCROi.com.
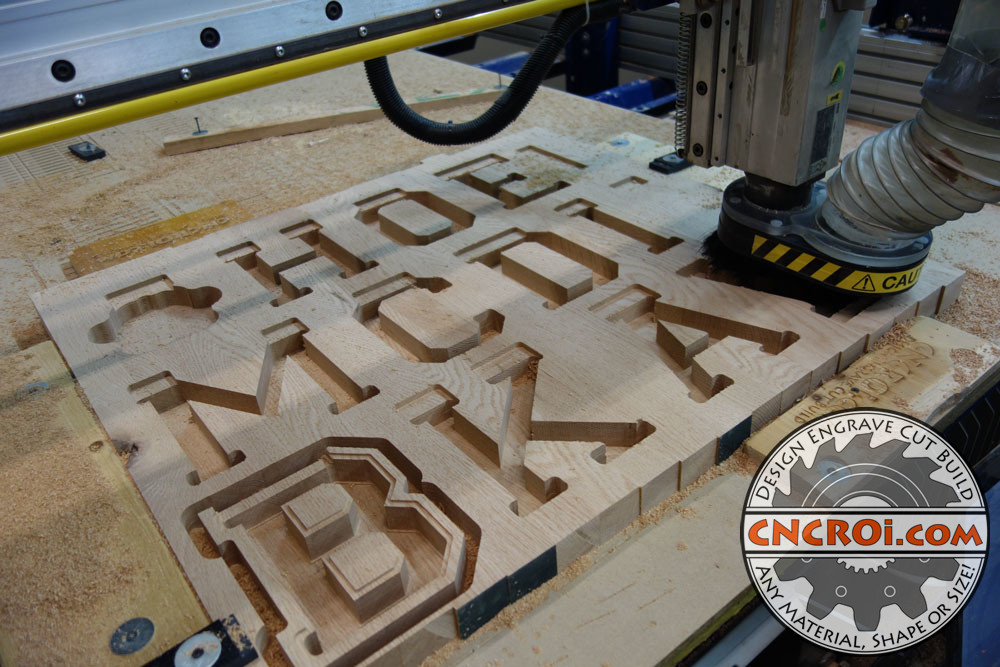
This looks great to me, optimized the feeds and speeds further and overall, the results were very good – this is really the first time that I turn the design into a physical product for evaluation at CNCROi.com.
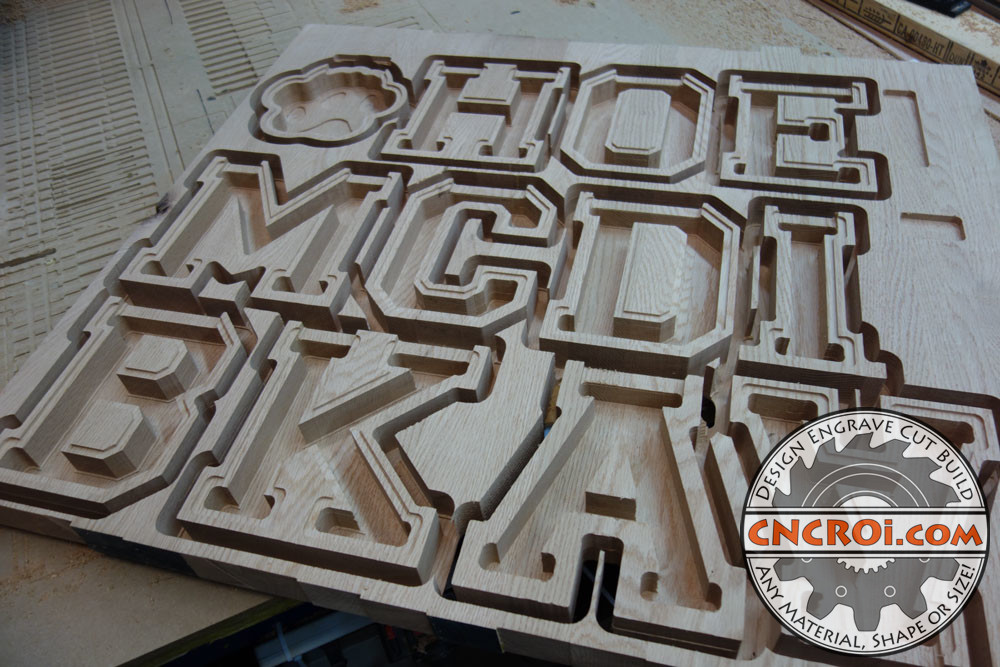
After the board was cut out to make lots of red oak banks, it was time to cut them out, as I don’t have a router table, I made my own using my trusty sanding table that I laser cut a long time ago.
https://www.youtube.com/watch?v=LTfJfvbOO1s/
Making your own furniture allows so many possibilities down the line, I’ve lost count of how much sanding, building, gluing, painting and other activities I’ve done on this custom downdraft table through the years, and now I can add routing to the list!
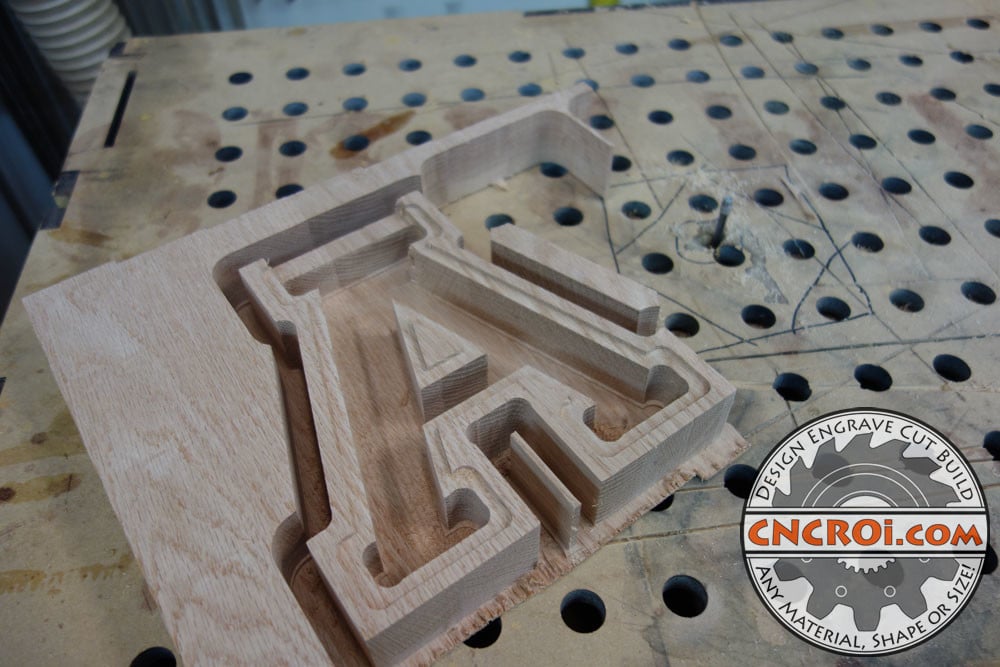
The router table might not be pretty, but it’s among the most important pieces of furniture and tooling I have at CNCROi.com.
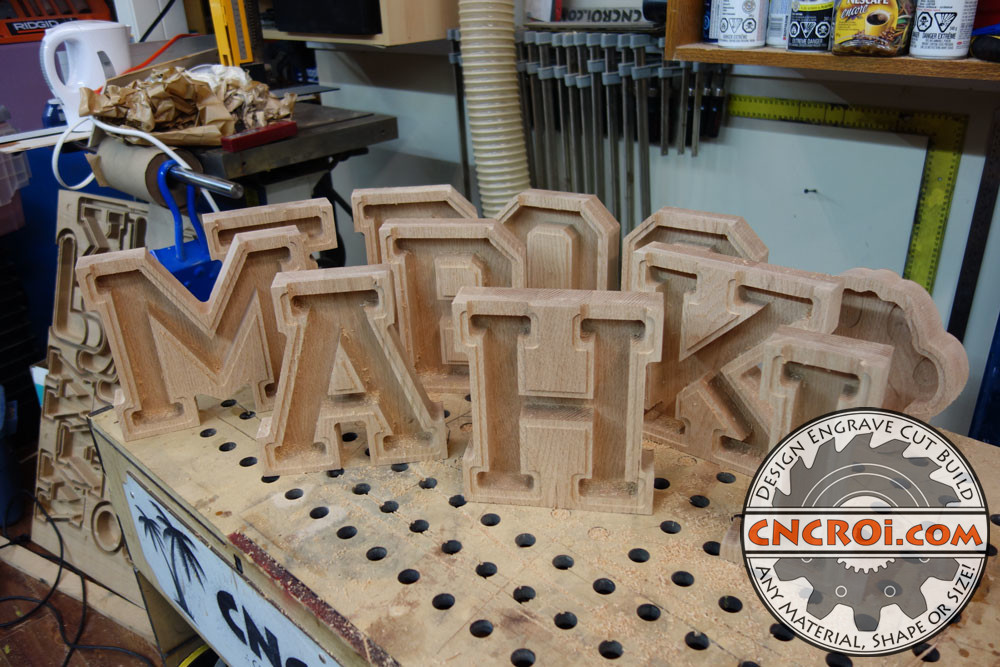
The first real laminated board that become a production run of custom red oak banks came out fantastic, I was very happy with the results.
Flattening live edge boards is something I’ve done a lot of at CNCROi.com through the years, the results now are a lot nicer, just from experience, from the first time I did it.
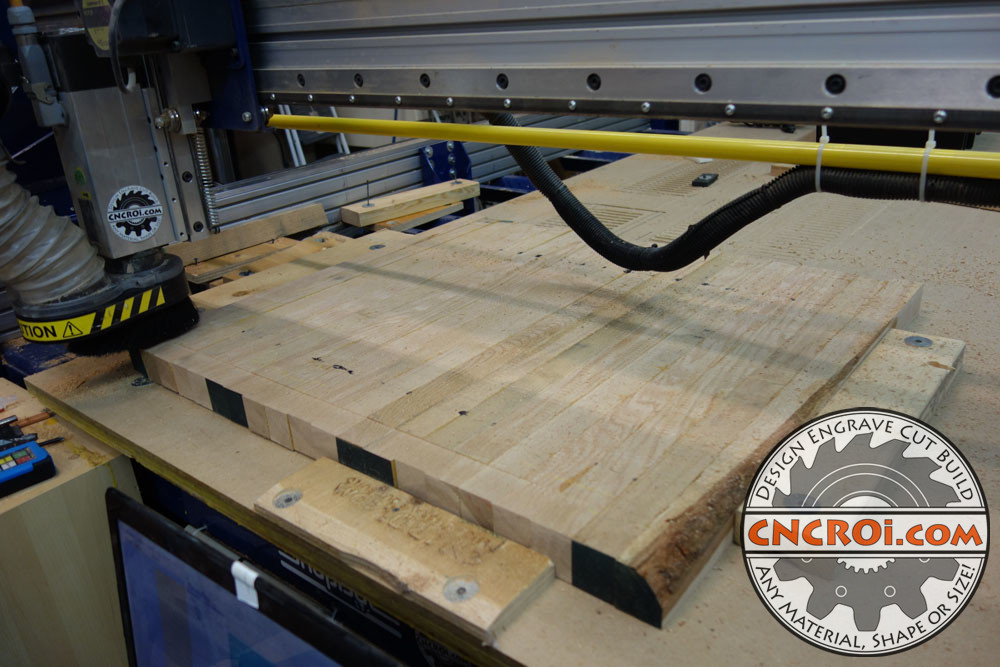
So it was time to make another run of custom red oak banks at CNCROi.com, using the same design profile I established earlier, the only way to prototype something of this nature it to actually cut it out, again, throughout this entire process, I’m still very much adjusting my router settings for optimal results with the fewest issues.
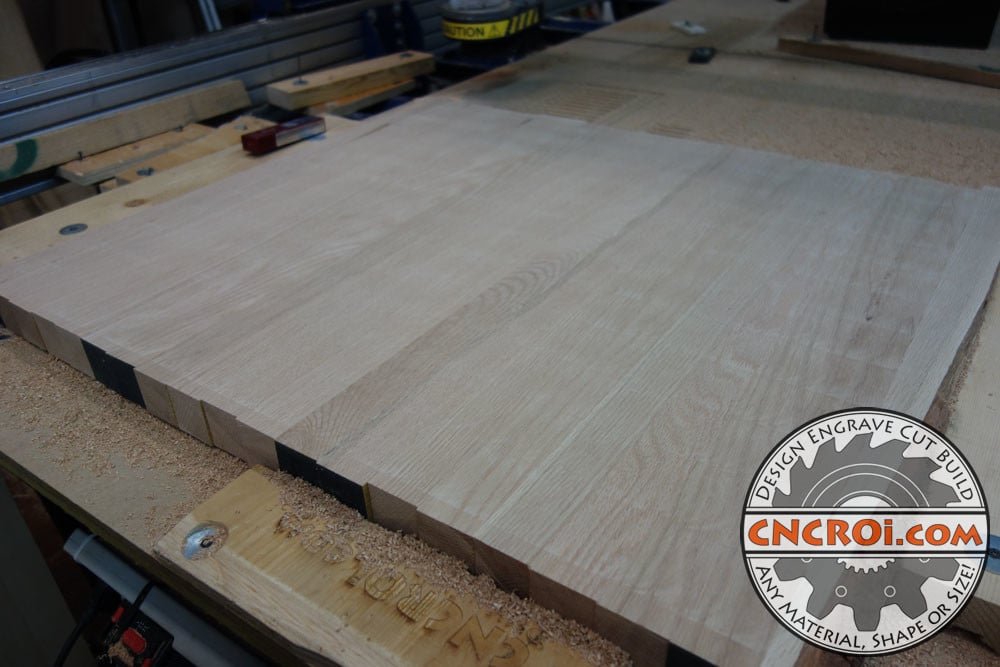
While the designs are being cut on the router, I can test out the front window process, something so simple for this custom red oak bank prototype is actually pretty time and material intensive, basically, I want to establish as few steps as possible, to go from the original design to a working and good fit front window.
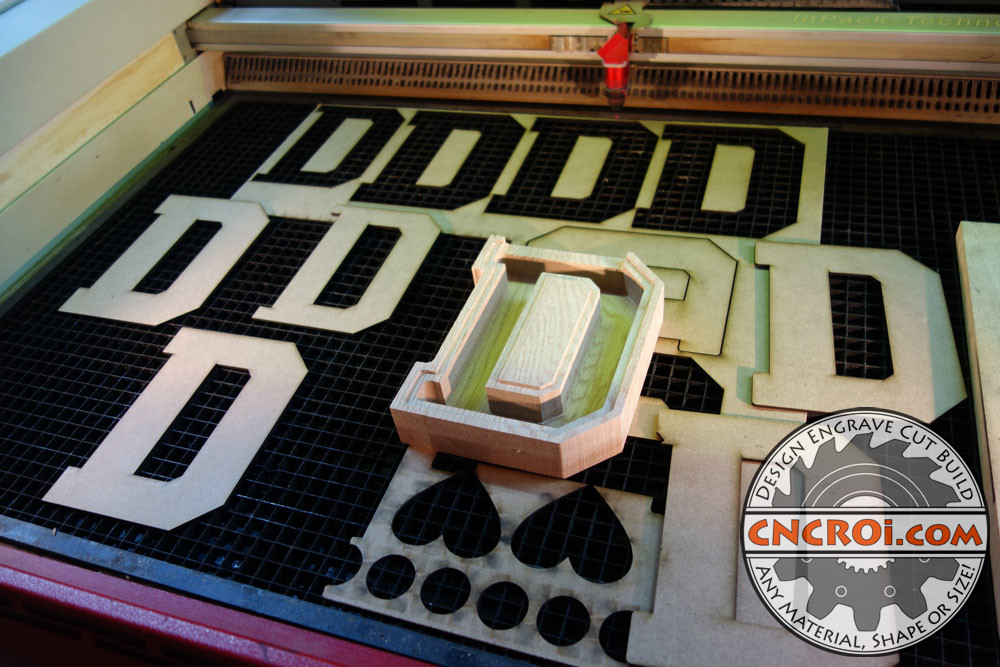
Of course, the front window will also have the screw holes in it, as acrylic cracks under pressure, and I also wanted a visual reference regarding where the custom red oak bank screws go.
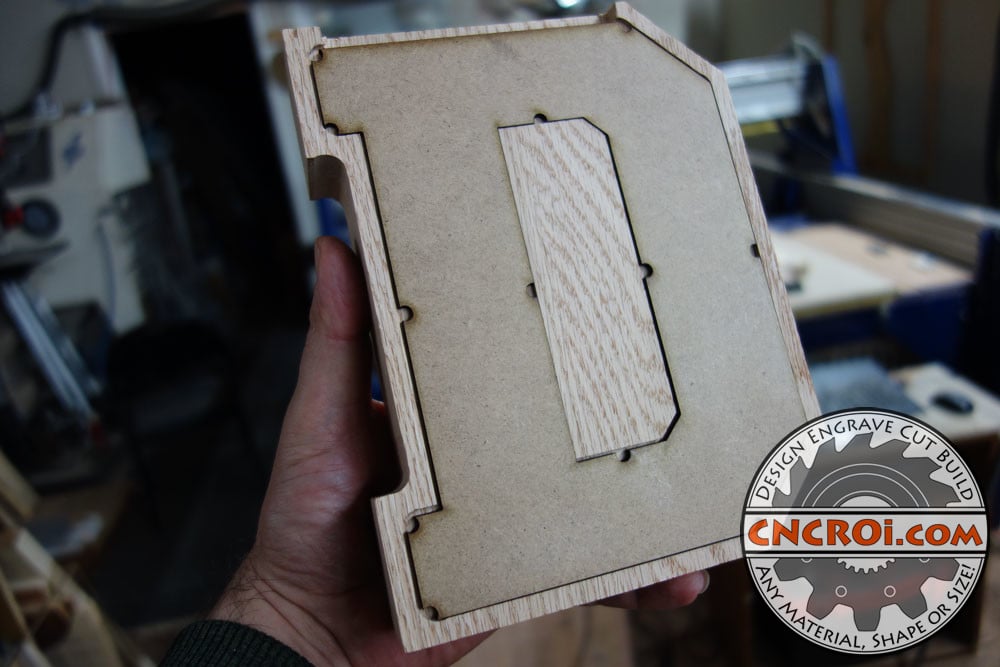
I’m certainly no stranger to MDF, I’ve used a lot of it through the years, it’s cheap material that works well for many applications, including prototyping front windows for custom red oak banks.
The first run of custom red oak bank prototypes worked well, so the next step was making more of the alphabet, this project took so long to get sorted because I was simultaneously prototyping 26 separate designs at the same time, across two machine platforms at CNCROi.com while optimizing every step of the way.
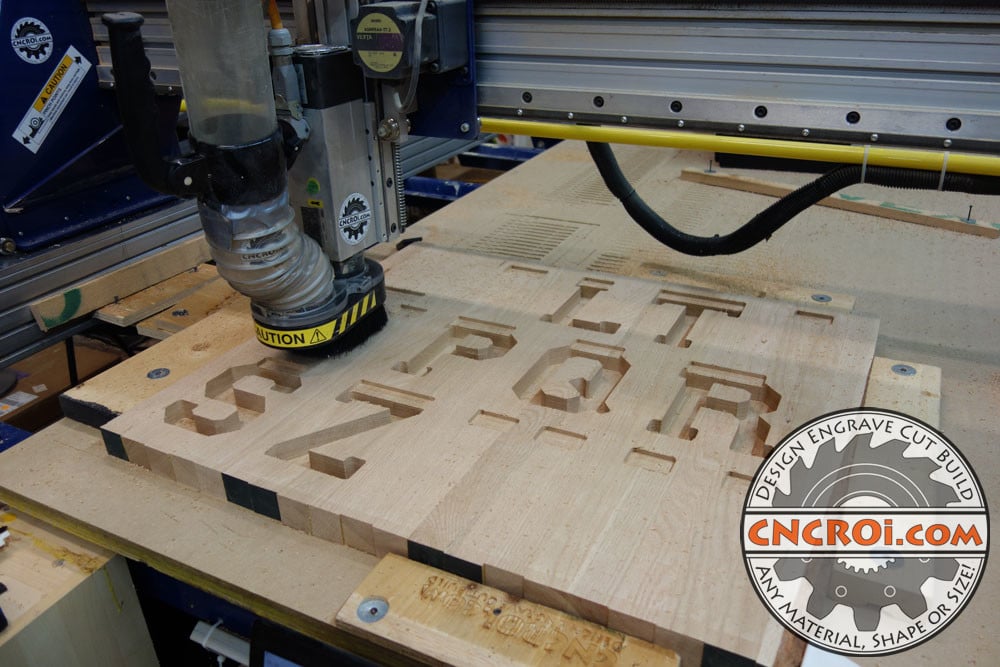
The results from this production run of custom red oak banks went fantastic, cleaner results across the board, less production issues and less mistakes from design to cutting at CNCROi.com.
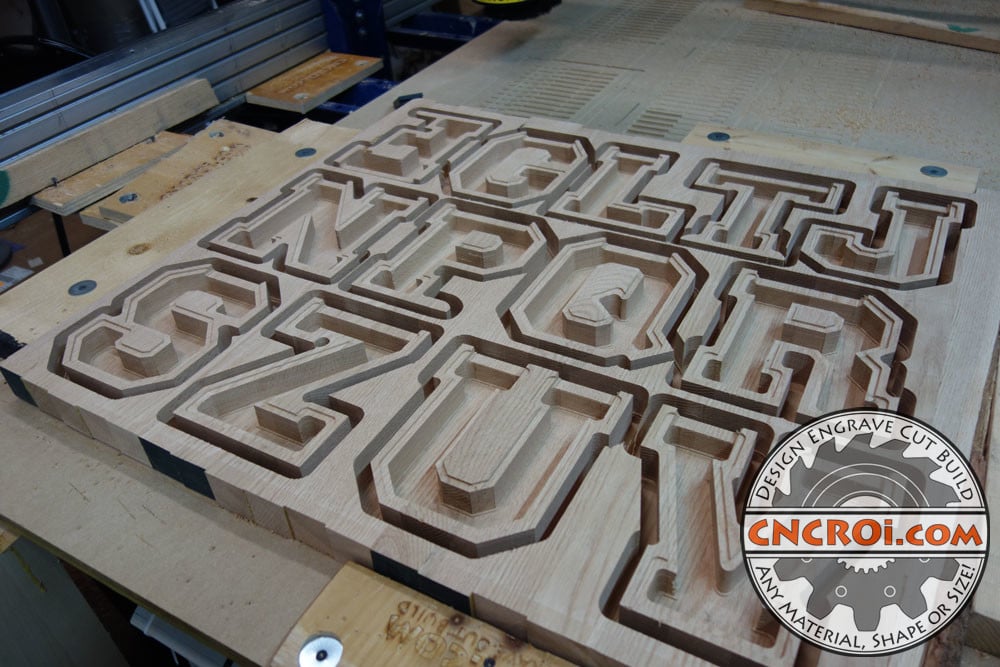
I also got my front window production sorted on the custom red oak banks so now I can essentially cut it once and the first time, it fits perfectly.
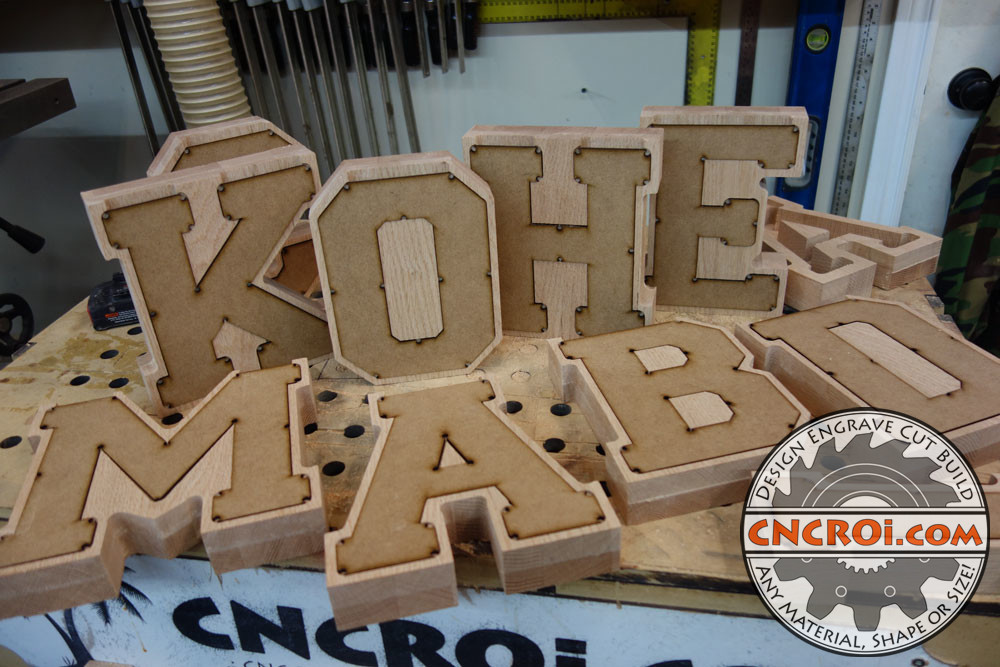
Using the jigsaw worked great for cutting out the custom red oak banks so I decided to see how it went using the bandsaw, what a mess… back to the jigsaw for this process for sure!
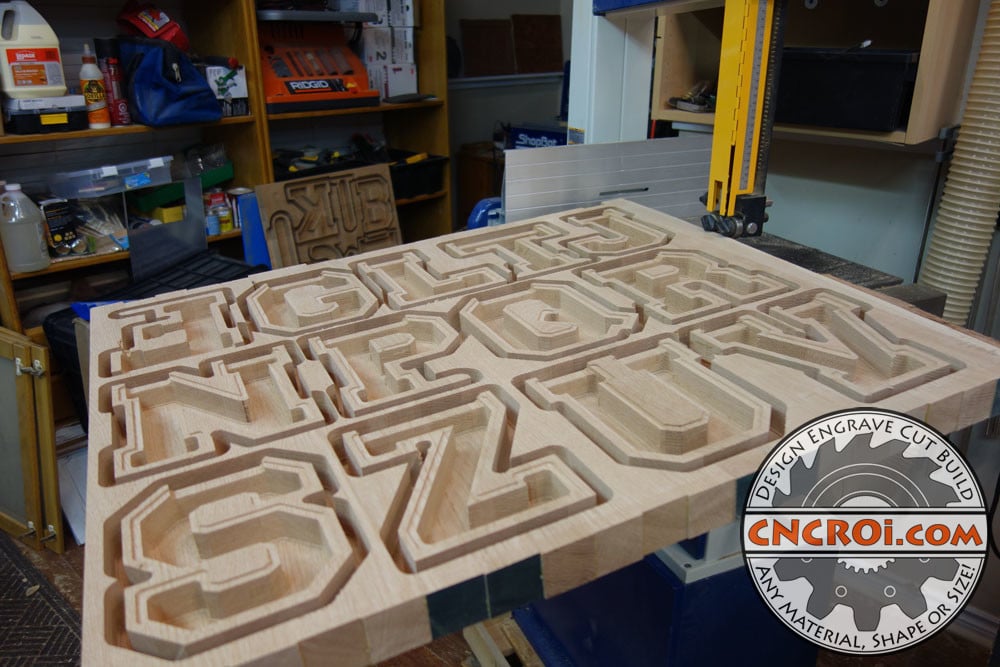
The problem with the bandsaw is the throat kept getting in the way, which severely limited my motions and movements for cutting out the custom red oak banks from the laminated boards, an issue the jigsaw has none with.
Each thing I’ve done through the years has helped with the production of these red oak bank prototypes, there are many skills, processes, design parameters and optimizations across the board that need to happen to make what looks seamless, actually be so.
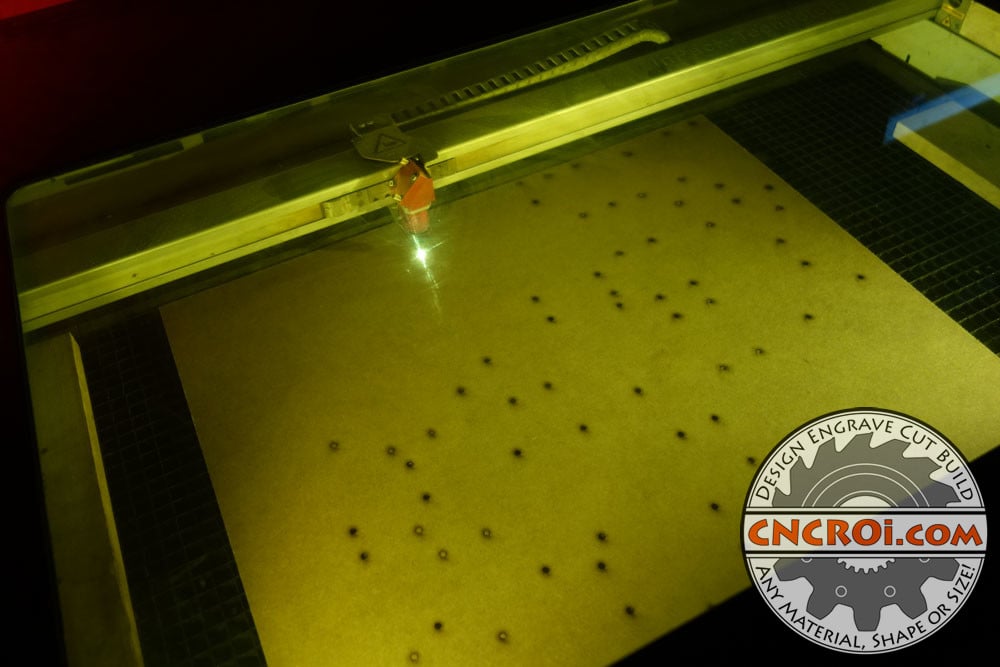
Now that I have my production of windows down, and repeatable, I was able to cut those out of the MDF very easily at CNCROi.com without any waste.
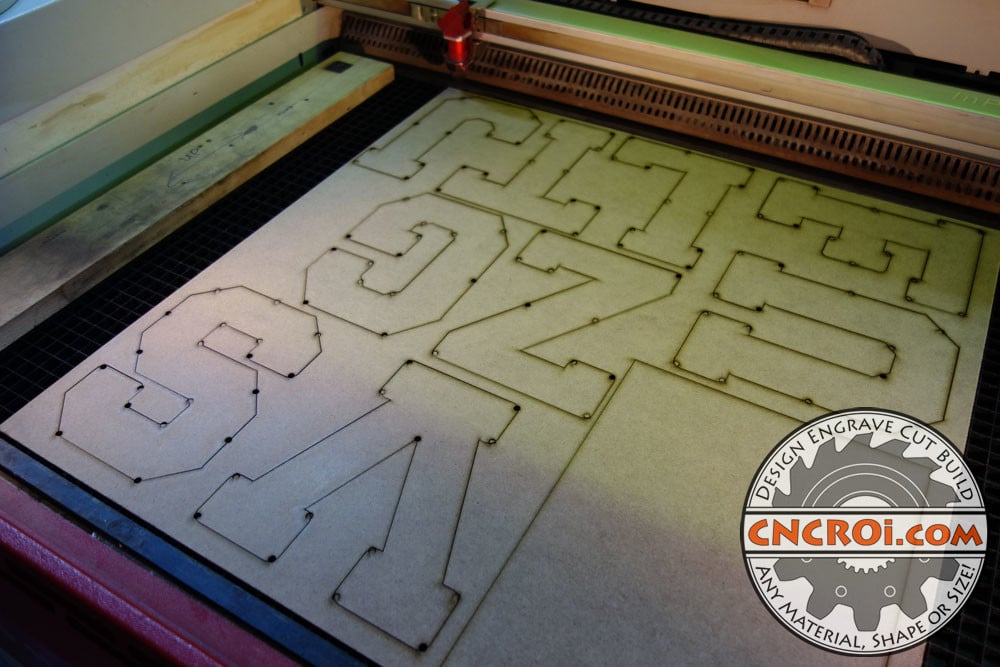
I was very pleased with how these came out, of course, all of these custom red oak banks needed to be redesigned with a lot more room for the coin to more easily fit in them and to increase the internal surface area for storage.
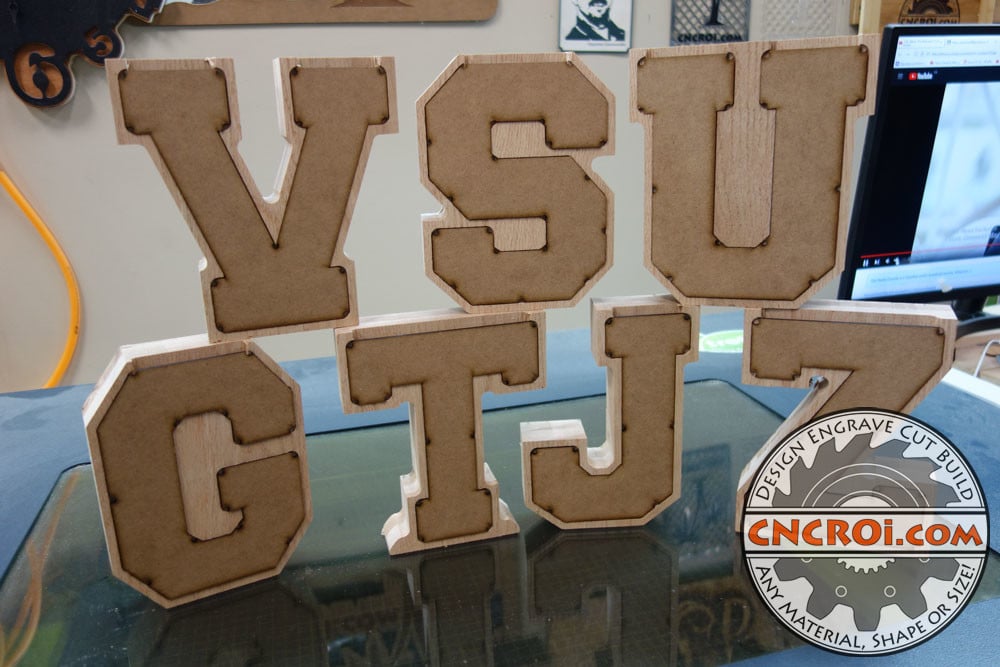
A few missing letters but no problem, the results are wonderful, now that I have this sorted, I can now fix all the design issues and make basically any custom red oak banks size and shape far easier thank to weeks of headaches behind me at CNCROi.com.
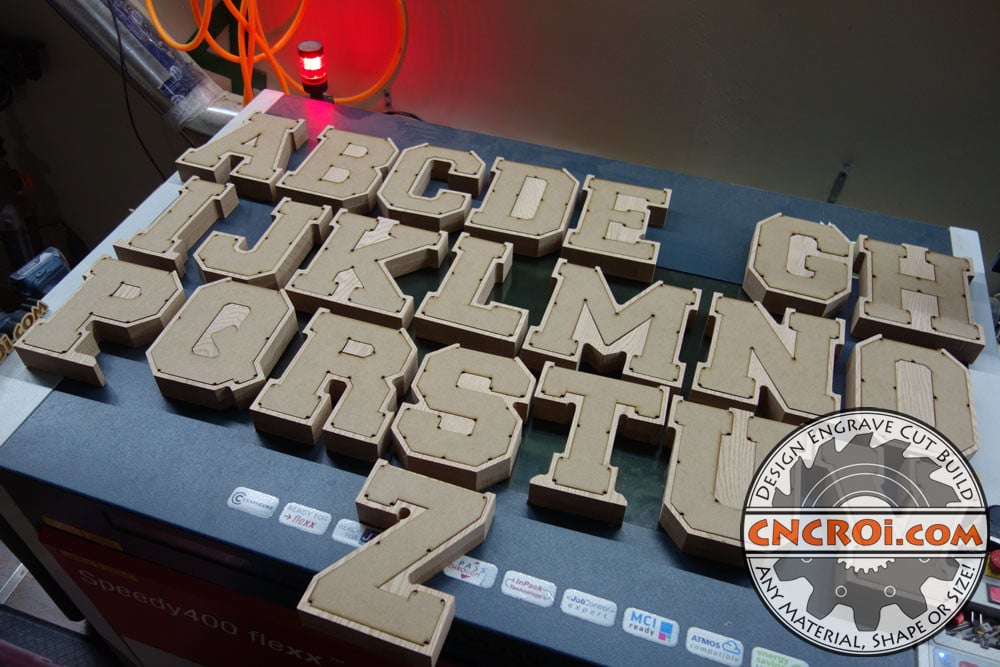
Need custom banks? Site coming soon for online ordering!
