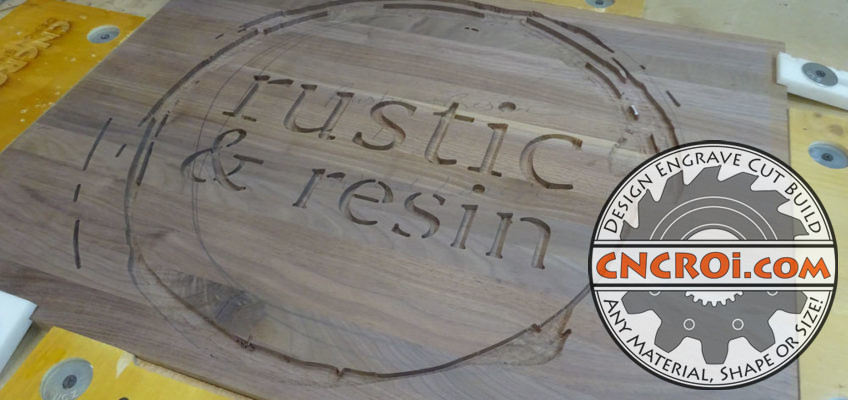
Walnut Carving
The options when it comes to Walnut carving design possibilities at CNCROi.com are limitless.
https://www.youtube.com/watch?v=8xflSM0C_zI/
Before carving the wood, it’s always good to mark on it exactly what will be done, including orientation and rough sizing, this way, the possibilities of mistakes is reduced dramatically.
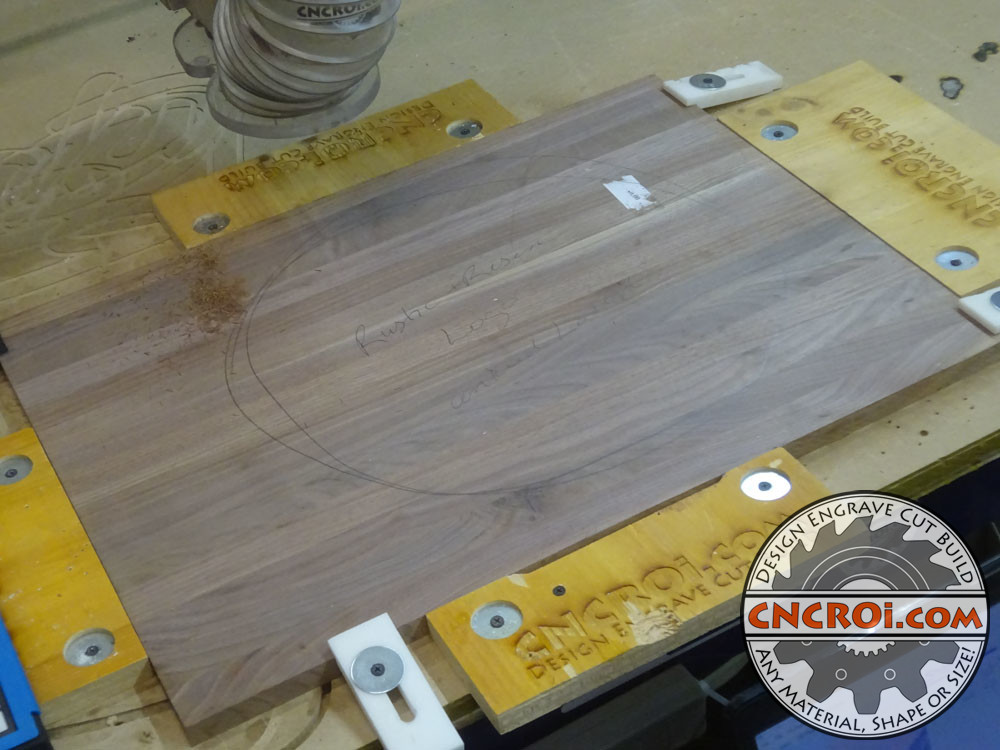
For this specific project, CNCROi.com used a 1/8″ bit while performing the entirety of this Walnut carving because it was the perfect mix of cost-effectiveness and resolution we’d achieve on this piece of wood.
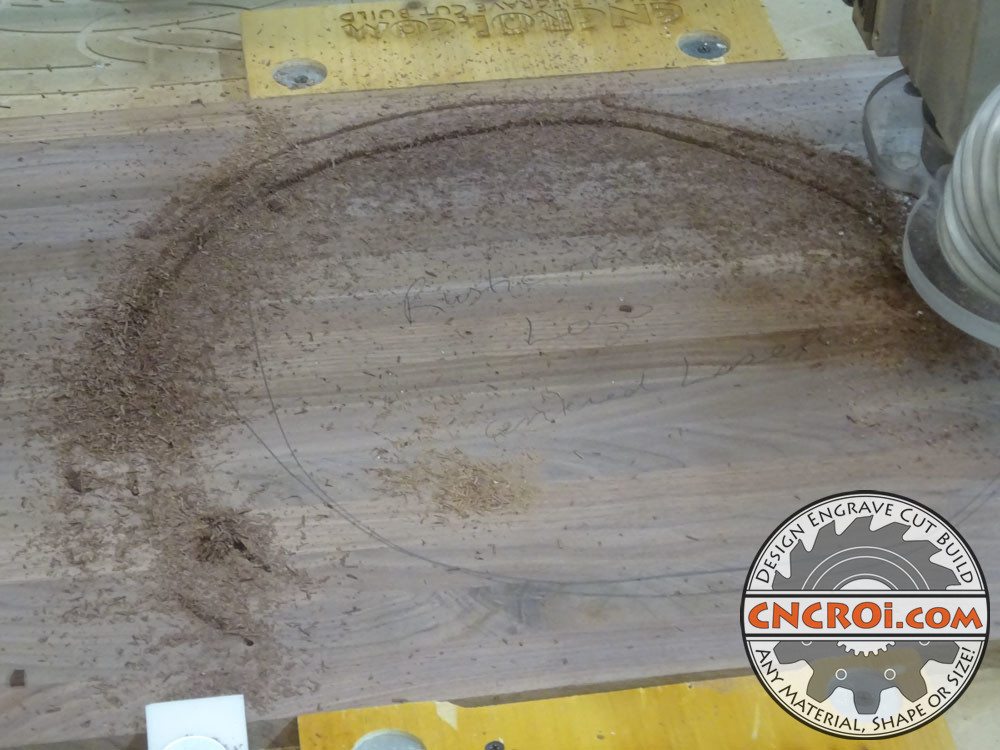
If you go with a bit that’s let’s say 1/16″, then you’ve doubled production time though the results will be twice as sharp but if you go with a quarter inch bit, then the opposite is true, twice as fast production though half the resolution.
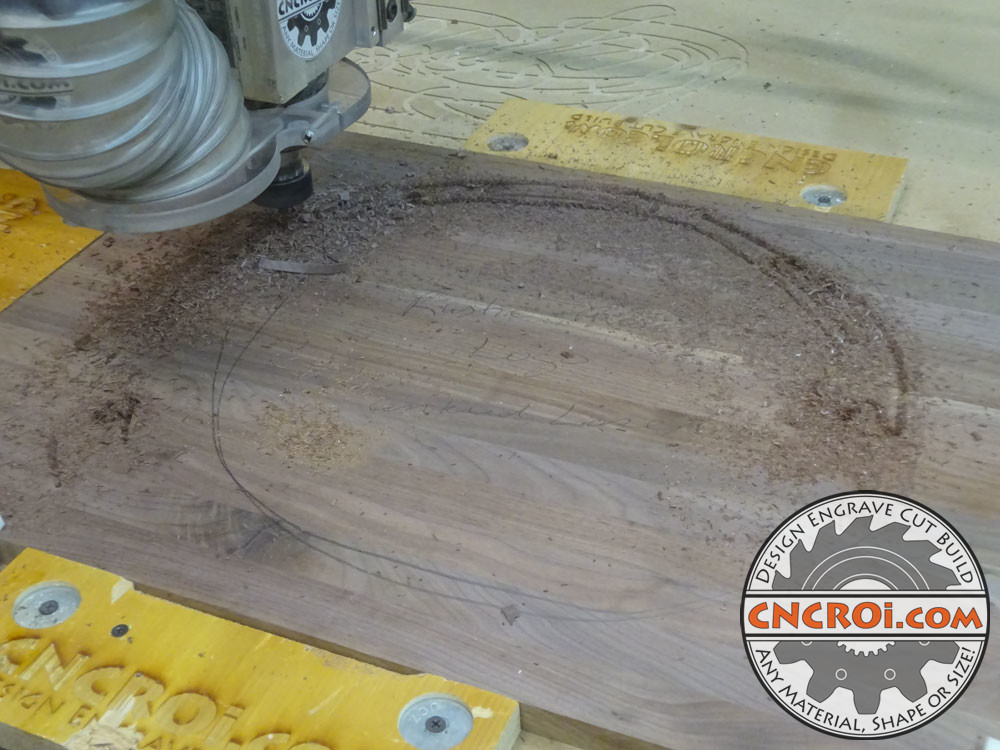
Unlike our CNC laser, the resolution we can achieve when it comes to carving using our CNC router is limited by the smallest diameter bit that we use but even so, when depth is required, the laser is SO SLOW that it quickly becomes cost prohibitive.
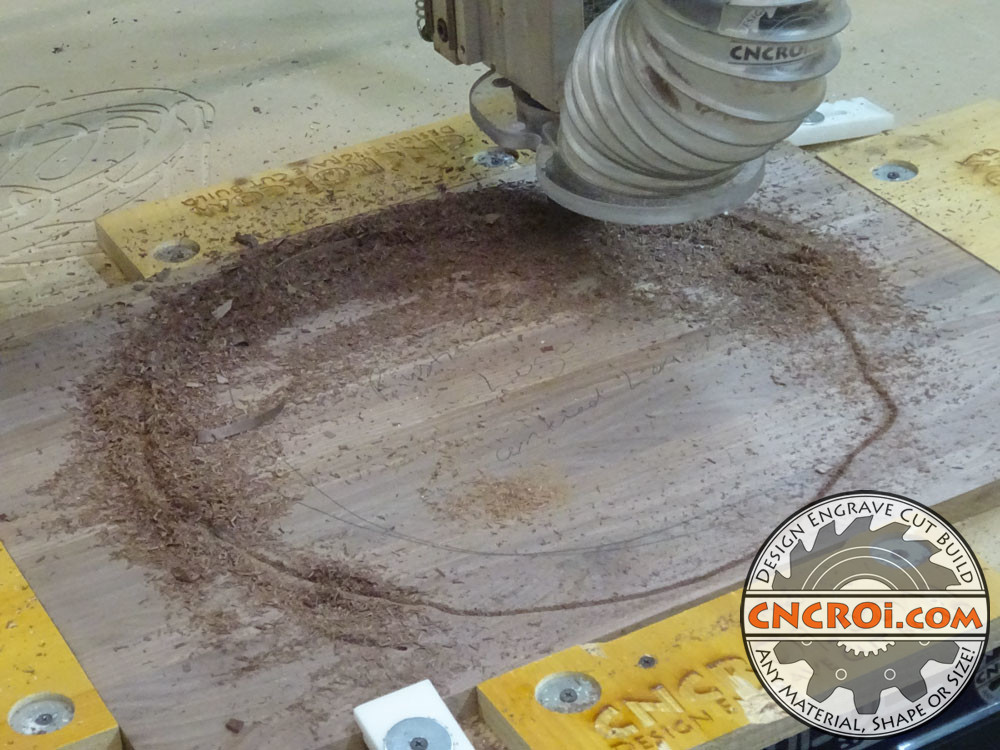
Some applications do involve CNCROi.com carving using our laser as well, each application is different and we use the best machine for the job.
https://www.youtube.com/watch?v=AomcVEF0i-s/
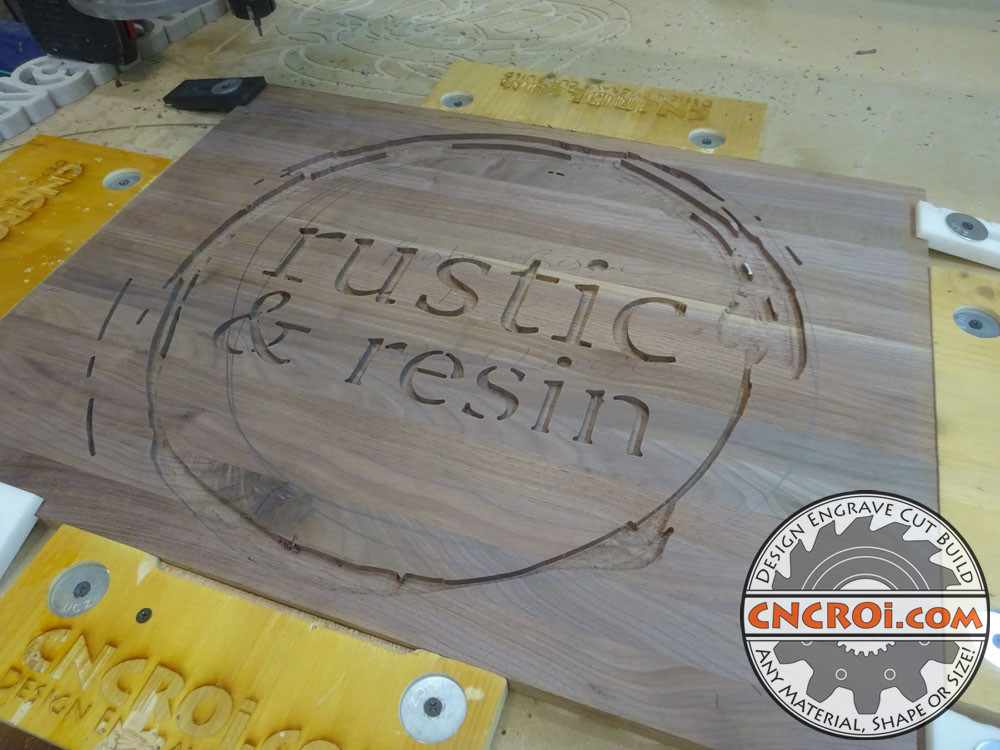
For this Walnut carving, the perfect mix of resolution to timing was the 1/8″ bit and as you can see from the final results a little further down on this blog post, the results are fantastic… keep in mind the customer will perform the finishing and resin fill to add a lot more contrast to the finished piece.
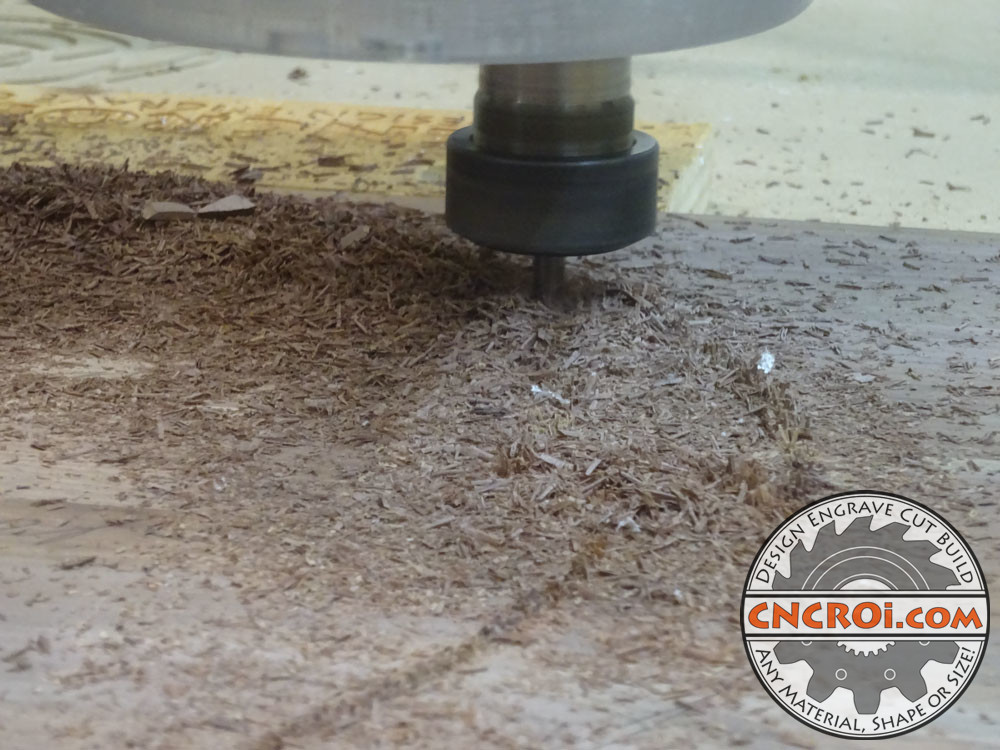
Each machine at CNCROi.com has it’s optimal envelope regarding speed, resolution and overall capabilities which is why it’s important to understand the material and the application the work will be put under so that we use the best tool for the job.
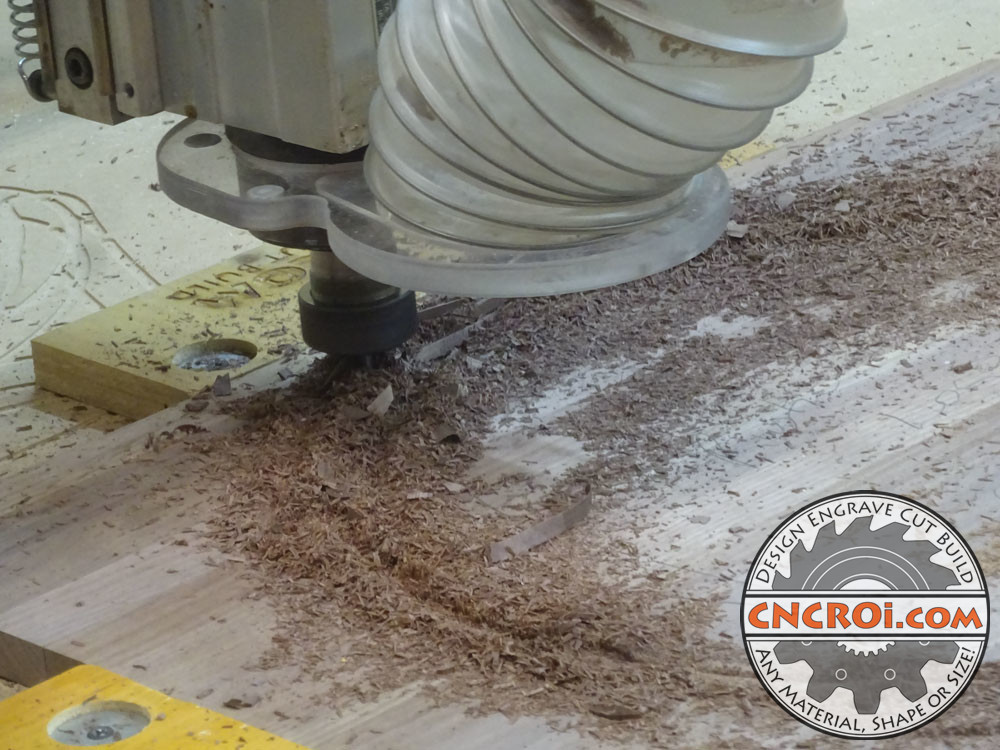
Just look at those Walnut carving chips, perfect size and diameter, this is what makes CNC routing so much fun, when you have achieved the perfect chip size which means the bits will last a very long time as the heat didn’t build-up on the chip but was thrown out with the chips.
https://www.youtube.com/watch?v=jb-rQCDsIwM/
Of course, you aren’t limited to only having Walnut, much less wood, carved into, Corian looks great too!
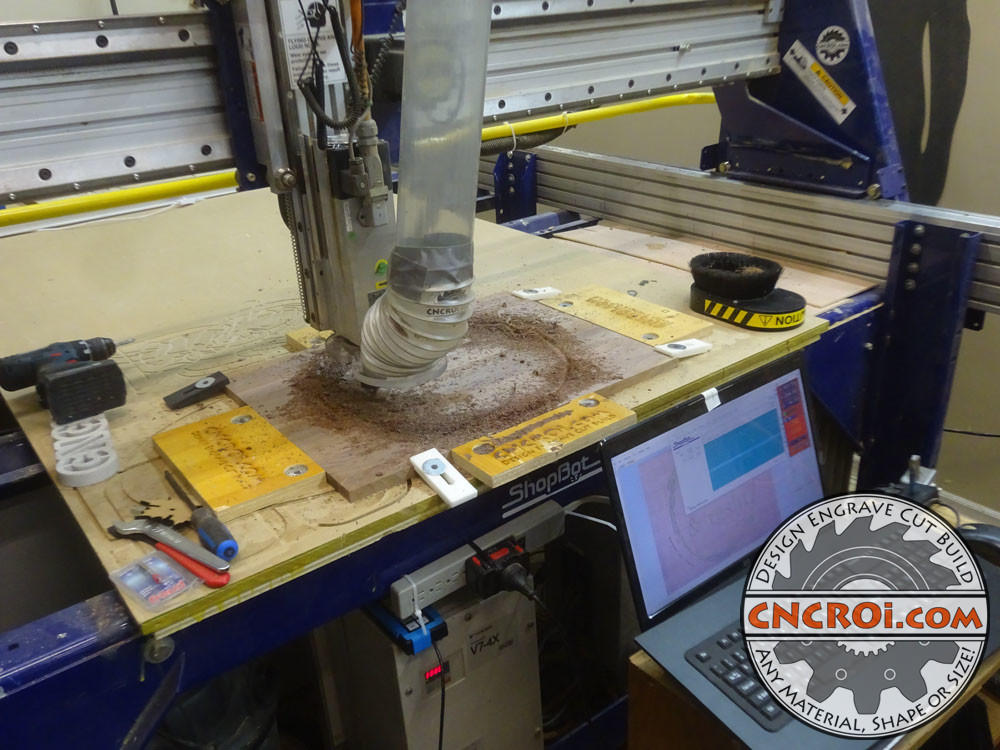
Although not as extreme as laser engraving Walnut, carving this hardwood does produce a wonderful smell throughout the shop so I always try to do this type of work between production runs of things that don’t smell as good like rubber stamp engraving or metal cutting on the plasma cutter.
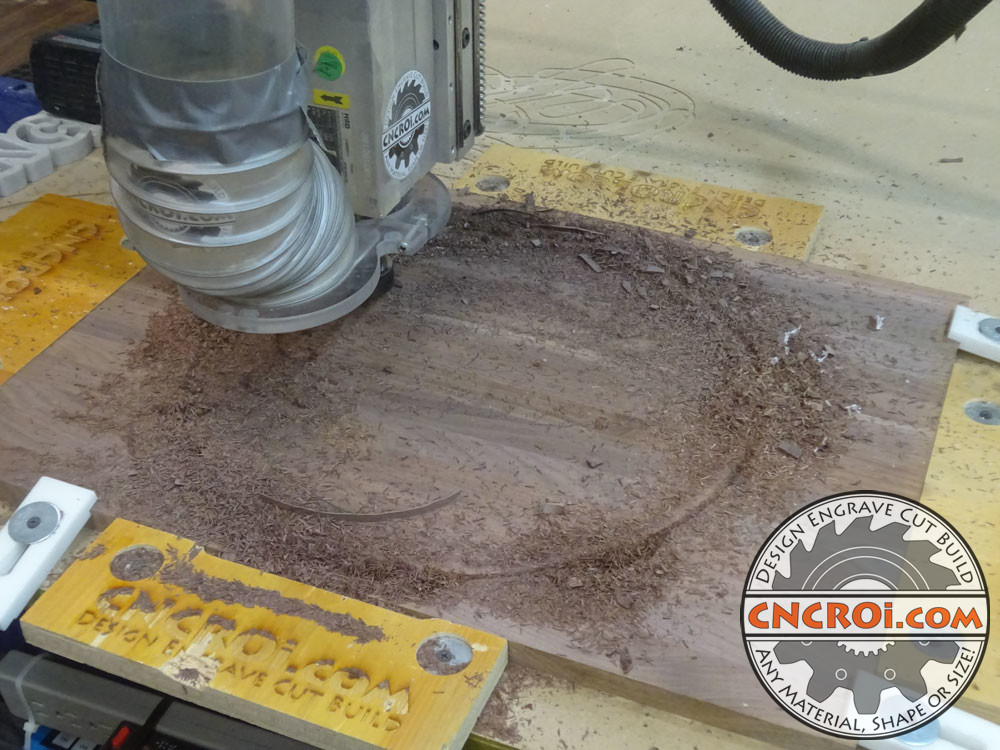
Unlike the laser, when it comes to Walnut carving, having pieces of dust and debris around the bit, though not optimal, has really no affect whatsoever on the finished results, CNCROi.com‘s router has a two-way feedback system meaning it goes the depth and speed you tell it to while the laser just lasers and the results are affected by the material density and debris that might be in the way.
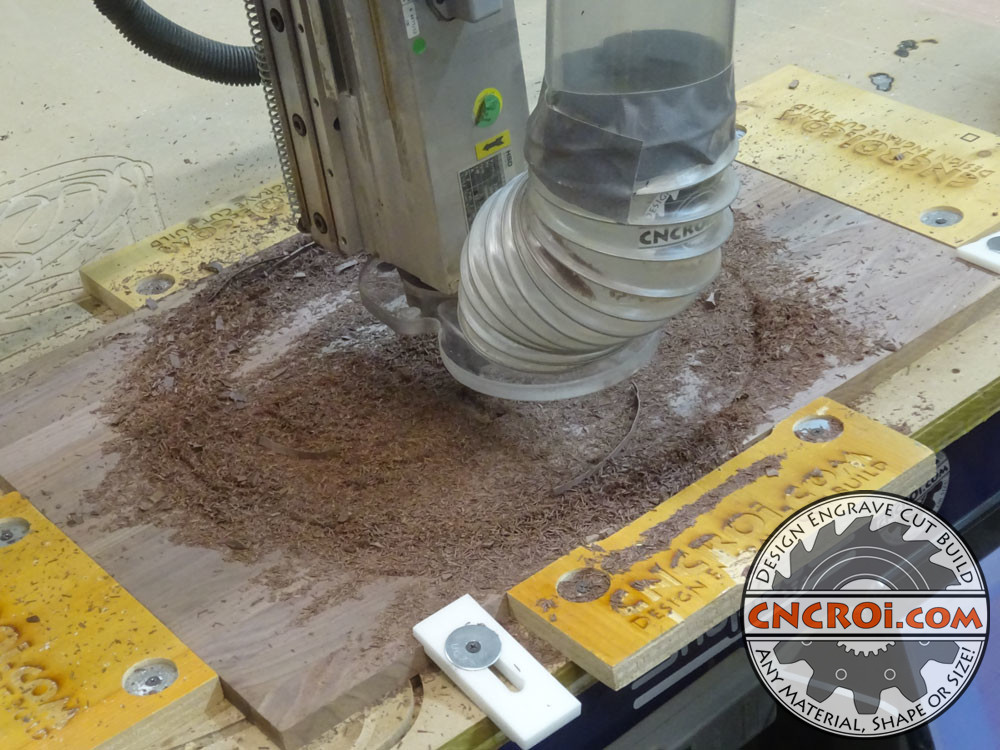
The Walnut carving sign (though the customer will do the actual finishing and resin pour), is looking a little ragged in the picture below but that’s just all the stuff CNCROi.com carved out of the Walnut.
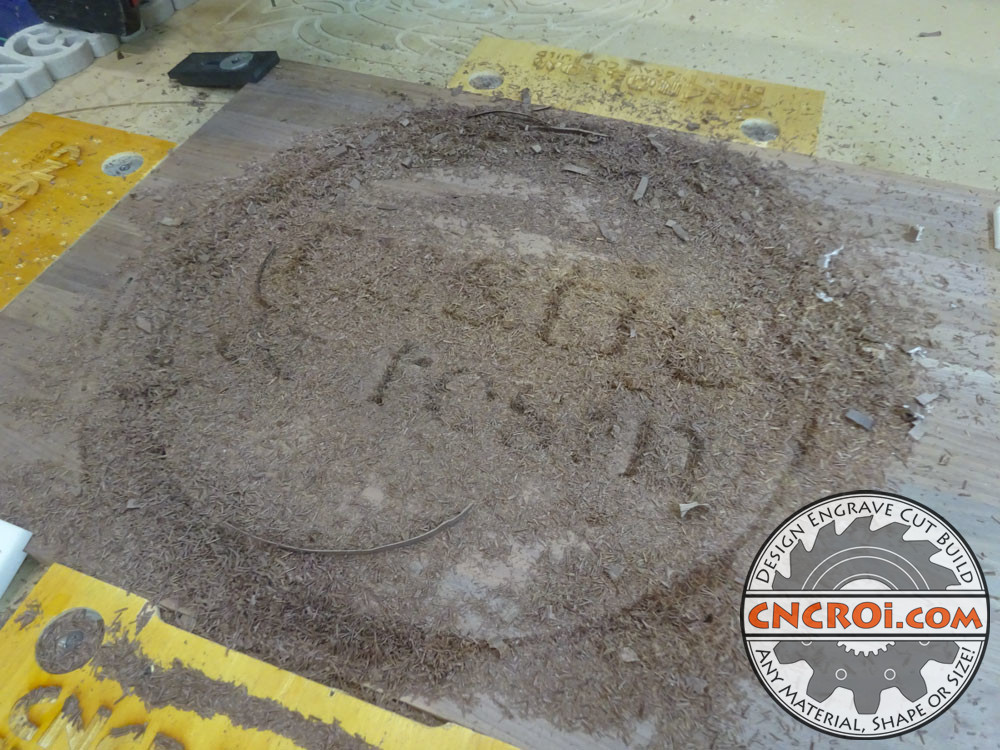
It’s quite incredible how amazing actual wood carving is like, CNCROi.com does a lot of it and the results are always spectacular.
https://www.youtube.com/watch?v=8Jvgg3ncdLw/
Once it’s vacuumed-up, the finished results looks quite spectacular and the depth is a quarter inch, which is plenty for a very solid resin pour, more than accounting for the removal of material involved with sanding the piece so everything is flush after it dries.
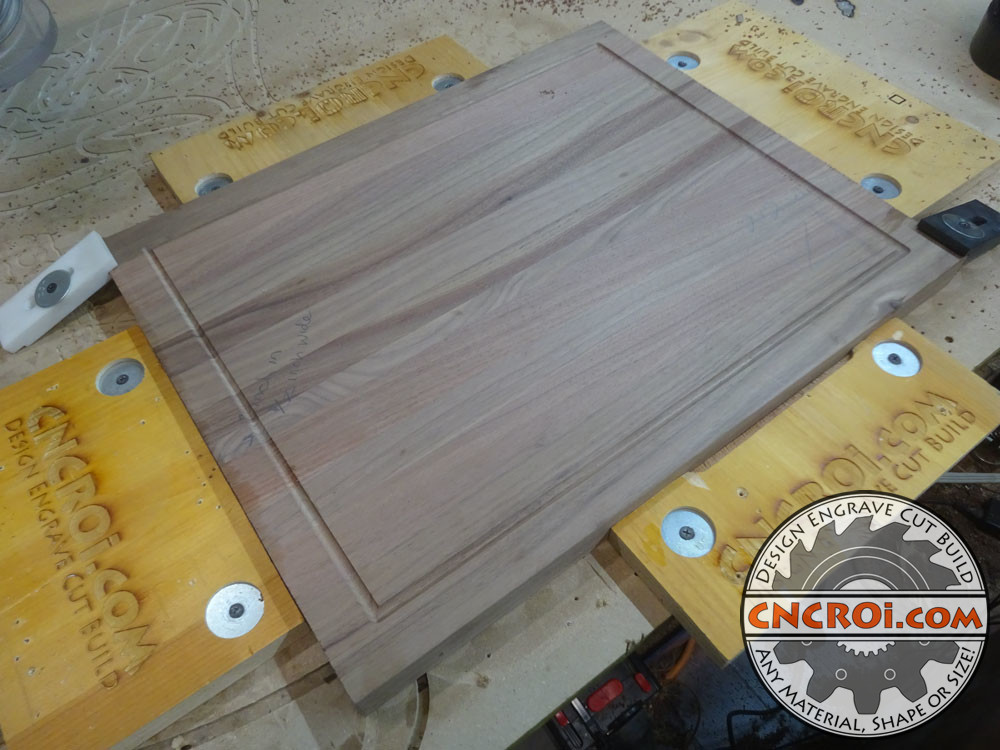
Next-up, we’ll transform two Walnut pieces using a round ball nose bit into cutting boards with a juice ditch all around.
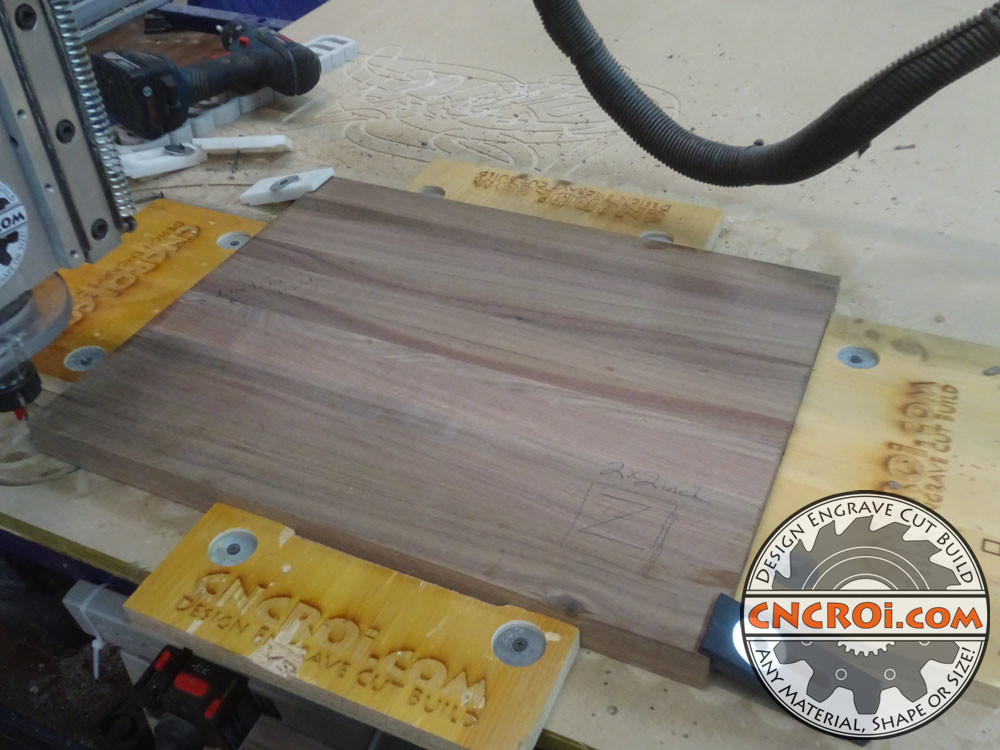
I’ve come to really enjoy working with ball noses, I tend to use them more often with actual carving jobs I do with my CNC routers at CNCROi.com but even when it comes to Walnut carving, it does a wonderful clean job that would be hard to replicated manually with a power tool.
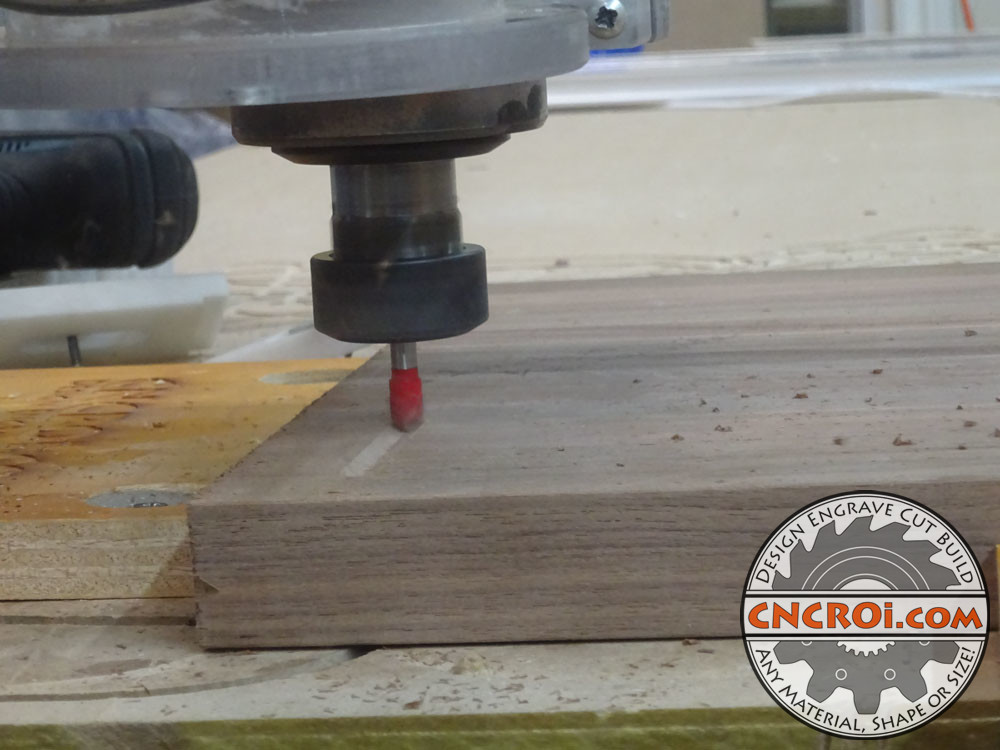
The problem with manually trying to achieve drip trays using a hand-held CNC router is that you need to have a solid guide otherwise your lines will be all crooked, with a CNC router, everything is straight from the get-go after making sure the board itself is straight.
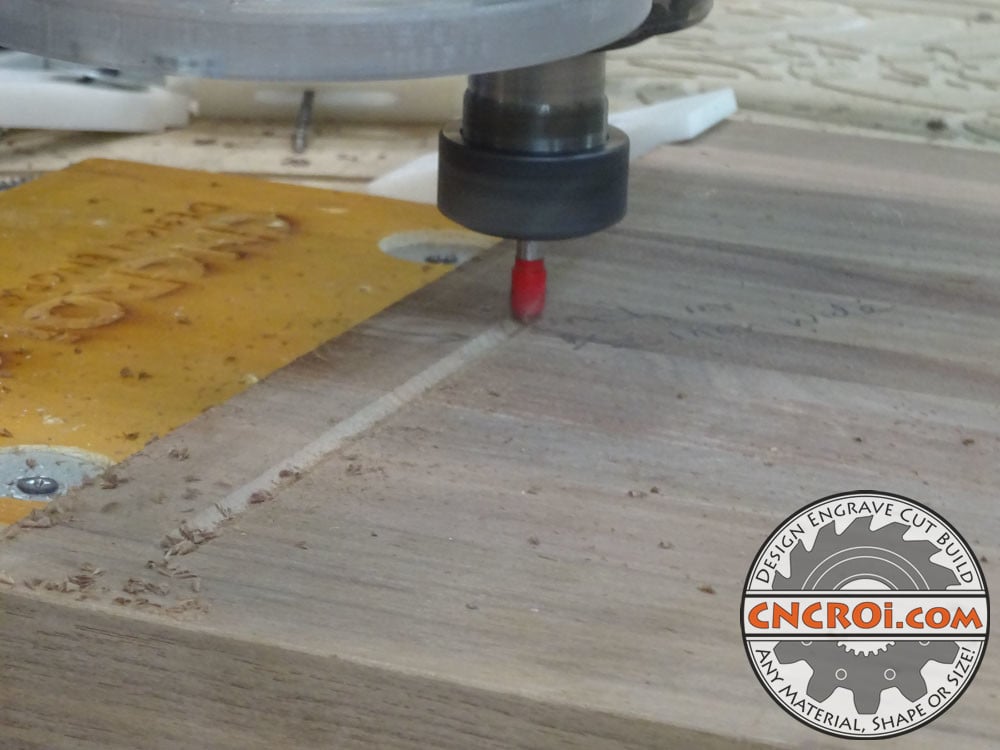
I really enjoy turning photos into dimensional art at the shop for customers, generally pictures are flat with no texture or life to them but once carved, the results are amazing.
https://www.youtube.com/watch?v=DwZQ8Z8fOj0/
CNCROi.com has extensive experience Walnut carving specifically though we also do a lot of work with Pine and other woods or laminates.
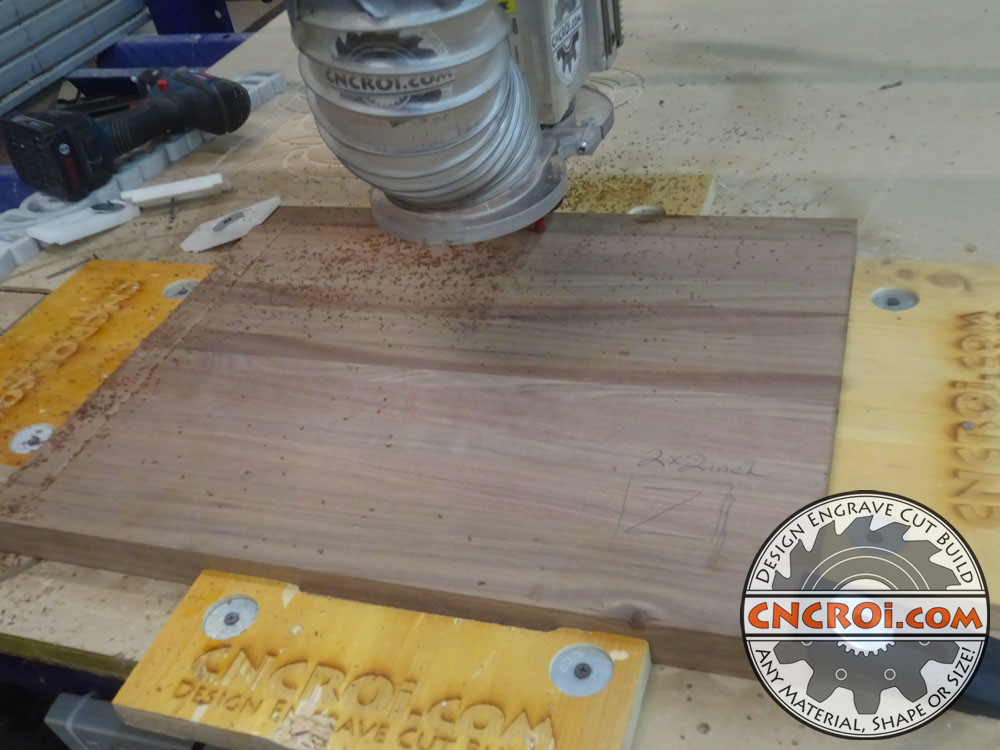
Carving Walnut is no different than other hardwoods, it is a little trickier with softwood because some of it can actually splinter but we’ve got our settings down to limit this as much as possible or use our CNC laser for intricate design requirements.
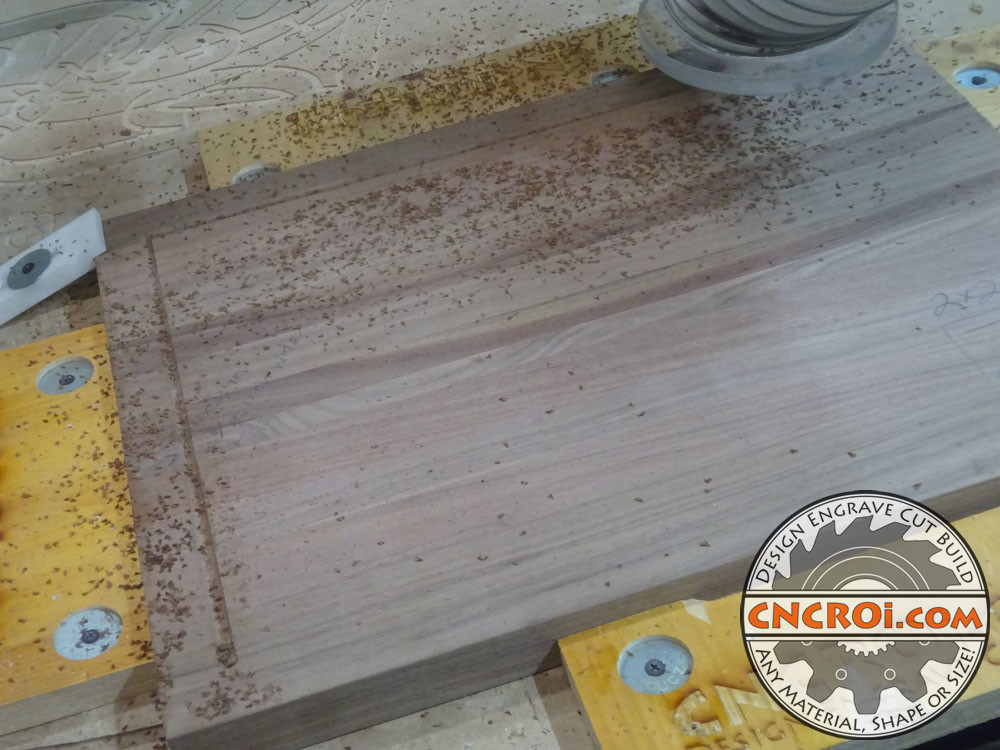
When it comes to carving, design files are generally black and white PDF but for carving work that’s relatively simple, line drawings are more than acceptable.
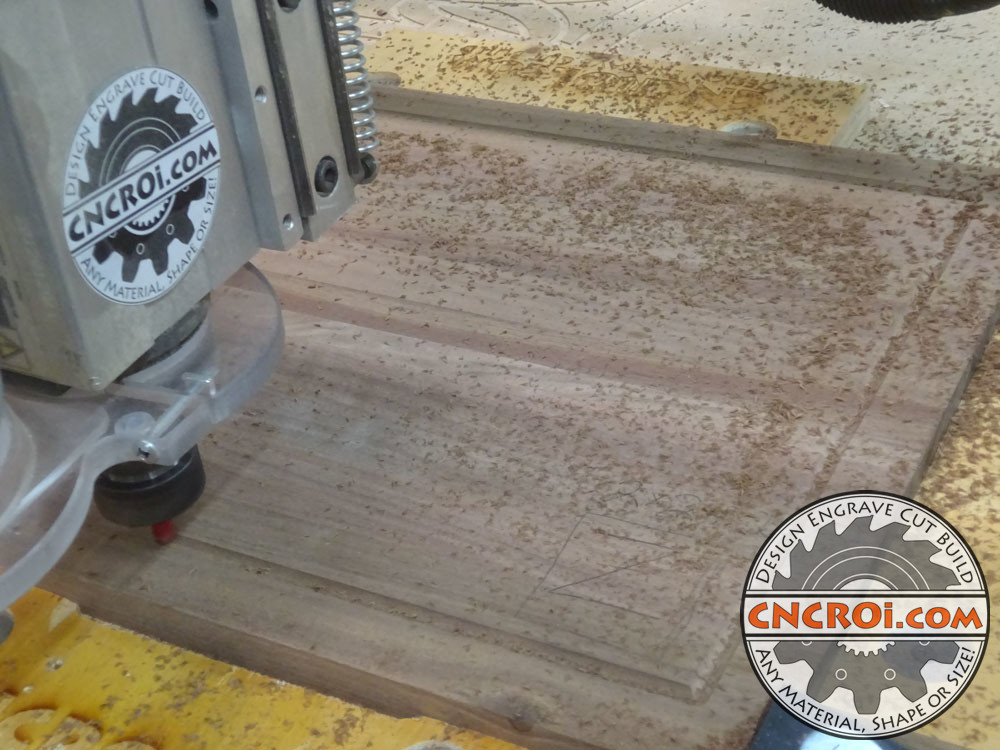
Each wood species or type produces a slightly different results, so knowing if something will be painted or not is very good to know.
https://www.youtube.com/watch?v=KwkHYjqDU-M/
There are tons of design options with carving, with lots of angled bits as well so you can have sharp corners and indent lines anywhere and everywhere across any piece of wood, something that isn’t really possible using CNCROi.com‘s CNC laser.
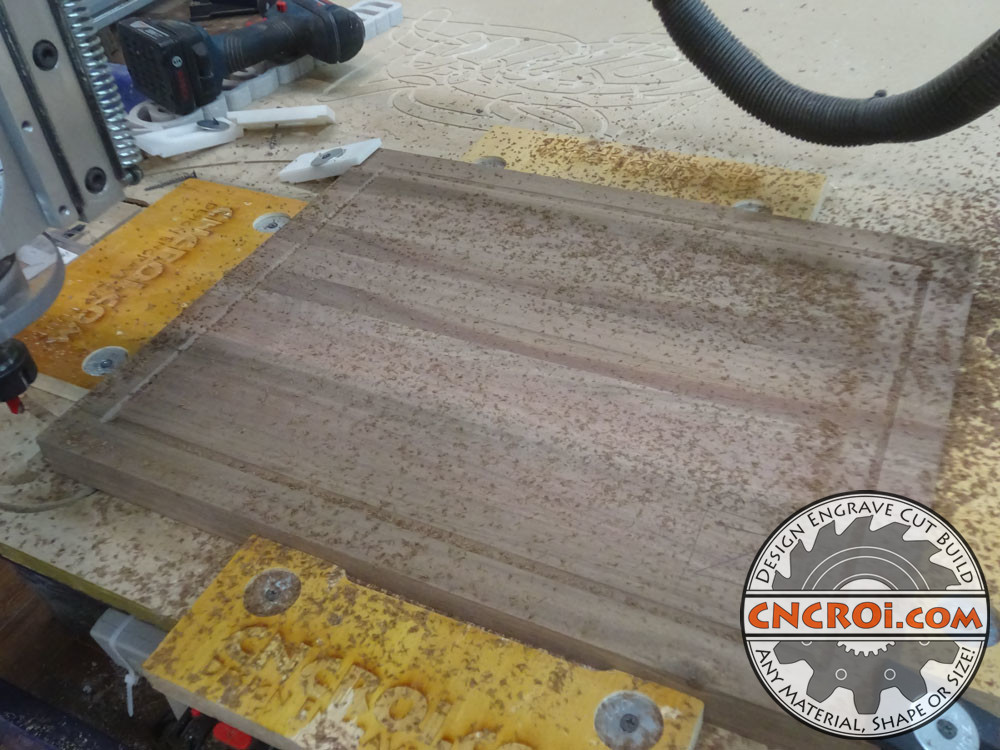
Normally during Walnut carving, there wouldn’t be any dust or debris on the board during the production cycle but as I wanted to film and photograph this, I took the dust boot off, so not as much stuff is sucked into our dust system at CNCROi.com.
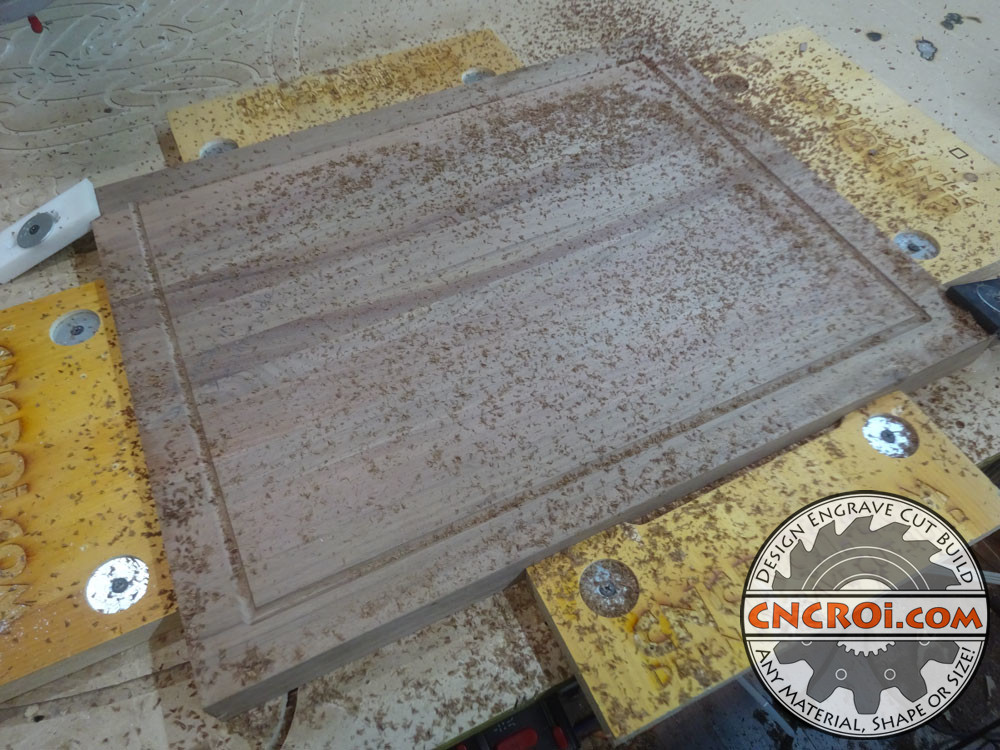
Regardless, the results looks great, perfectly straight as all carvings of this kind should be!
Need wood carving? Contact CNCROi.com right now!
https://www.youtube.com/watch?v=TqYoLUu8elc/
