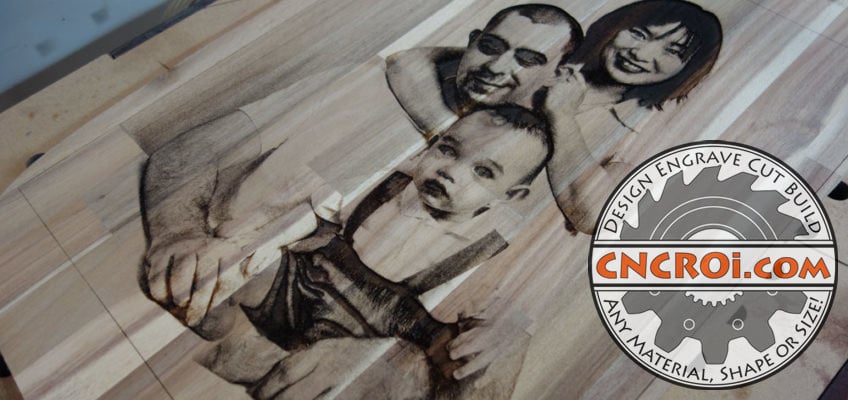
Wood Family Portraits: Pyrographic Acacia
My custom wood family portraits are made using extra Acacia that I had from a previous job, using the laser to do the pyrography gives me a lot more control and precision than using a torch.
https://www.youtube.com/watch?v=KfqtPZITAWU/
The most important thing to keep in mind with this type of work is that the results are HIGHLY dependent on high contrast photography, the more muddy or busy the picture, the less amazing the results CNCROi.com can achieve due to the limitations of the pyrographic process itself.
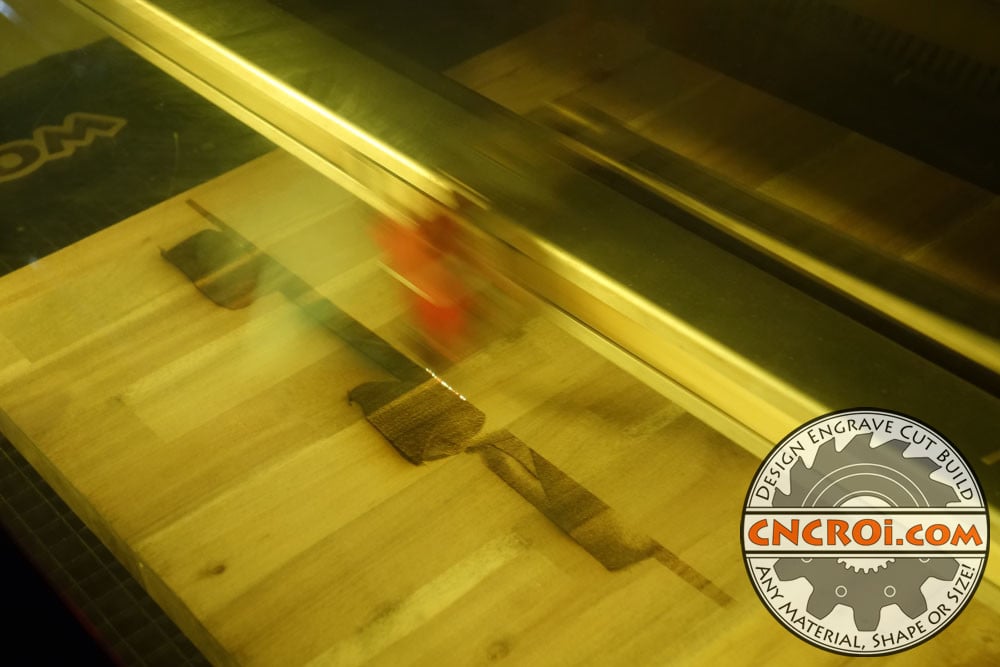
The first two photos I used for my custom wood family portraits are professional photographs that had a white background, this means what was laser engraved into the Acacia was only the people involved providing contrast, unlike the last picture with only Simon that had a very busy background.
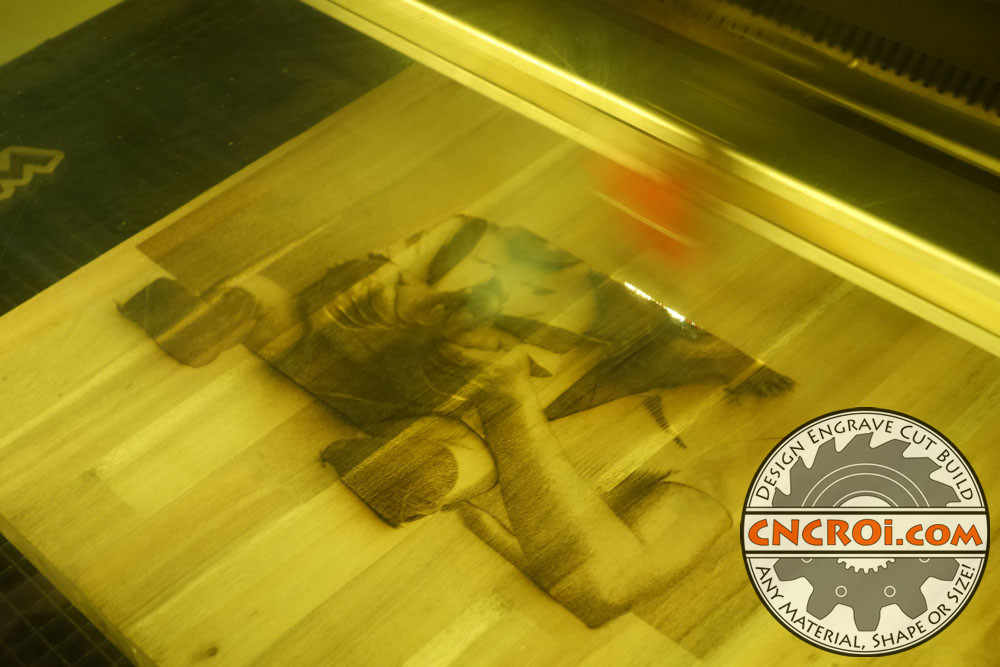
There are several methods possible when it comes to pyrography of whatever you have in mind for CNCROi.com to engrave, but the dot matrix style, which I also used for these photos, comes out best for images with a lot of detail.
https://www.youtube.com/watch?v=6RMbeQMaweA/
Regardless of the photograph used for this custom wood family portraits that now hangs on my living room wall, they all came out great and unlike photos, will easily last many lifetimes as the contrast created by the laser is just charcoal, no inks or dyes were involved.
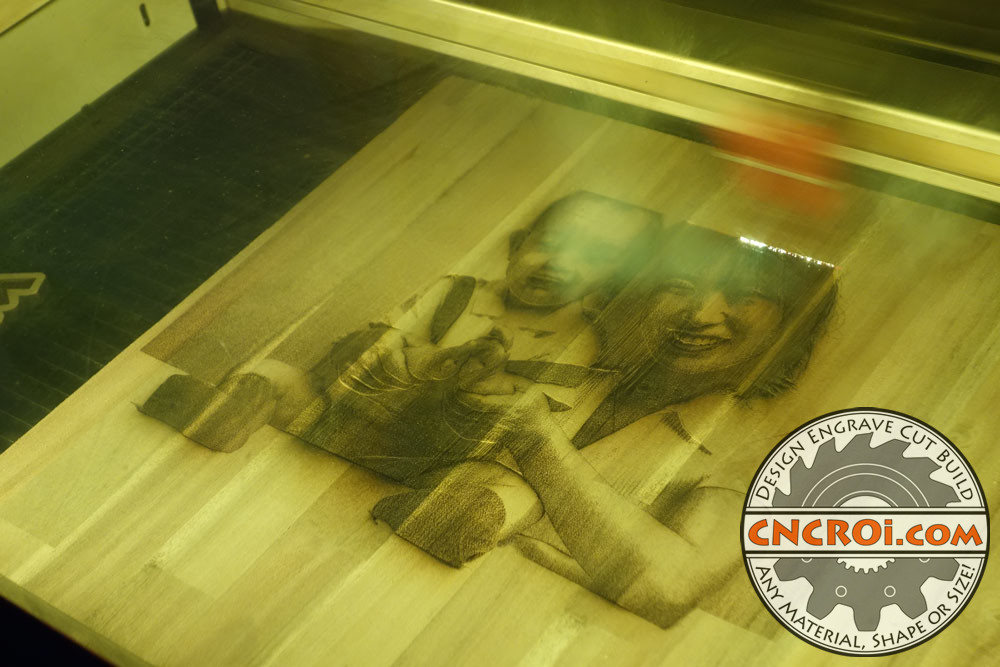
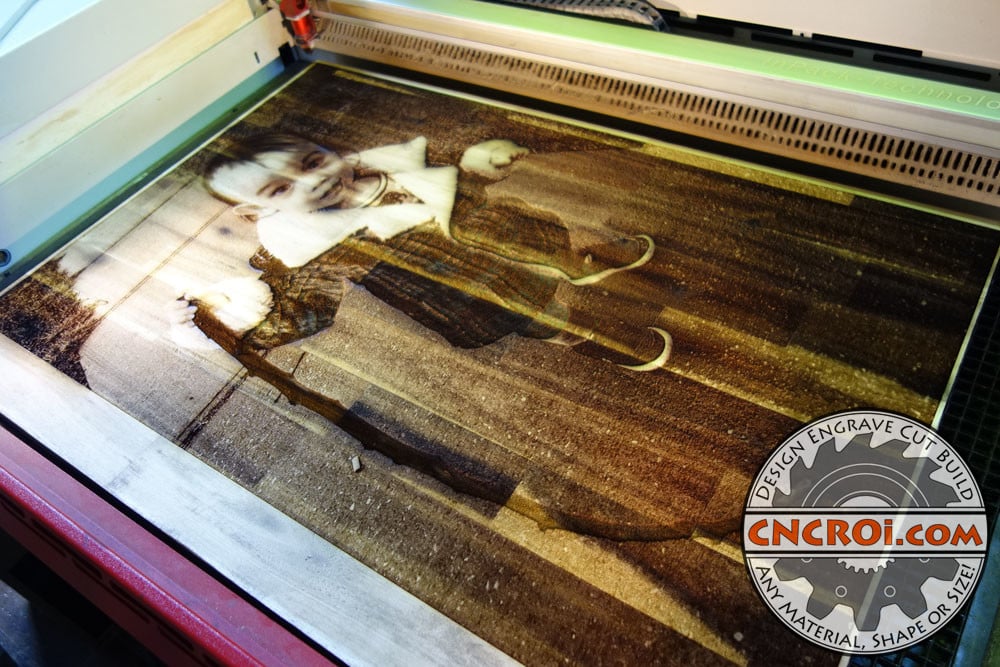
Note that the images are looking very rough at the moment because the smoke, resin and other impurities end-up settling on the surface of the overall custom wood family portraits, this is removed during the sanding process, at least on the high points where it matters.
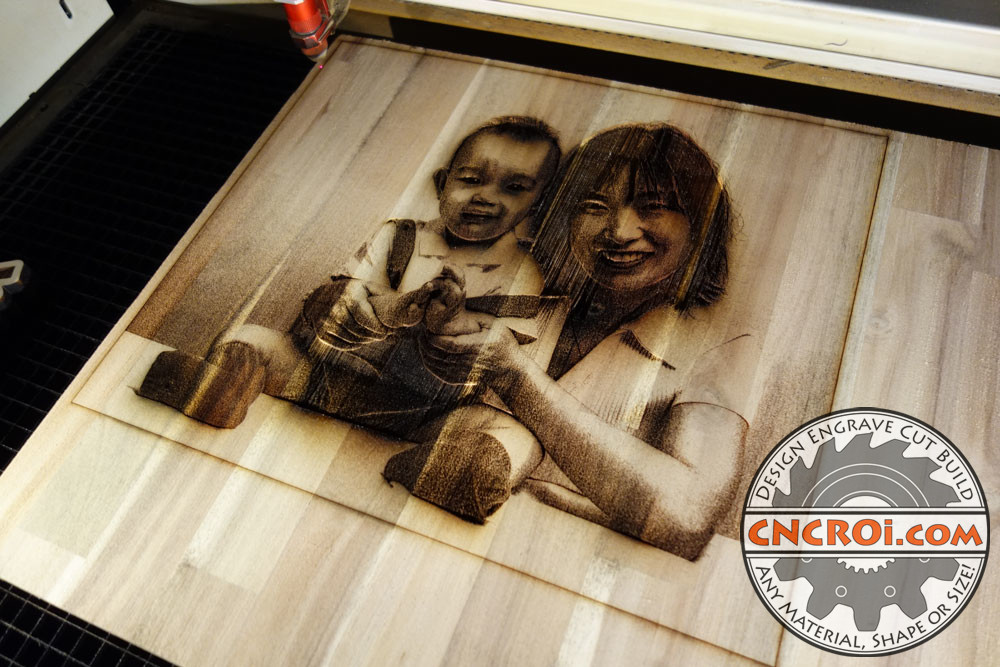
You can already see the cut-out line I made all around the pyrographic photo, this is literally my cut line to enable me to accurately cut these out of the Acacia.
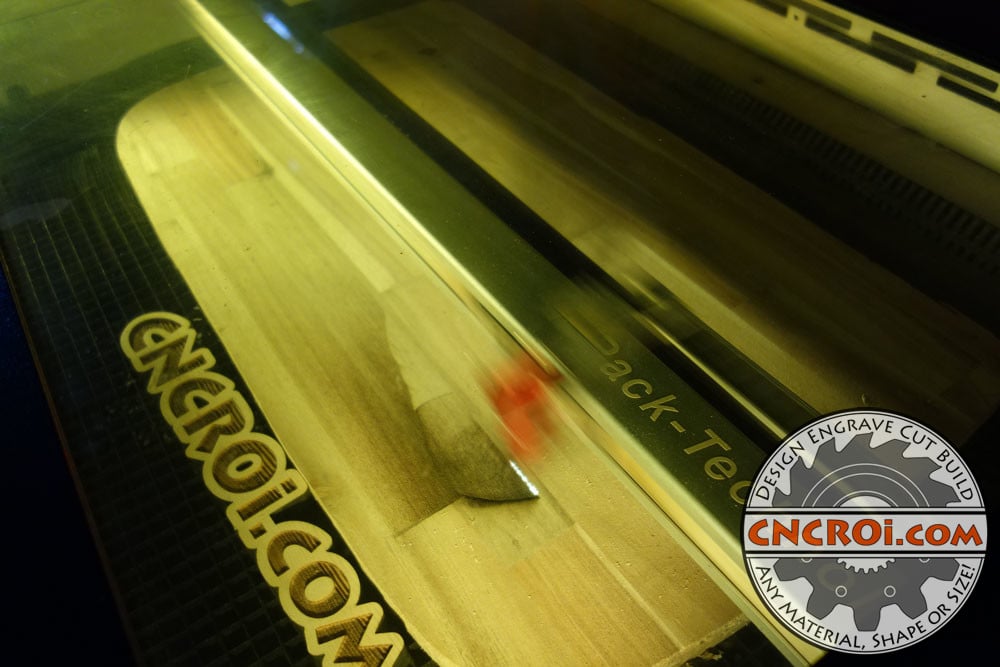
Although the photos are different that I used for these wall portraits, the process is identical, the laser just goes back and forth burning into the wood the image permanently, about 1/16″ to 1/8″ per pass.
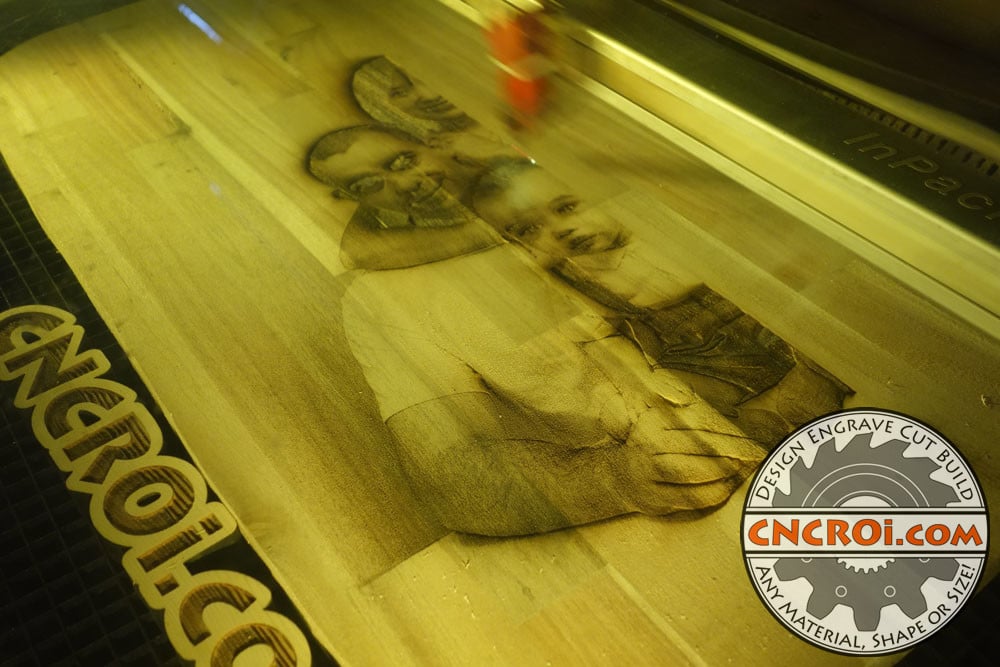
To give you an idea of what a “solid fill” would look like, here’s a plaque of a logo, this is a straight black and white logo, quite a bit different than a photograph and thus, another system must be applied when it comes to image optimization for the best results.
https://www.youtube.com/watch?v=GNa_6FNIUGk/
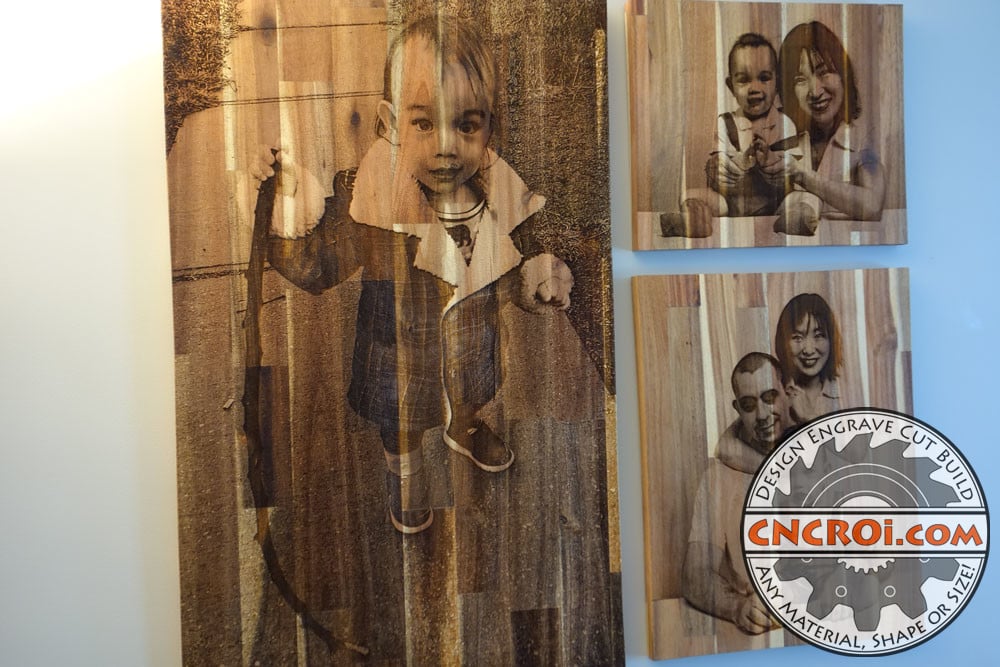
Regardless of the photo, Simon always looks great, and looking at all the final results together, you can see the distinctive difference between the white background with white shirts compared to the photo I took outside of him with one of his favorite sticks.
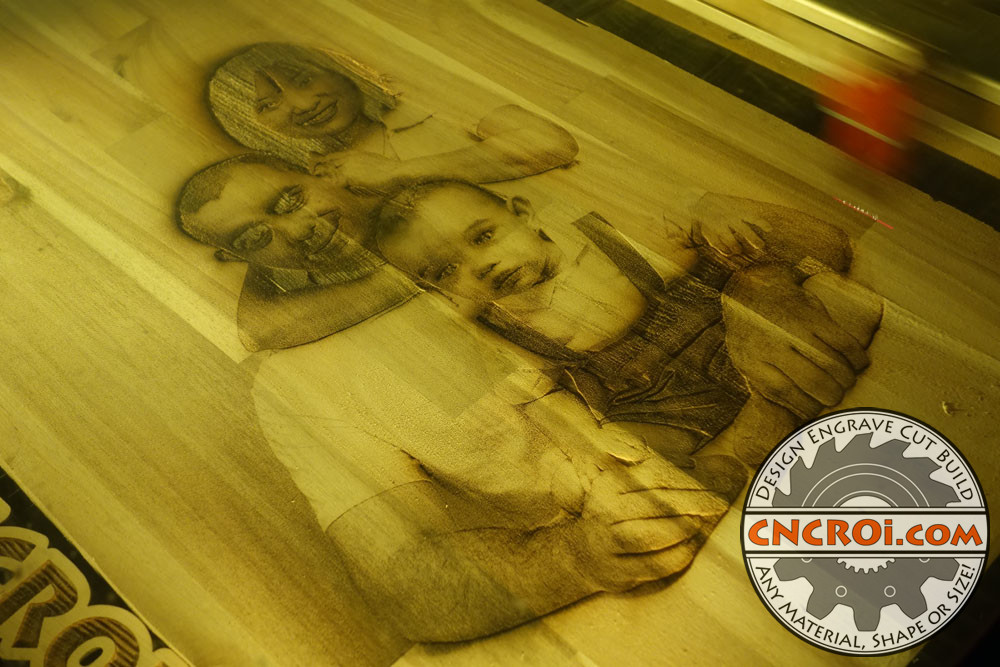
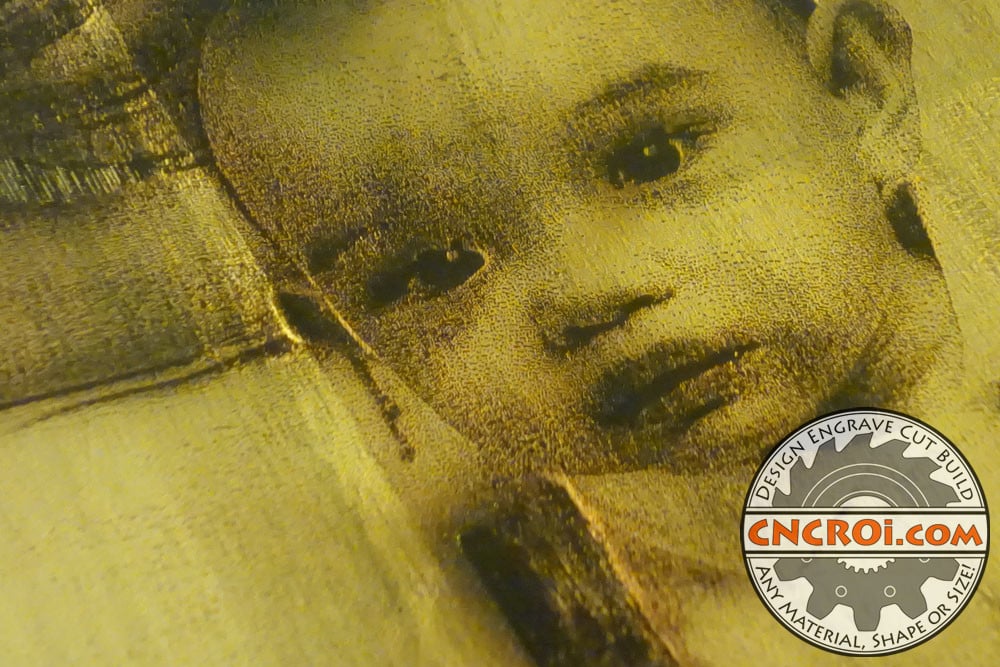
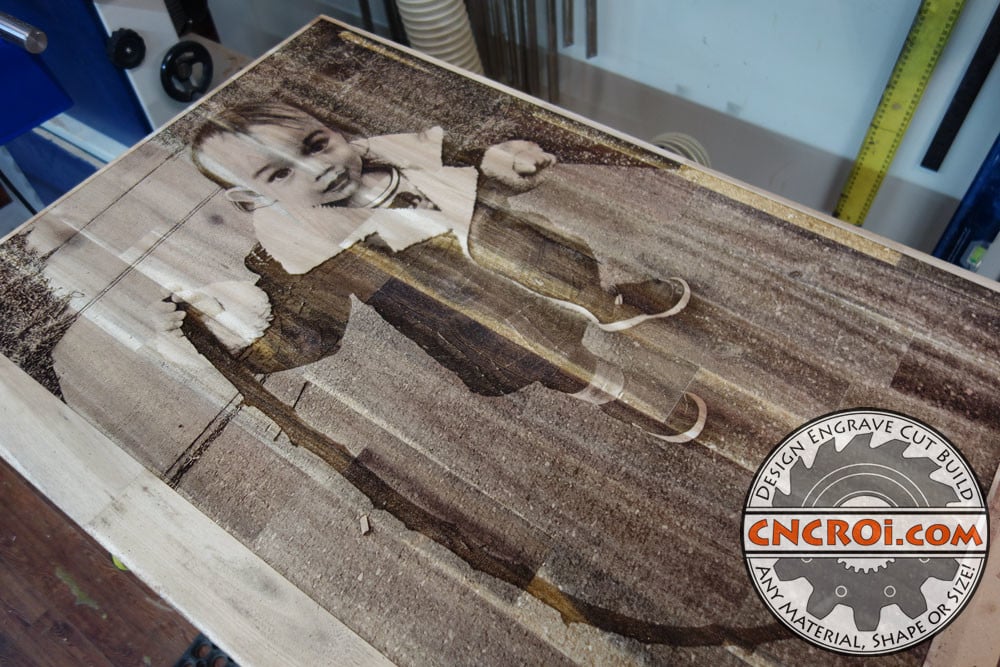
Let’s take a close look at Simon’s face that CNCROi.com laser engraved into the Acacia, you can see the subtle details of his face, even with an uncleaned surface, that really end-up making the overall custom wood family portraits really pop.
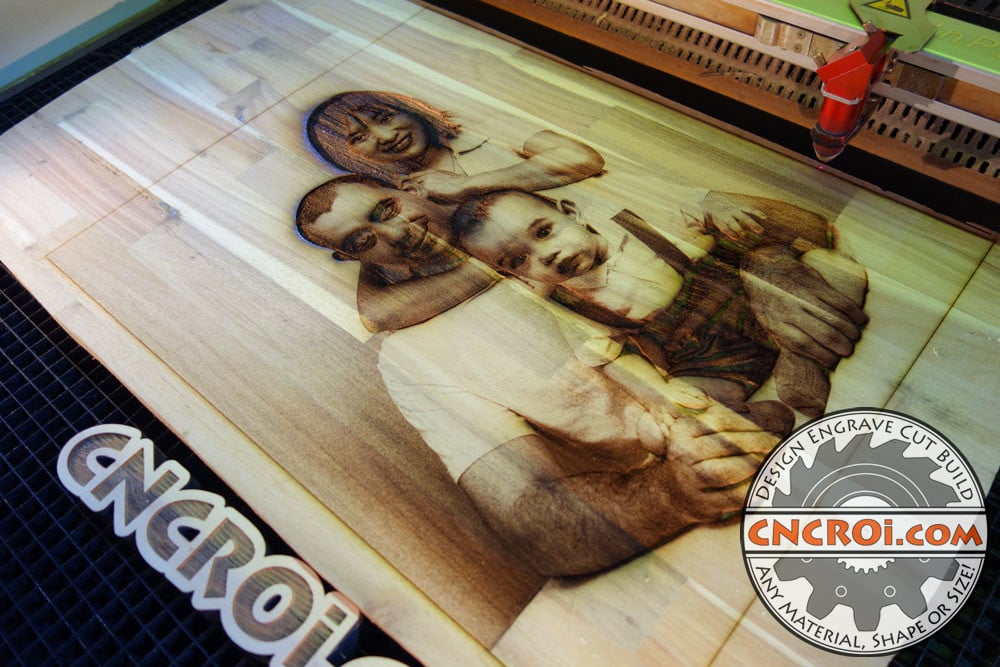
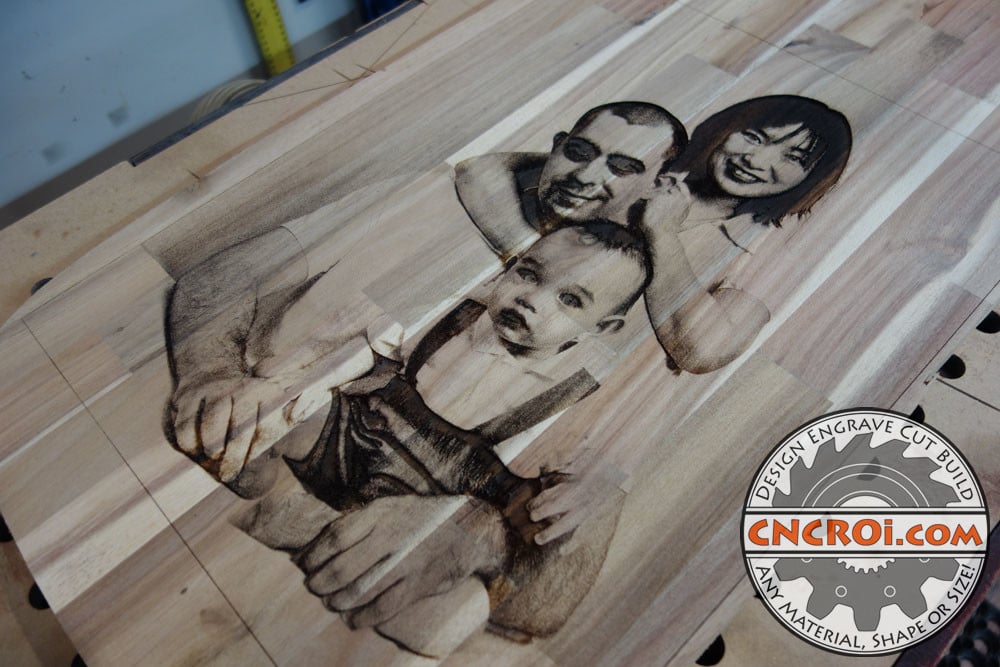
As the second portrait is finished, you’ll notice even the hair on my arms is coming out rather strongly, again, having an uncleaned surface is only accentuating the detail while also lowering the resolution of the overall portraits, which will be fixed during the sanding process at CNCROi.com.
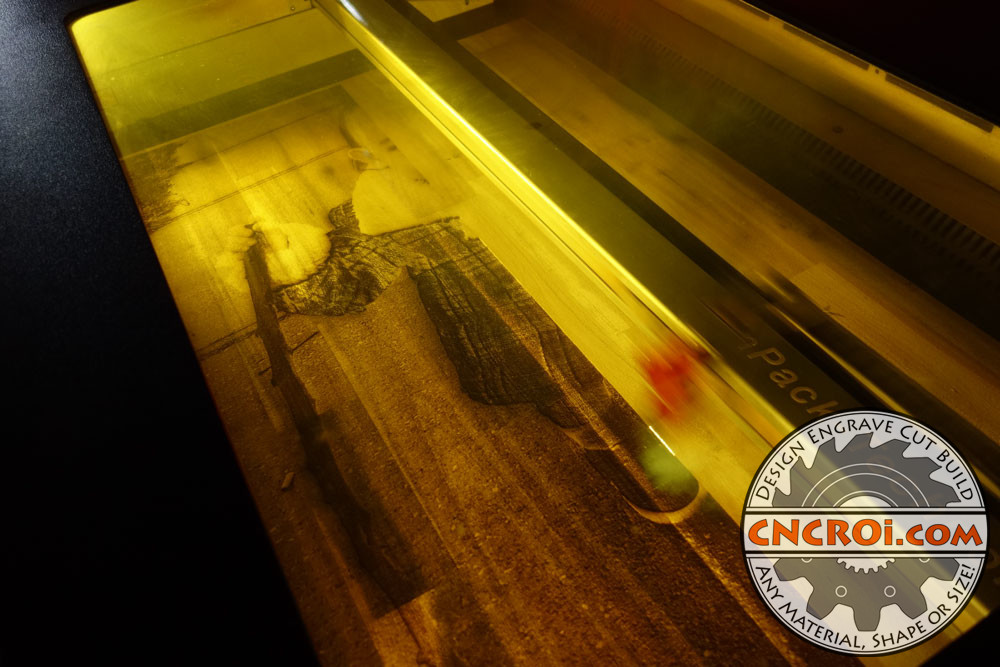
Now for the last photo, this is literally a life-sized picture of Simon I took out front of our home, it takes him about two seconds to find a stick of his specific requirements to hold to ward off evil spirits and beat the ground with.
One of my first laser pyrography projects was actually a world map I did on pallet wood, the wood that my laser actually came in.
https://www.youtube.com/watch?v=poleEGELcPY/
As the amount of laser engraving is a lot more, not just in larger surface area wise, but also due to the very busy background, this took by far the longest to do in several passes but Simon’s worth it.
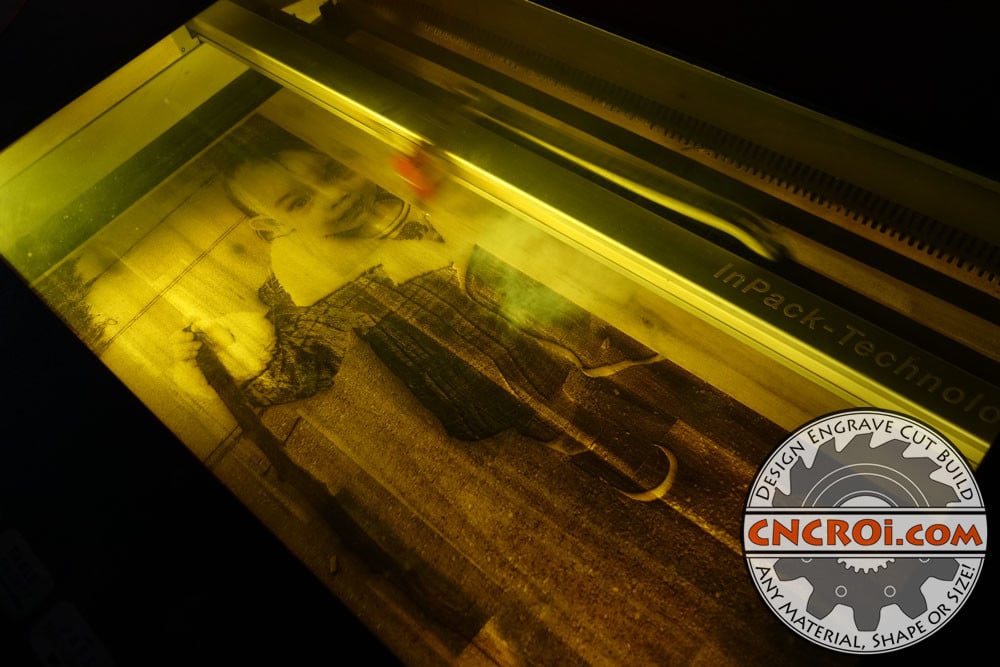
The reason for this life sized custom wood family portrait of Simon is because all the pictures we have of him on the wall are small and he needs to come-up close to see himself, this way, he can see himself from far away.
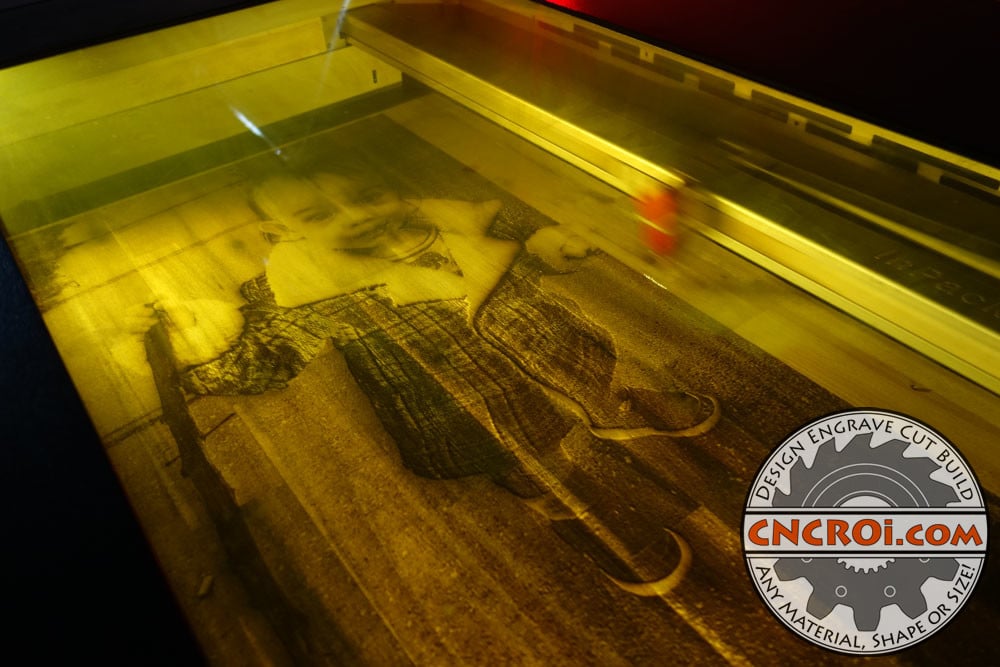
As with the other custom wood family portraits, CNCROi.com‘s laser did an amazing job engraving into the wood with absolute precision where needed, there is no fading along the edges or depth variations due to inconsistent CO2 laser supply.
Of course, pets come out great with permanent laser engraving on wood too, here’s a cat video!
https://www.youtube.com/watch?v=xRqwIhDbFjY/
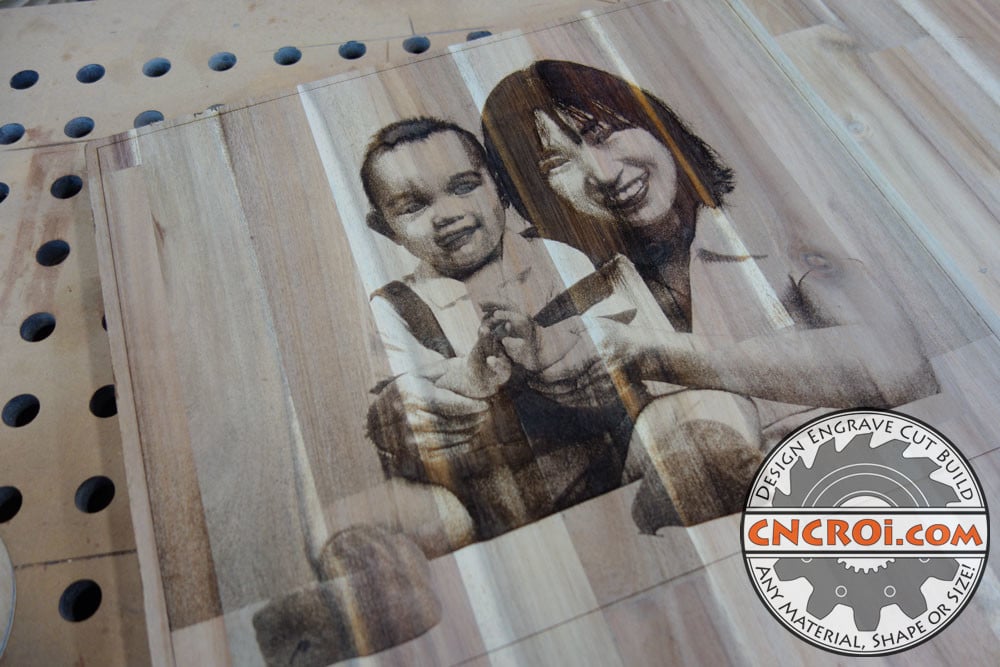
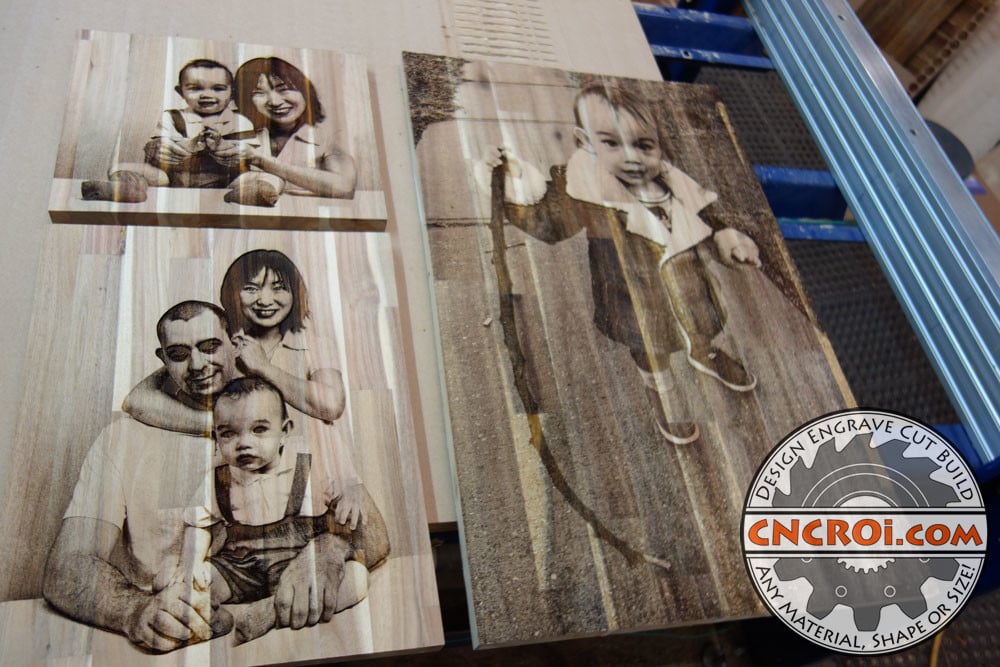
The next step involves a lot of sanding but this is when the true beauty of these custom wood family portraits comes out, I took a photo of before and after for each of the pyrographic photos so you can see just how much of a difference sanding does to the end-product.
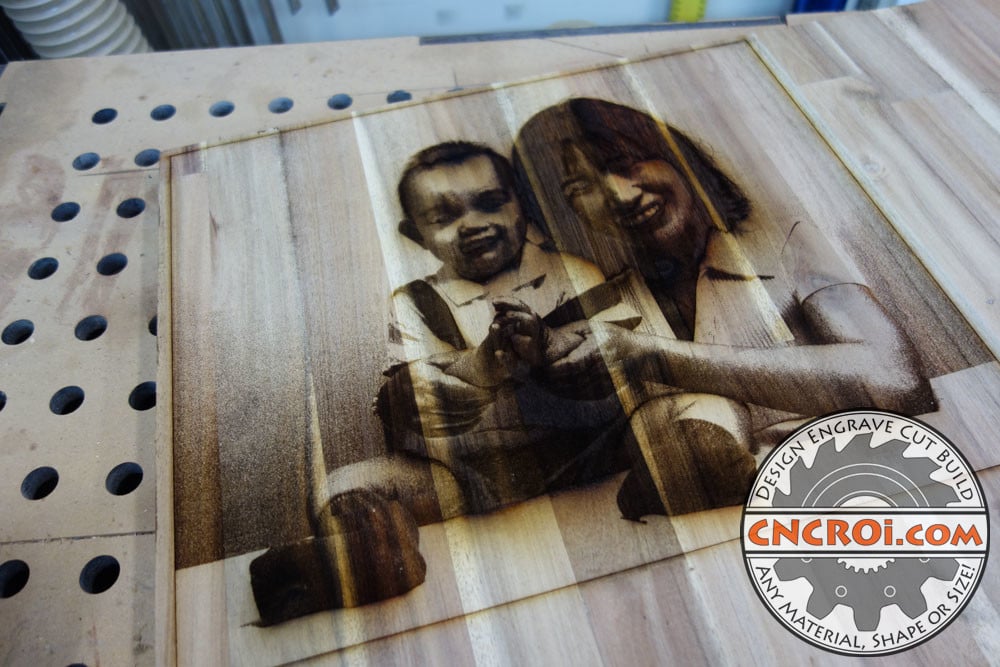
Notice even thin strands of hair come out on these Acacia custom wood family portraits, the best part of all of this is that you can actually FEEL the photograph when you run your fingers over it.
Here’s a cottage I permanently engraved into wood using the same process CNCROi.com employed for my family photos.
https://www.youtube.com/watch?v=XGJGFMFwDmU/
Next-up is the family photo, this had a lot more burning than the previous image due to the amount of material that had to be excavated by the laser to produce the final image.
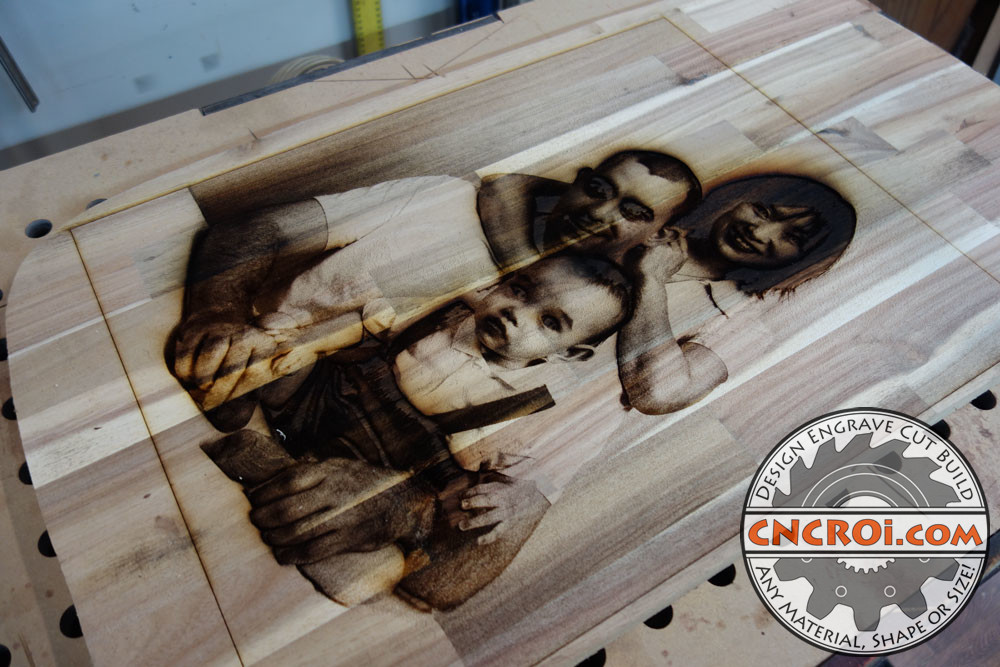
Other than my dark eyes which I forgot to fix in the photo beforehand, the image optimization I did came out great.
Simon’s self-portrait was a bit more work to get right due to how extensive the laser engraving had to be performed on the surface, the results would have been a lot nicer with a clear background as the overall image is so busy but that’s fine, this is a learning experience to show you what’s possible.
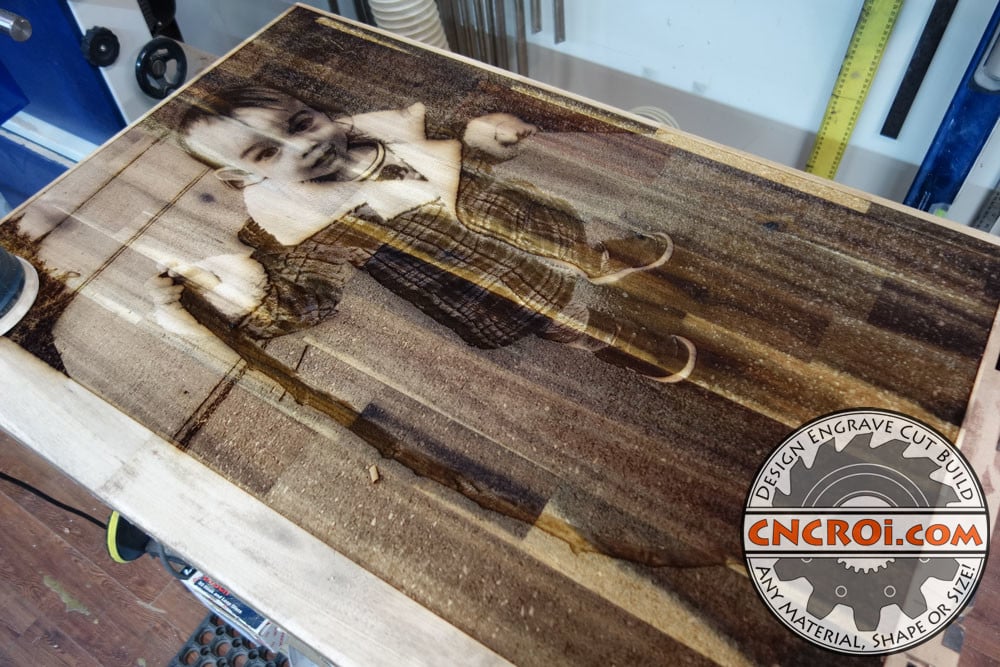
The funny thing is, as soon as Simon saw his self-portrait, he immediately recognized himself, which was what I was after and it’s his favorite photo to look at on our wall.
Wedding photos come out great as well on wood, here’s a project I did that will be passed-on for generations to come.
https://www.youtube.com/watch?v=qzgVW9zpZOw/
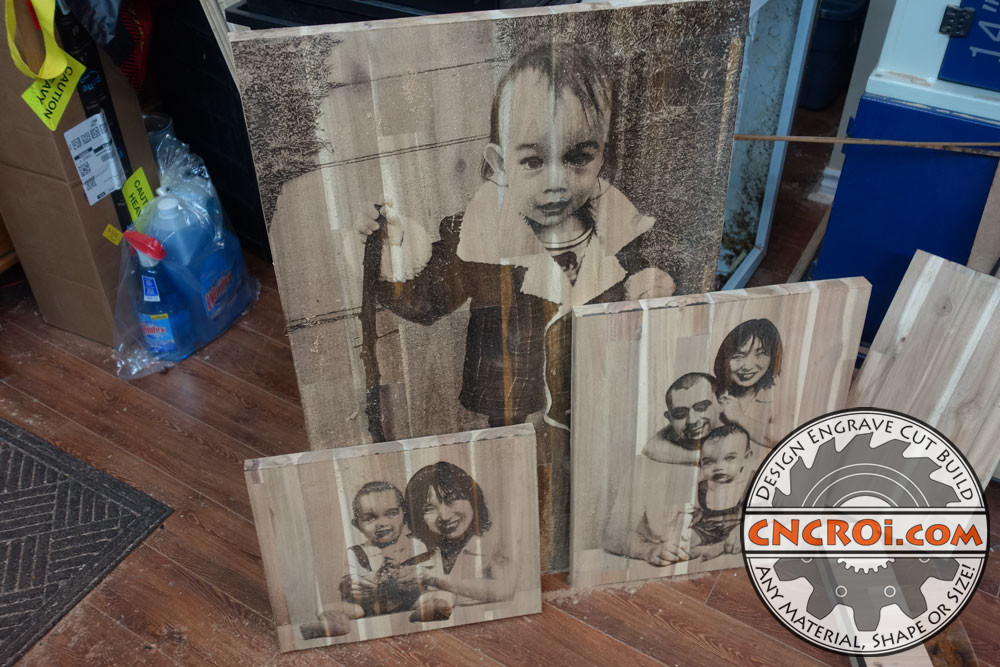
Before the finishing process, you can see what all three custom wood family portraits look like, the finishing process will protect the surface and also greatly increase the contrast of the wood.
At CNCROi.com, space was at a premium over the holidays that I made this during, so the CNC router won for table of the job to let these pictures dry after applying Tung oil over the entire surface.
I’m very happy with how all these custom wood family portraits came into being, it isn’t the first time I do custom pyrography using my laser and certainly won’t be the last.
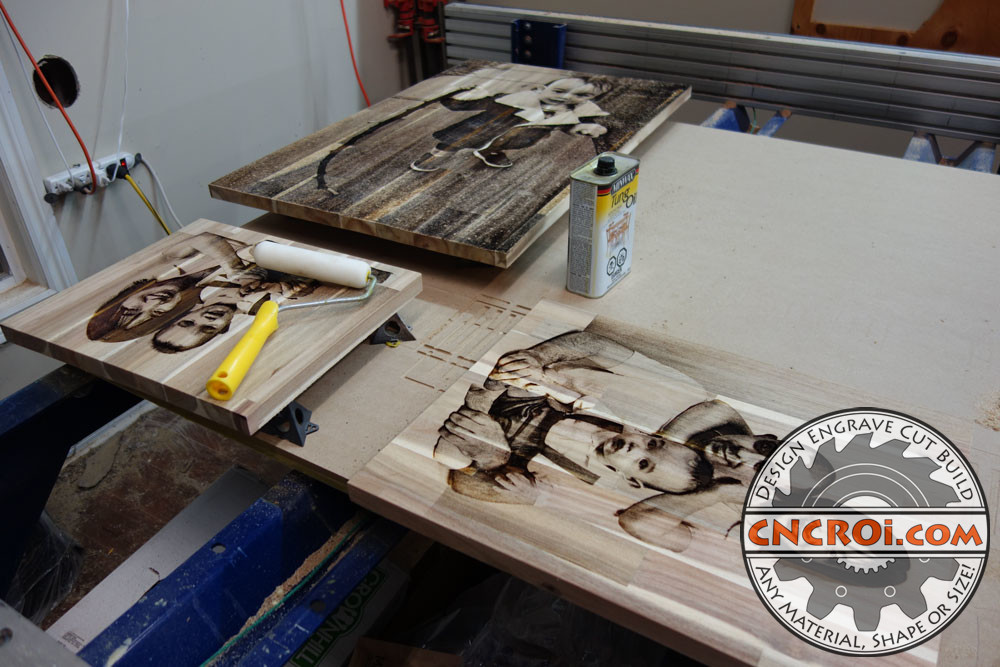
Generally I apply several coats of Tung oil to better protect the surface but in this case, due to time constrains (this was a Christmas surprise), I just put one thick coat, which was fine as the surface was mostly uneven, so a lot more oil can be applied in one setting that if this was a piece of fine flat furniture.
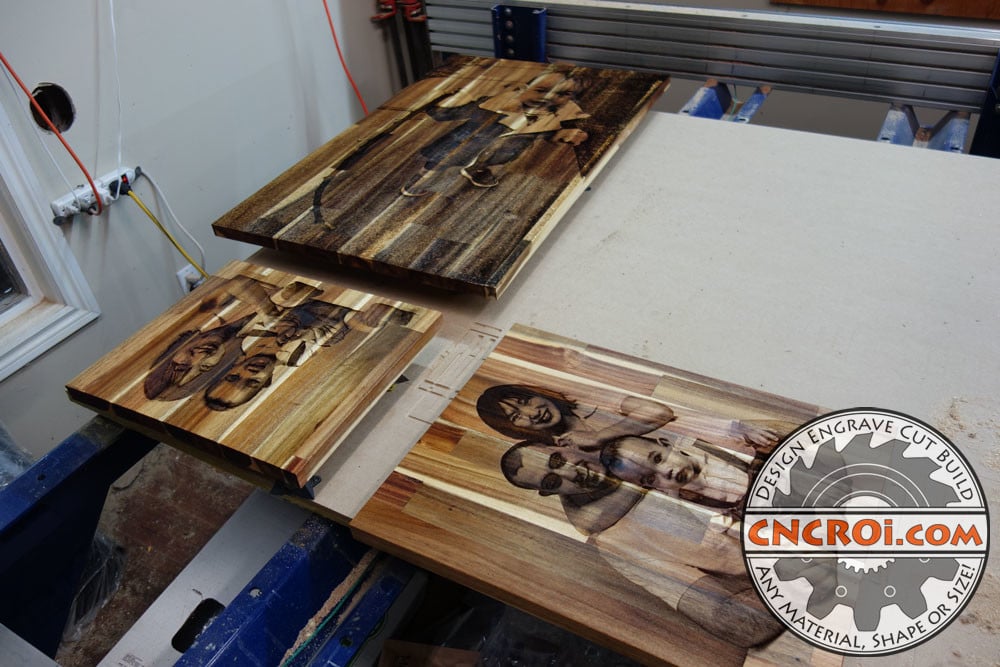
After drying the results look spectacular, the nice thing about Tung Oil is that I can always clean-up the surface and apply additional coats down the line, and each coat will make the surface have a deeper honey look to it and increase the shine as well.
Looking for custom wood family portraits made out of any material or pyrography for any application? Contact CNCROi.com right now!
https://www.youtube.com/watch?v=r8vatQGhC68/
